Crochet a Cuddly Puppy: Free & Easy Pattern!
Crochet a Cuddly Companion: The Cute Puppy Pattern
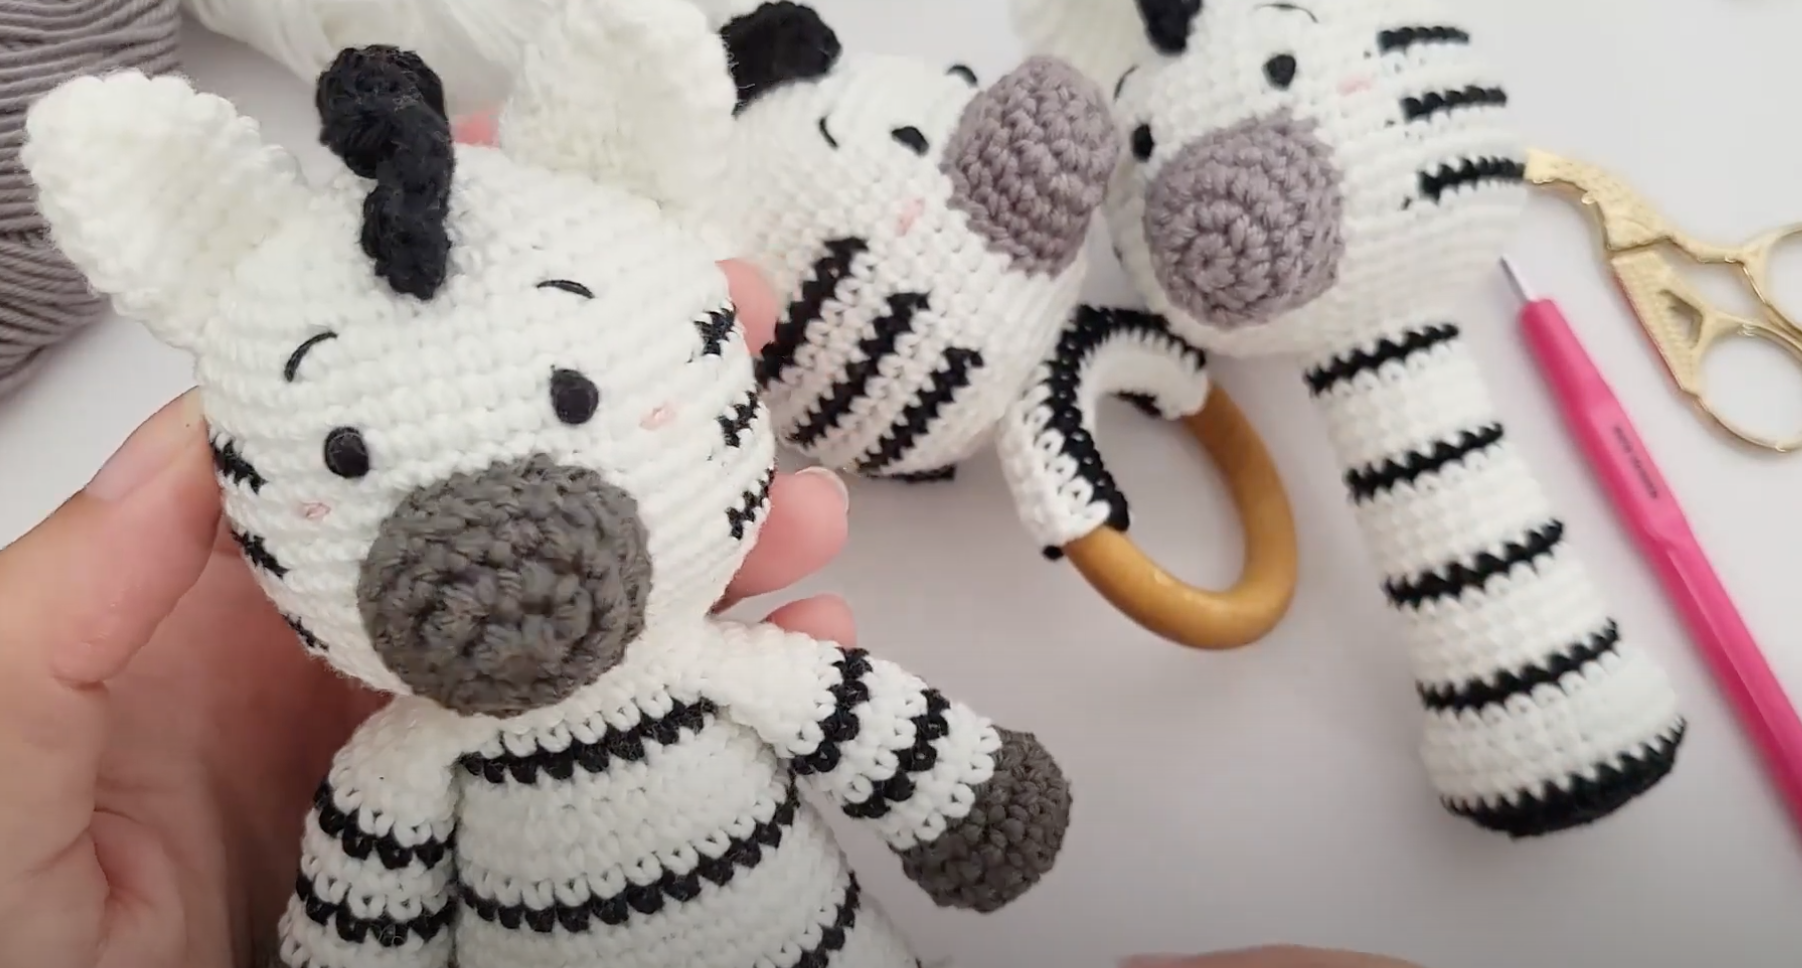
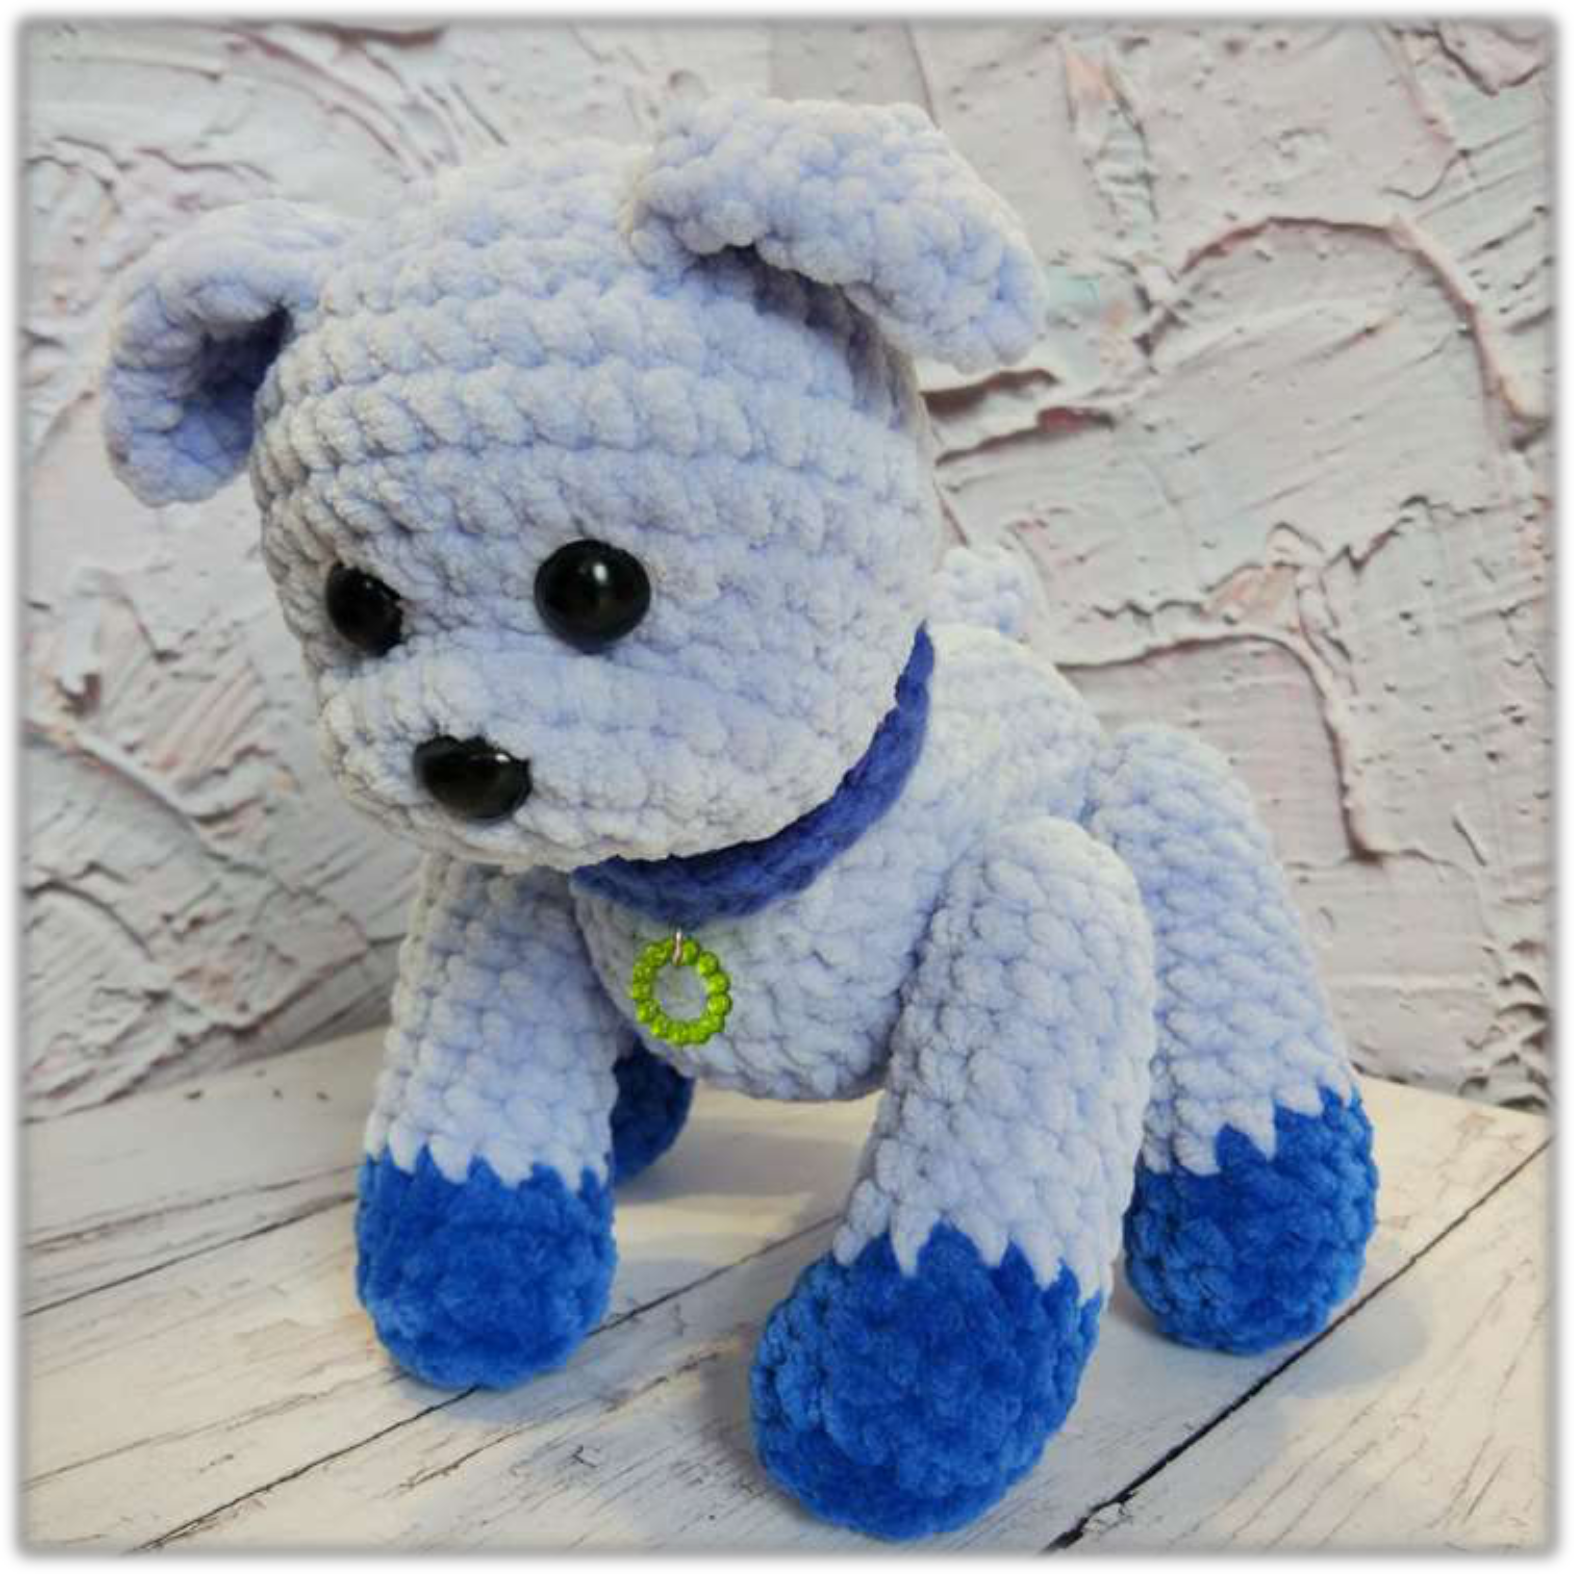
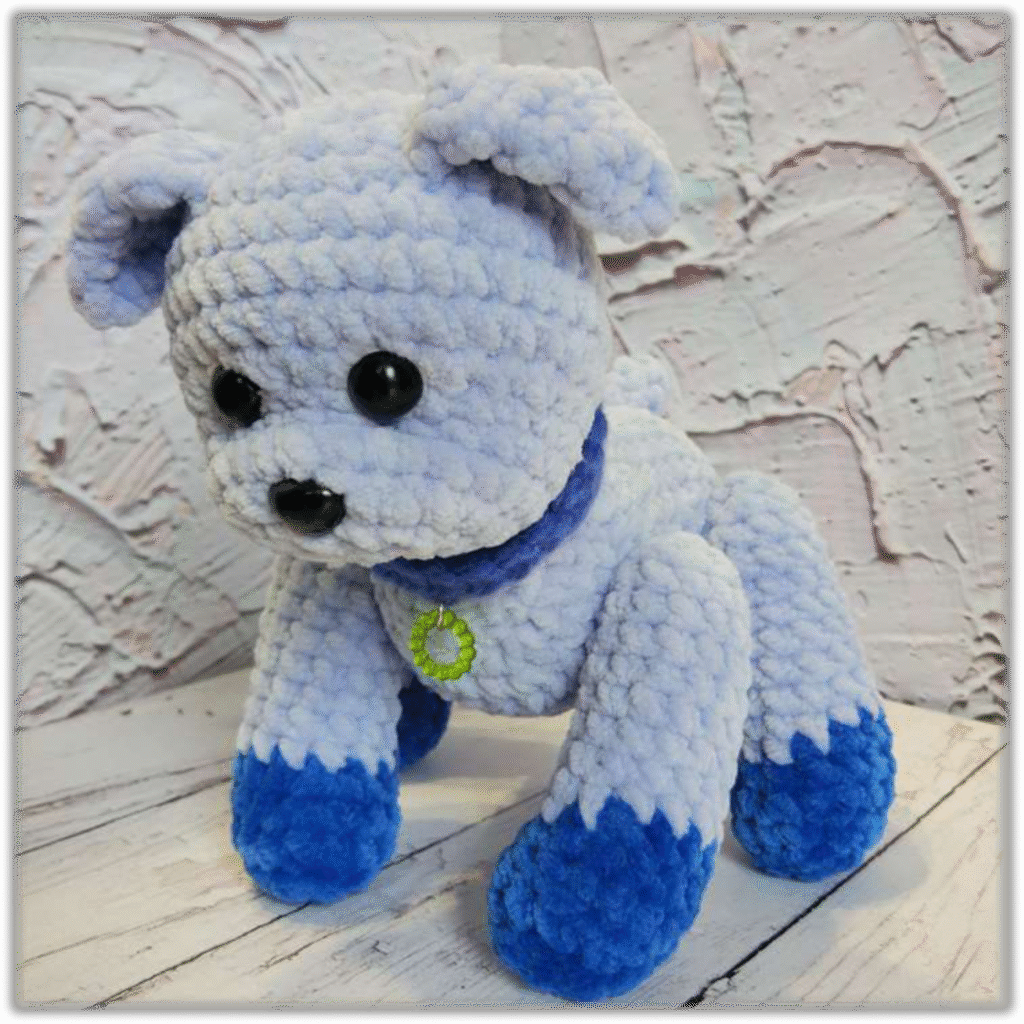
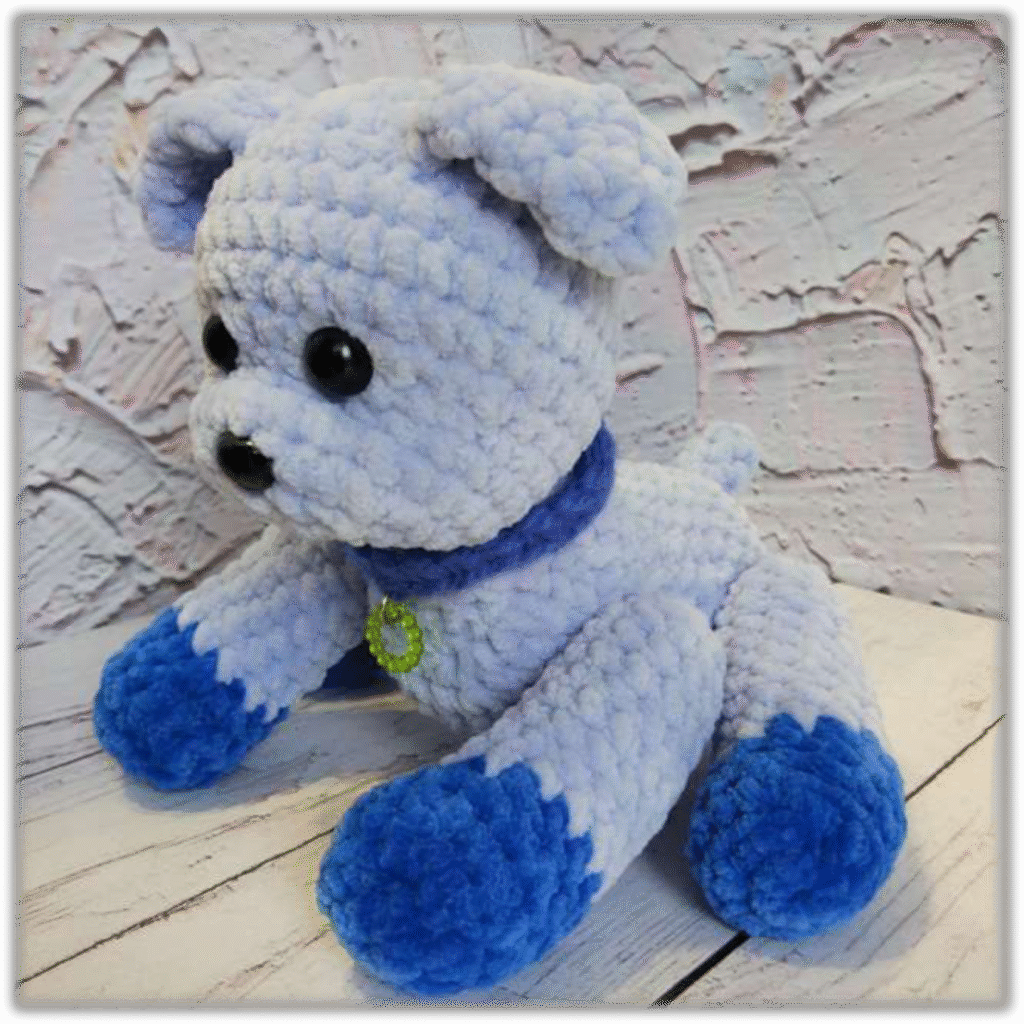
There’s nothing quite like the joy of creating a beloved companion with your own hands, and this adorable crochet puppy pattern is designed to bring a smile to anyone’s face! Perfect for gifting or keeping for yourself, this little amigurumi puppy is wonderfully soft and cuddly, making it an instant favorite. Dive into this delightful project and watch as your yarn transforms into a charming new friend.

This master class requires basic crochet skills, making it accessible for those familiar with fundamental stitches. Let’s gather our materials and begin!
Materials and Tools
- 1 skein of plush yarn in the main color for the body (Yarnart Dolce, Himalaya Dolphin (120m/100gr) – slightly more than half a skein is used).
- 1/8 skein of plush yarn in another color for crocheting the bottom of the paws.
- Crochet hook No. 4 for crocheting with the main yarn (or 3.5 if you crochet loosely).
- A pair of safety eyes (size 12 mm).
- Safety nose (size 15 mm).
- Embroidery floss (mouline), Iris yarn, or other thin strong yarn in the color of the body for sewing on parts, embroidering a felt heart, and embroidering a name.
- Needle with a wide eye for sewing on parts.
- Polyester fiberfill, synthetic down, holofiber (for stuffing the toy).
- Scissors.
- Pins for attaching parts.
The height of the finished toy is approximately 15 cm (+/- a couple of cm), depending on the density of your crochet and the density of the toy’s stuffing.
Abbreviations Used
- MR – magic ring
- st – stitch
- ch – chain stitch
- sc – single crochet
- dec – decrease
- inc – increase
- ()*8 – number of repetitions
- (_st) – number of stitches that should be in the row
Note on Magic Ring: It’s not very convenient to make a magic ring with plush yarn, so I use a simpler method: chain 2 and then work single crochet stitches into the second chain from the hook (i.e., the 2nd chain will be our “ring” in this case).
Head

| Row No. | Instructions | Total Stitches |
|---|---|---|
| 1 | Ch 2, 8 sc into the 2nd ch from hook | 8 |
| 2 | 8 inc | 16 |
| 3 | (1 sc, inc)8 | 24 |
| 4 | (2 sc, inc)8 | 32 |
| 5 | 32 sc | 32 |
| 6 | (3 sc, inc)8 | 40 |
| 7-8 | 40 sc | 40 |
| 9 | (dec, 3 sc)8 | 32 |
| 10 | (dec, 2 sc)4, 16 sc | 28 |
| 11-13 | 28 sc | 28 |
| 14 | (dec, 2 sc)7 | 21 |
| 15 | 10 dec, 1 sc | 11 |
| 16 | 5 dec, 1 sc | 6 |
| 17 | 3 dec, pull opening tight, hide tail inside with hook | 3 |
Insert eyes between rounds 10, into the 5th and 9th stitches from the beginning of the round. (For more expressive eyes, take thin white felt, cut a circle slightly larger than the eye’s diameter, and attach it to the bottom of the eye. Trim any excess felt so the eye looks neat).
Insert nose between rounds 14, into the 5th stitch from the beginning of the round.
Stuff the head firmly, but stuff the muzzle area less densely, so it’s neater and easier to pull it into the correct shape.
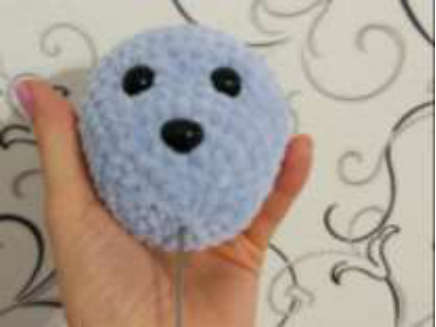
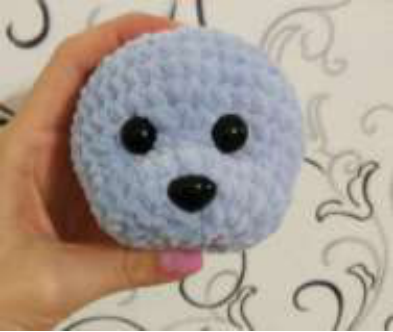
Thread a long needle with Iris yarn, embroidery floss (or any other strong thread that won’t break when pulled tight). Insert the needle at the bottom of the muzzle (the first photo shows the approximate insertion point with the needle) and leave a tail. Then, guide the needle to one eye (bring the thread out from below the eye on the left, then insert it back in below the eye on the right). Next, guide the thread back down to the bottom of the muzzle. (Repeat the same process with the other eye, bringing the thread out at the bottom of the muzzle, and then pull it tight. The appearance after tightening the muzzle is shown in the second photo).
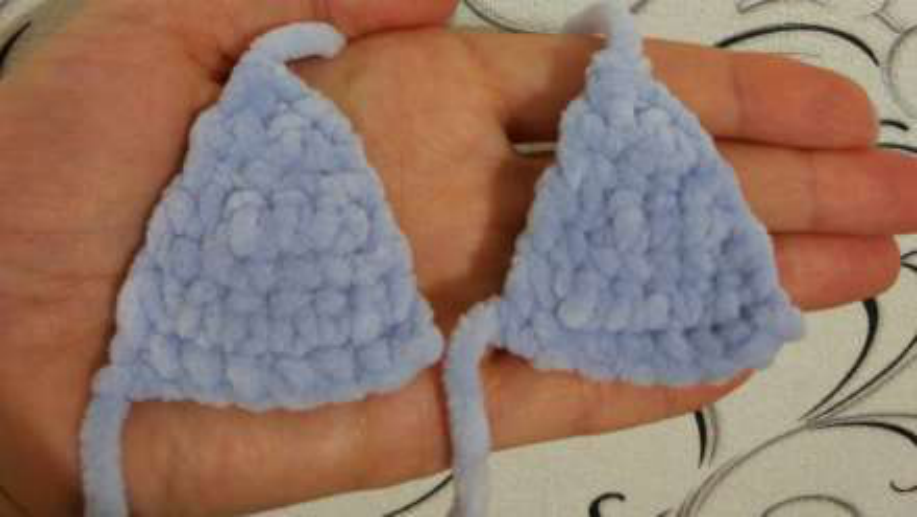
Ears (make 2)
Crochet according to the chart:
Chart Key:
- 00 – ch (chain stitch)
- I – sc (single crochet)
- Л – dec (decrease – 2 stitches worked together)
Tail
| No. | Instructions | Stitches |
|---|---|---|
| 1 | Ch 2, 4 sc into the 2nd ch from hook | 4 |
| 2-4 | 4 sc | 4 |
| 5 | 2 dec, pull opening tight, hide tail inside with hook. | 2 |
Paws (make 4)
| Row No. | Instructions | Total Stitches |
|---|---|---|
| 1 | Ch 2, 8 sc into the 2nd ch from hook | 8 |
| 2 | 8 inc | 16 |
| 3 | 16 sc | 16 |
| 4 | dec, 2 sc, dec, 10 sc | 14 |
| 5 | 1 sc, dec, 11 sc | 13 |
| 6-13 | 13 sc | 13 |
| 14 | (dec, 1 sc)4, 1 sc | 9 |
| 15 | 4 dec, 1 sc | 5 |
| 16 | 2 dec, close opening, cut yarn and weave in end. | 3 |
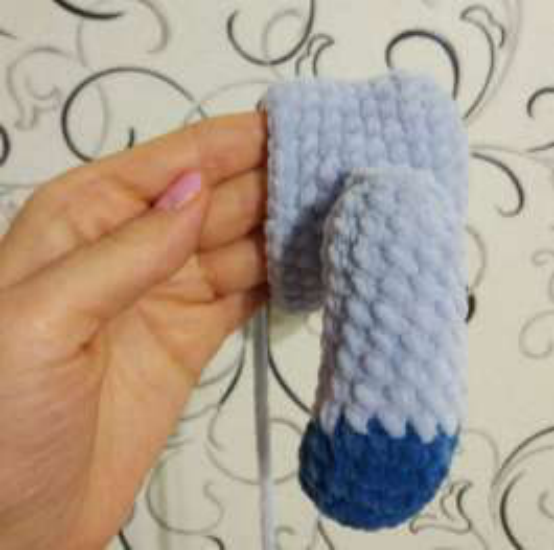
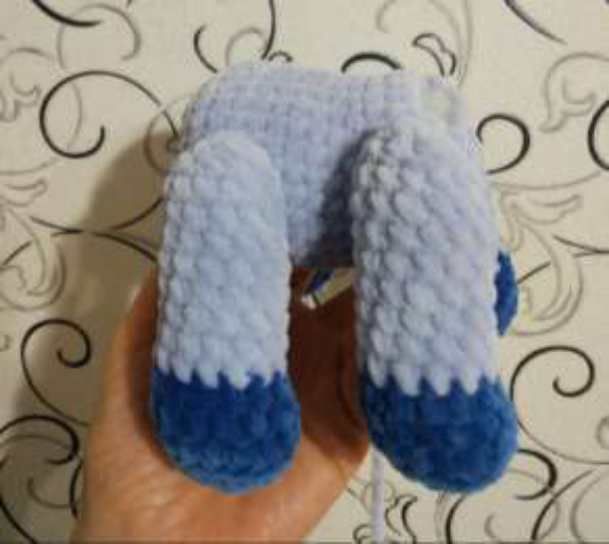
Stuff the paws firmly. If you plan to attach the paws to the body using joints, insert the joint into the 13th round from the inside of the paw (so that both parts look symmetrical), and then continue crocheting the paw to the end.
Body
| Row No. | Instructions | Total Stitches |
|---|---|---|
| 1 | Ch 2, 8 sc into the 2nd ch from hook | 8 |
| 2 | 8 inc | 16 |
| 3 | (1 sc, inc)8 | 24 |
| 4 | (2 sc, inc)8 | 32 |
| 5-6 | 32 sc | 32 |
| 7 | 6 sc, dec, 1 sc, dec, 22 sc | 30 |
| 8-9 | 30 sc | 30 |
| 10 | (13 sc, dec)2 | 28 |
| 11-12 | 28 sc | 28 |
| 13 | 3 sc, inc, 8 sc, inc, 15 sc | 30 |
| 14-15 | 30 sc | 30 |
If you are attaching the paws with joints, insert the front paws between rounds 6, into the 1st and 15th stitches (from the beginning of the round). Insert the back paws between rounds 14, symmetrically to the front paws.
From the beginning of the round, crochet 5 sc (leave 7 stitches for the back/withers and start crocheting in turning rows).
- Ch 1 and turn, then crochet: (2 sc, dec) to end of row (wrong side row).
- Ch 1 and turn: (1 sc, dec) to end of row (right side row).
- Ch 1 and turn: (dec) to end of row (wrong side row).
- Ch 1 and turn: (dec) to end of row (right side row).
- Ch 1 and turn: 7 sc to end of row (wrong side row).
- Ch 1 and turn: 7 sc to end of row (right side row).
Next, you need to reattach the previously left stitches for the back/withers. To do this:
Continue crocheting in the round (no chain stitch needed): 2 sc, 7 sc (withers), 2 sc, join to the body.
Then 2 sc, dec, 14 sc.
Crochet 1 row without decreases.
Assembly
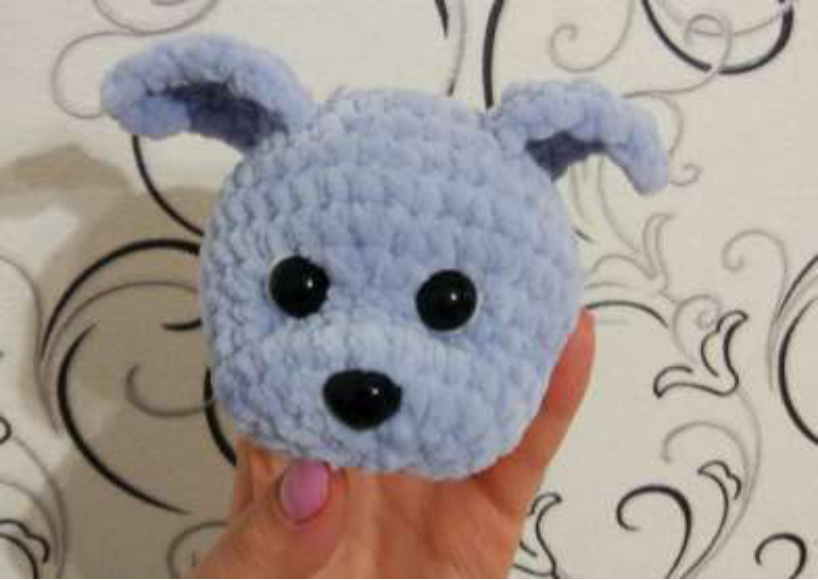
1. Sew the ears to the head.
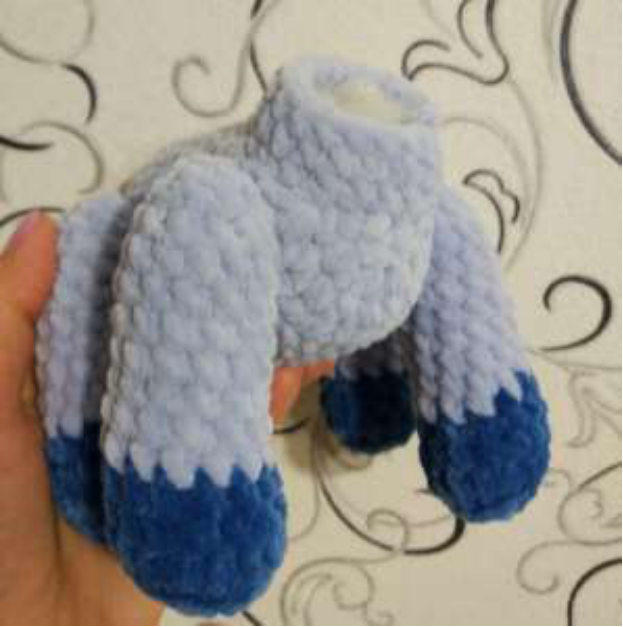
2. Sew the paws to the body (if you are not using limb joints).
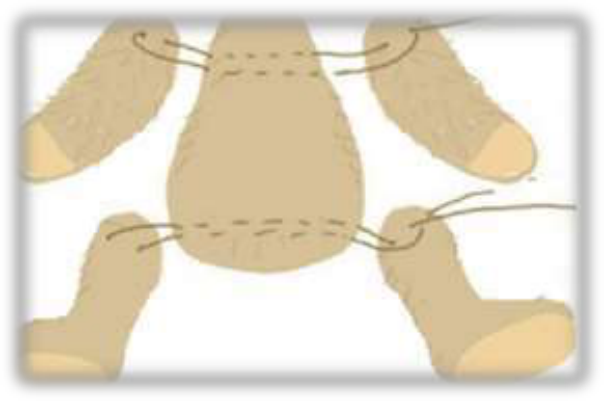
If you decide to sew the paws to the body, attach the back paws to rows 7 and 14 of the body as follows (shown in the picture): thread the yarn in circles, passing it through the body and both paws at the same level. Puncture the fabric very close to each other; do not pull too tightly – these are the main rules. At the very end, tie a tight knot, cut the yarn, and hide the end. The paws will be movable.
3. Sew the tail.
Stuff the tail very lightly and sew it on.
4. Collar
To crochet the collar, chain a length equal to the circumference of the Puppy’s neck (any yarn will work). Then, chain 1 and single crochet 1 row. Fasten off. Sew the collar ends together. Optionally, you can attach a ring with a charm to the collar.
Congratulations! You’ve just created an adorable crochet puppy! We hope you enjoyed every stitch of this pattern. We love seeing your unique creations, so be sure to share your finished puppies with us on social media! Tag @Crochetto and use #CrochettoPuppy to show off your new friend.
Happy Crocheting!