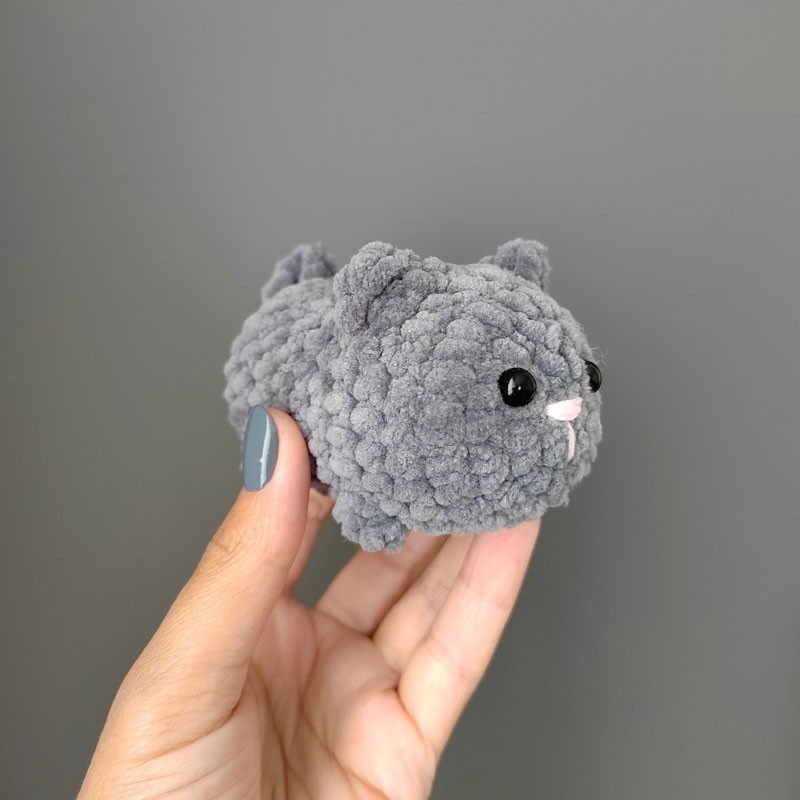
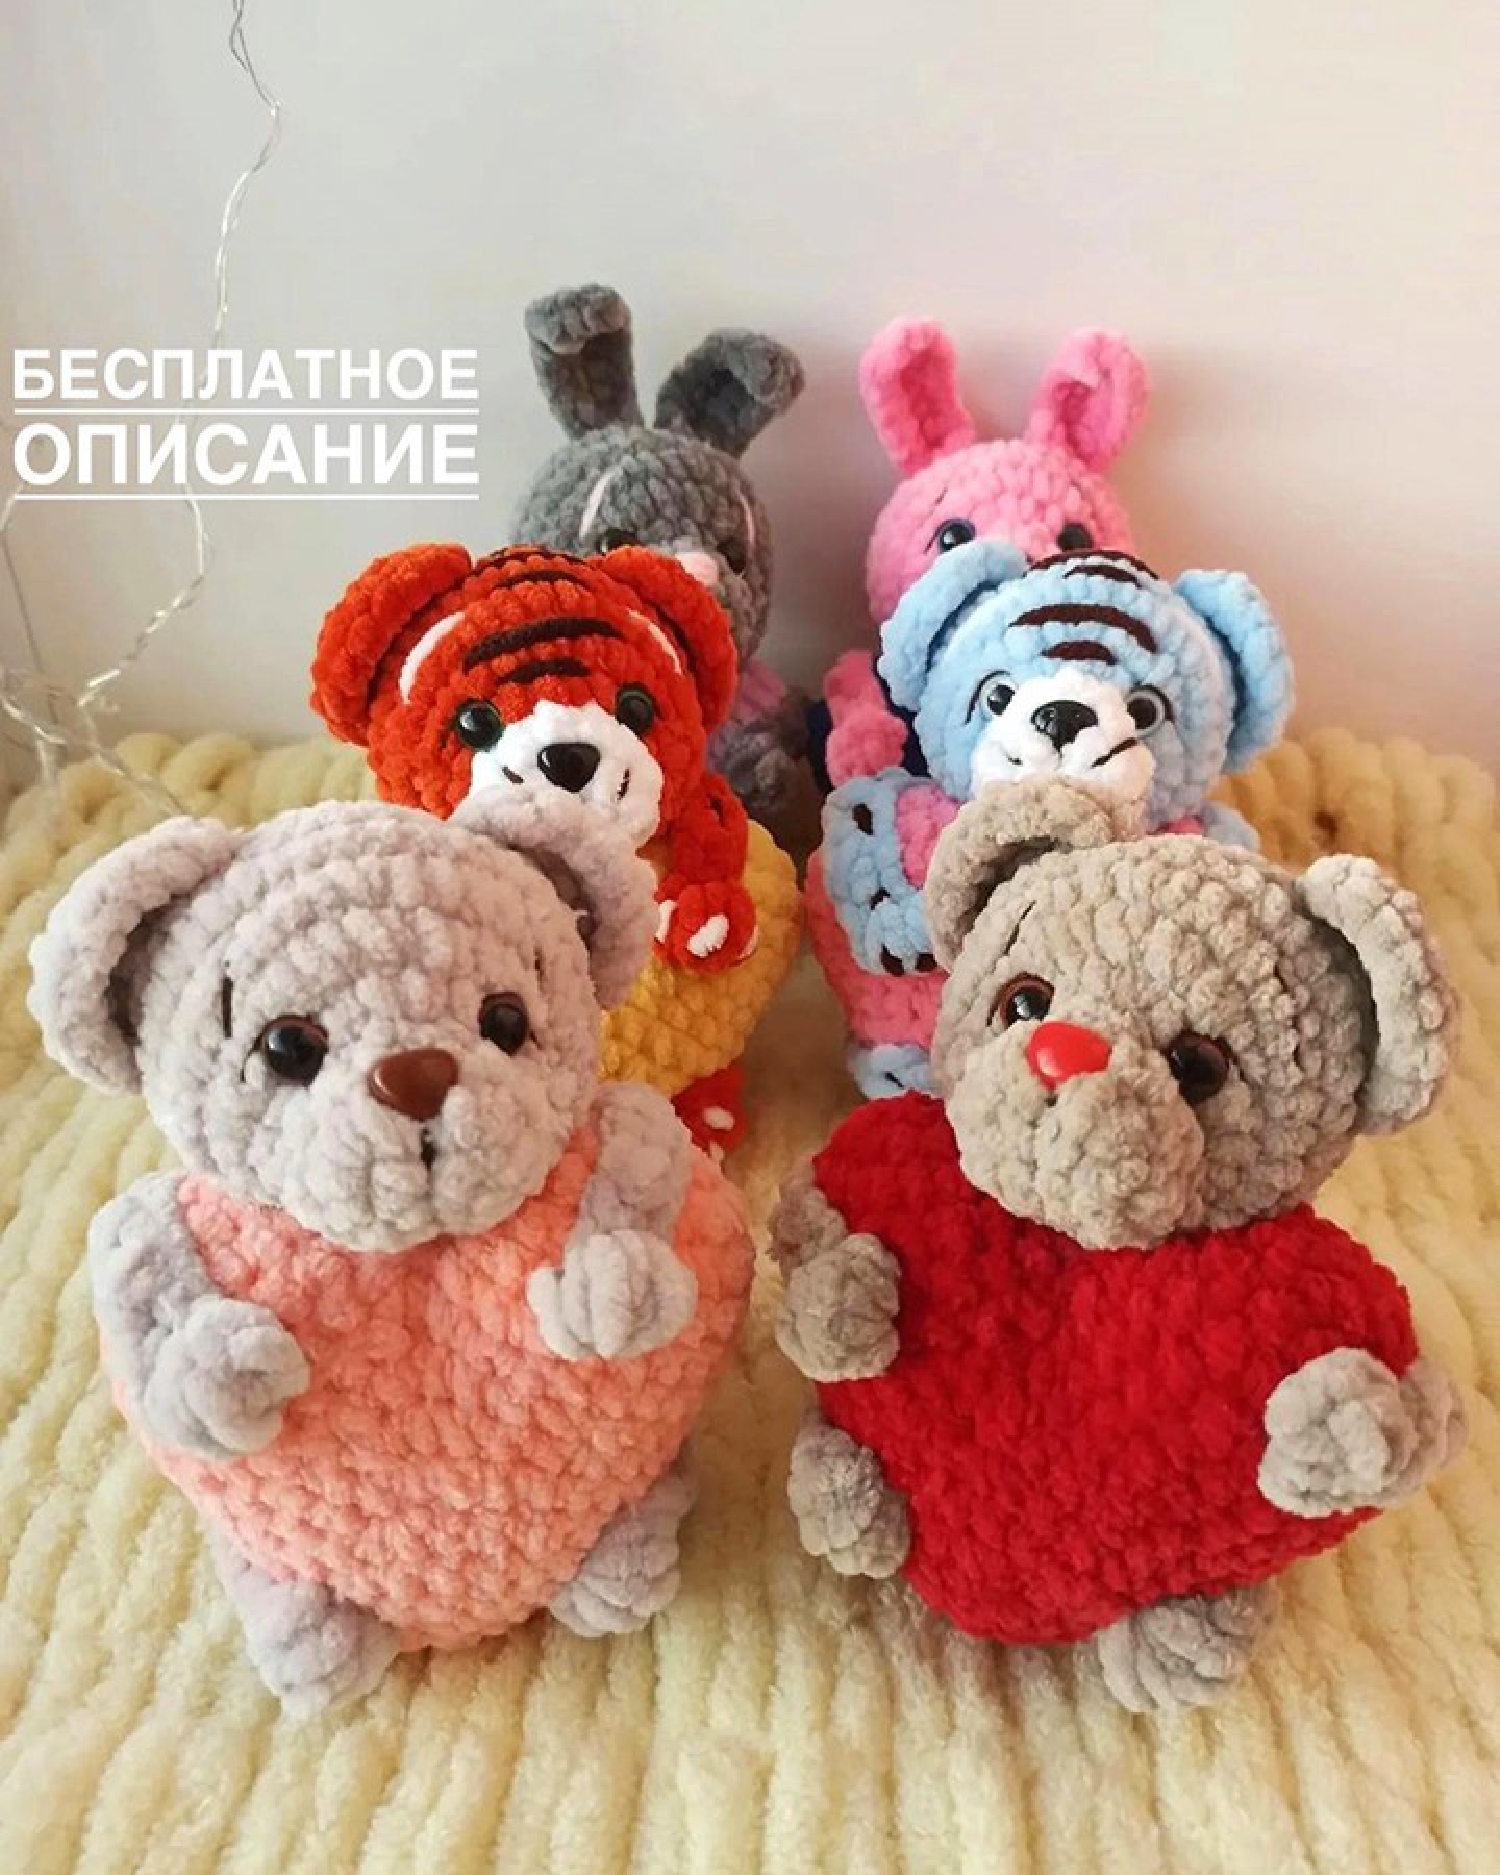
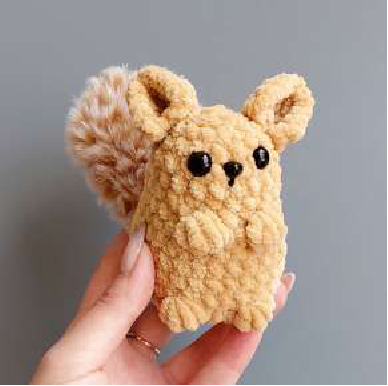
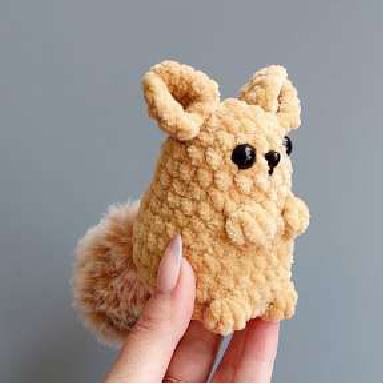
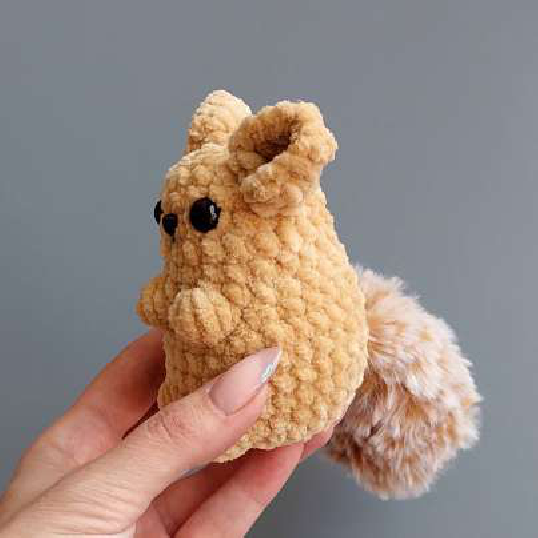
Crochet the Cutest Chinchilla: FREE Pattern!
Welcome, fellow crocheters! Get ready to embark on a delightful crafting journey to create the most adorable little Chinchilla! With its soft textures and sweet expression, this amigurumi friend is sure to capture hearts. Whether you’re making it for a loved one or to add a touch of whimsy to your own space, our detailed pattern, designed by Galina Burlakova, will guide you every step of the way. Let’s gather our hooks and yarn and bring this charming creature to life!
Materials You’ll Need
- Plush yarn 100g/120m (Author used Volans, color 18)
- For the tail: Faux fur yarn 100g/55m (Author used Vyaz yarn, color 9900)
- Hooks: size 5 for the faux fur yarn and 3.75 (Clover) for the plush yarn
- Fiberfill for stuffing
- Stitch marker
- Tapestry needle
- Safety eyes – 8mm
- Glue-on nose – 6x8mm
- Black embroidery floss
Abbreviations
- MR: magic ring
- sc: single crochet
- inc: increase (2 sc in one stitch)
- dec: decrease (sc2tog – single crochet 2 together)
- Bobble stitch: Work 4 double crochet stitches into the same stitch, leaving the last loop of each stitch on the hook. Yarn over and pull through all 5 loops on hook.
- MS: marker shift (work the specified number of stitches to move the marker to the new beginning of the round)
- ch: chain stitch
- ch1: chain 1 (at the beginning of turning rows)
Important Notes Before You Begin
This charming chinchilla toy is crocheted in one piece, making the assembly process smooth and enjoyable. Only the ears are sewn on separately. The tail is cleverly crocheted into the main body as you go. Remember to stuff your chinchilla as you crochet to achieve the perfect firmness and shape!
The Pattern
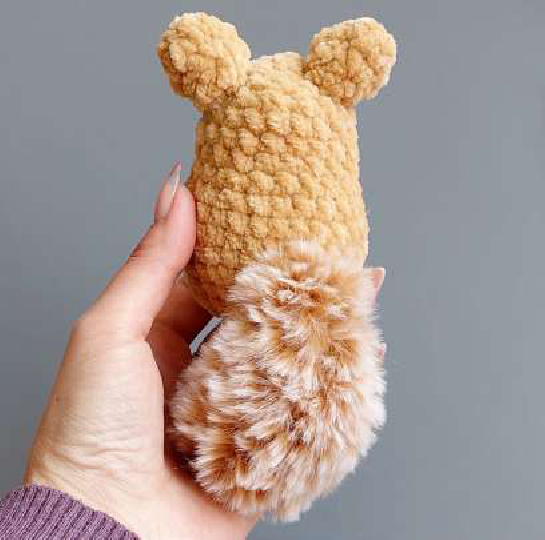
TAIL
Using faux fur yarn and hook size 5. Stuff lightly.
- 6 MR (6)
- 6 inc (12)
- 3-4. 12 sc (12) – 2 rounds
- (sc, dec)*4 (8)
- 8 sc (8)
- 4 dec (4)
- 4 sc (4)
Fold the piece flat and single crochet 2 stitches through both sides to close.
EARS
Using plush yarn, work in turning rows.
- Ch 2, 4 sc in the 2nd chain from hook, ch 1 (turning chain), turn. (4)
- 4 inc, ch 1, turn. (8)
- (sc, inc)*4 (12). Cut a long tail of yarn, use it to fasten the corners of the ear together and sew the ear to the toy.
BODY-HEAD
Begin crocheting from bottom to top, stuffing as you go.
- 8 MR (8)
- 8 inc (16)
- (3 sc, inc)*4 (20)
- (4 sc, inc)*4 (24)
- 5 sc, inc, Bobble stitch, 3 sc, Bobble stitch, inc, (5 sc, inc)*2 (28)
- 22 sc, 2 sc together with TAIL (insert hook through both tail and main body stitches), 4 sc (28)
- 7-8. 28 sc (28) – 2 rounds
- (5 sc, dec)*4 (24). At the end of the round, move marker by 1 stitch.
- 4 sc, dec, Bobble stitch, 2 sc, Bobble stitch, dec, (4 sc, dec)*2 (20)
- 11-13. 20 sc (20) – 3 rounds
- (3 sc, dec)*4 (16)
- 16 sc (16)
- (2 sc, dec)*4 (12). Insert safety eyes between rounds 14 and 15.
- 6 dec (6). Cut the yarn, fasten off, and close the remaining opening.
Finishing Touches
- Carefully sew on the ears to the head.
- Using black embroidery floss, embroider the small bridge for the nose.
- Once the bridge is embroidered, carefully glue on the nose.
Congratulations! Your adorable CHINCHILLA is now ready to bring joy and charm wherever it goes. We hope you loved crocheting this pattern as much as we loved sharing it with you!
We absolutely adore seeing your handmade creations! Share your finished chinchillas with us on social media using #CrochettoChinchilla, and let’s inspire each other. Happy crocheting from your friends at Crochetto!