jelly fish crochet pattern: Beginner-Friendly Crochet Pattern
jelly fish crochet pattern
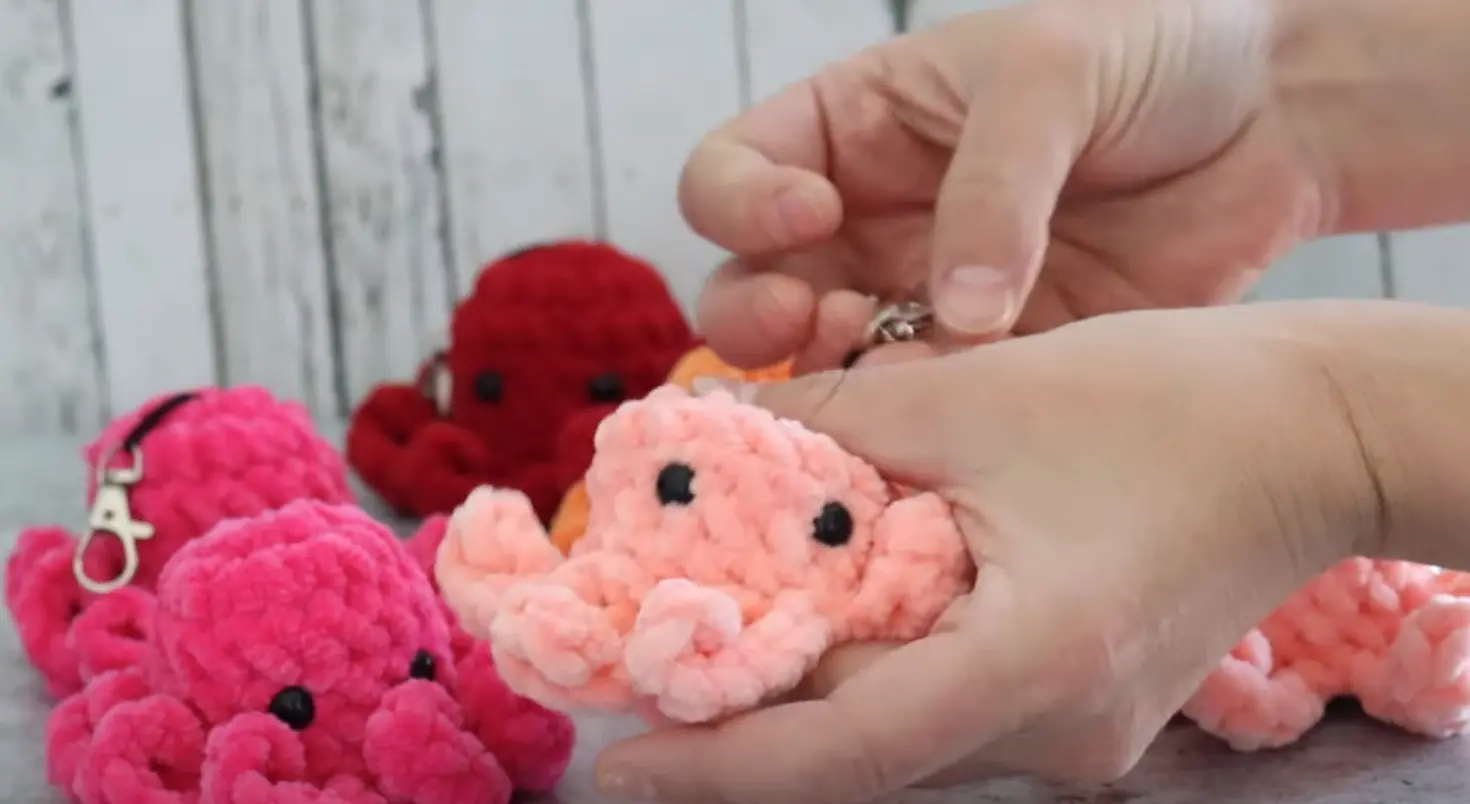
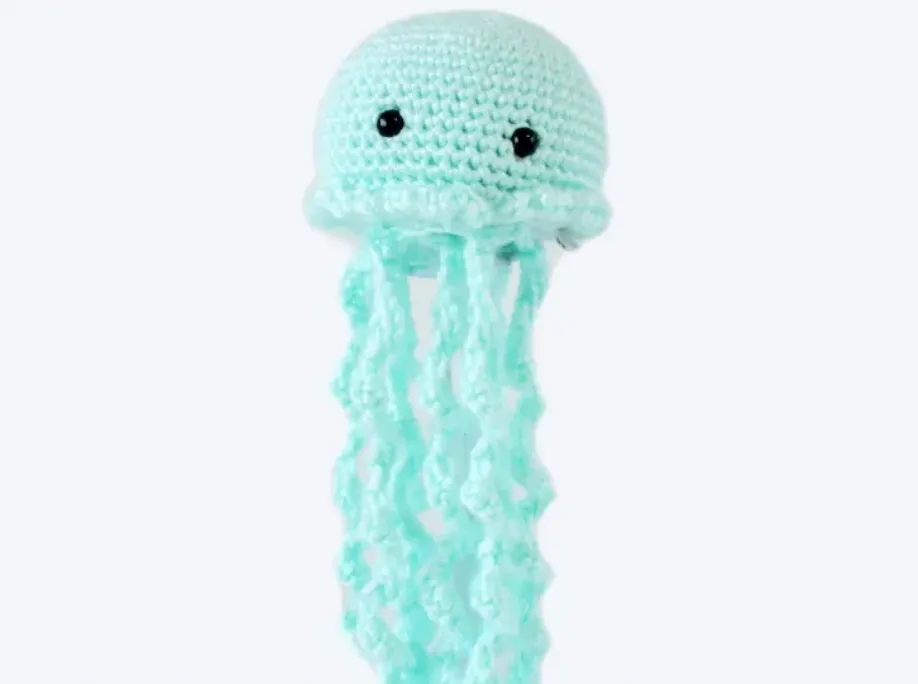
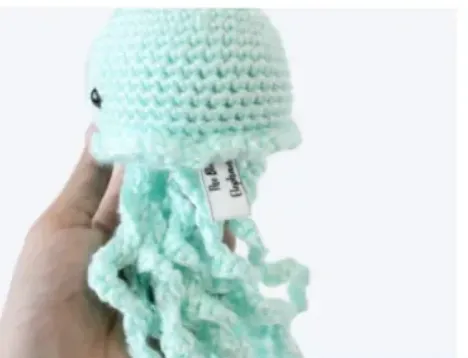
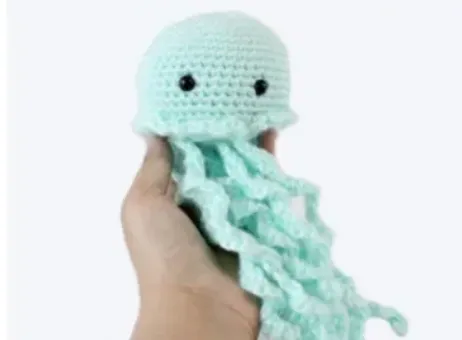
jelly fish crochet pattern for free: Looking for a quick, adorable amigurumi project that’s perfect for beginners and craft fairs? Meet Jazzy the Jellyfish! This charming crochet plushie works up quickly, uses minimal materials, and is made all in one piece – no seaming required!
Why You’ll Love This Pattern
Jazzy the Jellyfish became my unexpected bestseller at local craft shows. These cute creatures not only sold quickly but also attracted customers to my booth. The pattern is:
- Perfect for beginners with simple stitches
- Made in one piece (no assembly!)
- Economical – make about 3 jellyfish per yarn skein
- Quick to complete
- Great for gifts or craft fair inventory
Materials You’ll Need
- 3.25mm crochet hook
- Worsted weight (#4) yarn (I used a soft aqua shade)
- Polyester fiberfill stuffing
- 8mm safety eyes
- Tapestry needle
- Stitch marker
Pattern Details
Difficulty Level: Beginner Finished Size: Approximately 3.5″ head plus tentacles Gauge: 6 stitches × 5 rows per inch
Abbreviations
- ch = chain
- SC = single crochet
- HDC = half double crochet
- dec = decrease
- BLO = back loop only
- FLO = front loop only
Head Instructions
Round 1: Create a magic loop and work 6 SC into it. Pull closed and mark first stitch. (6) Round 2: Increase in each stitch (2 SC in each) (12) Round 3: SC 1, inc repeat around (18) Round 4: SC 2, inc repeat around (24) Round 5: SC 3, inc repeat around (30) Round 6: SC 4, inc repeat around (36) Round 7: SC 5, inc repeat around (42) Round 8: SC 6, inc repeat around (48) Rounds 9-18: SC around for 10 rounds
Place safety eyes around the 12th round, approximately 6 stitches apart. Begin stuffing the head.
Round 19: Working in FLO, work 3 HDC into each stitch around to create a ruffle effect Round 20: Working into the BLO of round 18, SC 6, dec around (42) Round 21: SC 5, dec around (36) Round 22: SC 4, dec around (30) Round 23: SC 3, dec around (24) Round 24: SC 2, dec around (18) Finish adding stuffing Round 25: SC 1, dec around (12) Round 26: Decrease around (6), then slip stitch across opening to close
Tentacles
Work these directly from the bottom of the jellyfish:
- Chain 26
- Turn and SC along the chain back to base of head
- Slip stitch to next space on head
- Repeat steps 1-3 until you have about 10 tentacles (work in a spiral pattern for best results)
- After final tentacle, slip stitch to base, trim yarn and weave in end
Tips for Success
- Work the tentacles in a spiral pattern from the center to keep them neat
- Make sure to stuff the head firmly before closing
- Play around with eye placement until you’re happy before securing backs
- Use bright colors for a fun beach theme or pastels for a nursery
Pattern Variations
Feel free to customize your jellyfish:
- Try different yarn colors for a rainbow of jellyfish
- Add a strand of sparkly yarn for a magical touch
- Vary tentacle lengths for a more natural look
- Use embroidery for facial features instead of safety eyes for babies
This jellyfish pattern makes an excellent project for craft shows – I often bring supplies with me and create them during slow periods. They take minimal materials and sell quickly!
Happy crocheting!