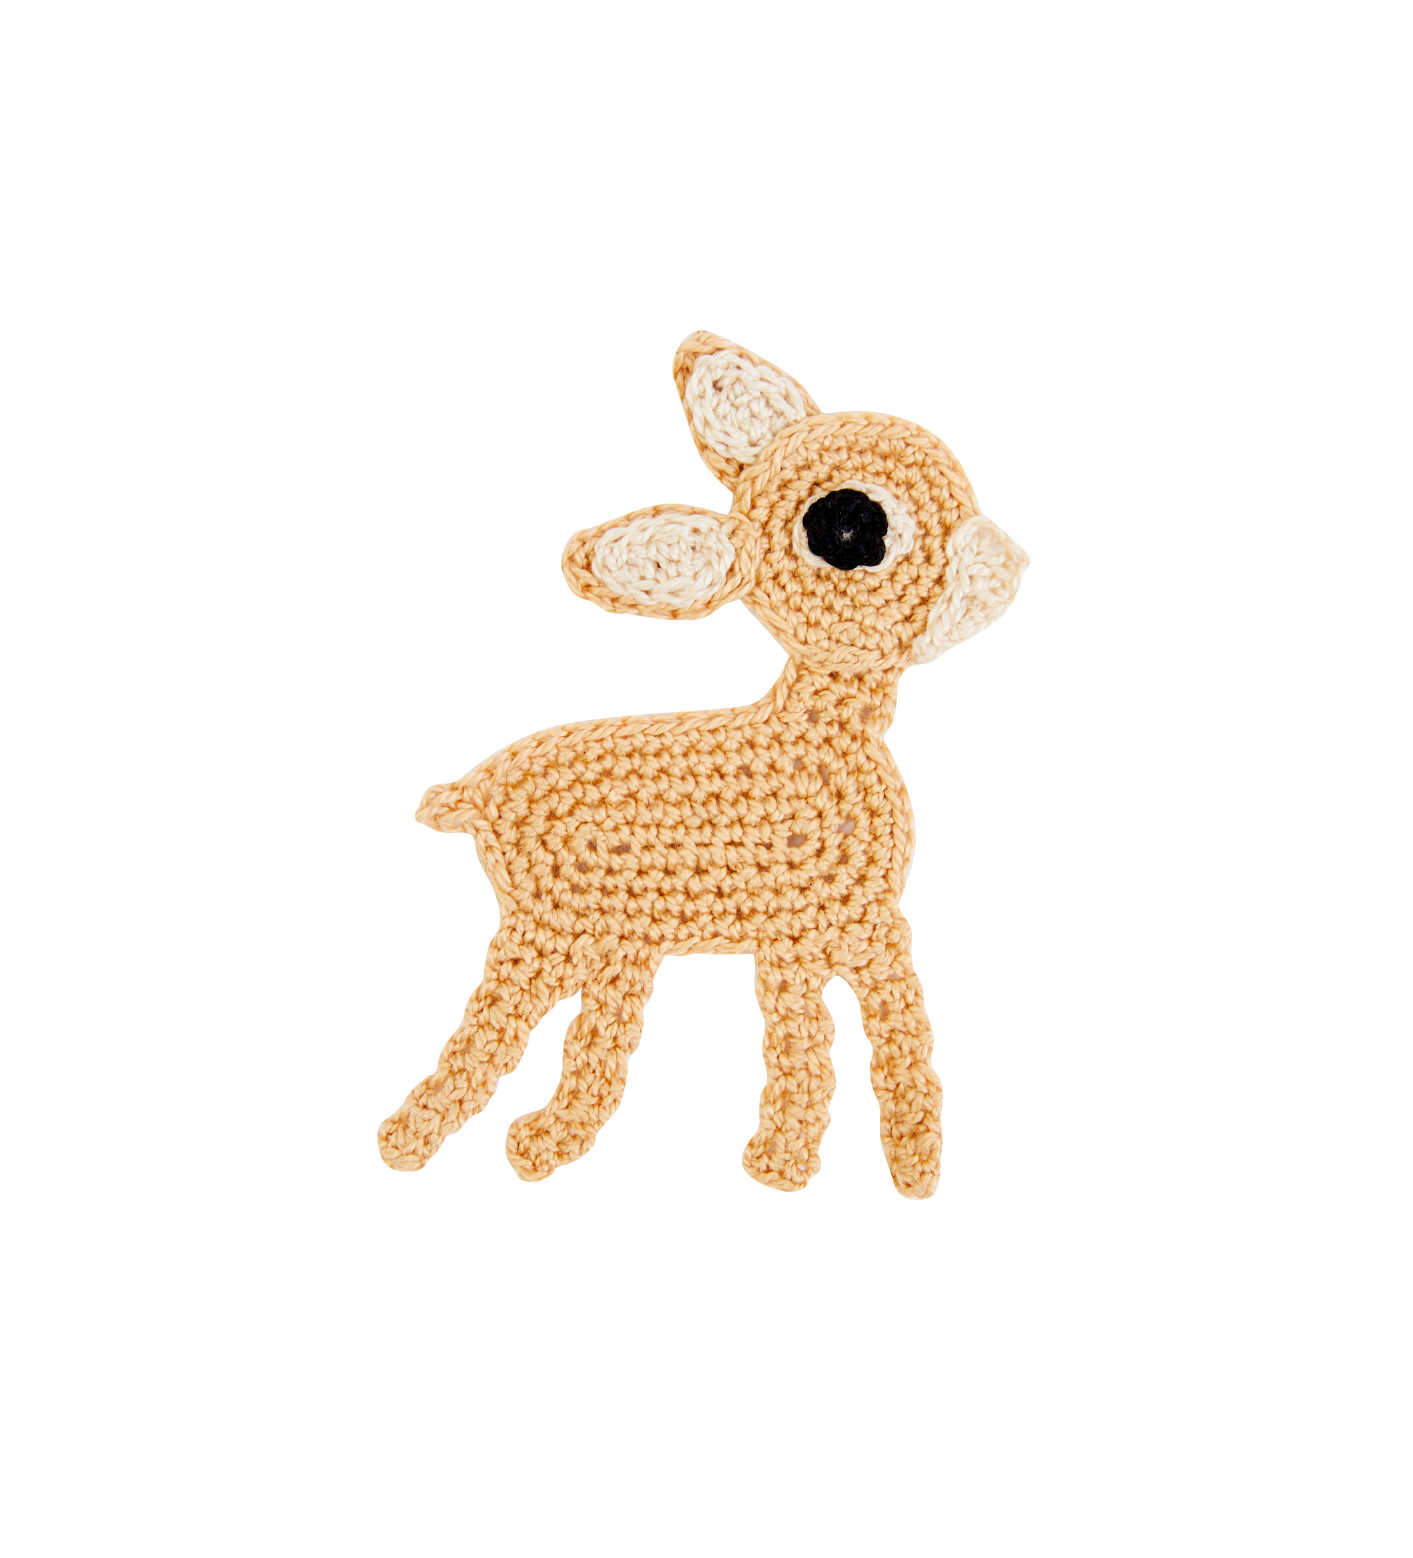
Hook an Adorable Baby Deer Today!
Welcome to Crochetto! Get ready to embark on an adorable crafting adventure with this charming Baby Deer crochet pattern. Perfect for adding a touch of handmade sweetness to any nursery or as a delightful gift, this pattern guides you through creating a soft, cuddly companion. Gather your supplies and let’s bring this little deer to life!
Tool Kit & Supplies
To begin your crochet journey, you will need the following:
- SCISSORS
- DMC PERLÉ: ART.115AR/5 MEDIUM
- CROCHET HOOK: 1,5 MM / UK 2,5 / USA 6
Color Guide
Here are the DMC Perlé colors required for your Baby Deer:
| CODE NO. | COLOR | NO. SKEINS |
|---|---|---|
| A | 738 | x1 |
| B | ECRU | x1 |
| C | 310 | x1 |
Techniques
This pattern primarily utilizes the following crochet technique:
- CROCHET
Stitches
Familiarize yourself with these essential crochet stitches:
| SLIP STITCH | CHAIN STITCH | SINGLE CROCHET | INCREASE / DECREASE | HALF DOUBLE CROCHET | DOUBLE CROCHET |
|---|---|---|---|---|---|
| Slip stitch | Chain stitch | Single Crochet | Increase / Decrease | Half Double Crochet | Double Crochet |
Note on Thread Size
This pattern can be made with thread size n°8 (Small) or nº3 (Small). The final result, particularly the size of your baby deer, will depend on the size of thread used.
Realization / Instructions
Follow these detailed instructions to crochet each part of your baby deer. Remember to maintain consistent tension for the best results.
1. Body
Start with 9 chain stitches.
2. Head
Make a magic ring with 6 single crochet stitches.
3. Eye
Start with 5 chain stitches.
4. Ears (Brown) X2
Start with 8 chain stitches.
5. Ears (Ecru) X2
Start with 5 chain stitches.
6. Muzzle
Start with 8 chain stitches.
Build & Assembly
Once all the individual pieces are crocheted, it’s time to assemble your baby deer:
- Crochet the head, the eye pieces, the ears, and the nose (muzzle) of the baby deer.
- Attach the light inner ear (Ecru) to the dark outer ear (Brown).
- Attach the pupil to the eye.
- Attach the nose, ears, and eye to the head.
- Crochet the body.
- Use a new length of yarn to add each leg at the lower body and add the feet details in black.
- To finish, attach the head to the body at the neck.
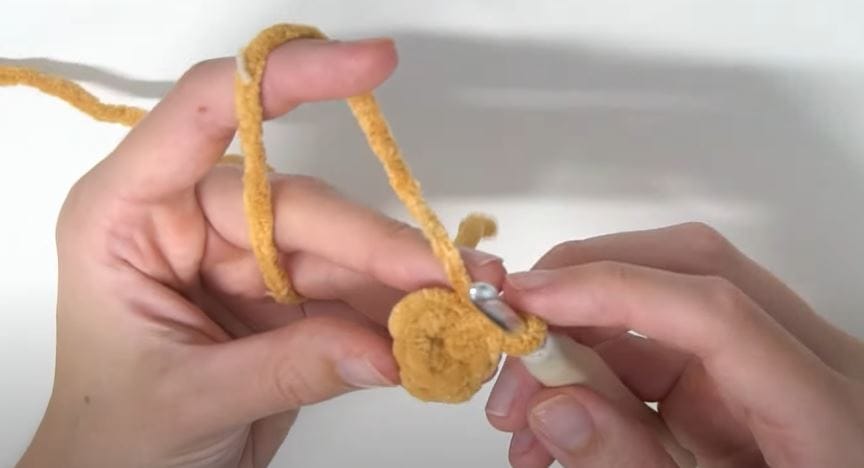
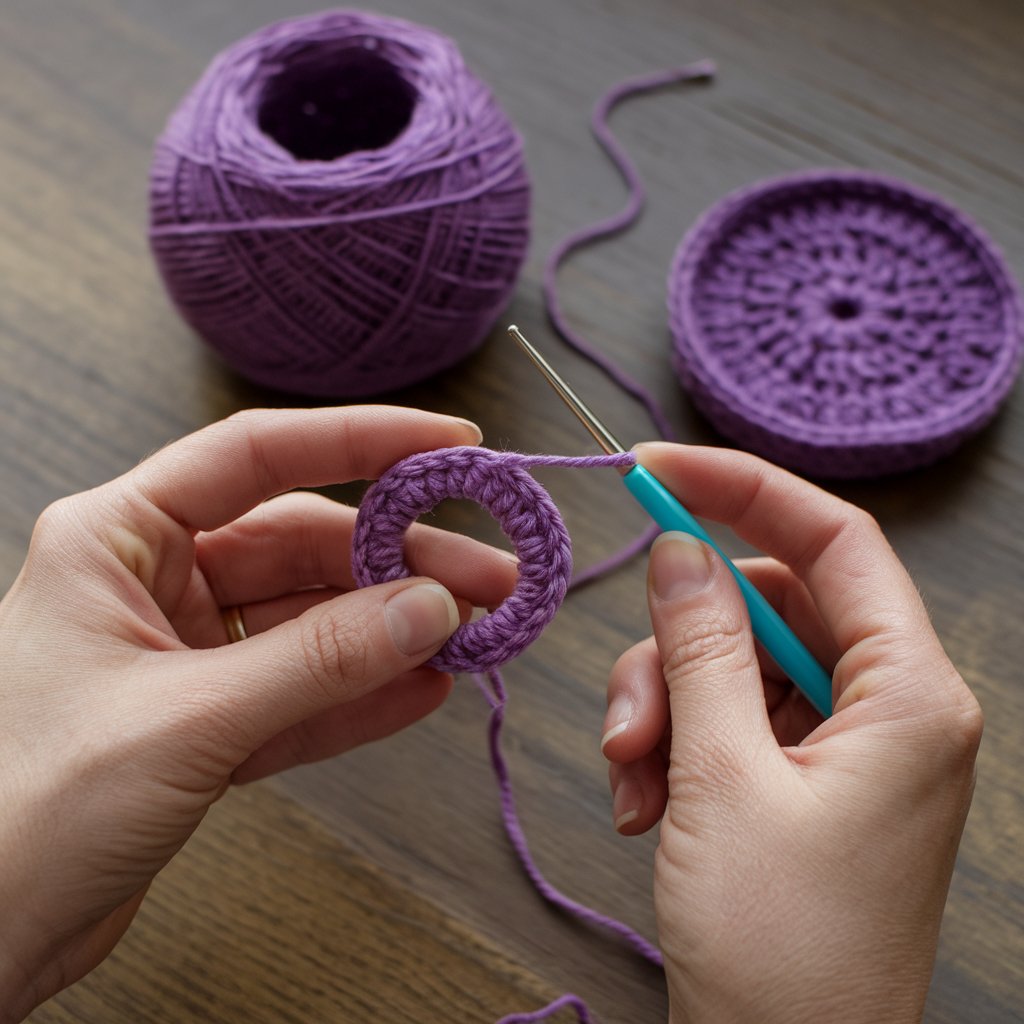
Magic Ring
The magic ring (or magic circle) is a fantastic technique for creating a tight, closed center for your crochet projects, eliminating the hole that can sometimes appear when starting with a traditional chain.
To make a magic ring:
- Wrap the thread around your index finger.
- Start the first round with 1 chain stitch, catching the thread from underneath the circle.
- Continue crocheting tightly into the ring as per your pattern instructions.
- Pull the starting thread tail to tighten the stitches and close the ring.
- Close the ring with 1 slip stitch.
We hope you enjoyed creating this adorable Baby Deer! Don’t forget to share your finished projects with us on social media using #Crochetto. We love seeing your unique creations and how you bring our patterns to life. Happy crocheting!