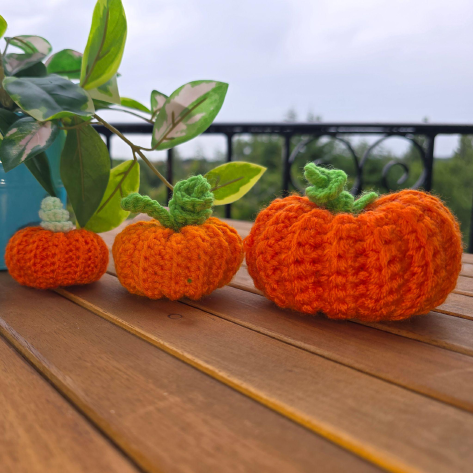
Crochet Delightful Mini Pumpkins For Fall!
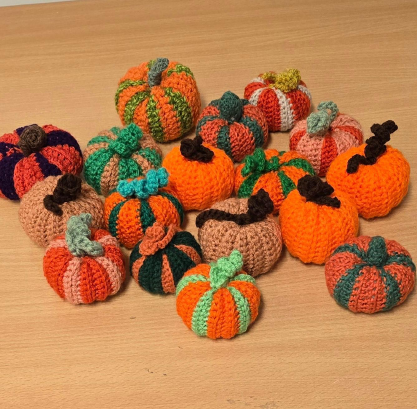
As the leaves begin to turn and the air grows crisp, there’s nothing quite like bringing the warmth of autumn into your home. And what better way to do that than with charming, handmade crochet mini pumpkins? These adorable little decorations are perfect for adding a cozy touch to your fall decor, whether nestled on a mantelpiece, scattered on a table, or strung together as a festive bunting. Designed for the confident beginner, this pattern guides you through creating both single-color and striped versions, complete with cute tendrils and stalks. Grab your hook and yarn, and let’s create some autumnal magic together!
Pattern Overview
- Level of Difficulty: Confident Beginner
- Crochet Language: US Crochet Terms
- Gauge/Tension: Gauge is not critical for this pattern, but it’s important to ensure your stitches are tight and close-knit to prevent stuffing from showing through.
Materials You’ll Need
- 3 mm or 4 mm crochet hook (or suitable hook for your chosen yarn)
- Yarn needle
- Scissors
- Stuffing (fiberfill)
- Yarn: Either DK (size 3) or Aran/Worsted (size 4)
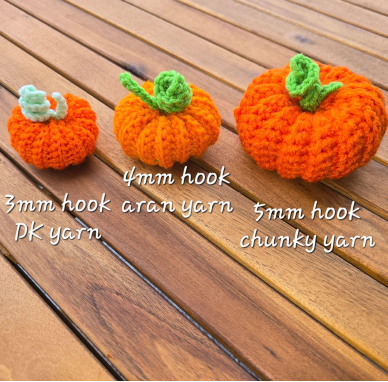
You have the flexibility to use any type of yarn and a corresponding crochet hook size to achieve different pumpkin sizes:
- For chunky yarn, a 4mm hook works well.
- For aran yarn, a 3mm hook is a good choice.
- For DK yarn, select a hook size that gives you a tight fabric (often around 3.5mm or 4mm, depending on your tension).
Important Notes Before You Begin
- You will be working in rows, turning your work after each row.
- Chain 1 (ch1) does not count as a stitch throughout the pattern.
- When changing colors, complete your row with the current color. Make your chain 1 (ch1) in the new color. You do not need to fasten off after each color change; simply carry the unused yarn upwards as you work.
Abbreviations Used
- st(s): stitch(es)
- R: row
- ch: chain
- sc: single crochet
- slst: slip stitch
- BLOsc: single crochet into back loops only
- beg: beginning
- *_* : repeat instructions from * to *
Helpful Video Tutorials
For visual guidance, check out these tutorials:
- Pumpkin (right-handed): https://youtu.be/H5pFSjIQ-UA
- Pumpkin (left-handed): https://youtu.be/w7684J97iv4
Let’s Start Crocheting Your Mini Pumpkins!
Single Color Pumpkin
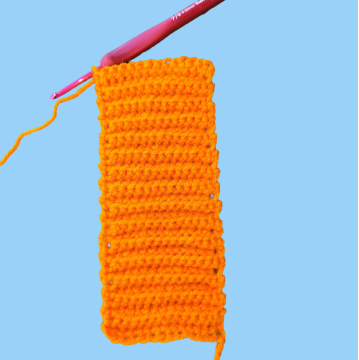
Chain 15
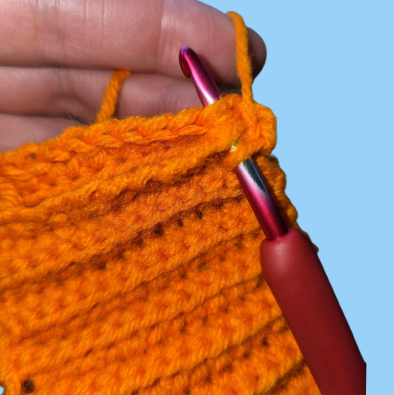
R 1: Sc in second ch from your hook and each chain across. (14 sts)
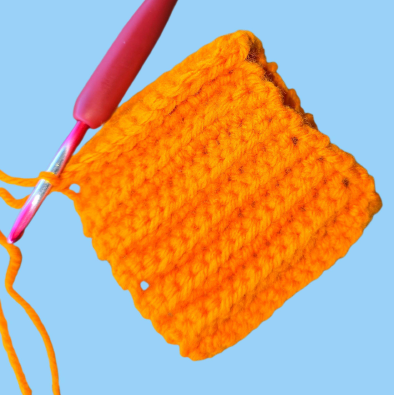
R 2: Sc in first st, BLOsc into next 12 sts, sc into final st, ch 1, turn work. (14 sts)
R 2 – 30 (29 rows): Repeat row 2.
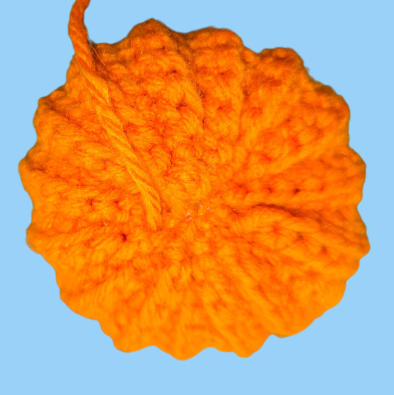
Assembly
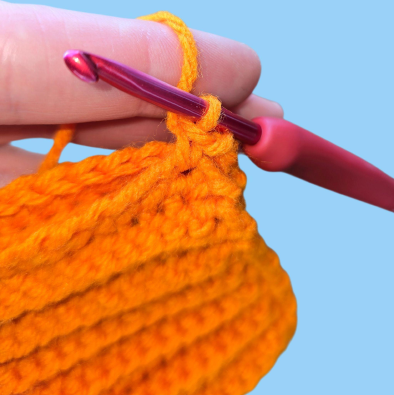
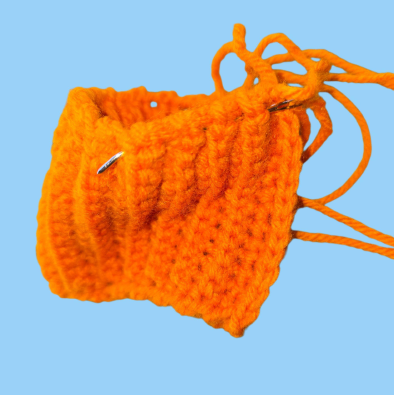
Fold row 30 to meet row 1. Chain 1 and single crochet (sc) through both row 30 and row 1 stitches, making one sc in each corresponding stitch to join your piece together. Fasten off, but leave about 50cm (approx. 20 inches) of tail for assembly.
Using a yarn needle, weave the long tail through the ends of the rows using a simple running stitch. Pull tight to cinch, then sew even tighter, closing the gap completely.
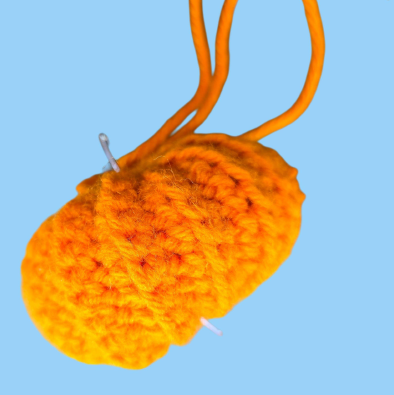
Stuffing and Shaping
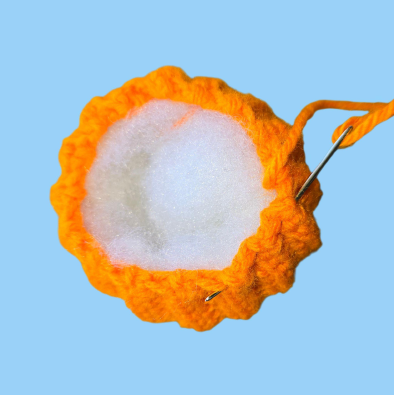
Turn the work inside out so the opposite side is facing outwards. Stuff generously with fiberfill, pushing the stuffing towards the sides for a plump pumpkin shape.
Using the running stitch, weave through the opposite end rows. Pull tight to cinch and sew close with a few extra stitches.
Push your yarn needle through the center of the pumpkin, coming out from the other end, and pull tight to create an indent in the middle of the pumpkin.
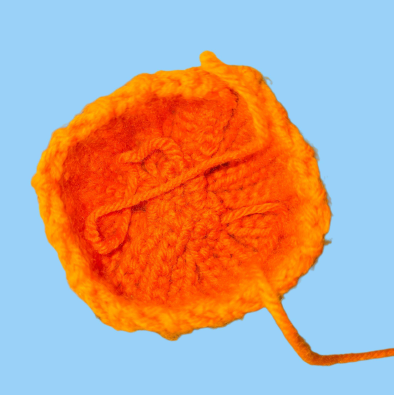
Repeat the last step 3-4 times to further shape your pumpkin. Weave in ends.
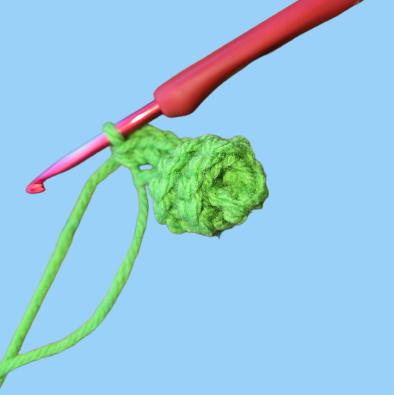
Creating the Tendril and Stalk
Using green yarn, ch 10.
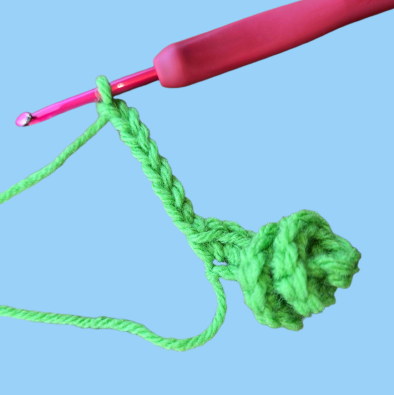
Make 3 sc in the second ch from hook and each ch across. (27 sts)
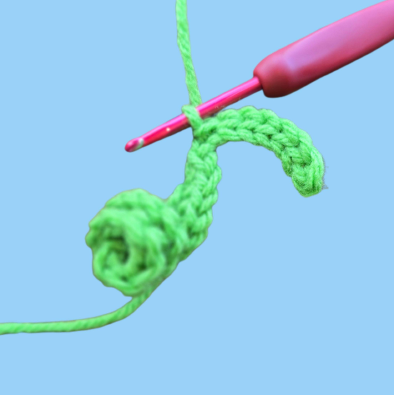
Now ch 8, slst in the second ch from hook and each ch across. (7 sts)
Fasten off. Sew the tendril and stalk in the top center of your pumpkin. Weave in ends.
Striped Pumpkin Variation
Chain 15.
R 1: Sc in the second ch from your hook and each chain across. (14 sts)
R 2: Sc in first st, BLOsc into next 12 sts, sc into final st, ch 1, turn work. (14 sts)
R 3-4 (2 rows): Repeat row 2.
Change to contrast color.
R 5-6 (2 rows): Repeat row 2.
Change to the main color.
R 7-10 (4 rows): Repeat row 2.
Change to contrast color.
R 11-12 (2 rows): Repeat row 2.
Change to the main color.
R 13-30: Repeat rows 7 – 12 three times. You will have 5 stripes in both colors.
You will now be working with your main color. Instructions for finishing (seaming, stuffing, shaping, and adding the tendril/stalk) are the same as for the Single Color Pumpkin. Please refer to the detailed finishing steps in that section above.
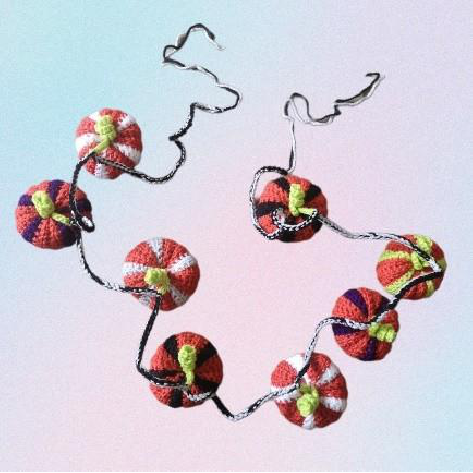
Making a Pumpkin Bunting (Optional)
Make as many pumpkins as you like! If you are creating a bunting, it is best to use DK yarn for smaller-sized pumpkins, as they will not be too heavy.
Chain 50, *slst through the end of the top of the stalk of the first pumpkin, ch 25* repeat from * to * until all pumpkins are attached, then chain 50.
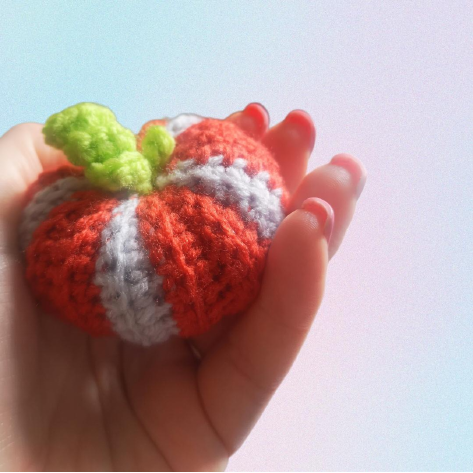
We hope you enjoyed crafting these adorable mini pumpkins! They are truly a delightful addition to any seasonal decor. We would absolutely love to see your finished creations! Please share them on social media and tag @lunacrochetdesigns and use #lunacrochetdesigns. Happy crocheting!