Easy Crochet Bunny Pattern: Craft Yours Now!
Charming Crochet Bunny: An Easy-to-Follow Pattern for Amigurumi Lovers
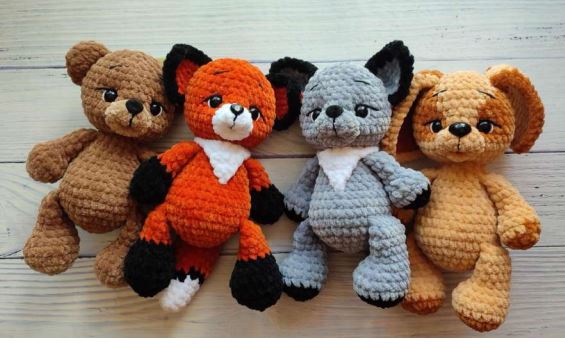
Welcome, fellow crafters, to a delightful journey into the world of amigurumi! Here at Crochetto, we’re thrilled to bring you this charming bunny pattern, perfect for adding a touch of handmade sweetness to your life or gifting to a loved one. This project is rated as easy, making it an excellent choice for those with basic crocheting skills ready to create their very own adorable companion. Get ready to dive into the wonderful craft of **crochet patterns** and bring this little bunny to life!

This master class is designed to guide you step-by-step. While it assumes you have basic toy crocheting skills, we encourage you to pay close attention to stitch placement and symmetry as you work. Sometimes, a small adjustment of an extra single crochet or a decrease can make all the difference in achieving that perfect look. We believe in the joy of sharing, so feel free to share this pattern with fellow crafters, always crediting the original designer.

Happy crocheting and may your stitches be easy and even!
Gather Your Materials
To crochet your adorable bunny, you’ll need the following:
* Yarn (specifics below)
* Stuffing
* Hook 3.5 mm
* Eyes 8 mm
* Needle
* Stitch markers
* Scissors
**Yarn Used in This Pattern:**
For the bright pink parts, Himalaya Dolphin baby #80324, approximately 3g.
For the milk white parts, Bambi baby, approximately 21g.
Abbreviations Used
Familiarize yourself with these common crochet abbreviations before you begin:
* MR – magic ring
* Sl st – slip stitch
* Ch – chain stitch
* Sc – single crochet
* Inc – increase (2 sc in one stitch)
* Dec – decrease (2 sc together with one top)
* Dc – double crochet
* 3-sc Dec – 3 sc together with one top
* (…) × N – repeat instructions in parentheses N times

Let’s Crochet Your Bunny Body
We’ll start crocheting the bunny from the bottom up.
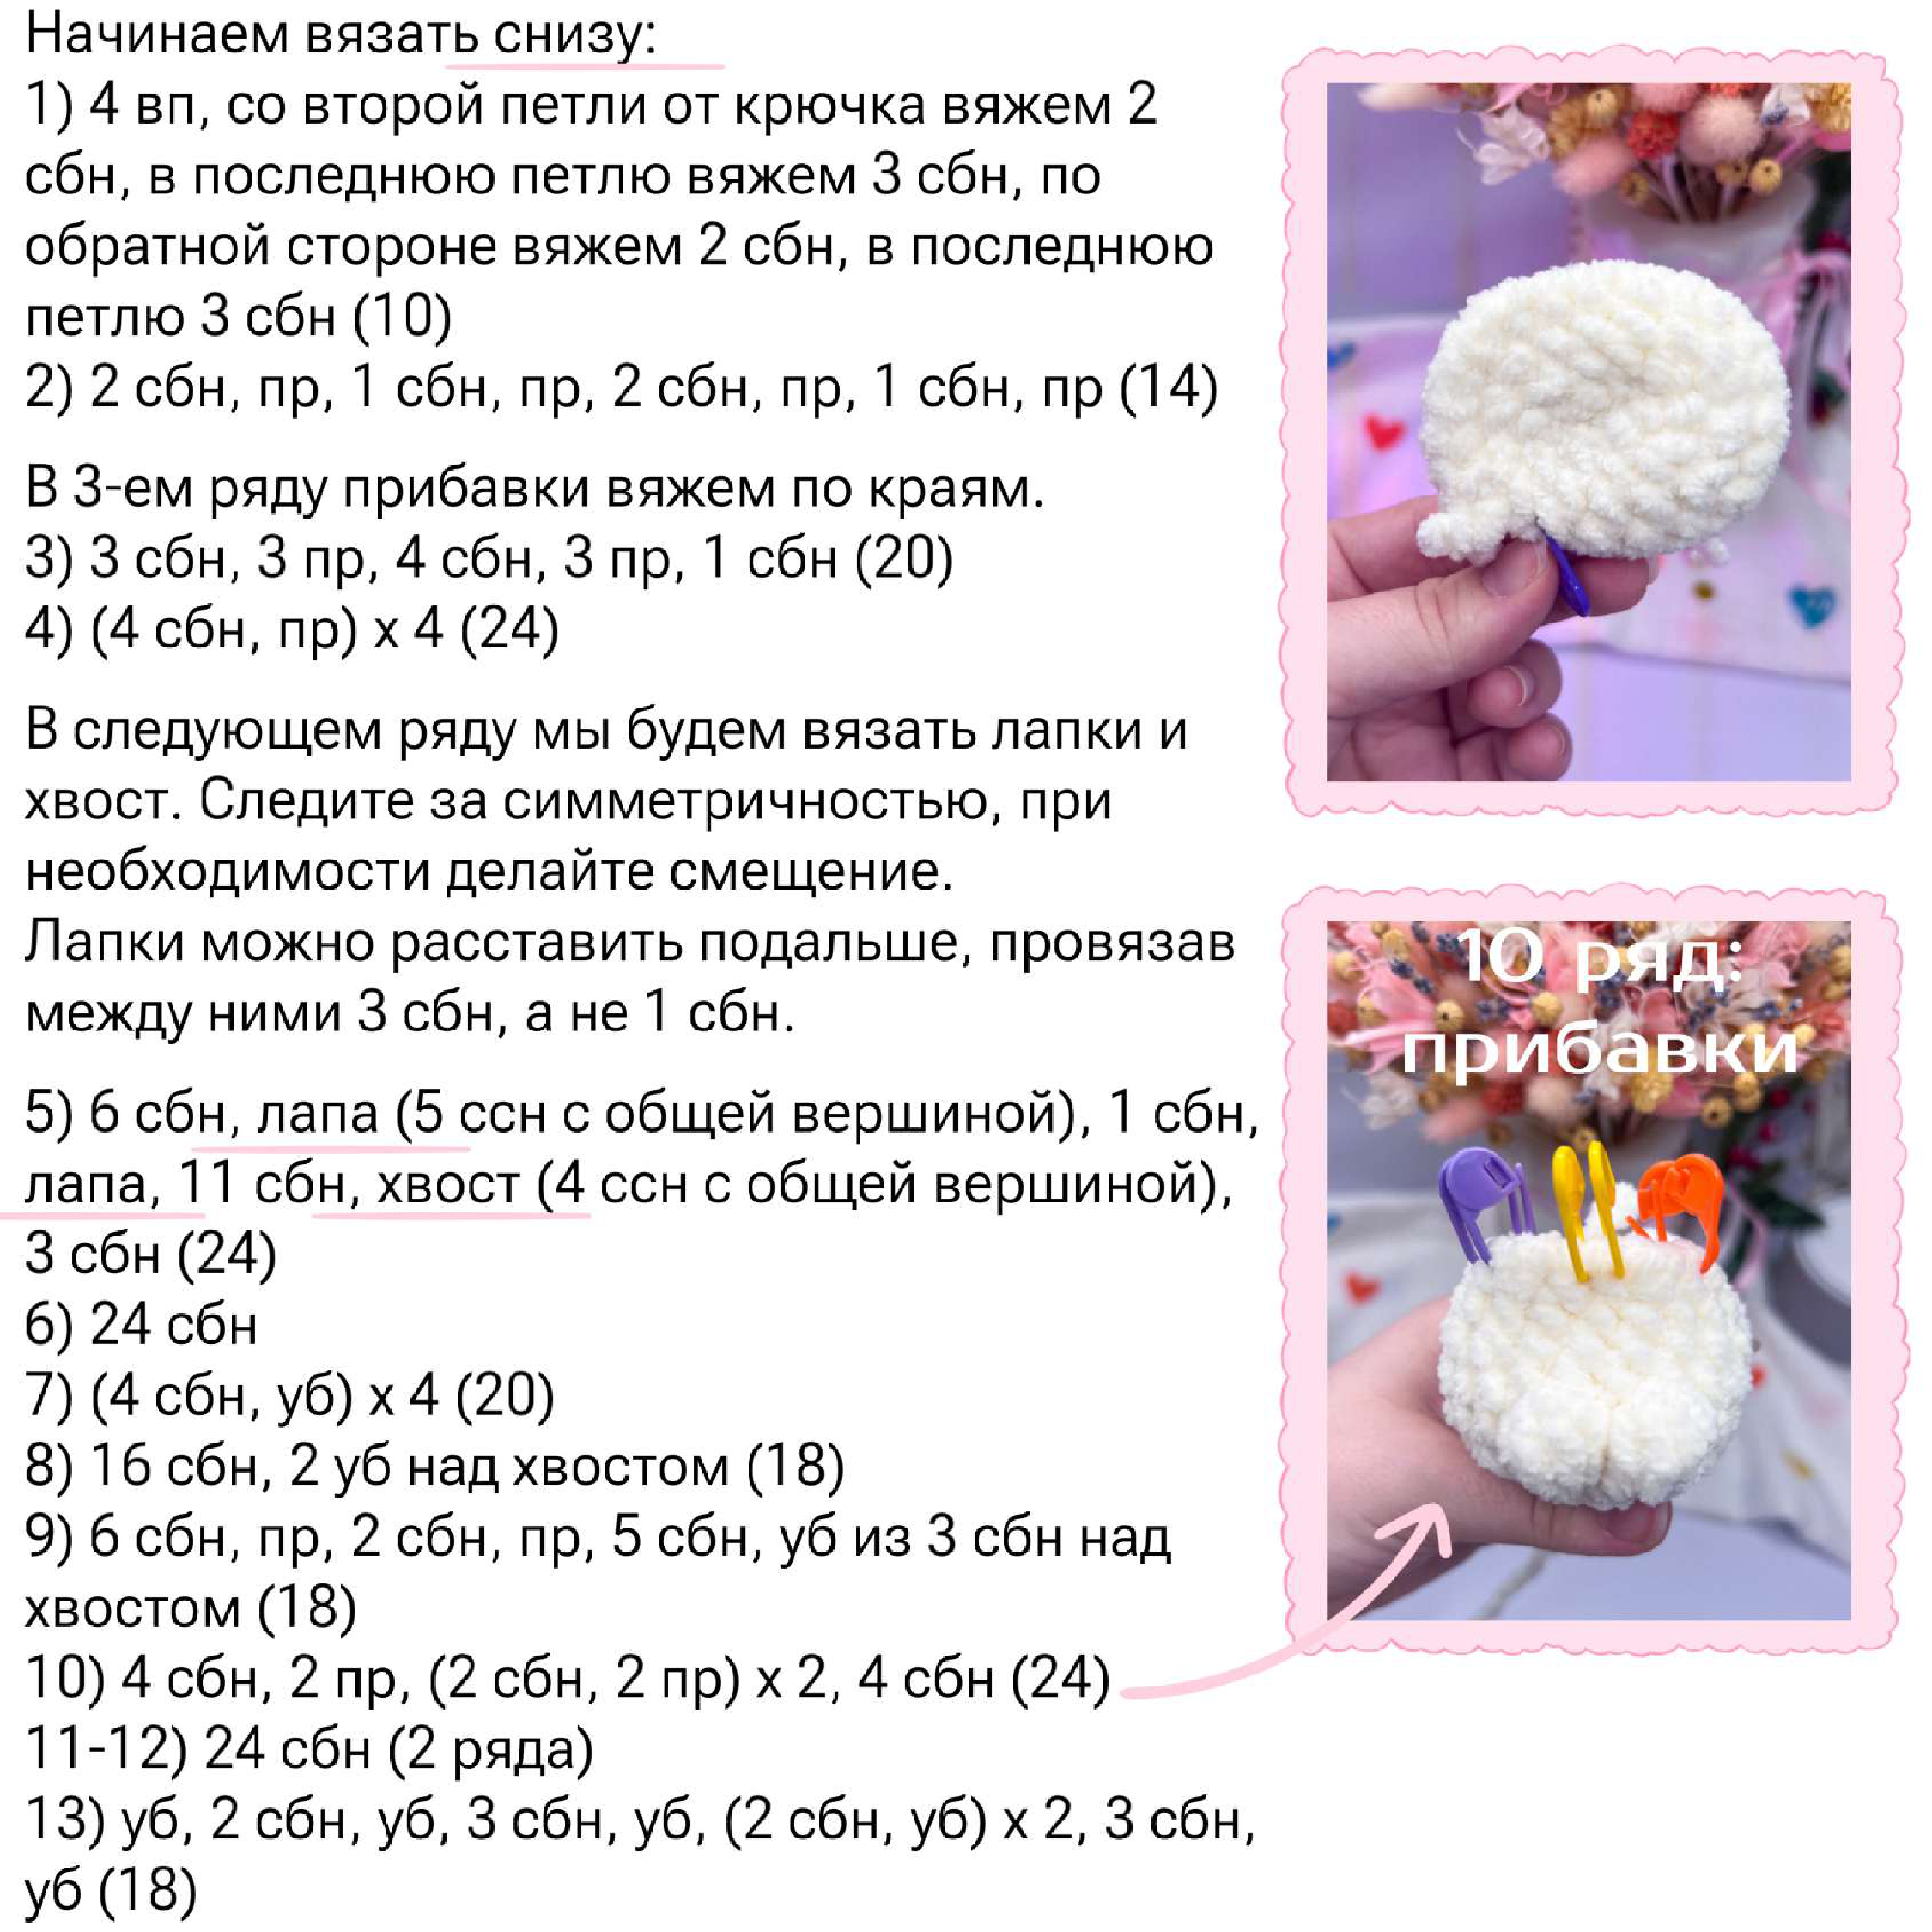
1. Ch 4, starting from the 2nd stitch from the hook crochet 2 sc, in the last stitch crochet 3 sc, along the other side crochet 2 sc, in the last stitch 3 sc (10)
2. 2 sc, inc, 1 sc, inc, 2 sc, inc, 1 sc, inc (14)
*In the 3rd row, crochet increases at the edges.*
3. 3 sc, 3 inc, 4 sc, 3 inc, 1 sc (20)
4. (4 sc, inc) x 4 (24)
*In the next row, we will crochet the paws and tail. Pay attention to symmetry, make adjustments if necessary. Paws can be spaced further apart by crocheting 3 sc between them instead of 1 sc.*
5. 6 sc, paw (5 dc with common top), 1 sc, paw, 11 sc, tail (4 dc with common top), 3 sc (24)
6. 24 sc
7. (4 sc, dec) x 4 (20)
8. 16 sc, 2 dec over the tail (18)
9. 6 sc, inc, 2 sc, inc, 5 sc, 3-sc dec over the tail (18)
10. 4 sc, 2 inc, (2 sc, 2 inc) x 2, 4 sc (24)
*Row 10: increases*
11. -12) 24 sc (2 rows)
13. dec, 2 sc, dec, 3 sc, dec, (2 sc, dec) x 2, 3 sc, dec (18)
Adding the Features: Eyes and Stuffing
14. (1 sc, dec) x 6 (12)
*Place 8 mm eyes between rows 11 and 12. Distance between eyes is 6 sc.*
*Stuff the bunny firmly.*
15. 6 dec (6)
*Close the crocheting, cut and hide the thread. Make eye indentations, through the bottom of the toy, so that the bottom is “sunken.” Make regular eye indentations, but insert and pull out the thread in the first row at the end.*
Ears (Make 2)
1. 6 sc in MR
2. (1 sc, inc) x 3 (9)
3. -6) 9 sc (4 rows)
4. (1 sc, dec) x 3 (6)
*Do not stuff the ear.*
5. Fold the ear in half and crochet 3 sc through both halves.
*Cut the thread, leaving a long end for sewing. Ears can be positioned as you like. We recommend sewing them between rows 14 and 15.*

Delicate Wings (Make 2)
1. Ch 6, in the 4th stitch from the hook crochet: 2 trc, dc, hdc, then along the chain crochet: sl st.
2. In the last stitch of the chain: hdc, dc, hdc, sl st.
*Cut the thread, leaving a long end for sewing. Crochet two wings. Sew the wings between rows 6 and 8 of the body.*

Finishing Touches
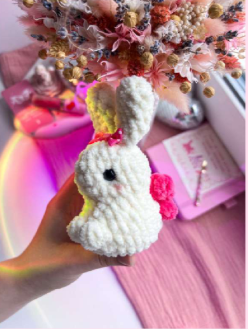
Once your bunny is complete with its eyes, ears, and wings, take a moment to admire your creation! These thoughtful **crochet patterns** allow for personal touches, so feel free to add a tiny bow or a small embroidered nose if you wish.

We hope you’ve enjoyed crafting this adorable bunny. There’s nothing quite like the satisfaction of creating something beautiful with your own hands. We love seeing your finished projects, so please share your creations with us on social media and tag Crochetto! Happy crafting, and we can’t wait to see what you make next.