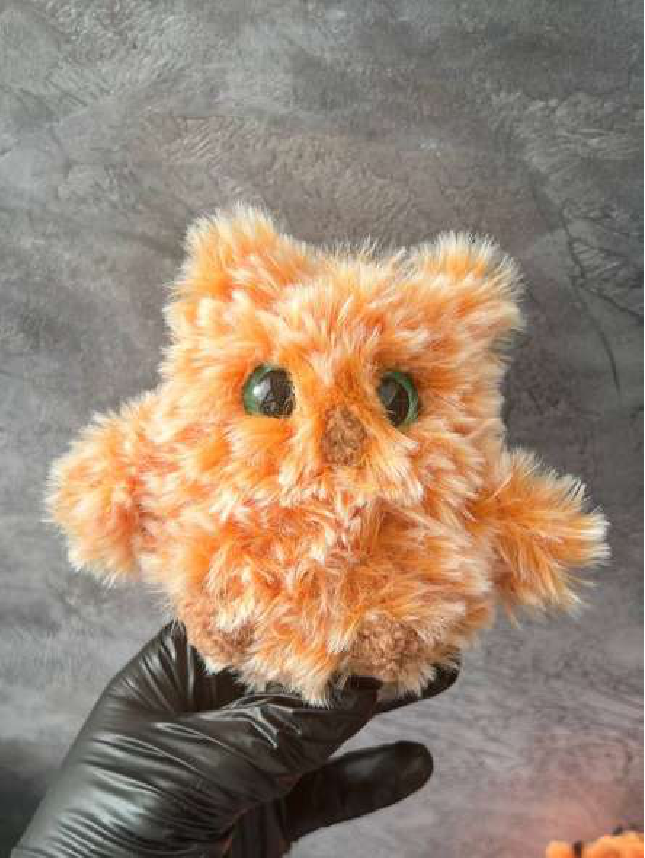
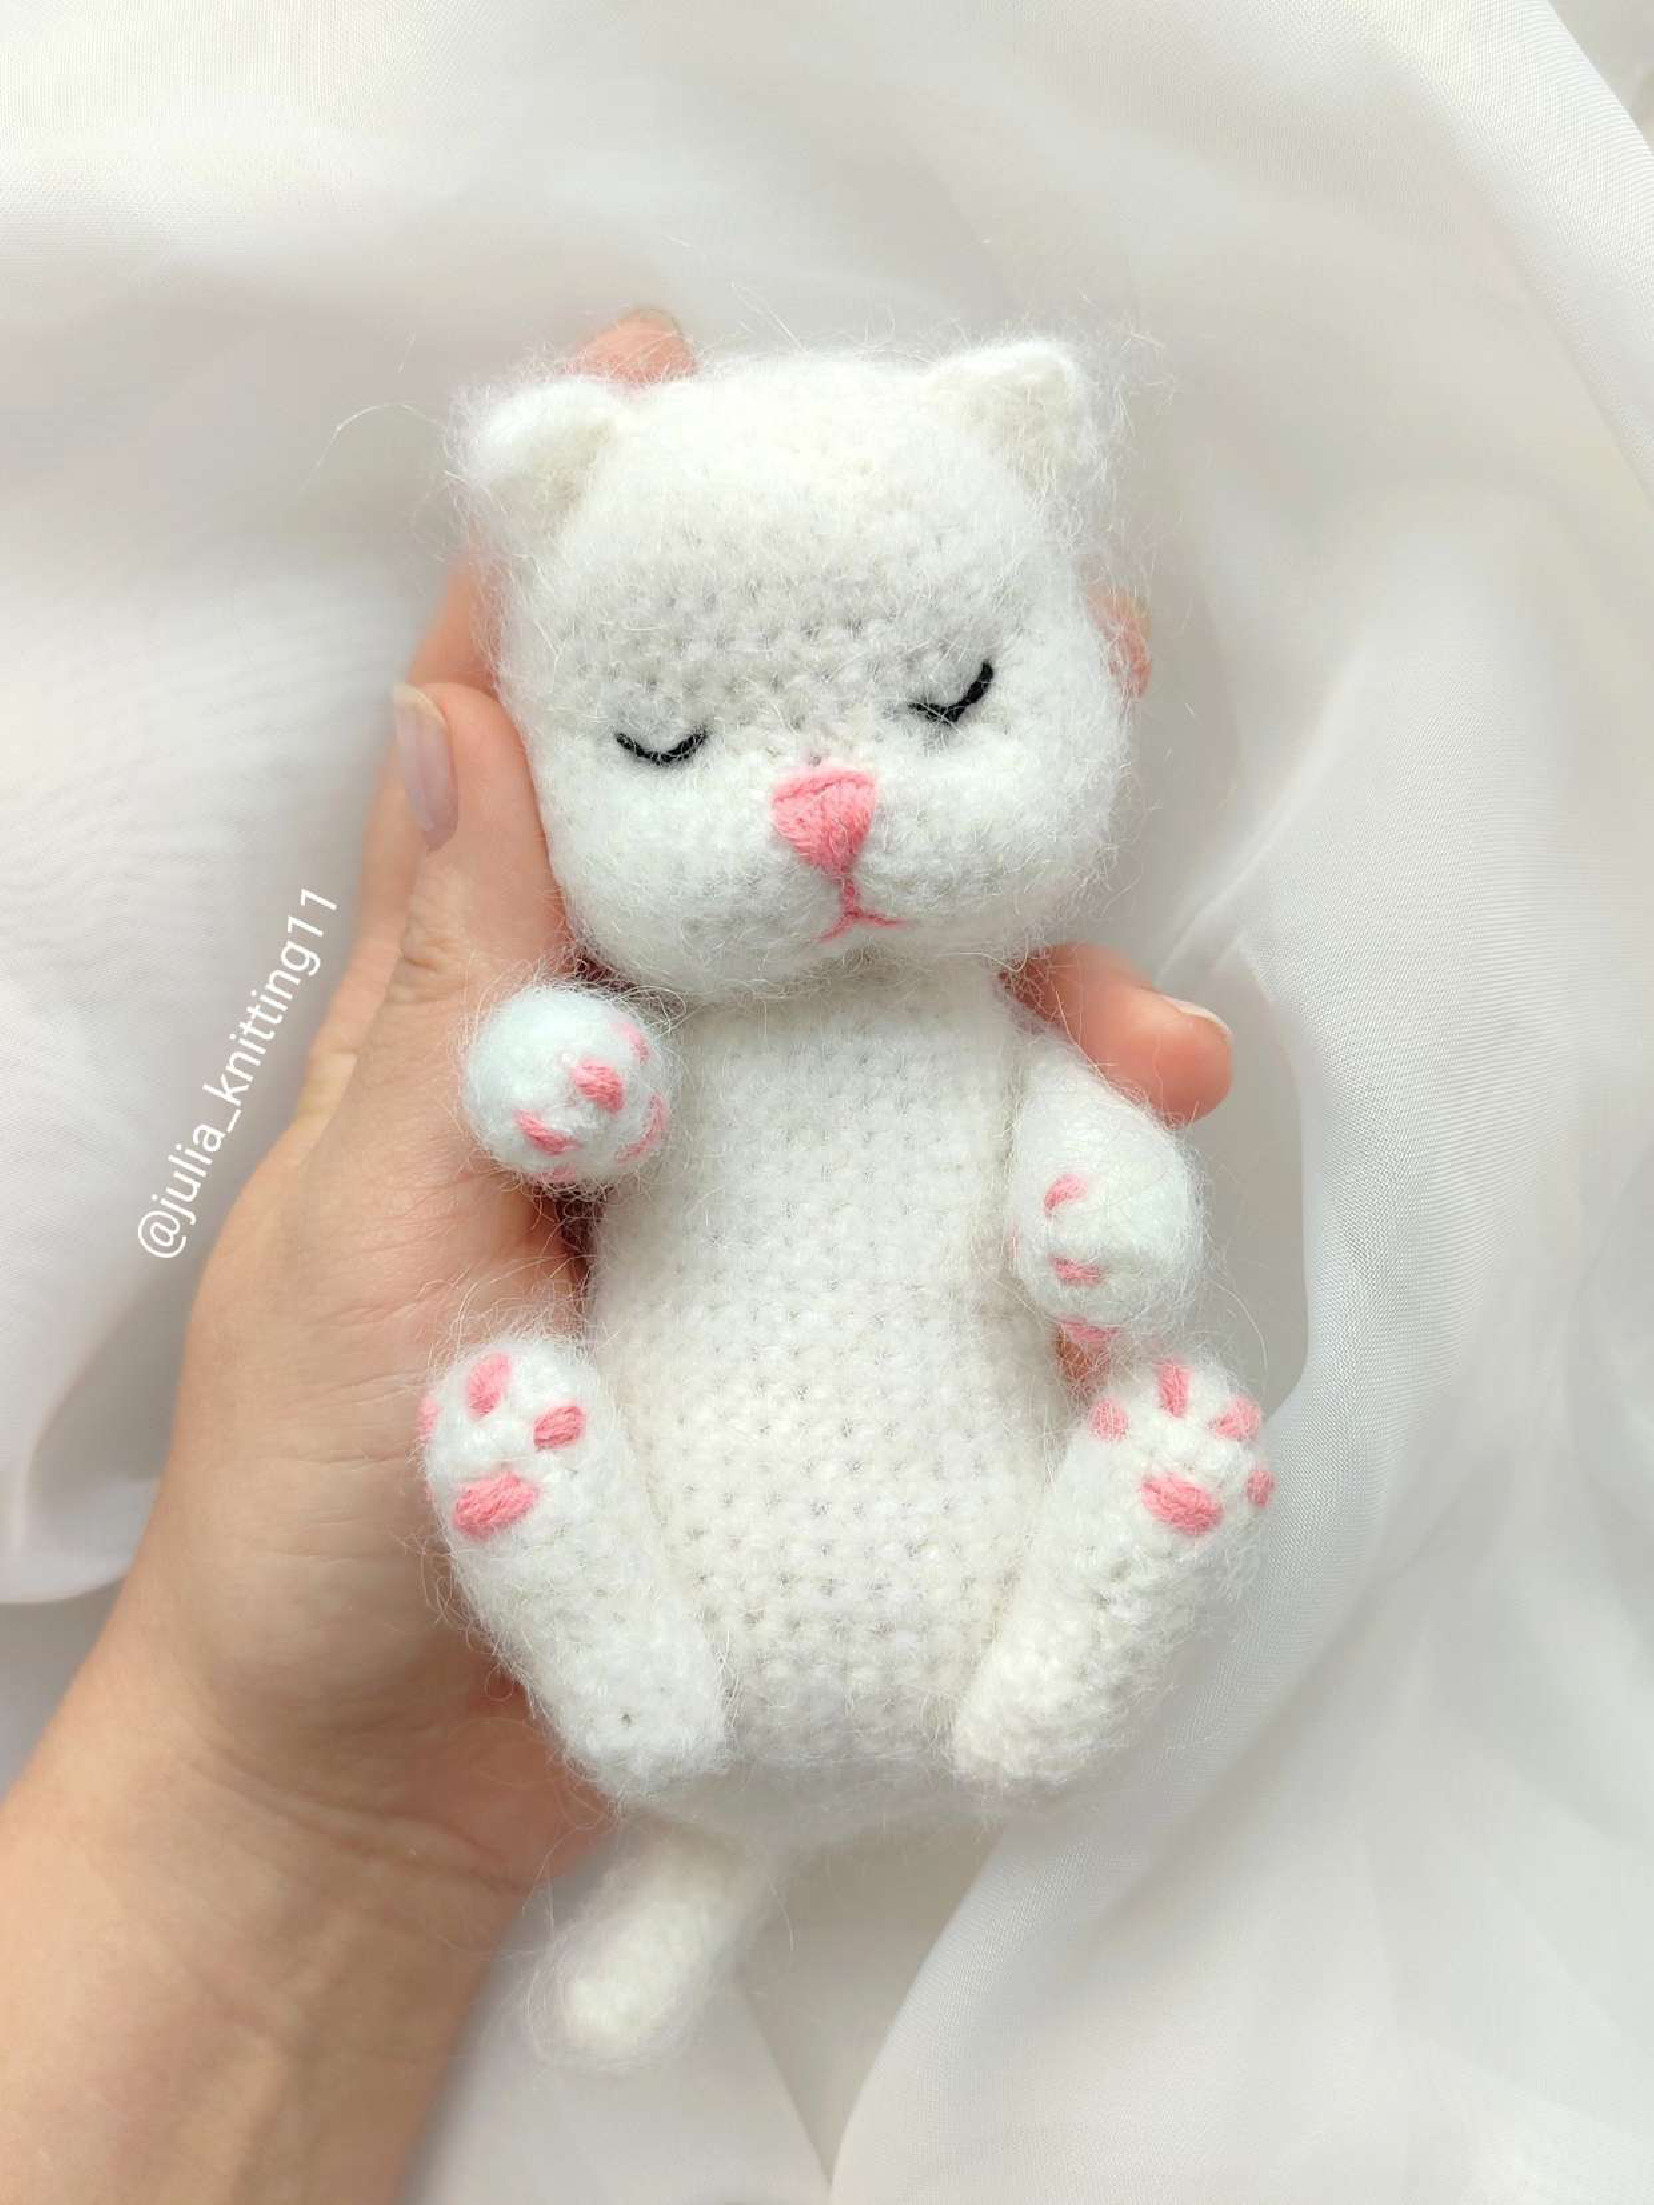
Crochet Your Own Fluffy Kitten Amigurumi
“`html
Materials
- Main Yarn: Hold one strand of Alize Angora Gold with two strands of Alize Kid Royal Mohair together.
- Accent Yarn: Yarn Art Jeans in pink for paw pads and nose.
- Embroidery Thread: Iris or black floss for the eyes.
- Crochet Hook: 2.0 mm
- Other: Fiberfill for stuffing, yarn needle, scissors, and a piece of Velcro (the rough hook side) for brushing the fabric.
Abbreviations
This pattern uses standard US crochet terminology.
- MR: Magic Ring
- Ch: Chain
- Sc: Single Crochet
- Hdc: Half Double Crochet
- Dc: Double Crochet
- Inc: Increase (2 sc in the same stitch)
- Dec: Decrease (sc 2 stitches together)
- *…*: Repeat the instructions in the asterisks the given number of times.
- (…): The number in the parentheses at the end of a round is the total stitch count.
Gauge
Gauge is not critical for this pattern. Using the specified yarn and hook, the finished kitten will be approximately 13-14 cm tall.
Note: This project is crocheted “inside out” to create a fluffy texture. The textured, fuzzy side should be the right side of your work.
Pattern Instructions
Body & Head (Worked as one piece)
Start with the main yarn color combination.
Body
Round 1: 6 sc in MR. (6)
Round 2: Inc in each st around. (12)
Round 3: (1 sc, inc) * 6. (18)
Round 4: (2 sc, inc) * 6. (24)
Round 5: (3 sc, inc) * 6. (30)
Round 6: (4 sc, inc) * 6. (36)
Round 7: 8 sc, inc, 17 sc, inc, 9 sc. (38)
Round 8: 8 sc, inc, inc, 17 sc, inc, inc, 9 sc. (42)
Round 9: 7 sc, inc, 4 sc, inc, 15 sc, inc, 4 sc, inc, 8 sc. (46)
Round 10-14: Sc in each st around (5 rows). (46)
Round 15: 6 sc, dec * 5, 13 sc, dec * 5, 7 sc. (36)
Round 16-18: Sc in each st around (3 rows). (36)
Round 19: (10 sc, dec) * 3. (33)
Round 20-22: Sc in each st around (3 rows). (33)
Round 23: (9 sc, dec) * 3. (30)
Round 24-26: Sc in each st around (3 rows). (30)
Round 27: (3 sc, dec) * 6. (24)
Round 28: (2 sc, dec) * 6. (18)
Round 29: (1 sc, dec) * 6. (12)
Begin stuffing the body firmly. Continue stuffing as you work on the head.
Head (Continue from Body)
Round 30: Inc in each st around. (24)
Round 31: (3 sc, inc) * 6. (30)
Round 32: (4 sc, inc) * 6. (36)
Round 33: (5 sc, inc) * 6. (42)
Round 34-38: Sc in each st around (5 rows). (42)
Crochet 5 more sc to reposition your starting point. Place a marker here; it should be exactly in the middle of the back.
Round 39: 12 sc, (1 sc, dec) * 6, 12 sc. (36)
Round 40-43: Sc in each st around (4 rows). (36)
Round 44: (4 sc, dec) * 6. (30)
Round 45: (3 sc, dec) * 6. (24)
Round 46: (2 sc, dec) * 6. (18)
Finish stuffing the head and neck area firmly.
Round 47: (1 sc, dec) * 6. (12)
Round 48: Dec * 6. (6)
Cut the yarn, leaving a tail. Thread the tail through the front loops of the final 6 stitches and pull tight to close the hole. Weave in the end securely.
Hind Legs (Make 2)
Round 1: 6 sc in MR. (6)
Round 2: Inc in each st around. (12)
Round 3-6: Sc in each st around (4 rows). (12)
Round 7: Dec, 4 sc, dec, 4 sc. (10)
Round 8-10: Sc in each st around (3 rows). (10)
Round 11: Dec, 3 sc, dec, 3 sc. (8)
Round 12: Sc in each st around. (8)
Stuff the leg lightly. Cut the yarn, leaving a tail. Cinch the final stitches closed and leave the tail for sewing.
Front Legs (Make 2)
Round 1: 5 sc in MR. (5)
Round 2: Inc in each st around. (10)
Round 3-11: Sc in each st around (9 rows). (10)
Round 12: Dec * 5. (5)
Stuff the leg lightly. Cut yarn, leaving a tail. Cinch the final stitches closed and leave the tail for sewing.
Ears (Make 2)
Row 1: Ch 2. In the second chain from the hook, work the following stitches: 3 hdc, 1 dc, 3 hdc.
Fasten off, leaving a long tail for sewing.
Tail
Round 1: 4 sc in MR. (4)
Round 2: Sc in each st around. (4)
Round 3: Inc, 3 sc. (5)
Round 4: Sc in each st around. (5)
Round 5: Inc, 4 sc. (6)
Round 6: Sc in each st around. (6)
Round 7: Inc, 5 sc. (7)
Round 8: Sc in each st around. (7)
Round 9: Sc in each st around. (7)
Round 10: Inc, 6 sc. (8)
Round 11-18: Sc in each st around (8 rows). (8)
Do not stuff the tail. Flatten the opening and crochet 4 sc through both layers to close. Leave a long tail for sewing.
Assembly & Finishing
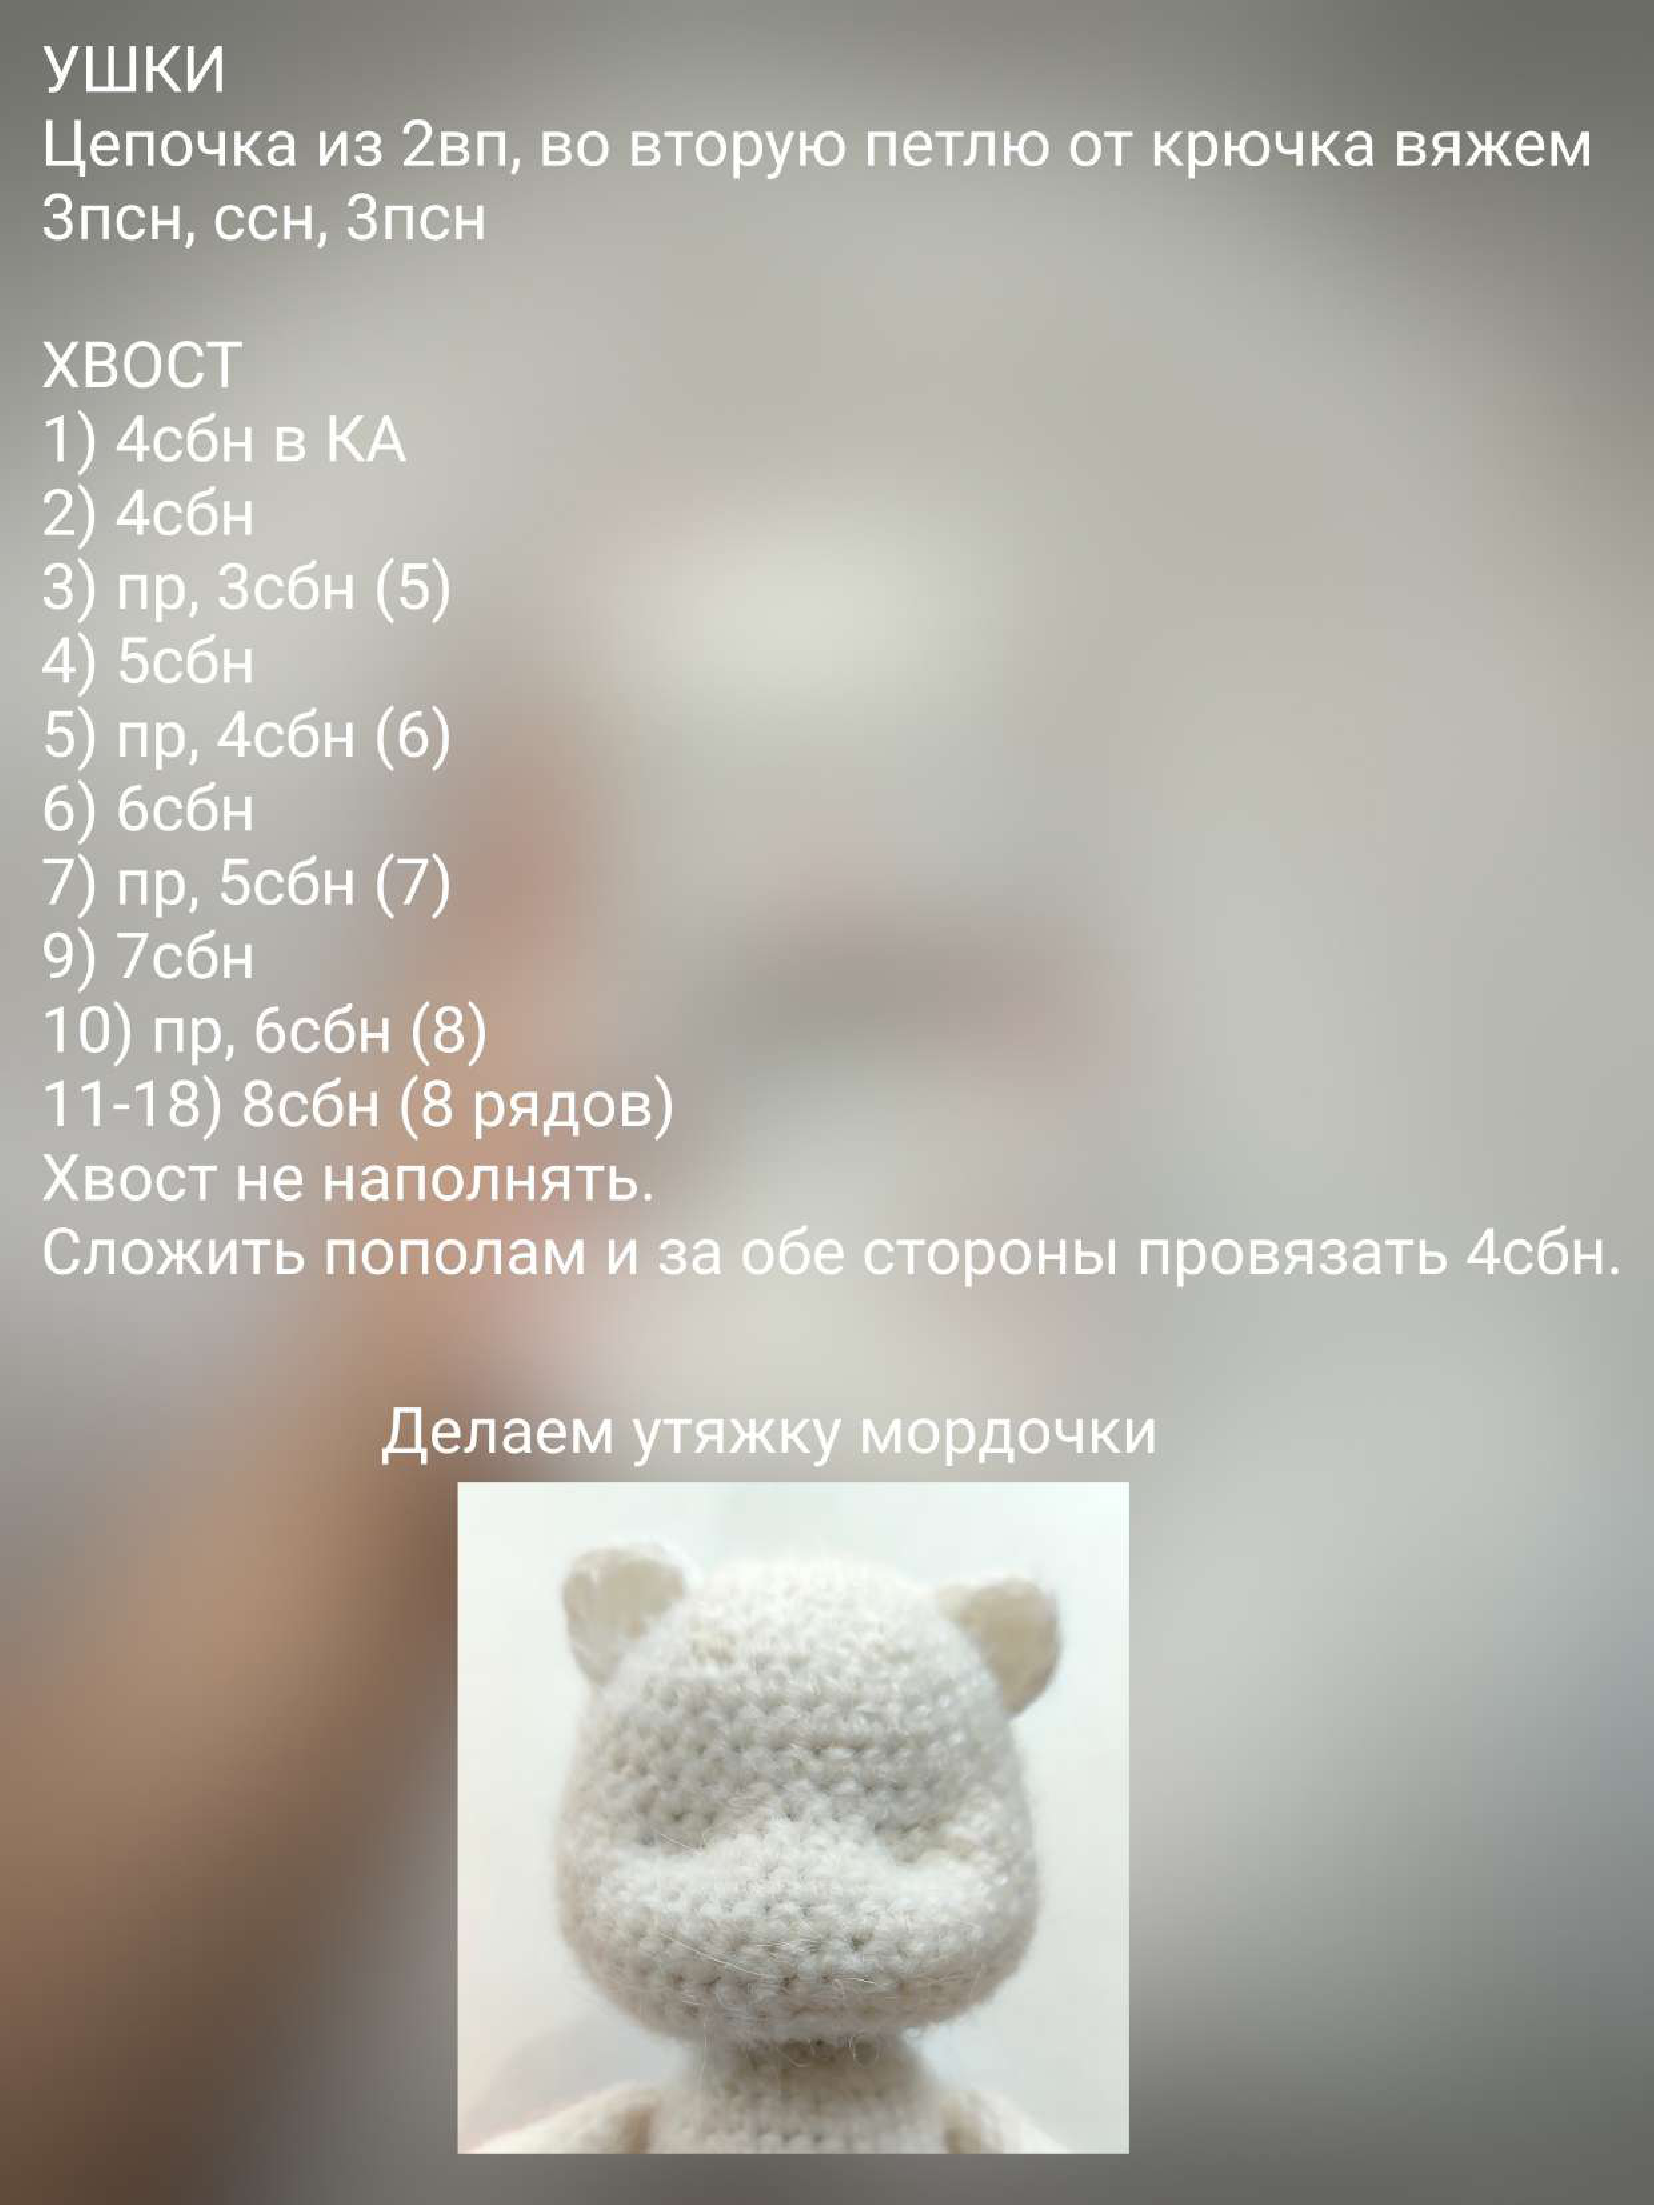
1. Muzzle Sculpting: Use a long strand of yarn or thread to sculpt the muzzle area for definition. This typically involves making stitches through the head to pull the fabric inward and create eye sockets and a defined nose bridge.
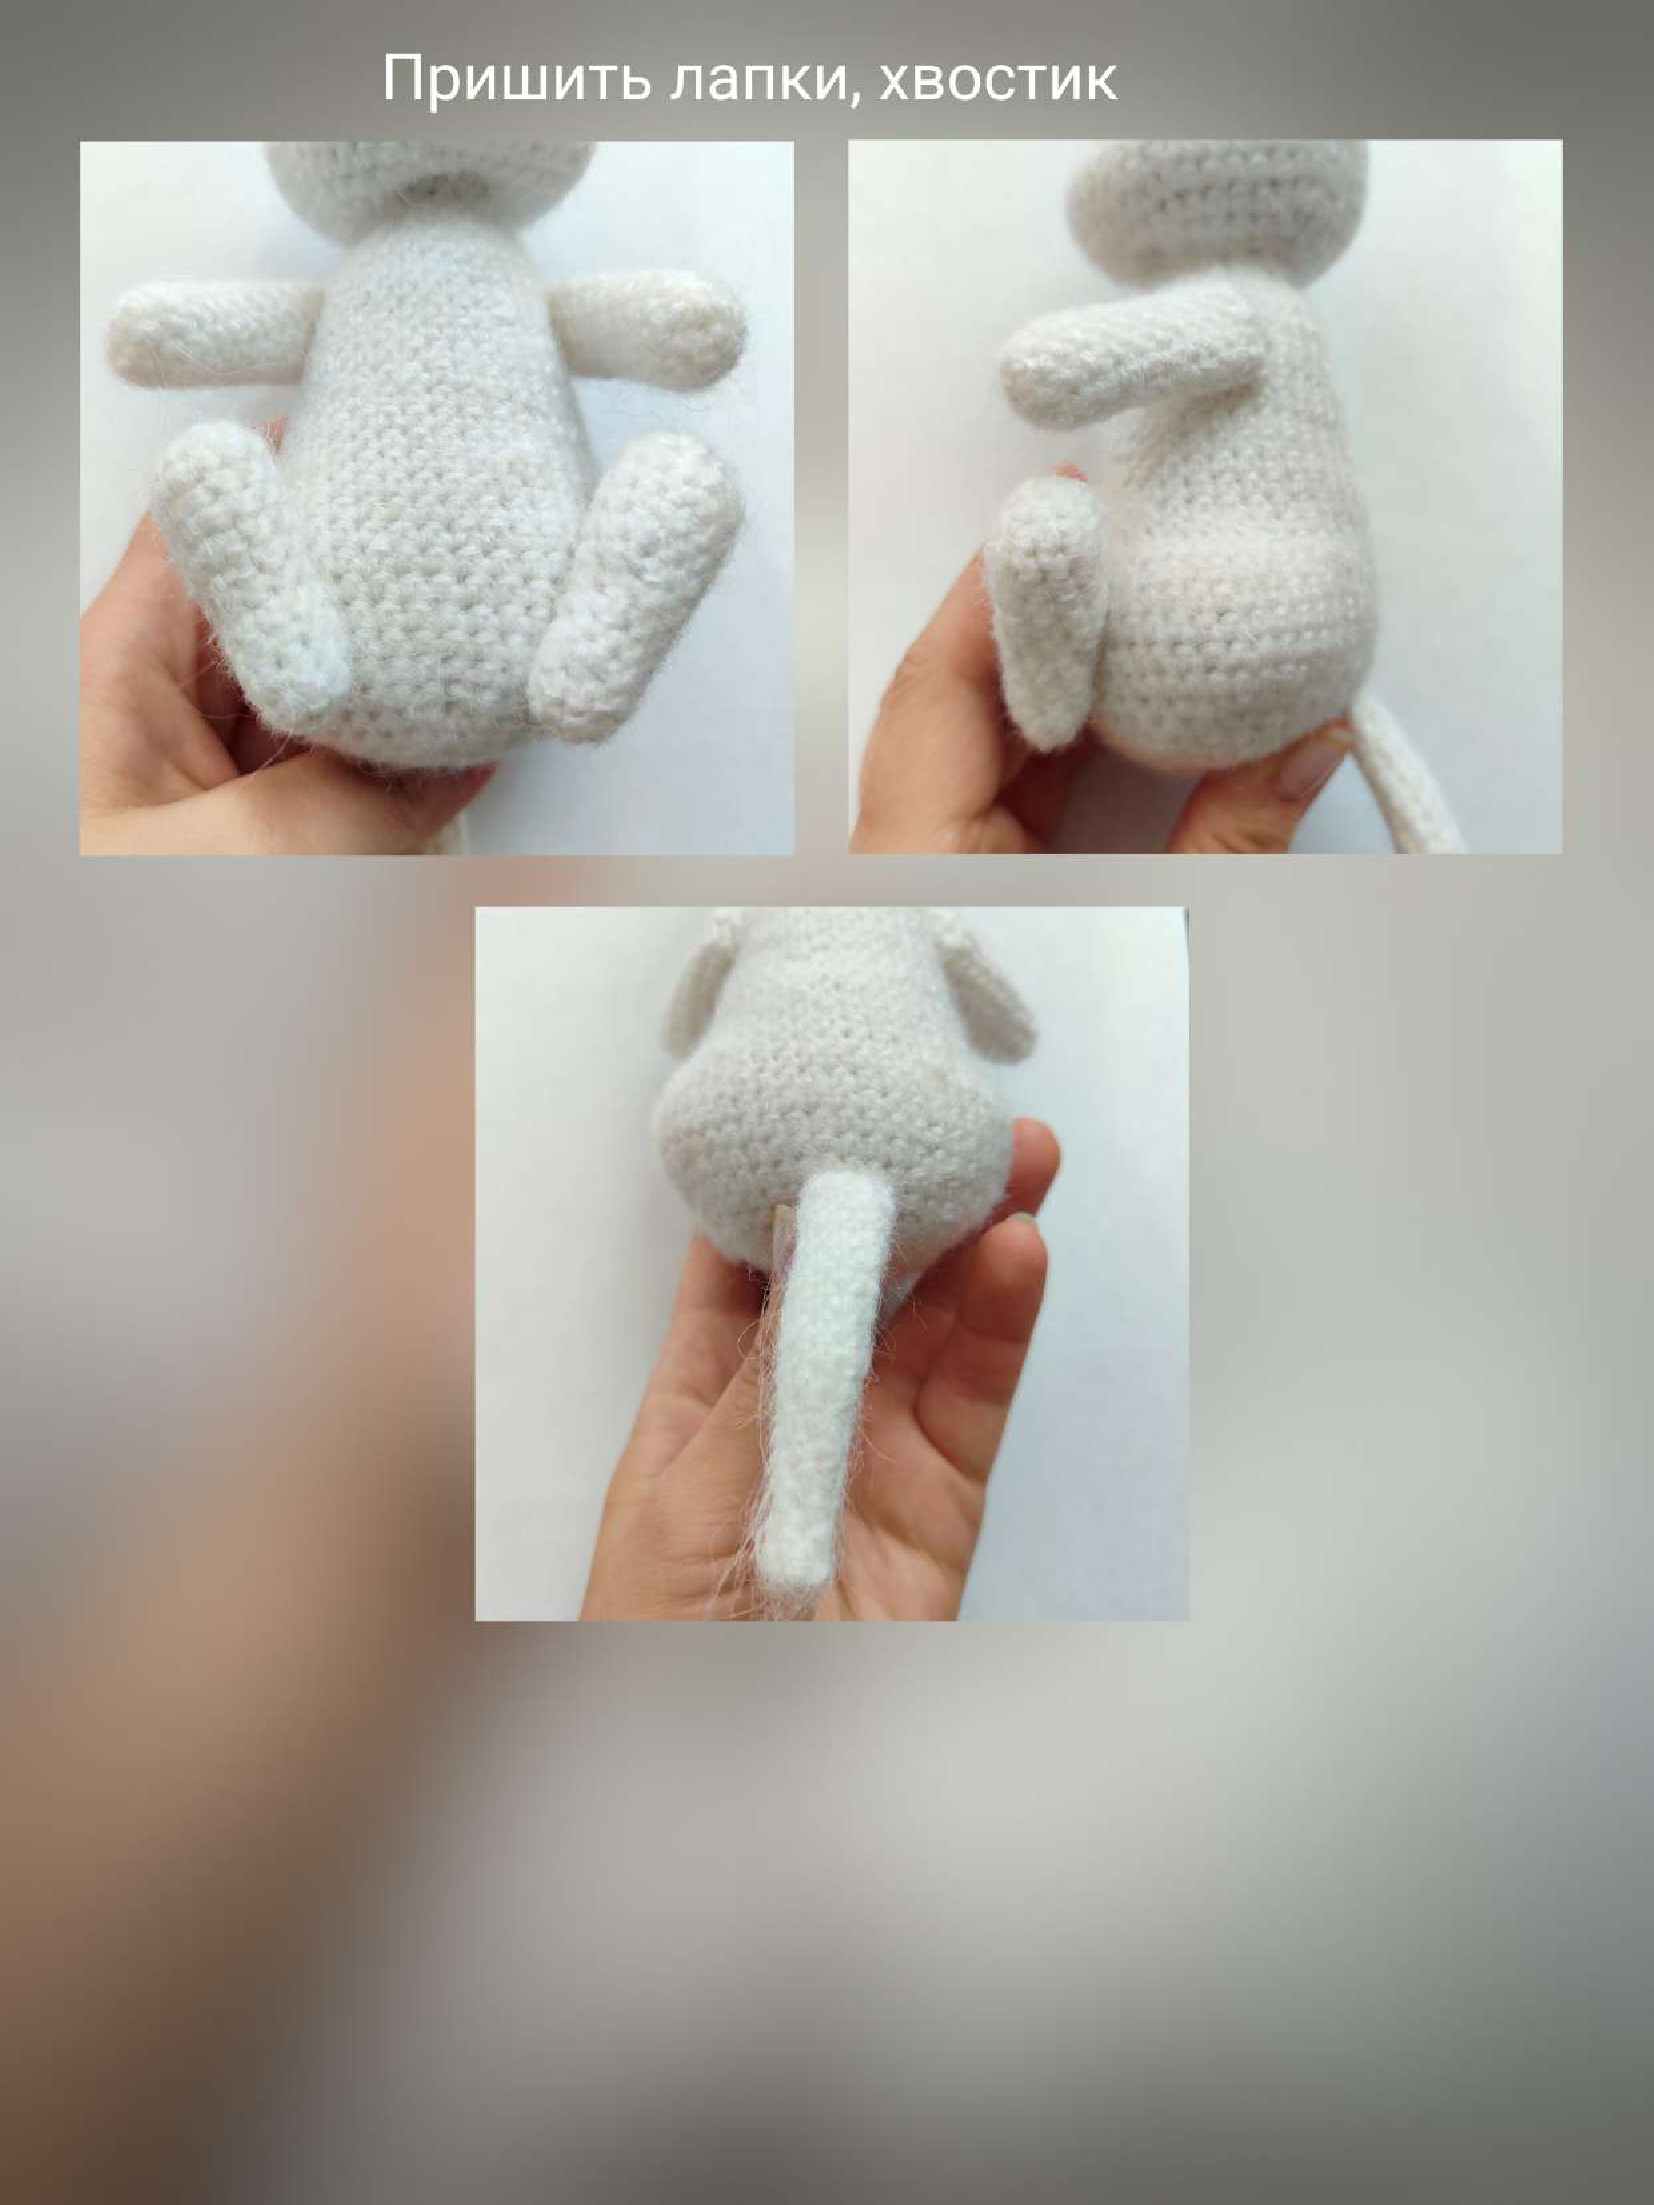
2. Attach Legs and Tail: Pin the front legs, hind legs, and tail into position before sewing to ensure proper balance and a cute sitting pose. Sew all pieces securely to the body.
3. Attach Ears: Sew the ears to the top of the head, positioning them as desired.
4. Brush the Fabric: Take the hook side of a piece of Velcro and gently brush the entire surface of the kitten. This will pull out the mohair fibers and create a soft, fluffy “halo” effect.
5. Embroider Face & Paws: Using black embroidery floss, stitch the eyes. Use pink yarn to embroider a small nose and to add paw pad details on the bottom of the hind feet. Weave in all remaining ends.
“`