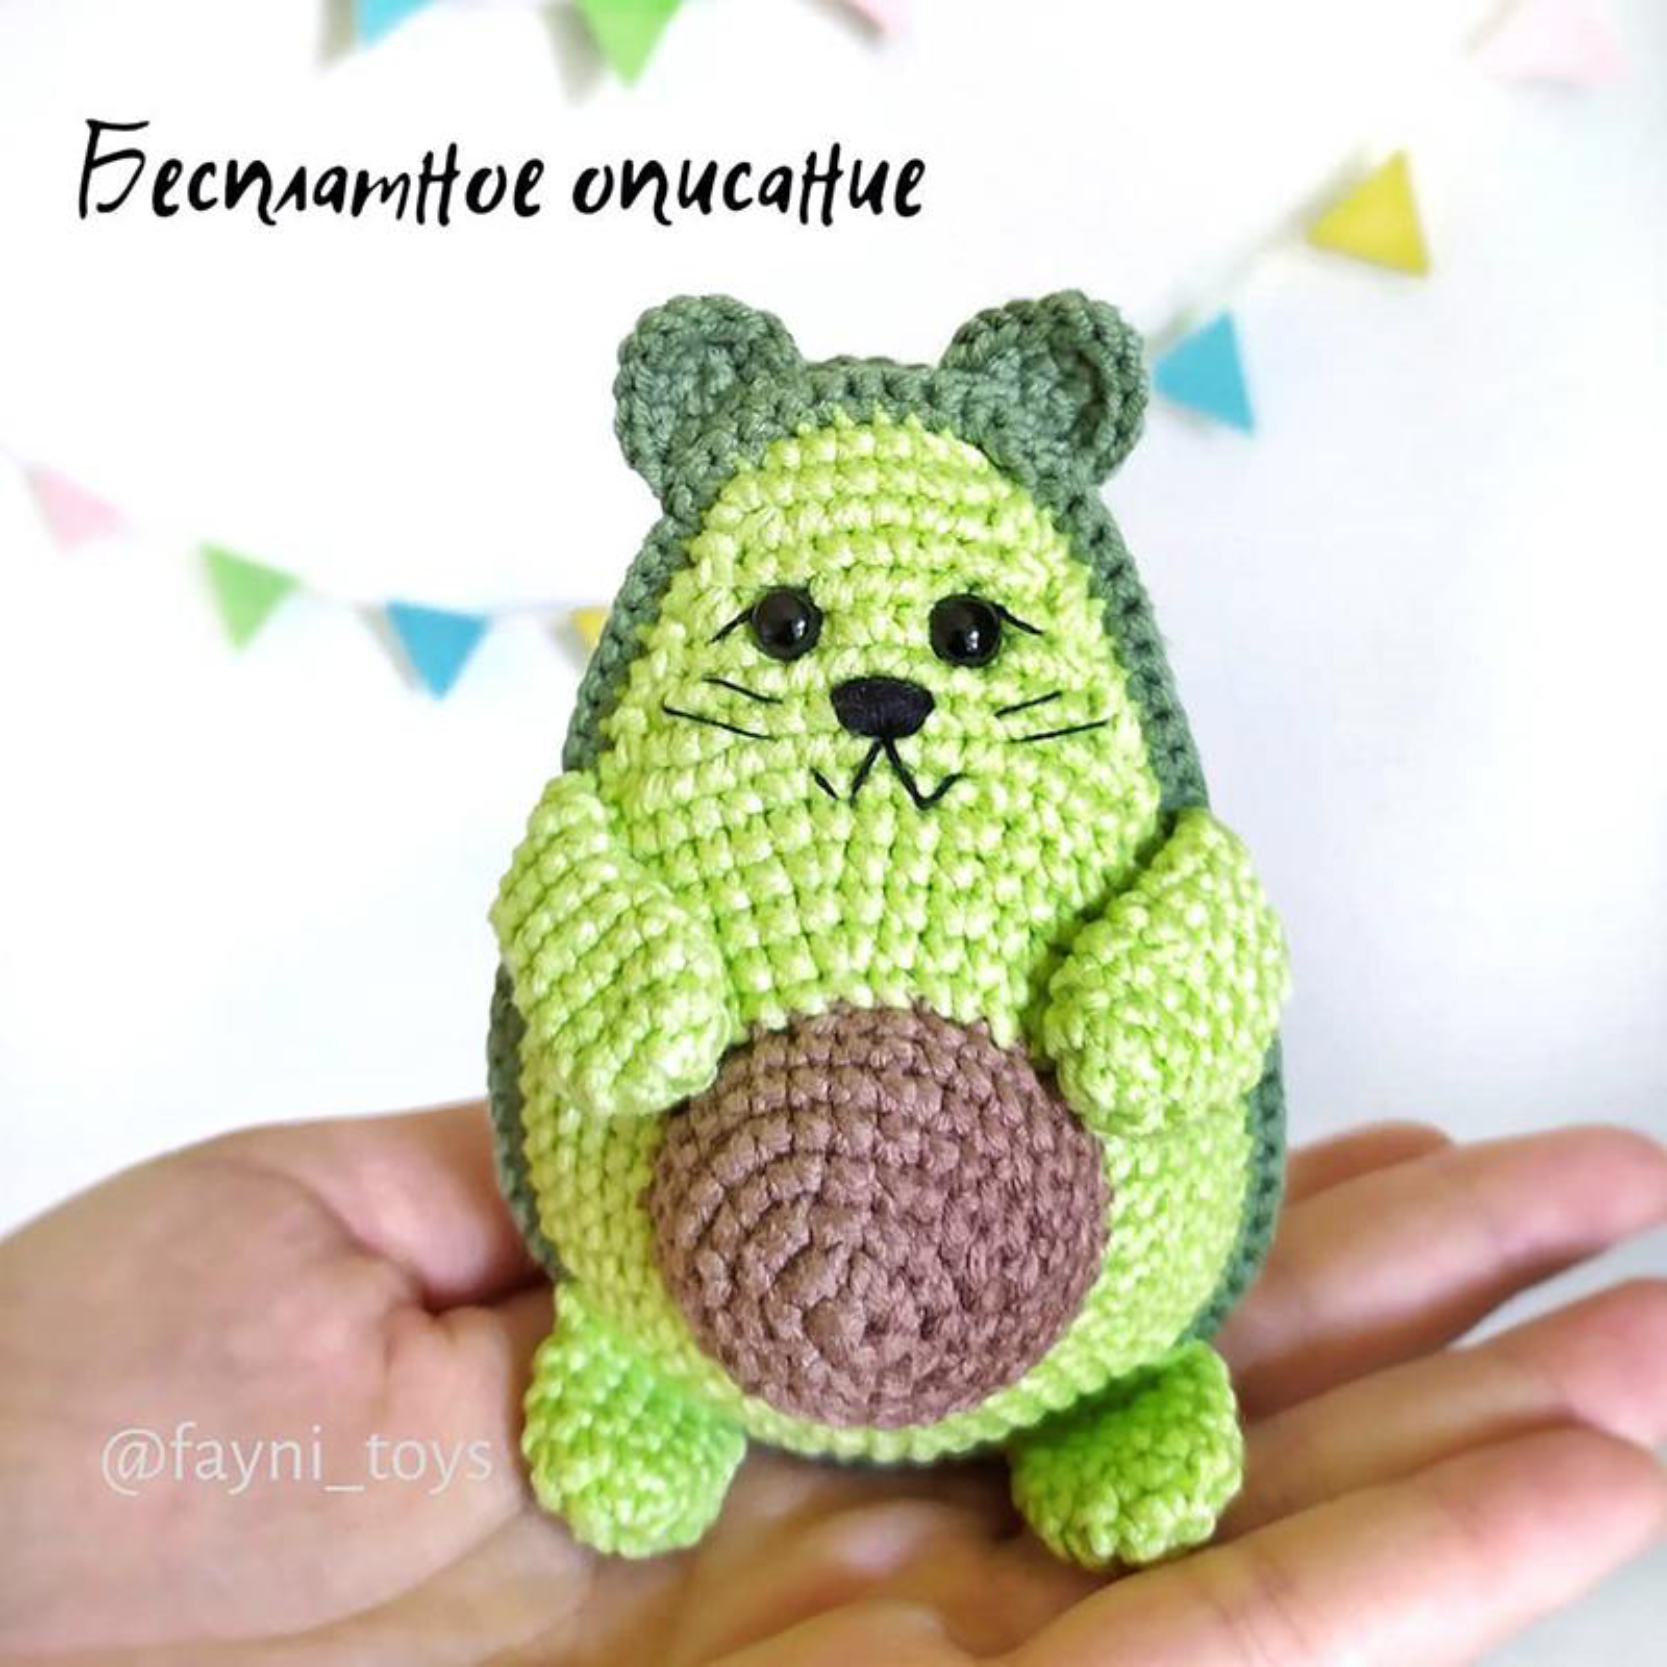
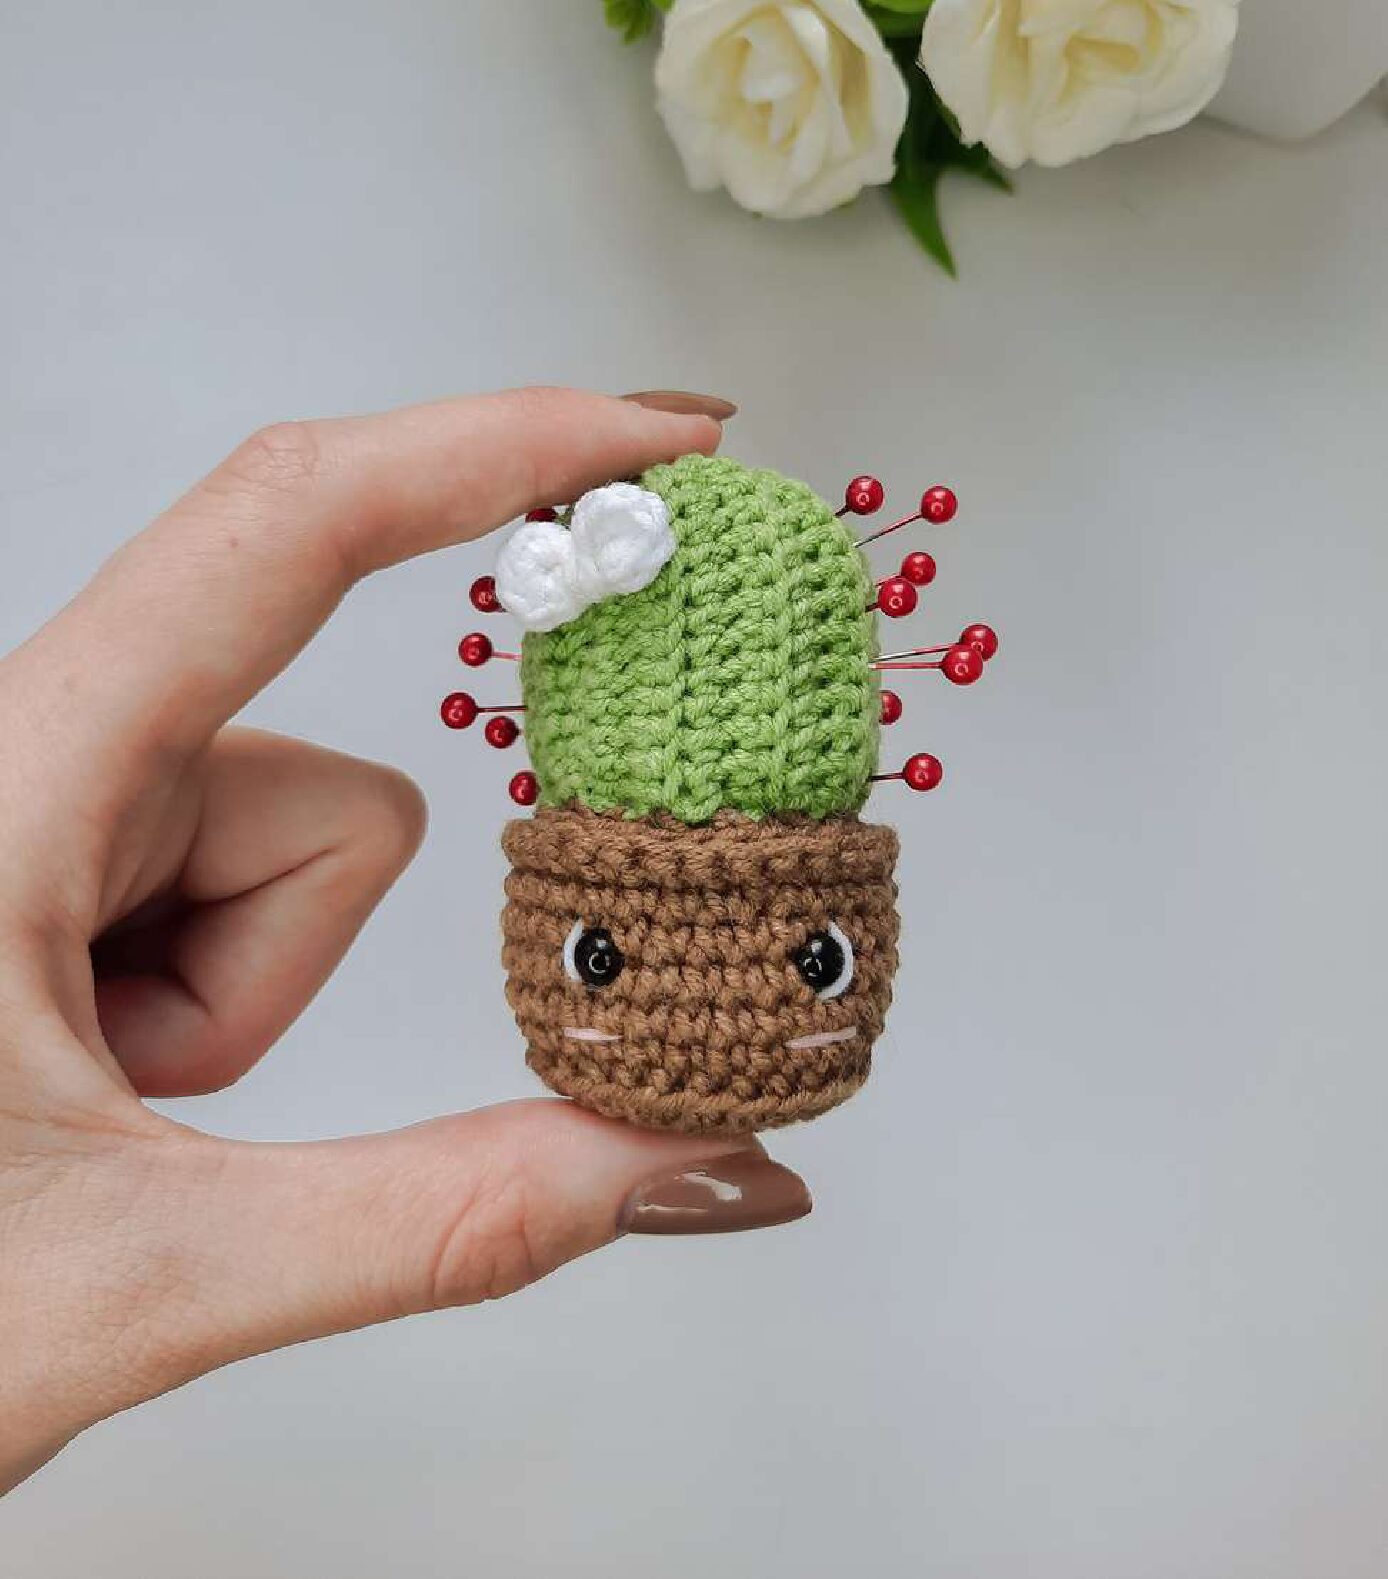
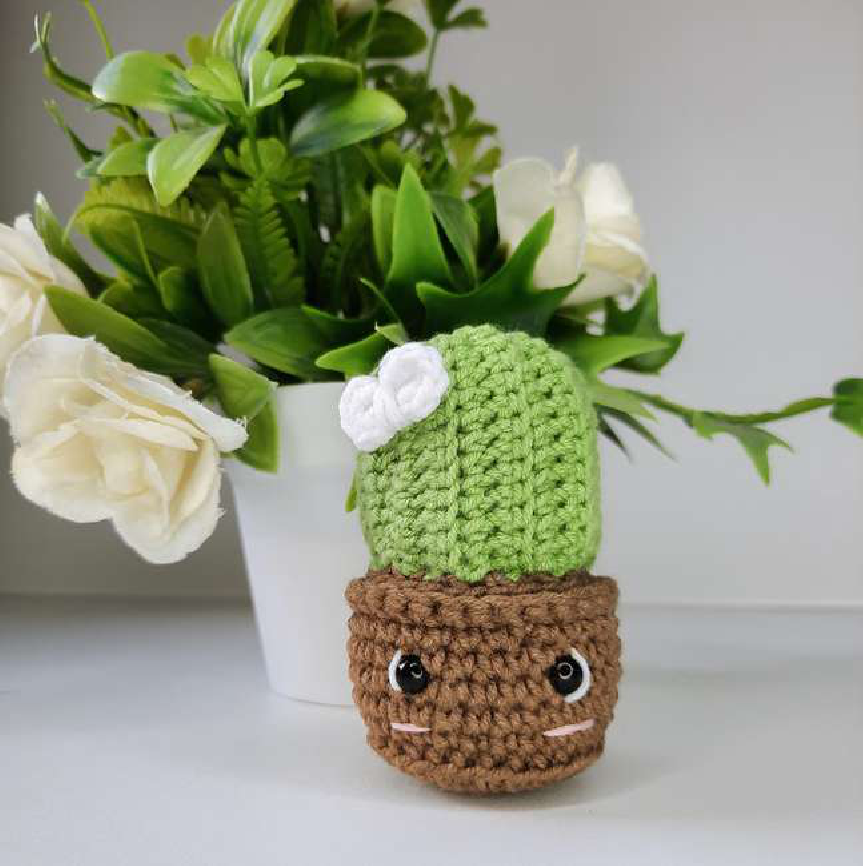
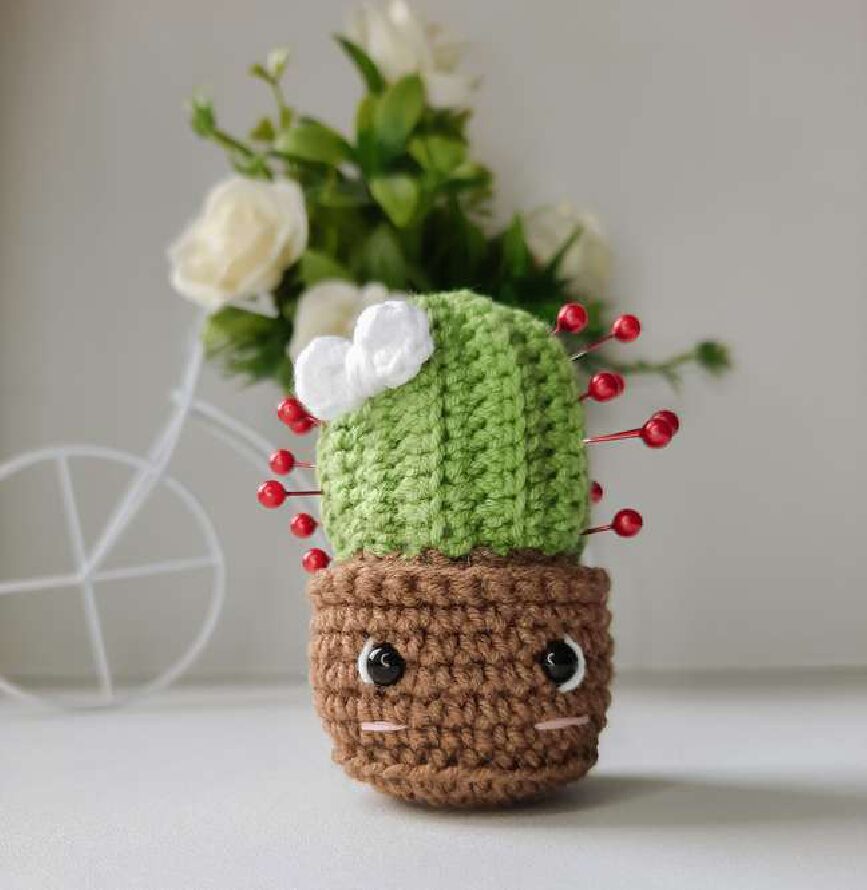
Adorable Easy DIY Crochet Cactus Pattern
Materials
- Yarn in three colors: Green (for the cactus), Brown or Terracotta (for the pot), and a small amount of Pink or Red (for the bow).
- Crochet hook (choose a size appropriate for your yarn weight).
- Safety eyes (6 mm).
- Fiberfill or polyester stuffing.
- Yarn needle for sewing.
- Scissors.
Abbreviations
This pattern uses standard crochet terminology:
- MR – Magic Ring (Amigurumi ring)
- CH – Chain stitch
- SC – Single crochet
- INC – Increase (2 stitches in one)
- SL ST – Slip stitch
- BLO – Back loop only
- FLO – Front loop only
- R. – Row/Round
- (…)*n – Repeat the sequence in brackets n times
Step 1: The Cactus Body
The cactus is worked in rows to create a ribbed texture that mimics the natural look of a real cactus.
- R1: Chain 15. (Note: You can chain more or fewer stitches if you want to change the height of your cactus).
- R2: Starting from the 2nd chain from the hook, crochet 13 SC.
- R3–21: Crochet 13 SC in the BLO (Back Loop Only).
After finishing Row 21, leave a long tail of yarn. Use this thread to sew the side edges together to form a tube, and then weave it through the top edge to pull it tight and close the top. Keep the remaining thread for sewing the cactus to the pot later.
Step 2: The Bow
This cute little detail adds a lot of personality!
- Crochet 2 separate parts: Make a Magic Ring and crochet 6 SC into it. Close with a slip stitch.
Leave a long tail on both parts. Sew the two circles together side-by-side and wrap the remaining yarn tightly around the middle to create the bow shape. Secure the thread on the back and sew it onto the top of your cactus.
Step 3: The Pot
The pot is worked in continuous rounds. We will use BLO and FLO to create the flat bottom and the rim.
- R1: 6 SC in MR [6]
- R2: INC*6 [12]
- R3: (1 SC, INC)*6 [18]
- R4: (1 SC, INC, 1 SC)*6 [24]
- R5: (3 SC, INC)*6 [30]
- R6: 30 SC in BLO [30] (This creates the “corner” for the bottom of the pot).
- R7: 30 SL ST [30]
- R8–13: 30 SC [30] (6 rows in total).
- R14: 30 SC in BLO [30]
Finishing the Pot Rim: Leave a long thread. Pull the yarn to the front side of the pot (to the front loops of R14) and crochet 30 SC in the FLO. This creates a thick rim for your pot.
Step 4: Assembly & Face
- Eyes: Insert the 6mm safety eyes between Rows 9 and 10 of the pot, leaving a distance of 5–6 stitches between them.
- Stuffing: Stuff the pot firmly with fiberfill. You may also want to stuff the cactus lightly before sewing.
- Joining: Place the cactus inside the pot rim and sew it securely to the inner loops of the pot using the long tail left from the cactus.
- Optional: Embroider a small mouth or add some blush with pink yarn or real makeup blush!
Pattern by @twinspsins. Enjoy your new little Cactusik!