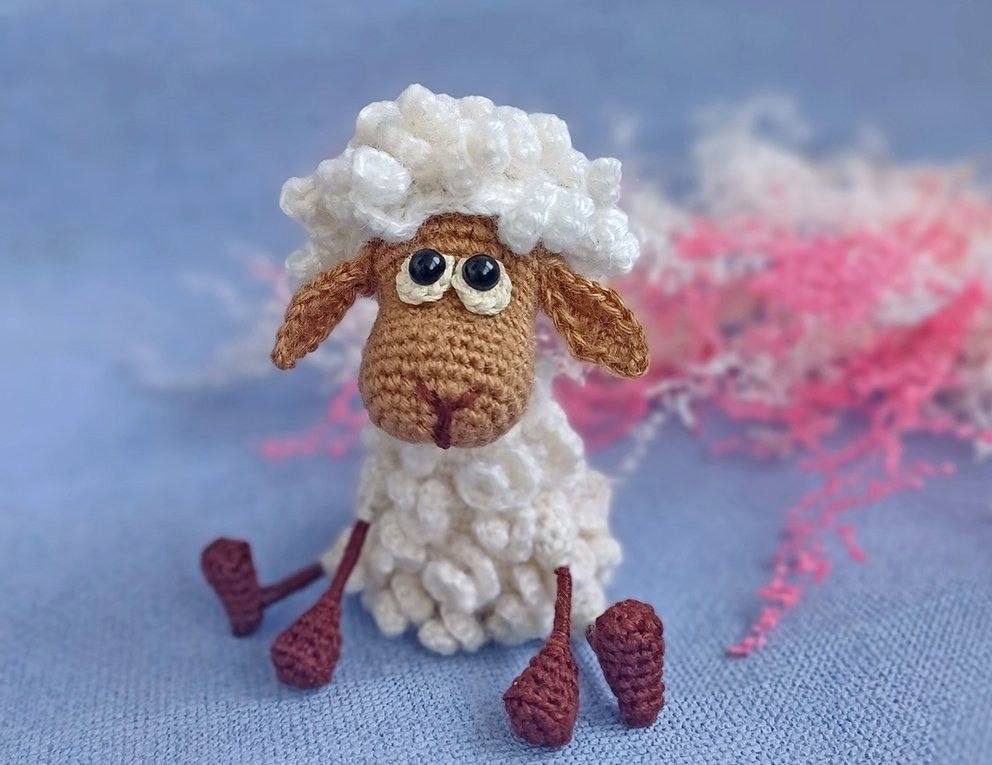
Curly, Cuddly, and Cute: The Ultimate Posable Lamb Crochet Pattern
How to Crochet an Adorable Curly Lamb: Step-by-Step Amigurumi Pattern
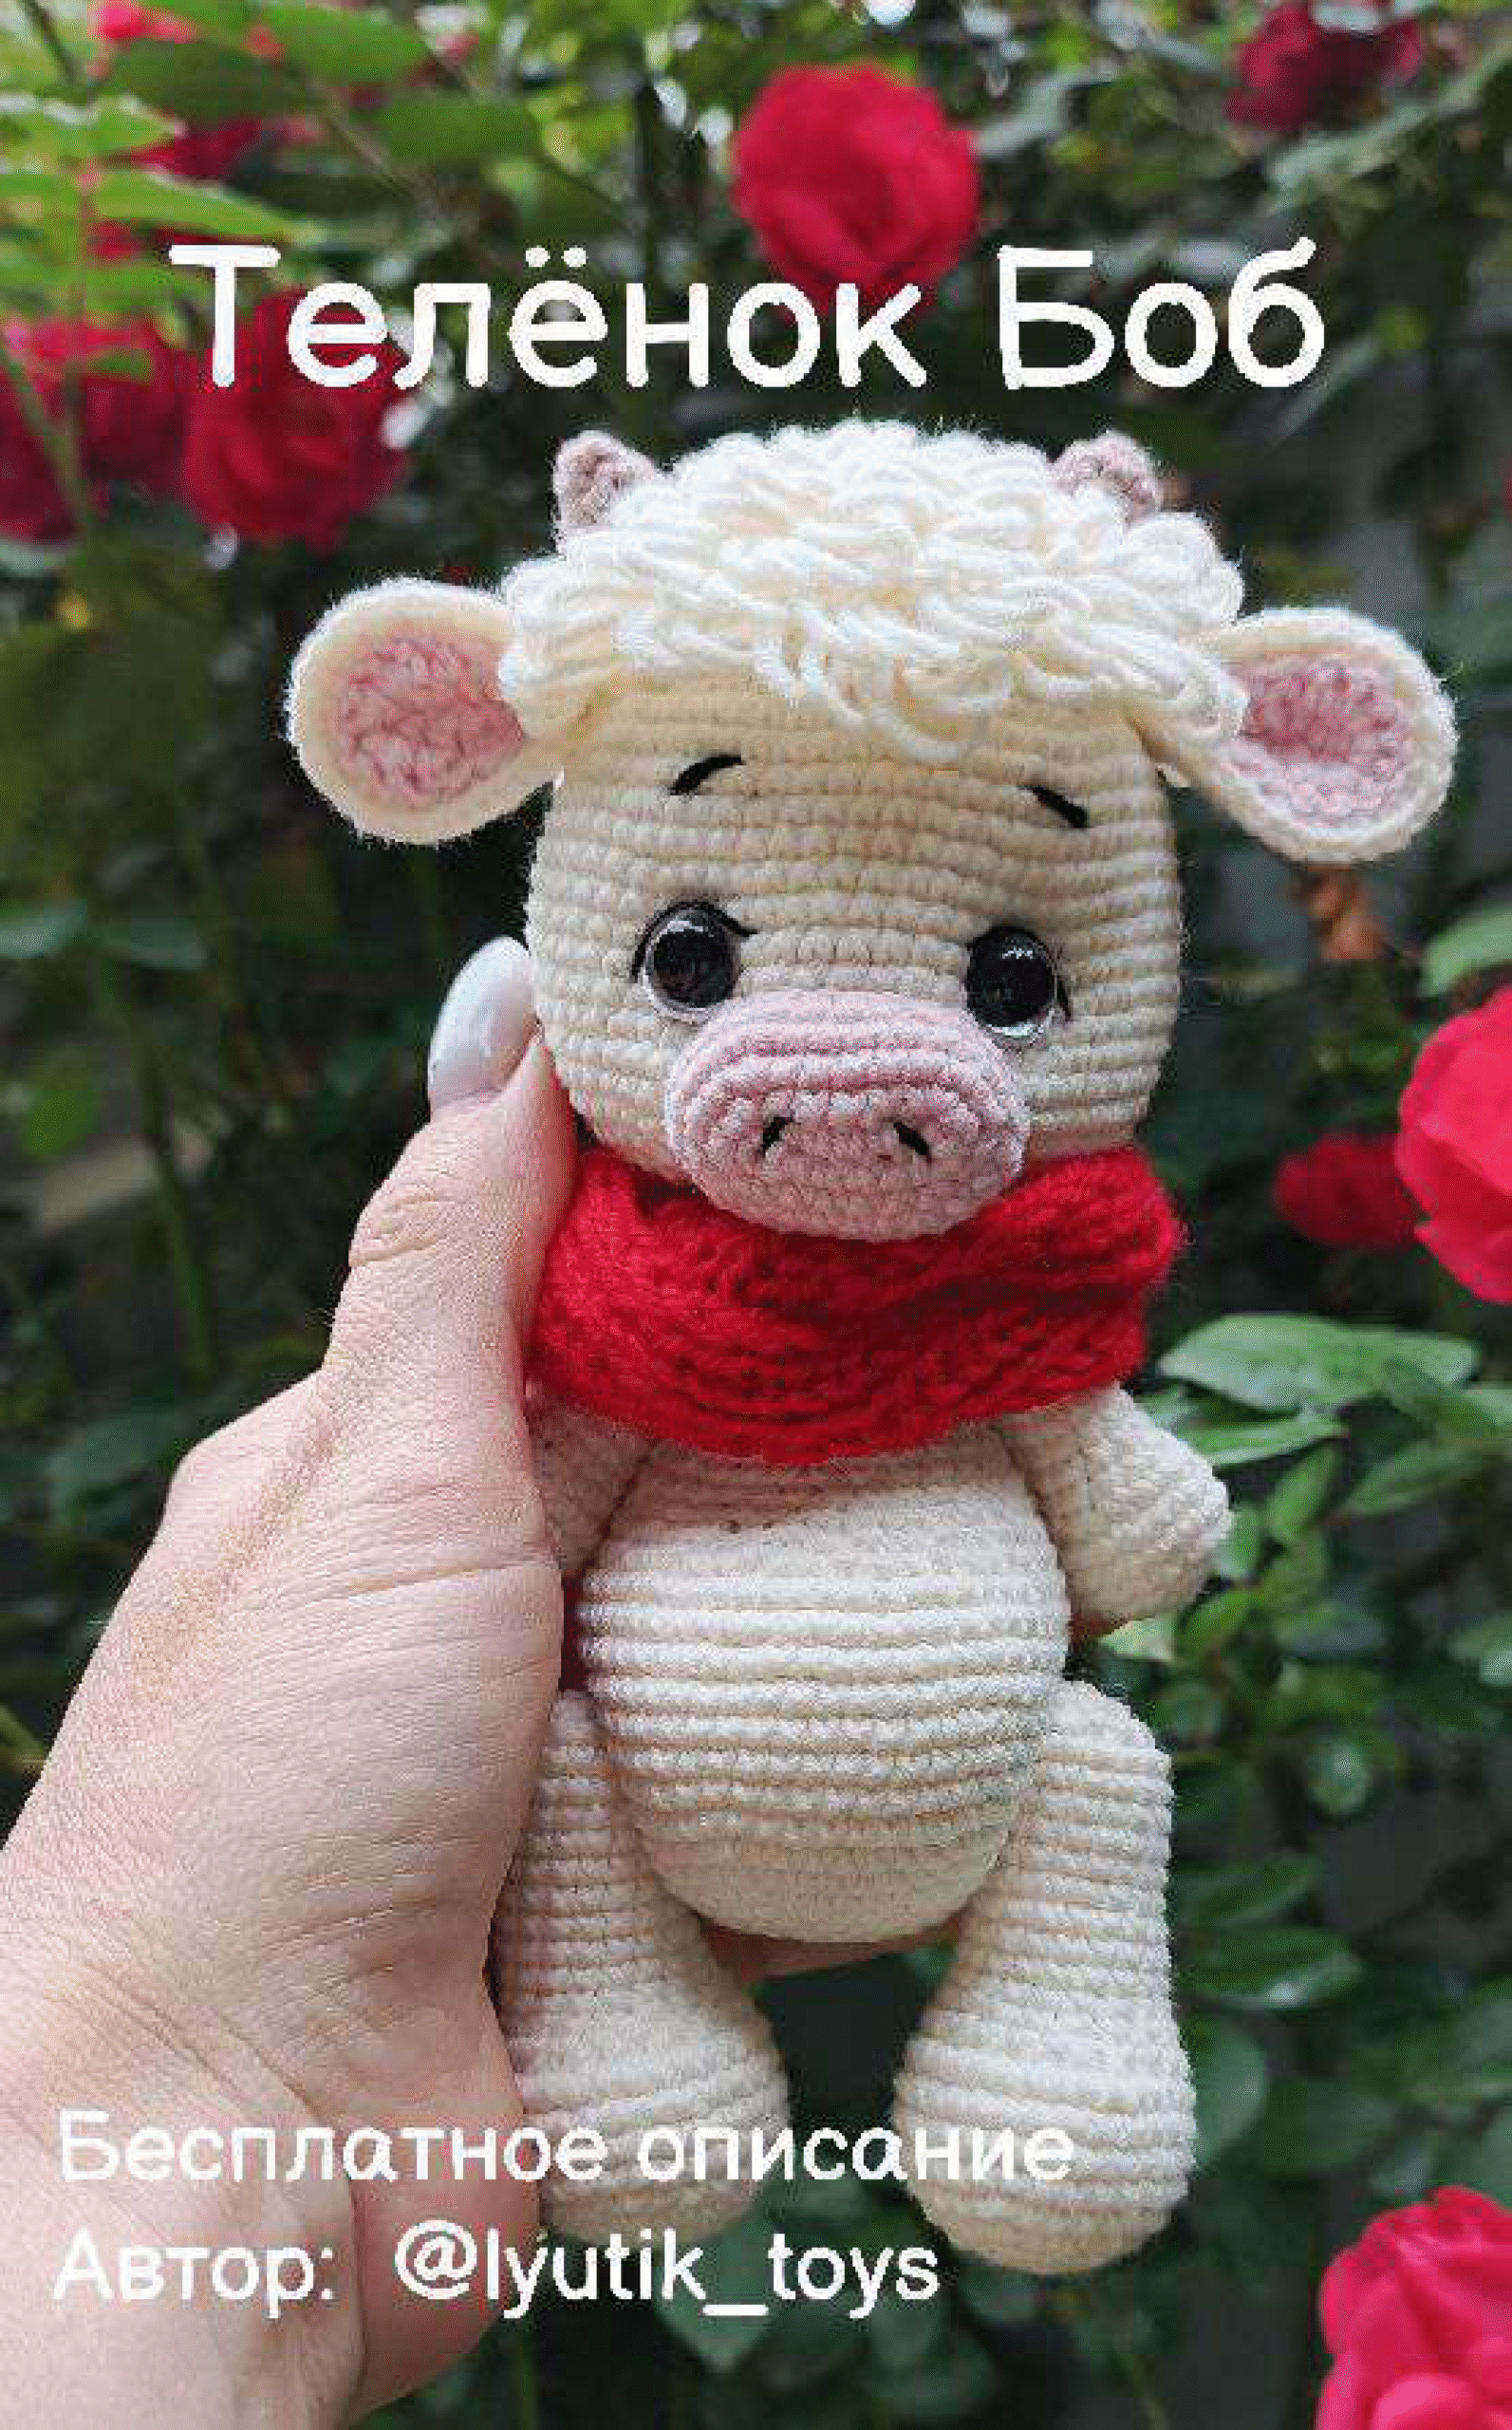
Bring a charming, textured companion to life with this detailed step-by-step crochet pattern for an adorable curly lamb amigurumi! Featuring cute coiled locks, wired posable limbs, and a sweet face, this intermediate-level project makes a wonderful handmade gift or decor piece. This pattern uses standard US crochet terminology.
Skill Level
Intermediate: Requires basic amigurumi knowledge, working with wire frames, color changes, and creating decorative curl stitches.
Finished Size
Approximately 4 inches (10 cm) tall when using the recommended yarn weight and hook size.
Materials & Tools
- Yarn: Super Fine / Fingering weight yarn in three colors:
- White (body, sleeves, leg pants, hair cap)
- Light Brown (head, ears)
- Dark Brown (hands, feet)
- Small amount of thin white cotton embroidery thread or lace yarn (for eye backings)
- Crochet Hook: 1.25 mm (or size suitable for your yarn to achieve tight stitches)
- Safety Eyes / Beads: 6 mm black half-beads or safety eyes
- Wire: 1 mm craft wire (4 pieces, each 4 inches / 10 cm long)
- Embroidery Floss: Black or dark brown for embroidering facial details
- Stuffing: Polyester fiberfill stuffing
- Adhesive: Clear craft glue and adhesive fabric tape (or medical plaster)
- Notions: Tapestry needle, stitch markers, scissors
Crochet Abbreviations (US Terms)
- ch: chain
- st(s): stitch(es)
- sl st: slip stitch
- sc: single crochet
- hdc: half double crochet
- dc: double crochet
- inc: single crochet increase (2 sc in the same st)
- dec: single crochet decrease (sc 2 sts together)
- BLO: back loop only
- MR: magic ring
- [ ] x N: repeat instructions inside brackets N times
- (N): total stitch count at the end of the round
Special Technique: How to Make a Curl
Throughout the pattern, whenever the word Curl is mentioned, work the following stitch sequence:
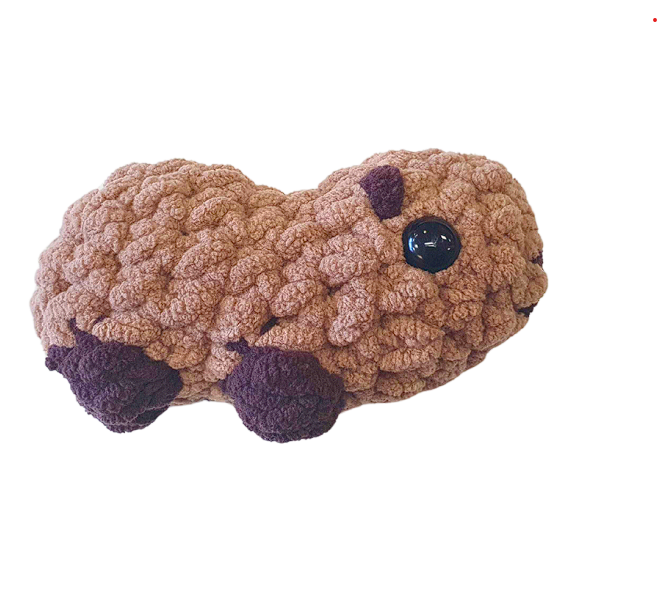
Curl: Ch 9, starting from the 2nd ch from hook work: 1 sl st, 6 inc (2 sc in each ch), 1 sc into the base chain. (If you prefer longer curls, ch 12 and work 1 sl st, 9 inc, 1 sc).
—
Pattern Instructions
1. Arms (Make 2)
Work with Dark Brown yarn.
- Rnd 1: 6 sc in MR (6)
- Rnd 2: 6 inc (12)
- Work a shift stitch if needed and move stitch marker here.
- Rnd 3: In BLO: [2 sc, 1 dec] x 3 (9)
- Rnd 4: 7 sc, 1 dec (8)
- Rnd 5: 8 sc (8)
Prepare 2 pieces of 4-inch (10 cm) craft wire. Fold a tiny loop at one end of each wire piece for safety. Insert the looped wire into the arm.
- Rnd 6: [skip 1 st, 1 sc] x 4 (4)
Fasten off, leaving a 12-inch (30 cm) tail. Apply a small amount of clear glue to the exposed wire stem and tightly wrap the remaining yarn tail around the wire to cover it completely. Secure the end with glue.
2. Sleeves (Make 2)
Work with White yarn. Leave a long starting tail for sewing.
- Rnd 1: 5 sc in MR (do not pull the center ring too tightly) (5)
- Rnd 2: 1 inc, 4 sc (6)
- Rnd 3: [2 sc, 1 inc] x 2 (8)
- Rnd 4: 7 sc, 1 sl st (8)
Fasten off, leaving a tail for assembly. Slide the wrapped arm wire into the sleeve. Twist the arm and sleeve wire bases together and lightly stuff the top of the sleeve.
3. Feet & Lower Legs (Make 2)
Work with Dark Brown yarn.
- Rnd 1: Ch 5, starting from 2nd ch from hook: 3 sc, 3 sc in last ch st. Working along opposite side of foundation chain: 2 sc, 1 inc (10)
- Rnds 2–3: 10 sc (2 rounds) (10)
- Rnd 4: 9 sc, leave last st unworked. Move stitch marker here (this is your new round starting point) (10)
- Rnd 5: [1 dec, 3 sc] x 2 (8)
Prepare 2 pieces of 4-inch (10 cm) craft wire. Make a flat loop at one end matching the size of the foot bottom.
- Rnd 6: 2 sc, insert wire into the foot, ch 1, skip 1 st, 5 sc (7 sc + 1 ch-space)
Stuff the foot lightly around the wire.
- Rnd 7: 2 sc, 1 sc in ch-1 space, 5 sc (8)
Fasten off, leaving a long tail (approx. 35 inches / 90 cm). Apply clear craft glue to the exposed leg wire and wrap yarn tightly around the wire stem. Secure with glue at the end.
4. Upper Leg Pants (Make 2)
Work with White yarn. Leave a long starting tail.
- Rnd 1: 6 sc in MR (do not pull tight) (6)
- Rnd 2: [1 sc, 1 inc] x 3 (9)
- Rnd 3: [2 sc, 1 inc] x 3 (12)
- Rnd 4: 11 sc, 1 sl st (12)
Fasten off, leaving a long yarn end. Slide the lower leg wire into the upper leg pants, twist wire ends securely, and add a small amount of stuffing.
5. Body
Work with White yarn. Stuff the body firmly as you progress.
- Rnd 1: Ch 6, starting in 2nd ch from hook: 1 inc, 3 sc, 3 sc in last ch st. Work along opposite side: 4 sc (12)
- Rnd 2: 3 sc in next st, [1 sc, 1 inc] x 2, 1 sc, 3 sc in next st, 1 sc, 1 inc, 1 sc, leave remaining 2 sts unworked (19). Move stitch marker here (center back line). Keep marker aligned vertically down the back.
- Rnd 3: [1 inc, 2 sc] x 2, [1 inc, 1 sc] x 3, [1 sc, 1 inc] x 3, 1 sc (27)
- Rnd 4: [1 sc, 1 inc] x 4, 2 sc, 1 inc, 3 sc, 1 inc, 2 sc, 1 inc, 9 sc (34)
- Rnd 5: 13 sc, 1 inc, [3 sc, 1 inc] x 2, 8 sc, [1 inc, 1 sc] x 2 (39)
- Rnd 6: [1 sc, 1 inc] x 2, Curl, 4 sc, Curl, 7 sc, Curl, 3 sc, 1 inc, 3 sc, Curl, 7 sc, Curl, 5 sc, Curl, 5 sc (42)
- Work a shift stitch to re-align back marker if needed.
- Rnd 7: 5 sc, push curl to front and skip base, 4 sc, skip curl, 7 sc, skip curl, 8 sc, skip curl, 7 sc, skip curl, 5 sc, skip curl, 5 sc (42)
- Tail attachment: Ch 4, starting in 3rd ch from hook: 2 hdc. Continue on body: (42 sts). Keep curls facing the outside/front throughout.
- Rnd 8: 4 sc, Curl, 10 sc, place additional marker for left leg, 7 sc, Curl, 7 sc, place additional marker for right leg, 7 sc, Curl, 7 sc (42)
- Rnd 9: 9 sc, Curl, 15 sc, Curl, 18 sc (42)
- Rnd 10: 12 sc, Curl, 3 sc, Curl, 12 sc, Curl, 4 sc, Curl, 3 sc, 1 dec, 1 sc, 1 dec, Curl, 1 sc, 1 dec (39)
- Rnd 11: [1 sc, 1 dec] x 3, 8 sc, Curl, 22 sc (36)
- Rnd 12: 3 sc, Curl, 33 sc (36)
- Rnd 13: 13 sc, 1 dec, 2 sc, Curl, 4 sc, 1 dec, 6 sc, 1 dec, 5 sc (33)
- Rnd 14: 5 sc, 1 dec, 13 sc, Curl, 7 sc, Curl, 1 dec, 1 sc, 1 dec, Curl, 1 sc (30)
Attaching Legs: Insert leg wires into marked leg positions. Twist leg wire ends together tightly inside the body and secure with adhesive fabric tape. Sew upper leg pants neatly to body opening.
- Rnd 15: [1 dec, 1 sc] x 2, Curl, 4 sc, Curl, 2 sc, [1 dec, 1 sc] x 3, 9 sc (25)
- Rnd 16: 25 sc (25)
- Rnd 17: 2 sc, 1 dec, 2 sc, place additional arm marker, 3 sc, 1 dec, 2 sc, Curl, 1 sc, 1 dec, 3 sc, place additional arm marker, 2 sc, 1 dec, 2 sc (21)
- Rnd 18: 2 sc, Curl, 13 sc, Curl, 6 sc (21)
- Rnd 19: 5 sc, Curl, [1 dec, 5 sc] x 2, Curl, 1 dec (18)
- Rnd 20: 7 sc, Curl, 11 sc (18)
- Rnd 21: 10 sc, Curl, 8 sc (18)
Attaching Arms: Insert arm wires into marked positions. Twist wires inside body, wrap securely with adhesive tape, and sew sleeves onto body sides.
- Rnd 22: [1 dec, 4 sc] x 2, 1 dec, 3 sc, Curl, 1 sc (15)
- Rnd 23: [3 sc, 1 dec] x 2, 2 sc, 1 dec, 1 sc (12)
- Rnd 24: 12 sc (12)
- Rnd 25: 2 sc, Curl, 1 dec, 2 sc, 1 dec, 1 sc, Curl, 1 sc, 1 dec (9)
- Rnds 26–27: 9 sc (2 rounds) (9)
Fasten off, leaving a long tail for head attachment.
6. Head
Work with Light Brown yarn.
- Rnd 1: 6 sc in MR (6)
- Rnd 2: 6 inc (12)
- Rnd 3: [1 sc, 1 inc] x 6 (18)
- Rnd 4: [1 sc, 1 inc, 1 sc] x 6 (24)
- Rnd 5: [3 sc, 1 inc] x 6 (30)
- Rnds 6–9: 30 sc (4 rounds) (30)
- Rnd 10: [1 dec, 8 sc] x 3 (27)
- Rnds 11–12: 27 sc (2 rounds) (27)
- Rnd 13: 12 sc, ch 3, skip 3 sts (neck opening), 12 sc (27)
- Rnd 14: 12 sc, 3 sc into ch-3 loop, 12 sc (27)
- Rnd 15: [8 sc, 1 inc] x 3 (30)
- Rnd 16: [2 sc, 1 inc, 2 sc] x 6 (36)
- Rnds 17–22: 36 sc (6 rounds) (36)
- Rnd 23: [2 sc, 1 dec, 2 sc] x 6 (30)
- Rnd 24: [1 dec, 3 sc] x 6 (24)
- Rnd 25: [1 dec, 2 sc] x 6 (18)
Stuff head firmly with fiberfill.
- Rnd 26: [1 dec, 1 sc] x 6 (12)
- Rnd 27: 6 dec (6)
Fasten off, cinch hole closed, and weave in end. Attach head by fitting the neck stem extension from the body into the neck hole created on Rnd 13 of head, then sew securely around the join.
7. Curly Hair Cap (Wig)
Work with White yarn.
- Rnd 1: 6 sc in MR (6)
- Rnd 2: 6 inc (12)
- Rnd 3: Curl, [1 sc, 1 inc] x 2, Curl, [1 sc, 1 inc] x 2, Curl, [1 sc, 1 inc] x 2 (18)
- Rnd 4: Skip curl, 2 sc, 1 inc, Curl, 2 sc, 1 inc, skip curl, 2 sc, 1 inc, Curl, 2 sc, 1 inc, skip curl, 2 sc, 1 inc, Curl, 2 sc, 1 inc (24)
- Rnd 5: 3 sc, 1 inc, skip curl, [3 sc, 1 inc] x 2, skip curl, [3 sc, 1 inc] x 2, skip curl, 3 sc, 1 inc (30)
- Rnd 6: 4 sc, 1 inc, 3 sc, Curl, 1 sc, 1 inc, 2 sc, Curl, 2 sc, 1 inc, 4 sc, 1 inc, 2 sc, Curl, 2 sc, 1 inc, 3 sc, Curl, 1 sc, 1 inc (36)
- Rnd 7: 1 sc, Curl, 20 sc, Curl, 15 sc (36)
- Rnd 8: 4 sc, Curl, 7 sc, Curl, 6 sc, Curl, 11 sc, Curl, 8 sc (36)
- Rnd 9: 7 sc, Curl, 12 sc, Curl, 5 sc, Curl, 7 sc, Curl, 4 sc, Curl, 1 sc (36)
- Rnd 10: 14 sc, Curl, 12 sc, Curl, 10 sc (36)
- Rnd 11: 2 sc, Curl, 7 sc, Curl, 7 sc, Curl, 6 sc, Curl, 7 sc, Curl, 7 sc (36)
Fasten off. Glue or sew the curly hair cap firmly over top back portion of head.
8. Eye Backings (Make 2)
Work with Thin White Thread.
- Ch 3, work 7 hdc into the 3rd ch from hook. Join with sl st to form a small circle (7 hdc).
Fasten off. Glue 6 mm black half-beads in center of each white circle, then glue assembled eyes onto face.
9. Ears (Make 2)
Work with Light Brown yarn.
- Rnd 1: Ch 8, starting 2nd ch from hook: 1 sc, 2 hdc, 1 dc, 1 hdc, 1 sc, 1 sl st in last ch. Turn to work along opposite side of chain: 1 sc, 1 hdc, 1 dc, 2 hdc, 1 sc (15)
Fasten off, leaving a long tail. Sew ears to head sides directly next to hair cap edge.
—
Assembly & Finishing Touches
- Embroider a cute “Y” shaped nose and mouth onto front of muzzle using dark brown embroidery floss.
- Double-check all wired joints are wrapped safely inside body to retain flexibility without poking through.
- Fluff out individual curly locks on head and body to create a maximum textured fleece effect.
Your sweet, handcrafted Curly Lamb is finished! Enjoy your custom amigurumi creation or gift it to someone special.