How to Crochet a Magic Circle for beginners
Creating a magic circle is a fundamental skill for any crochet enthusiast. It’s essential for projects like amigurumi and circular patterns, where starting with a tight center is crucial. This guide will walk you through the process, offering clear instructions and tips to enhance your crocheting journey.
What is a Magic Circle?
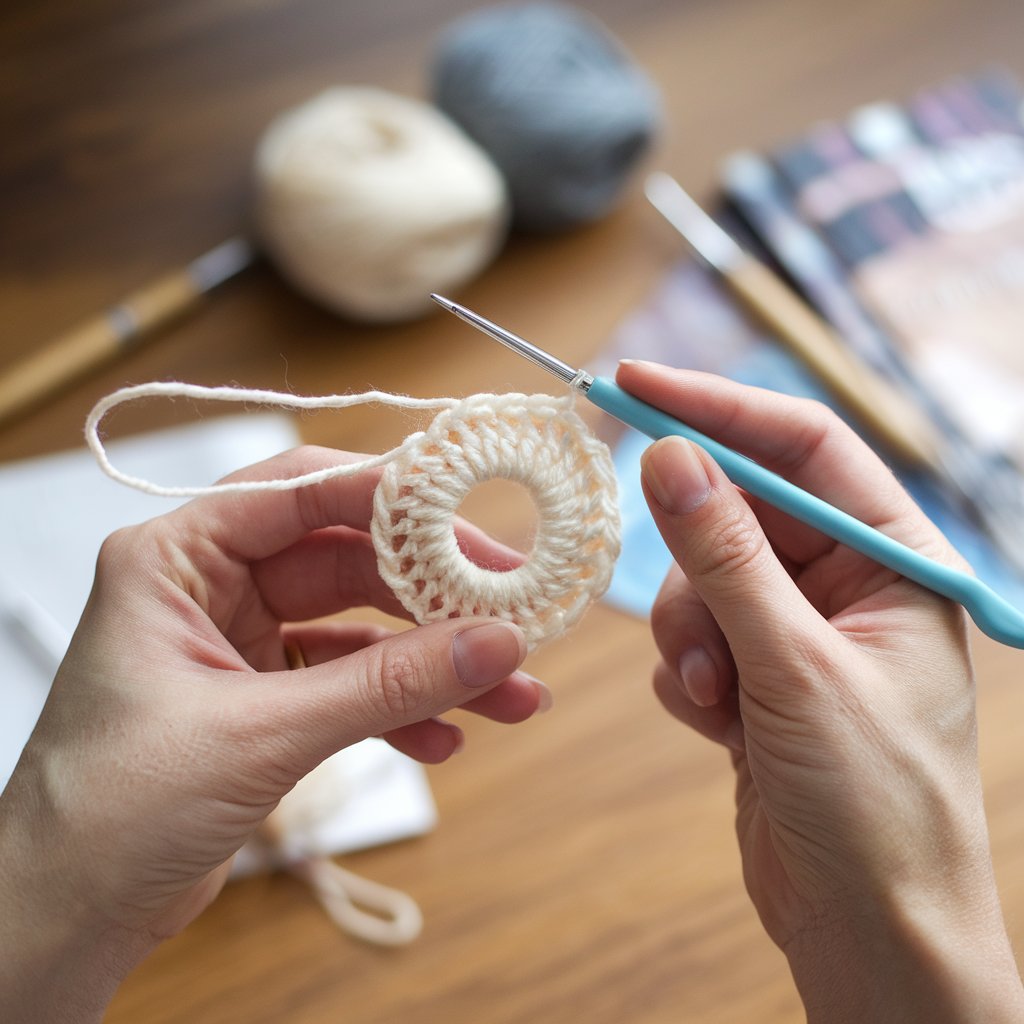
The magic circle, or magic ring, is a cool crochet trick that helps you start projects that are round, like hats or toys. Unlike traditional slip knots, this method allows you to create a circle with an adjustable center, eliminating any hole at the start of your work.
Definition and Purpose
So, what makes the magic circle so special? It’s essentially a loop made with yarn that you can tighten by pulling the yarn tail. This method is particularly beneficial when crocheting projects like amigurumi or hats, where a snug finish is desired.
Benefits of the Magic Circle Technique
- Tight Center: Ensures no gaps in the center of circular projects.
- Flexibility: Easily adjustable to accommodate various yarn tensions.
- Professional Finish: Provides a cleaner look compared to starting with a slip knot.
Materials Needed
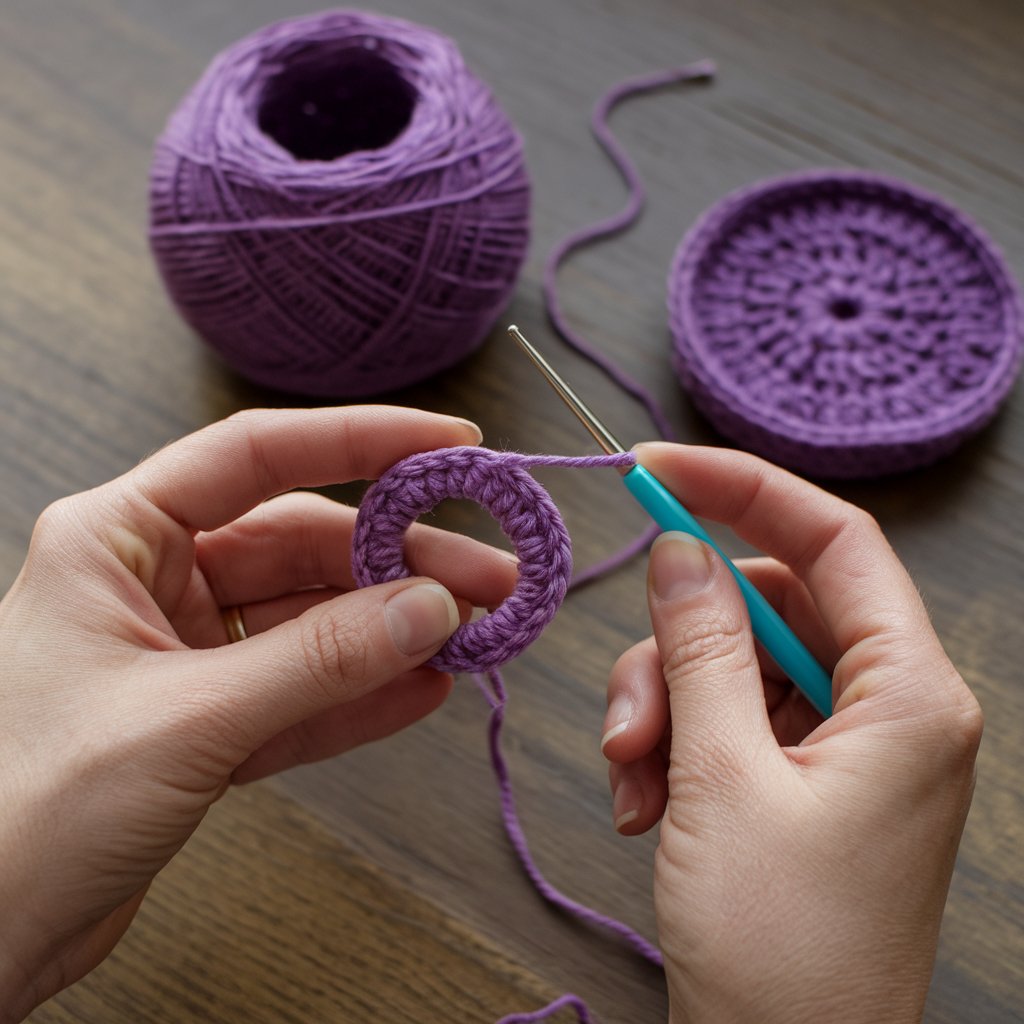
Before you begin, gathering the right materials is crucial for a smooth crocheting experience.
Yarn Types
Choosing the right yarn depends on your project. For beginners, a medium-weight yarn is ideal. It’s easy to handle and allows you to see your stitches clearly. Lion Brand Yarn offers excellent options.
Crochet Hook Size
Selecting the appropriate hook size is vital. Generally, a hook size of 5 mm (H-8) or 6 mm (J-10) works well with medium-weight yarn. However, it’s essential to read your yarn’s label for specific recommendations.
Step-by-Step Guide to Creating a Magic Circle
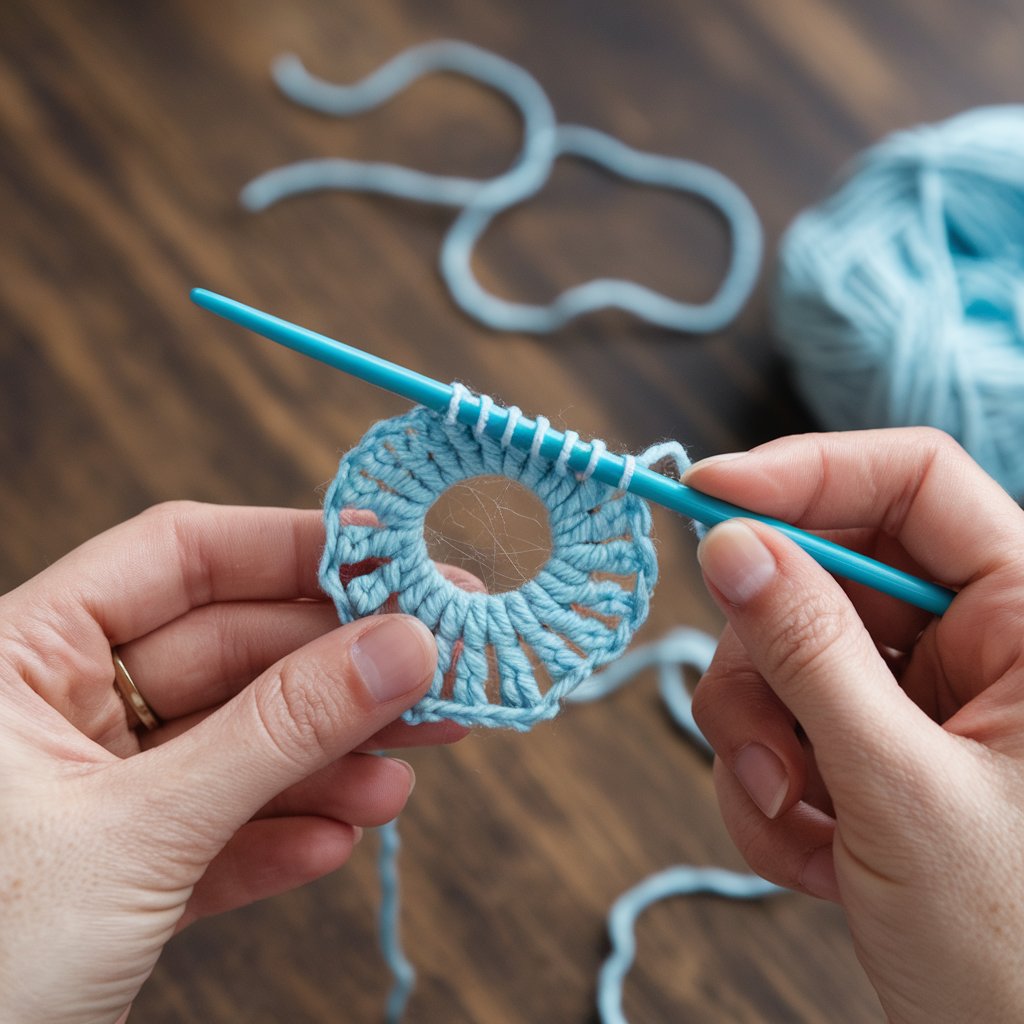
Now, let’s get into the fun part of making a magic circle! By following these steps, you’ll learn this trick quickly!
Step 1: Make the Loop
Start by holding your yarn in your left hand and creating a loop. Cross the tail of the yarn over the working yarn to form a circle.
Step 2: Positioning the Hook
Next, insert your crochet hook into the loop from front to back. How you hold the yarn is really important to keep the loop’s shape while you crochet.
Step 3: Yarning Over and Pulling Through
With the hook inside the loop, yarn over and pull through to create the first stitch. This initial step anchors your magic circle.
Step 4: Completing the Circle
Finally, pull the yarn end to tighten the circle around your stitches. You can now begin working your desired number of stitches into the ring. For a visual guide, see this tutorial on Youtube.
Common Mistakes to Avoid
While learning the magic circle, beginners often make these frequent errors.
Not Tightening the Circle
Make sure to gently pull the yarn tail tight after your first stitches so there aren’t any holes in your project.
Misplacing the Hook
Correct hook placement is vital. Always insert the hook into the correct part of the loop to ensure your stitches lay flat and evenly.
Final Words
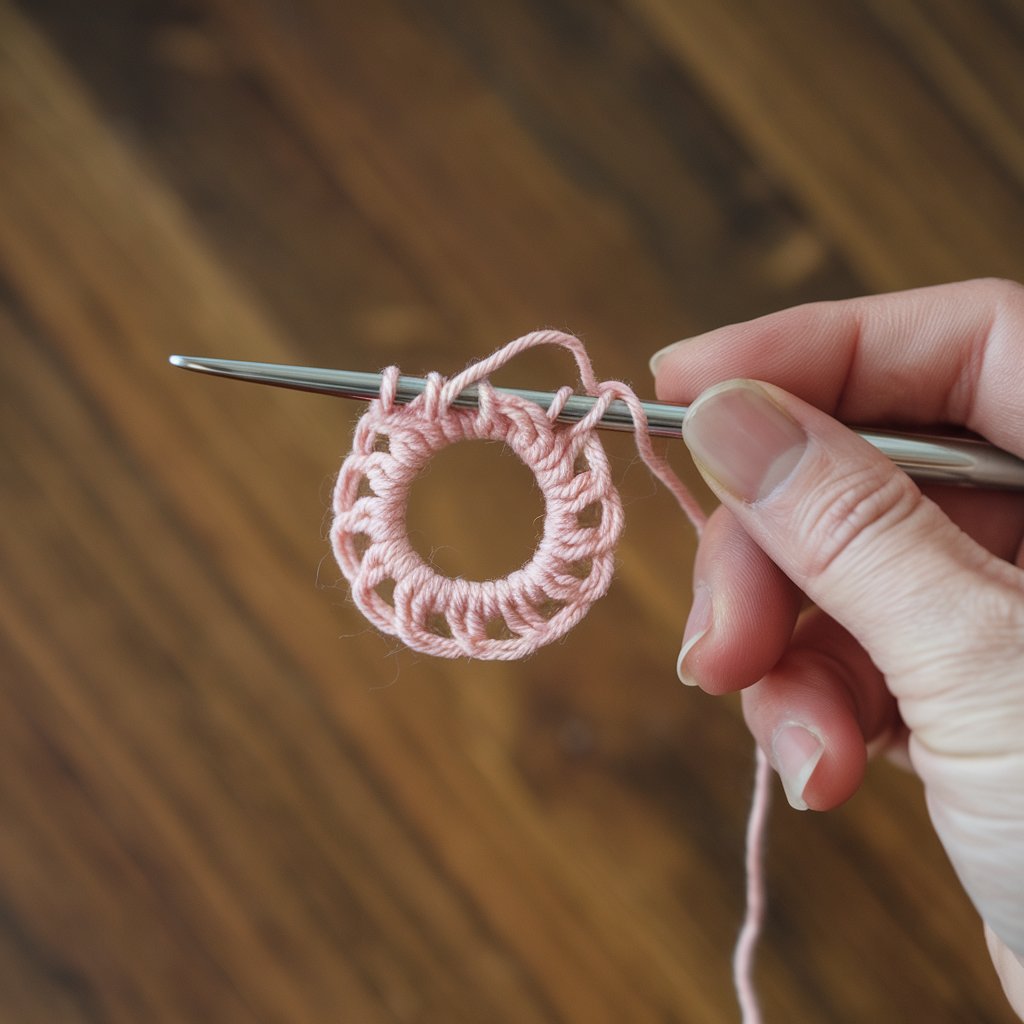
Mastering the magic circle is a rewarding skill for any crocheter. It offers a professional start to many patterns, particularly in amigurumi and other circular projects. Remember, practice is key! As you gain confidence, you’ll find this technique second nature, setting the stage for countless beautiful creations. Happy crocheting!


