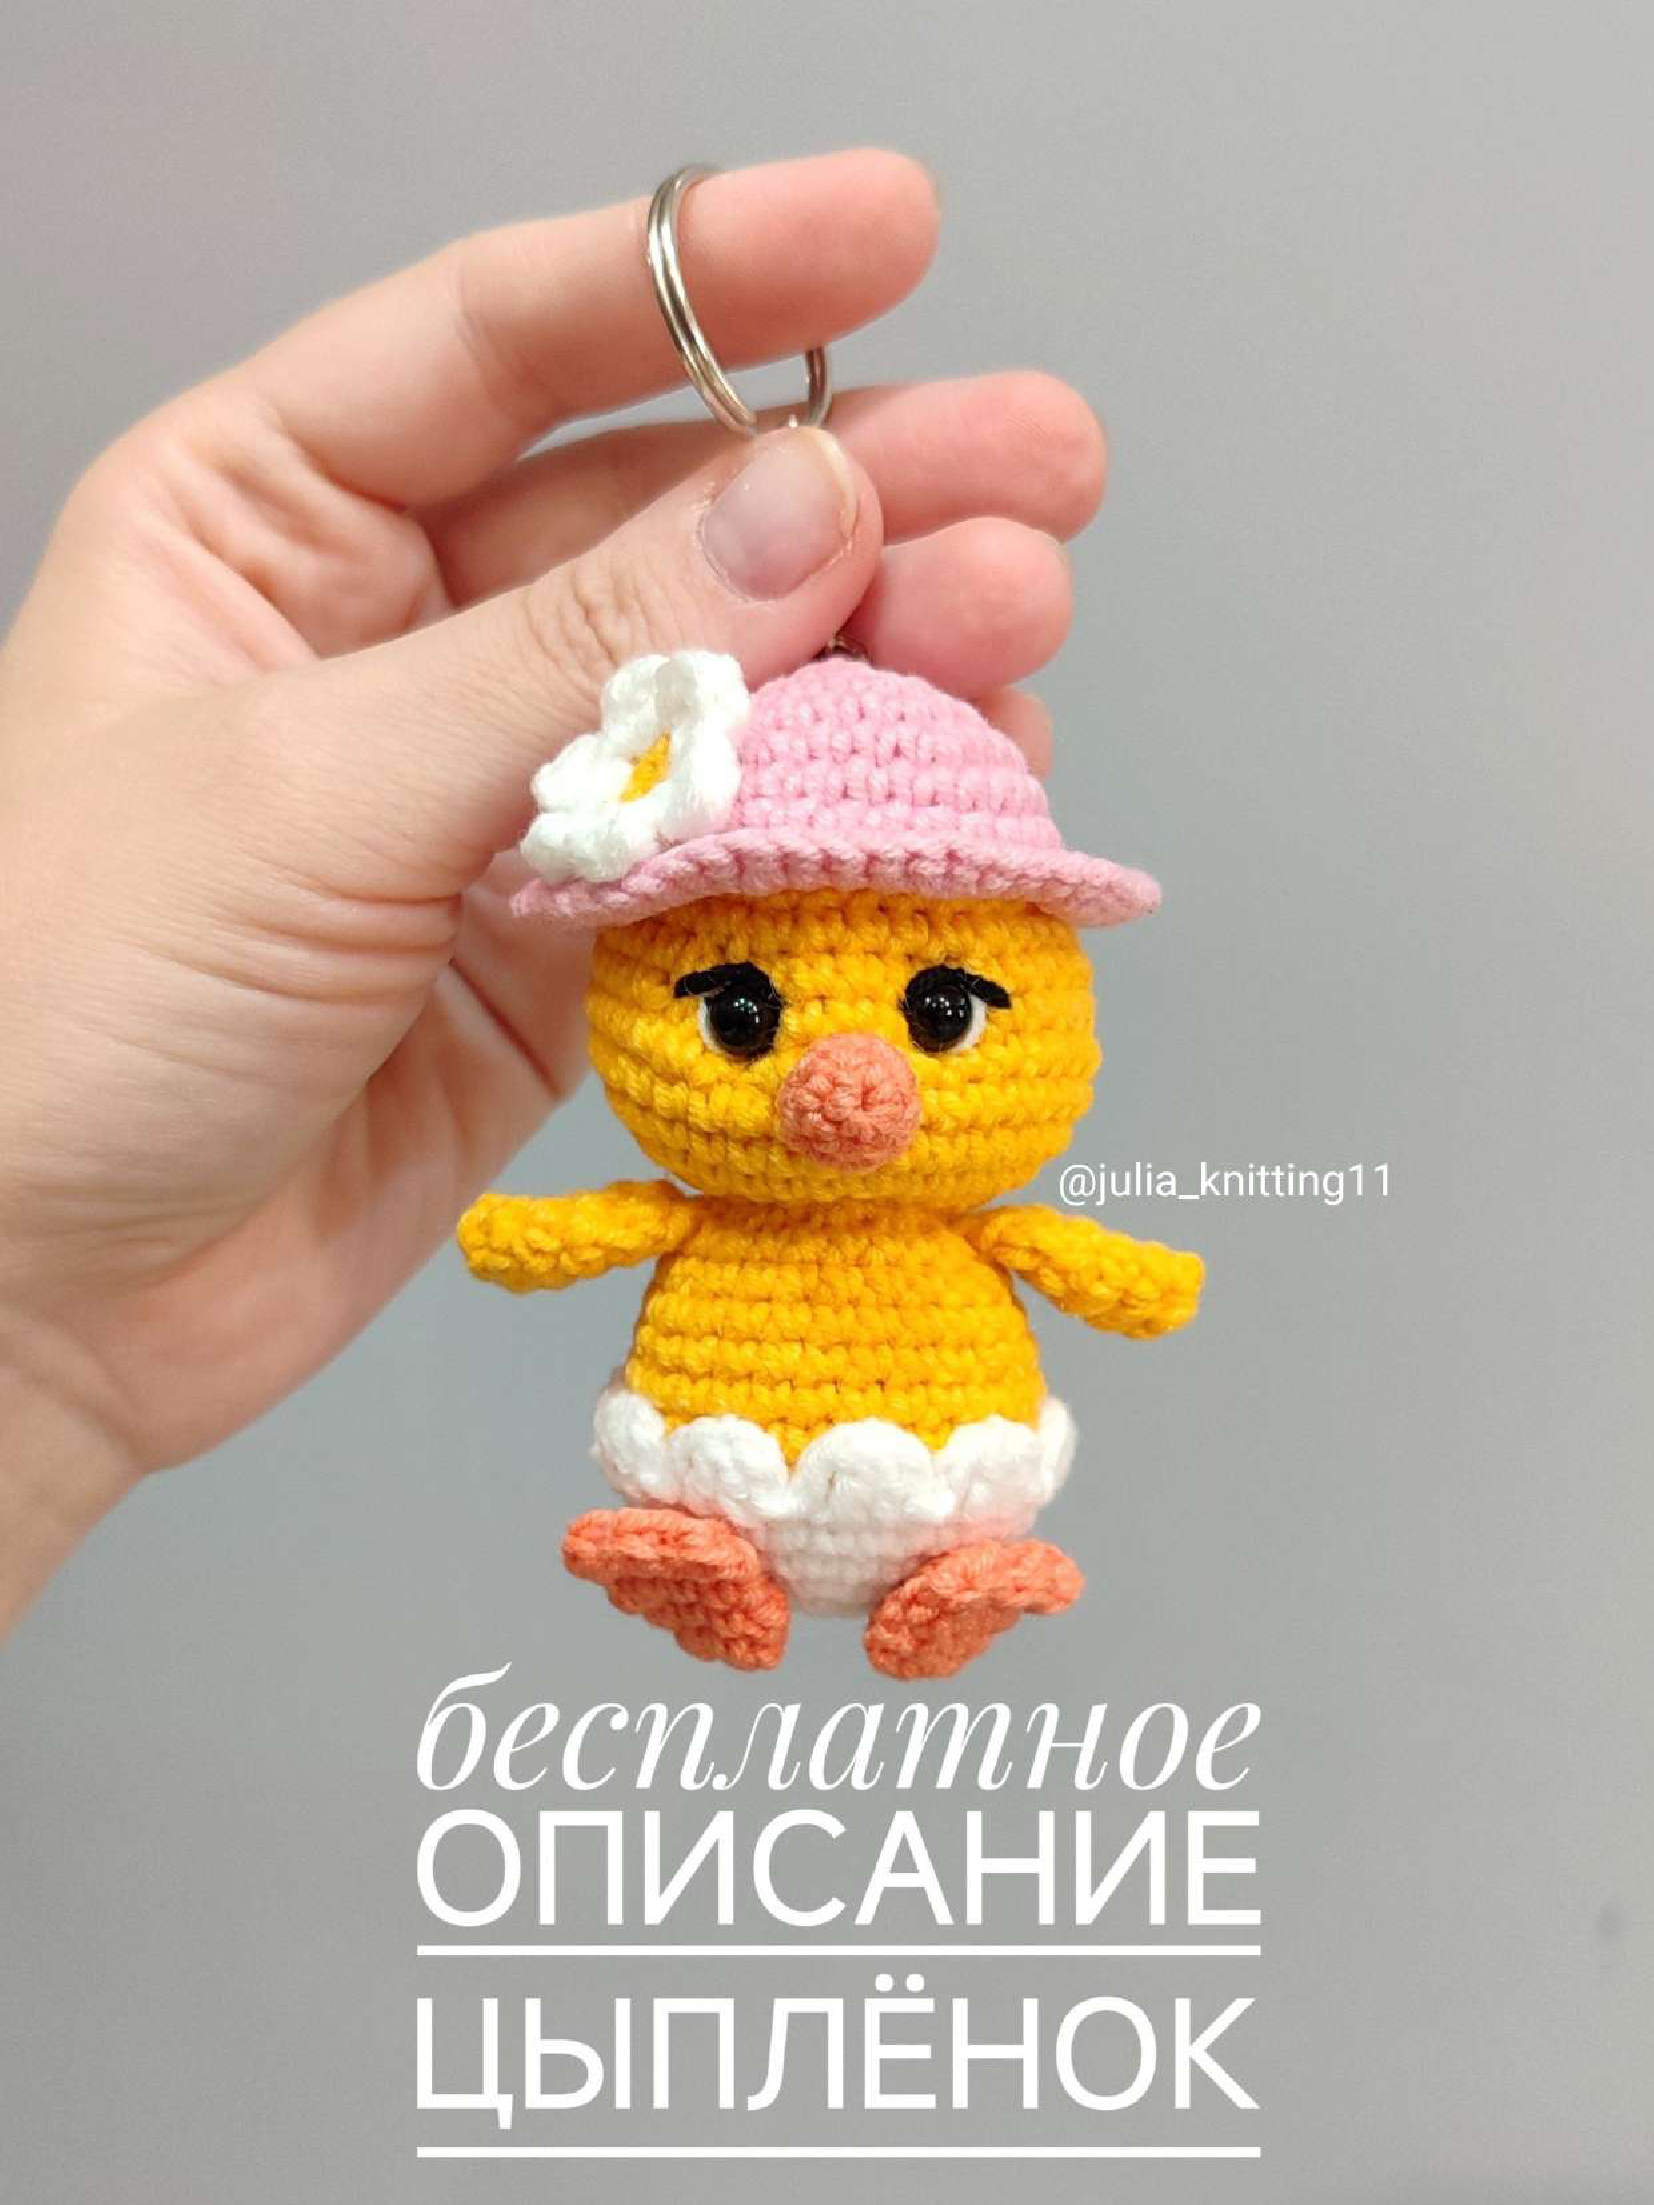
Adorable Amigurumi Chick: Free Crochet Pattern
Materials
To embark on this delightful crochet project, gather the following essential materials:
- Yarn Art Jeans Yarn:
- Yellow (Color Code: 35)
- Pink (Color Code: 36)
- Orange (Color Code: 23)
- White (Color Code: 62)
- Black (for embroidery or small details)
- Crochet Hook: 1.75 mm
- Safety Eyes: 6mm diameter
- Filler: Polyester fiberfill or similar stuffing material
- Sewing Needle: For assembly and weaving in ends
Abbreviations
Before we dive into the pattern, familiarize yourself with these standard crochet abbreviations:

- MR: Magic Ring
- Ch: Chain stitch
- Sl st: Slip stitch
- Sc: Single crochet
- Hdc: Half double crochet
- Dc: Double crochet
- Inc: Increase (making two stitches in one)
- Dec: Decrease (making one stitch from two)
Pattern Instructions
Wings (Make 2)
We’ll start by creating the chick’s adorable little wings. Use yellow yarn for this section.
- Round 1: 6sc in MR (6 stitches)
- Round 2: (1sc, inc) *3 times (9 stitches)
- Round 3: (2sc, inc) *3 times (12 stitches)
- Round 4: 12sc (12 stitches)
- Round 5: (2sc, dec) *3 times (9 stitches)
Fold the wing in half and crochet through both sides: 4sc. Cut the yarn, fasten off, and hide the tail. Set aside for assembly later.
Body
Next, we move on to the main body of the chick. Continue using yellow yarn for the body.
- Round 1: 6sc in MR (6 stitches)
- Round 2: inc*6 times (12 stitches)
- Round 3: (1sc, inc) *6 times (18 stitches)
- Round 4: (2sc, inc) *6 times (24 stitches)
- Round 5: (3sc, inc) *6 times (30 stitches)
- Rounds 6-8: 30sc (3 rows) (30 stitches)
- Round 9: (8sc, dec) *3 times (27 stitches)
- Round 10: 27sc (27 stitches)
- Round 11: (7sc, dec) *3 times (24 stitches)
In the next row, you will crochet the wings into the body:
- Round 12: 4sc, then crochet 4sc together with the first wing, 8sc, then crochet 4sc together with the second wing, 4sc (24 stitches)
- Round 13: dec*12 times (12 stitches)
Begin to stuff the body firmly as you proceed.
Head
Continue directly from the body to form the head, still using yellow yarn.
- Round 14: inc*12 times (24 stitches)
- Round 15: (3sc, inc) *6 times (30 stitches)
- Round 16: (4sc, inc) *6 times (36 stitches)
- Rounds 17-19: 36sc (3 rows) (36 stitches)
- Round 20: (10sc, dec) *3 times (33 stitches)
- Round 21: 33sc (33 stitches)
- Round 22: (9sc, dec) *3 times (30 stitches)
- Round 23: 30sc (30 stitches)
Insert the 6mm safety eyes between Row 20 and Row 21, with a distance of 5 single crochet stitches between them. Continue stuffing the head as you go.
- Round 24: (3sc, dec) *6 times (24 stitches)
- Round 25: (2sc, dec) *6 times (18 stitches)
- Round 26: (1sc, dec) *6 times (12 stitches)
- Round 27: dec*6 times (6 stitches)
Cut the yarn, leaving a tail. Use a sewing needle to pull the tail through the remaining 6 stitches and pull tight to close the opening. Weave in the end.
Beak
Give your chick a cute little beak using orange yarn.
- Round 1: 4sc in MR (4 stitches)
- Round 2: inc, 1sc, inc, 1sc (6 stitches)
- Round 3: inc, 2sc, inc, 2sc (8 stitches)
Cut the yarn, leaving a long tail for sewing. Sew the beak onto the chick’s face, centered below the eyes.
Eggshell
For an extra touch of charm, create a cracked eggshell for your chick to emerge from. Use white yarn for this part.
- Round 1: 6sc in MR (6 stitches)
- Round 2: inc*6 times (12 stitches)
- Round 3: (1sc, inc) *6 times (18 stitches)
- Round 4: (2sc, inc) *6 times (24 stitches)
- Round 5: (3sc, inc) *6 times (30 stitches)
- Round 6: 30sc (30 stitches)
- Round 7: (sl st, 2ch, then crochet 2dc together (dc cluster) – first dc in the same stitch as 2ch, second dc in next stitch, 2ch, sl st in next stitch) *10 times.
Cut the yarn, leaving a long tail for sewing. Position the eggshell around the bottom of the chick’s body and sew it into place, allowing for some of the chick’s body to show above the “crack.”
Paws (Make 2)
Give your chick some tiny feet using orange yarn.
- Round 1: 6sc in MR (6 stitches)
- Round 2: (1sc, inc) *3 times (9 stitches)
- Round 3: 9sc (9 stitches)
- Round 4: (2sc, inc) *3 times (12 stitches)
Fold the paw in half and crochet through both sides: (hdc, sl st) *3 times. Cut the yarn, leaving a tail for sewing. Sew the paws to the bottom front of the chick’s body.
Hat
For an extra adorable touch, crochet a little hat for your chick. You can use pink yarn or any color you prefer for the hat.
- Round 1: 6sc in MR (6 stitches)
- Round 2: inc*6 times (12 stitches)
- Round 3: (1sc, inc) *6 times (18 stitches)
- Round 4: (2sc, inc) *6 times (24 stitches)
- Round 5: (3sc, inc) *6 times (30 stitches)
- Rounds 6-7: 30sc (30 stitches)
- Round 8: In front loops only (inc, 2sc) *10 times (40 stitches)
- Round 9: (inc, 3sc) *10 times (50 stitches)
Cut the yarn, leaving a tail. Position the hat on the chick’s head and sew it securely in place.
Flower
To complete the hat, add a small decorative flower.
Using yellow yarn:
- Round 1: 6sc in MR (6 stitches)
Switch to white yarn:
- Round 2: (sl st, ch, 2dc, ch, sl st) *6 times
Cut the yarn, leaving a tail. Sew the flower to the hat.
Congratulations! You’ve just completed your delightful amigurumi chick! We hope you enjoyed creating this charming little creature. Feel free to customize your chick with different yarn colors, add embroidered details, or create a whole flock! Share your finished creations with us and @julia_knitting11 on social media – we’d love to see them!