Crochet a Cute Bunny with a Small Carrot
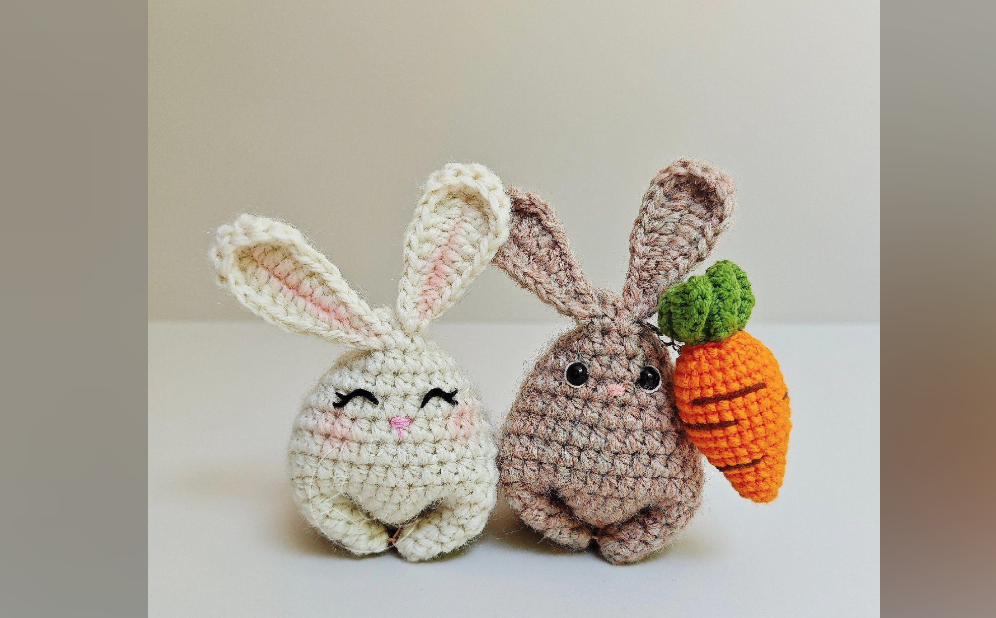
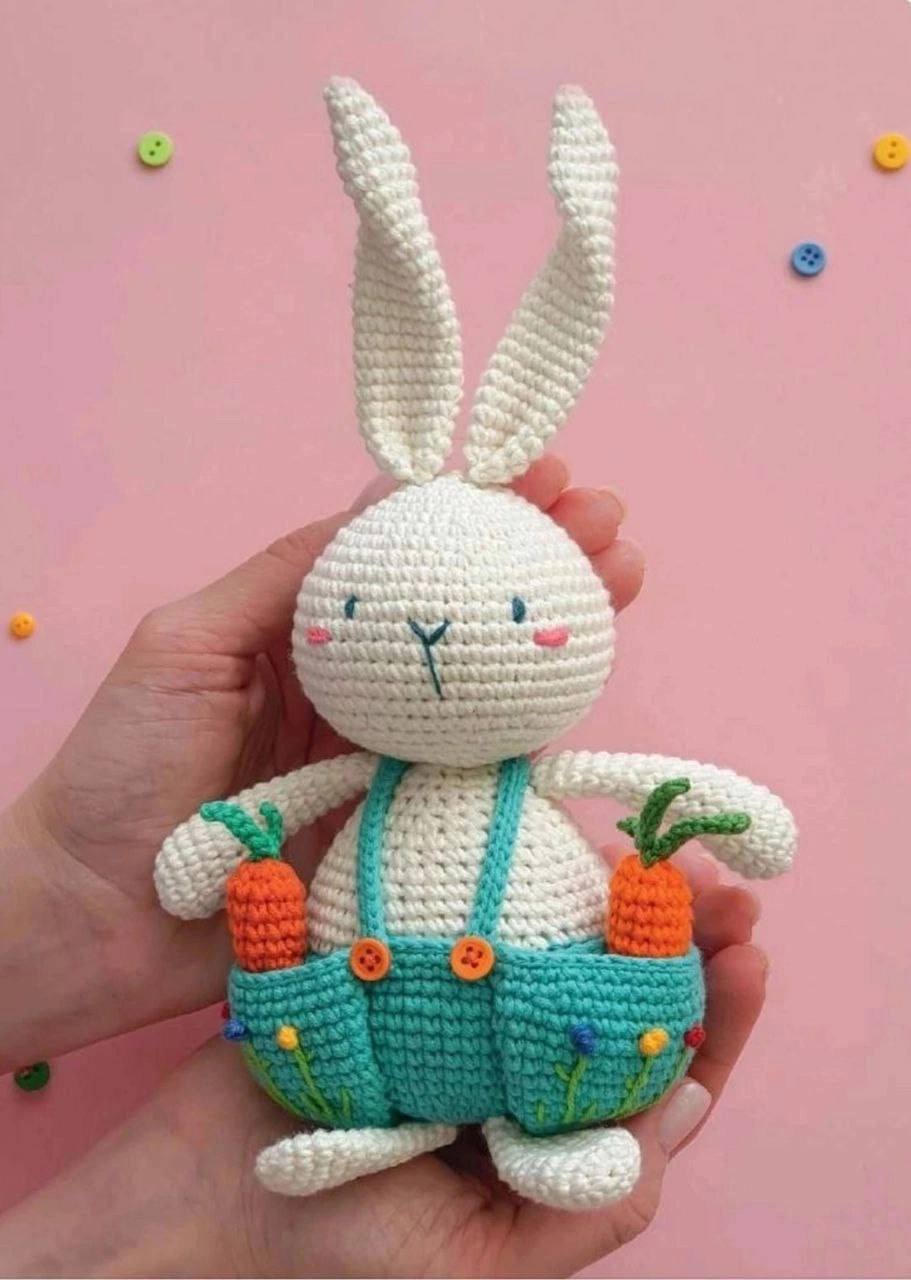
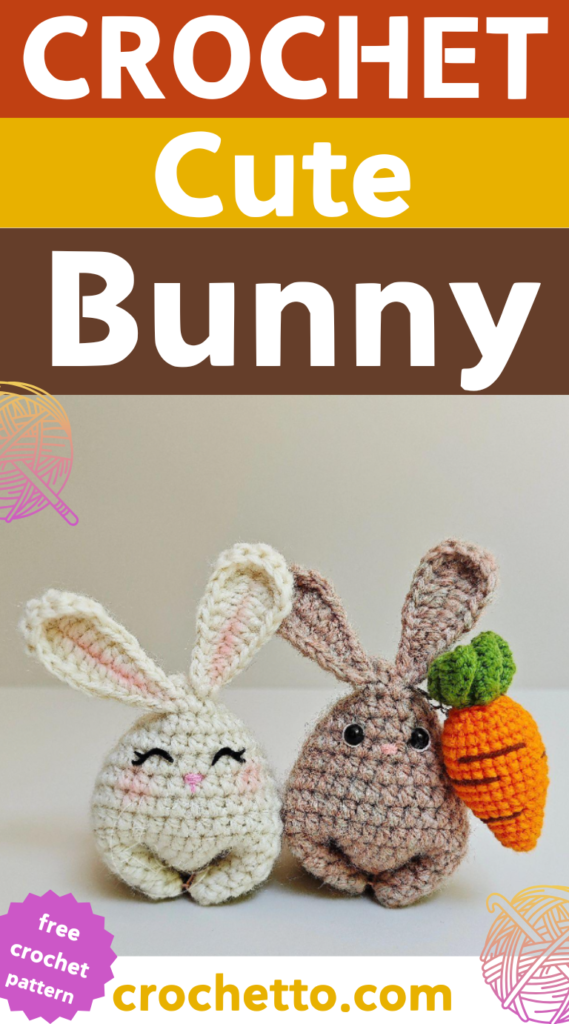
Ever wanted to crochet a charming bunny with its own tiny carrot? This adorable project makes the perfect gift or decoration, and it’s ideal for crochet enthusiasts looking for something a little different. This step-by-step tutorial will walk you through creating the main bunny body, floppy ears, and a cute little carrot accessory. Let’s get crafting!
Crochet Bunny with a Small Carrot
Materials Needed
- Worsted weight yarn in white (for the bunny), pink (for details), and orange & green (for the carrot)
- Crochet hook (size 3.5 mm/E)
- Yarn needle
- Stitch marker
- Scissors
- Stuffing (polyester fiberfill)
Main Body (Worked in Spiral Rounds)
- Starting Row (R1):
- Chain 22.
- Work in reverse single crochet across 19 stitches, then make an increase (inc) in the last stitch.
- Turn your work, crochet 18 single crochet (sc), and make another increase (inc) in the last stitch.
- R2-R12:
- Continue working in single crochet (sc) around, maintaining 42 stitches in total for these rounds.
- Shaping the Body (R13):
- Work 16 single crochet (sc).
- Make 1 decrease (dec), then finish the round with a slip stitch (sl st).
- Fold the piece in half.
- Sew the edges together by pulling through pairs of stitches until the end.
Now your bunny’s body is ready and taking shape!
Ears (Make 2)
- Start with a Chain:
- Chain 10.
- Row Pattern:
- Work reverse single crochet into the first 2 stitches.
- Crochet 2 single crochet (sc).
- Work 3 half double crochet (hdc), followed by 1 double crochet (dc).
- Add 6 treble crochet (tr), then another double crochet (dc).
- Finish with 3 half double crochet (hdc), 2 single crochet (sc), and end with reverse single crochet in the last 2 stitches.
- Fasten Off:
- Leave a long tail for sewing the ears onto the body.
Pro tip: Slightly fold the ears when attaching to give your bunny a cute, floppy look!
Small Carrot (Worked in Rounds)
- R1:
- Begin with a magic ring and work 6 single crochet (sc) into the ring.
- R2:
- (Single crochet, increase) – repeat this sequence 3 times to get 9 stitches.
- R3:
- (2 single crochet, increase) – repeat this sequence 3 times to get 12 stitches.
- R4:
- Work 12 single crochet (sc) around.
- R5:
- (Single crochet, increase) – repeat this sequence 6 times to get 18 stitches.
- R6:
- Work 18 single crochet (sc) around.
- R7:
- (2 single crochet, increase) – repeat this sequence 6 times to get 24 stitches.
- Finishing:
- Stuff the carrot with a small amount of fiberfill before closing off the top.
- For the green leaves, chain 8-10 stitches and fasten off. Attach the leaves to the top of the carrot.
Assembly
- Attach the Ears:
- Use the yarn needle to sew the ears securely onto the top of the bunny’s head.
- Embroider the Face:
- Use a bit of pink yarn to add a small nose and white or black yarn for the eyes. You can also use safety eyes if preferred.
- Add the Carrot:
- Sew or attach the small carrot to one of the bunny’s paws, or leave it separate for play!
Finishing Touches
Now that your crochet bunny and carrot are complete, you can customize it even further. Add a bow, use different yarn colors, or even crochet a tiny basket for your bunny to sit in!
This sweet bunny project is fun, versatile, and makes a great gift or decoration. Be sure to share your creations in the comments below – I’d love to see your adorable bunny masterpieces!
Happy crocheting!

