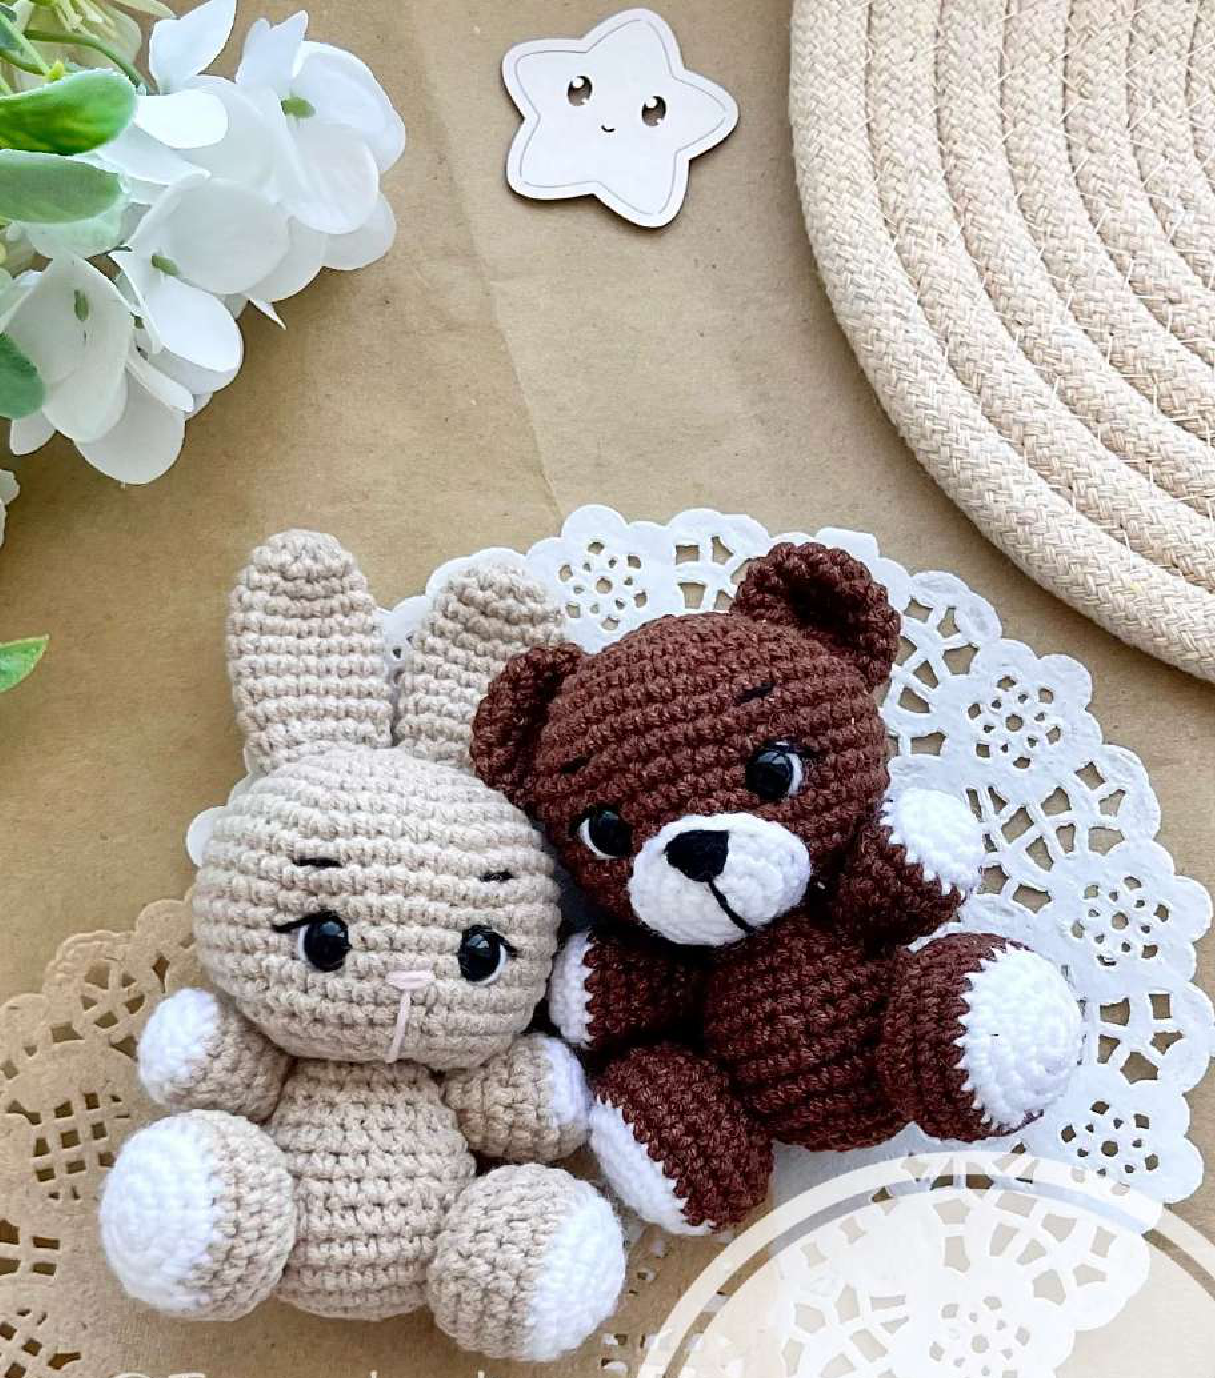
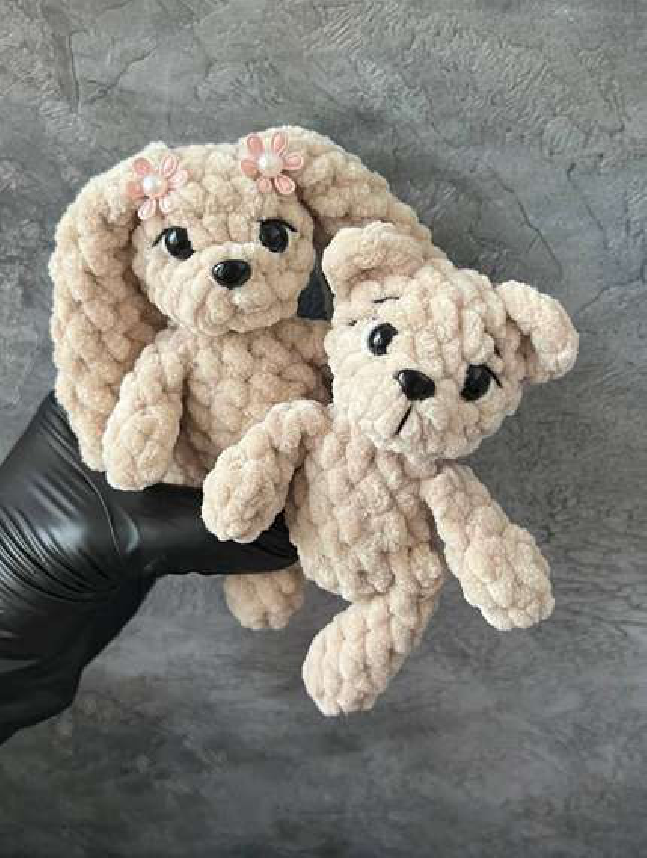
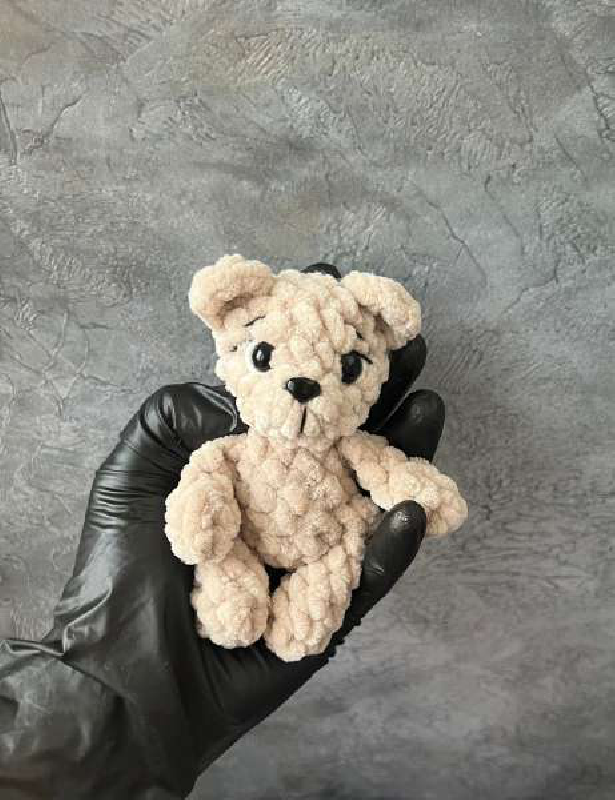
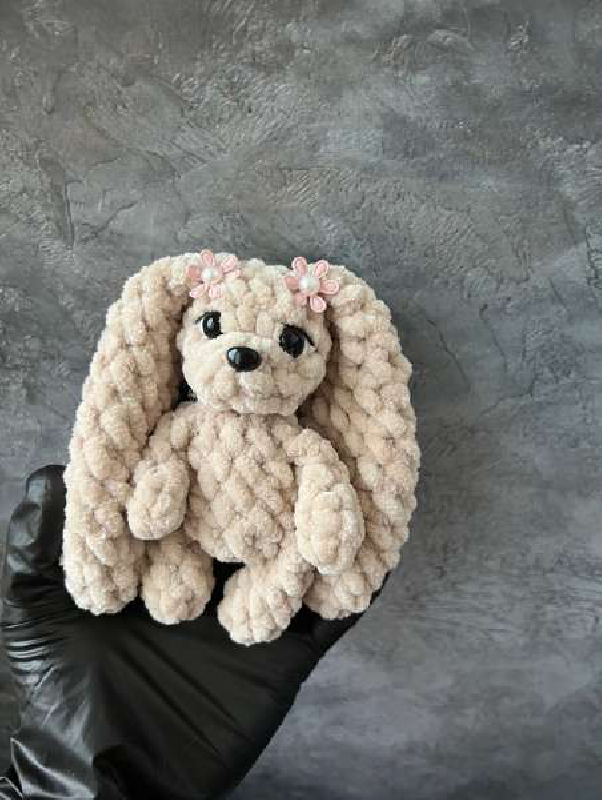
Crochet Adorable Teddy Bear & Bunny Sonya
Materials
To embark on your journey of crafting these adorable Amigurumi friends, the Teddy Bear and Bunny Sonya, gather the following essential materials. These are designed to create a finished toy approximately 10cm in height, making them perfect pocket-sized companions or delightful gifts.
- Yarn: Any plush yarn of your choice. The softness of plush yarn gives these toys their characteristic cuddly feel.
- Hook: A 4mm crochet hook. This size is recommended for achieving the right tension and stitch definition with plush yarn, ensuring your finished toy is firm enough to hold its shape.
- Needle: A darning or tapestry needle for sewing parts together and weaving in ends.
- Scissors: For cutting yarn.
- Eyes: 8mm safety eyes. These add character and life to your creations.
- Nose: 11-12mm safety nose. A slightly larger nose complements the eyes and face shape.
- Filler: Polyester fiberfill or any suitable toy stuffing. Ensure you have enough to firmly stuff your figures, giving them a satisfying squish.
Abbreviations Guide
Familiarize yourself with these standard crochet abbreviations, which are used throughout the pattern for clarity and conciseness:

- SC: Single Crochet
- MR: Amigurumi Ring (also known as Magic Ring or Magic Circle)
- INC: Increase (crochet two single crochets into one stitch)
- SL ST: Slip Stitch
- CH: Chain Stitch
- DEC: Decrease (single crochet two stitches together)
- HDC: Half Double Crochet
Amigurumi Pattern: Legs, Arms, and Body
This section details the foundational parts for both your Teddy Bear and Bunny Sonya. Carefully follow the instructions for each piece, paying attention to notes regarding stuffing.
Legs (Make 2)
Begin by creating two identical legs. It’s crucial not to stuff these pieces to maintain their flat profile for attachment.
- Start with 4 single crochets (SC) in an Amigurumi Ring (MR). (4 stitches)
- Increase (INC) in the first stitch, then single crochet (SC) in the next stitch. Repeat this sequence once more. (INC, SC) x2. (6 stitches)
- Single crochet in each of the 6 stitches for 3 rows. (6 SC for 3 rows)
- Decrease (DEC) in the first two stitches, then single crochet (SC) in the next stitch. Repeat this sequence once more. (DEC, SC) x2. (4 stitches)
- Single crochet in each of the 4 stitches for 1 row. (4 SC)
Fold the leg piece in half and crochet 2 single crochets (SC) together to close the opening. Important: Do not stuff the legs.
Arms (Make 2)
Similar to the legs, two arms will be crocheted and should not be stuffed.
- Start with 4 single crochets (SC) in an Amigurumi Ring (MR). (4 stitches)
- Increase (INC) in the first stitch, then single crochet (SC) in the next stitch. Repeat this sequence once more. (INC, SC) x2. (6 stitches)
- Decrease (DEC) in the first two stitches, then single crochet (SC) in the next stitch. Repeat this sequence once more. (DEC, SC) x2. (4 stitches)
- Single crochet in each of the 4 stitches for 2 rows. (4 SC for 2 rows)
Fold the arm piece in half and crochet 2 single crochets (SC) together to close the opening. Important: Do not stuff the arms.
Body
The body is the central component where the legs and arms will be integrated.
- Start with 4 single crochets (SC) in an Amigurumi Ring (MR). (4 stitches)
- Increase (INC) in each of the 4 stitches. (4 INC). (8 stitches)
- Single crochet (SC) in the first 4 stitches, then increase (INC) in each of the next 4 stitches. (4 SC, 4 INC). (12 stitches)
- Integrate the legs: Single crochet 2 stitches with the first leg, single crochet 4 stitches, then single crochet 2 stitches with the second leg, followed by 4 single crochets. (2 SC with leg, 4 SC, 2 SC with leg, 4 SC). (12 stitches)
- Single crochet (SC) in the first 8 stitches, then decrease (DEC) two times. (8 SC, 2 DEC). (10 stitches)
- Single crochet (SC) in each of the 10 stitches for 1 row. (10 SC)
- Integrate the arms: Single crochet 1 stitch, then single crochet 2 stitches with the first arm, single crochet 3 stitches, then single crochet 2 stitches with the second arm, followed by 2 single crochets. (1 SC, 2 SC with arm, 3 SC, 2 SC with arm, 2 SC). (10 stitches)
- Decrease (DEC) five times. (5 DEC). (5 stitches)
Firmly stuff the body as you go, ensuring a nice, plump shape.
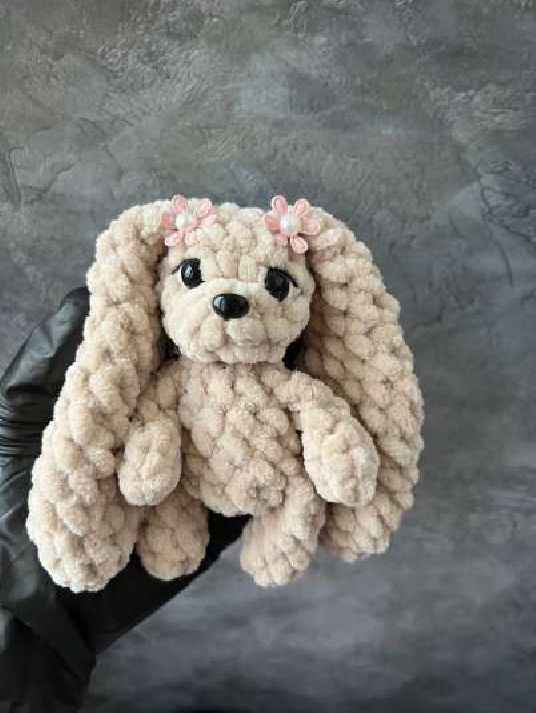
Crafting Bunny Sonya
Now, let’s create the distinct features for your adorable Bunny Sonya, focusing on her head and charming ears.
Bunny-dog Head
This head pattern can be used for both the bunny and a small dog, depending on the ears and facial details you add.
- Start with 4 single crochets (SC) in an Amigurumi Ring (MR). (4 stitches)
- Increase (INC) in each of the 4 stitches. (4 INC). (8 stitches)
- Single crochet (SC) in the first 4 stitches, then increase (INC) in each of the next 4 stitches. (4 SC, 4 INC). (12 stitches)
- Single crochet (SC) in the first 4 stitches, then single crochet (SC) in one stitch, followed by an increase (INC). Repeat this sequence 4 times. (4 SC, (SC, INC) x4). (16 stitches)
- Single crochet (SC) in each of the 16 stitches for 2 rows. (16 SC for 2 rows)
- Single crochet (SC) in the first 2 stitches, then decrease (DEC). Repeat this sequence 4 times. ((2 SC, DEC) x4). (12 stitches)
- Decrease (DEC) six times. (6 DEC). (6 stitches)
Stuff the head firmly as you crochet.
Eyes & Nose Placement (Bunny)
- Eyes: Position the 8mm safety eyes on the 3rd row, specifically after the 1st and 3rd increases. There should be 2 increases (or 4 stitches) visible between the eyes, as depicted in the pattern photo.
- Nose: Place the 11-12mm safety nose directly in the center of the Amigurumi Ring (MR) on the head.
Bunny Ears (Make 2)
These long, floppy ears are characteristic of Bunny Sonya.
- Start with 6 single crochets (SC) in an Amigurumi Ring (MR). (6 stitches)
- Increase (INC) in the first stitch, then single crochet (SC) in the next 2 stitches. Repeat this sequence once more. (INC, 2 SC) x2. (8 stitches)
- Increase (INC) in the first stitch, then single crochet (SC) in the next 3 stitches. Repeat this sequence once more. (INC, 3 SC) x2. (10 stitches)
- Increase (INC) in the first stitch, then single crochet (SC) in the next 4 stitches. Repeat this sequence once more. (INC, 4 SC) x2. (12 stitches)
- Single crochet (SC) in each of the 12 stitches for 4 rows. (12 SC for 4 rows)
- Decrease (DEC) in the first two stitches, then single crochet (SC) in the next 4 stitches. Repeat this sequence once more. (DEC, 4 SC) x2. (10 stitches)
- Single crochet (SC) in each of the 10 stitches for 1 row. (10 SC)
- Decrease (DEC) in the first two stitches, then single crochet (SC) in the next 3 stitches. Repeat this sequence once more. (DEC, 3 SC) x2. (8 stitches)
- Single crochet (SC) in each of the 8 stitches for 2 rows. (8 SC for 2 rows)
- Decrease (DEC) in the first two stitches, then single crochet (SC) in the next 2 stitches. Repeat this sequence once more. (DEC, 2 SC) x2. (6 stitches)
- Single crochet (SC) in each of the 6 stitches for 1 row. (6 SC)
Fold the ear piece in half and crochet 2 single crochets (SC) together to close the opening. Do not stuff the ears.
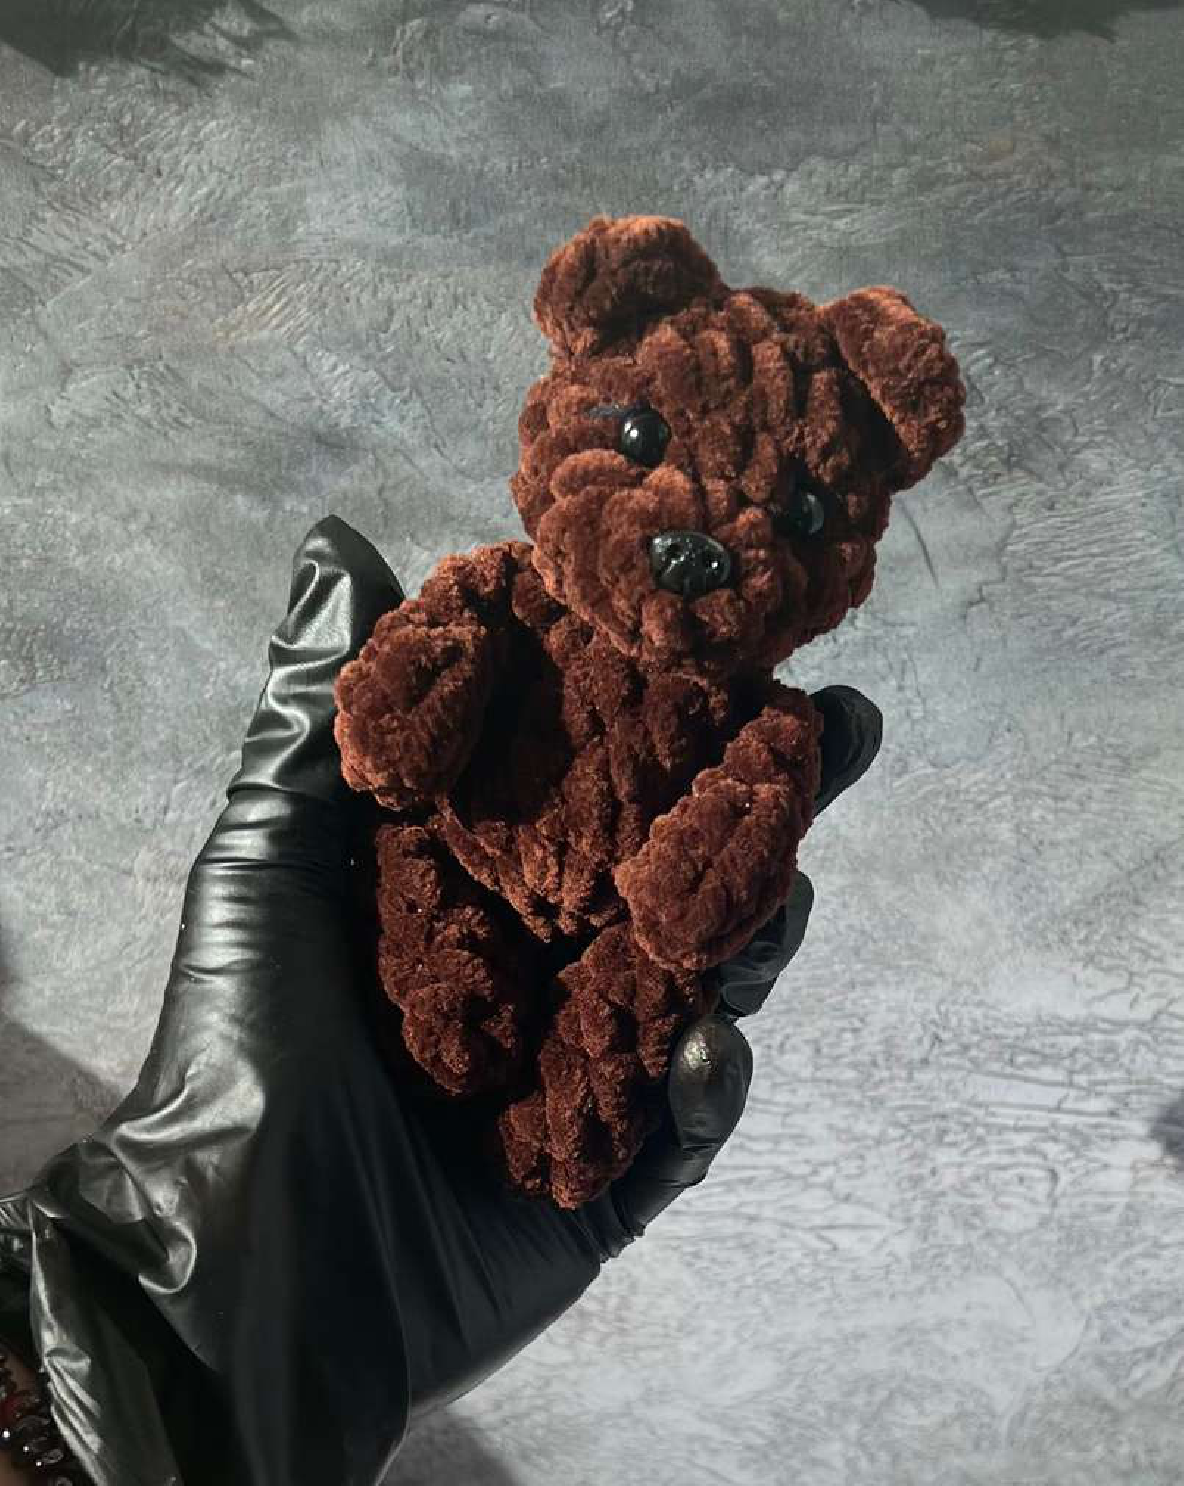
Crafting the Teddy Bear
Here you’ll find the specific instructions for creating the Teddy Bear’s head and its distinctive rounded ears.
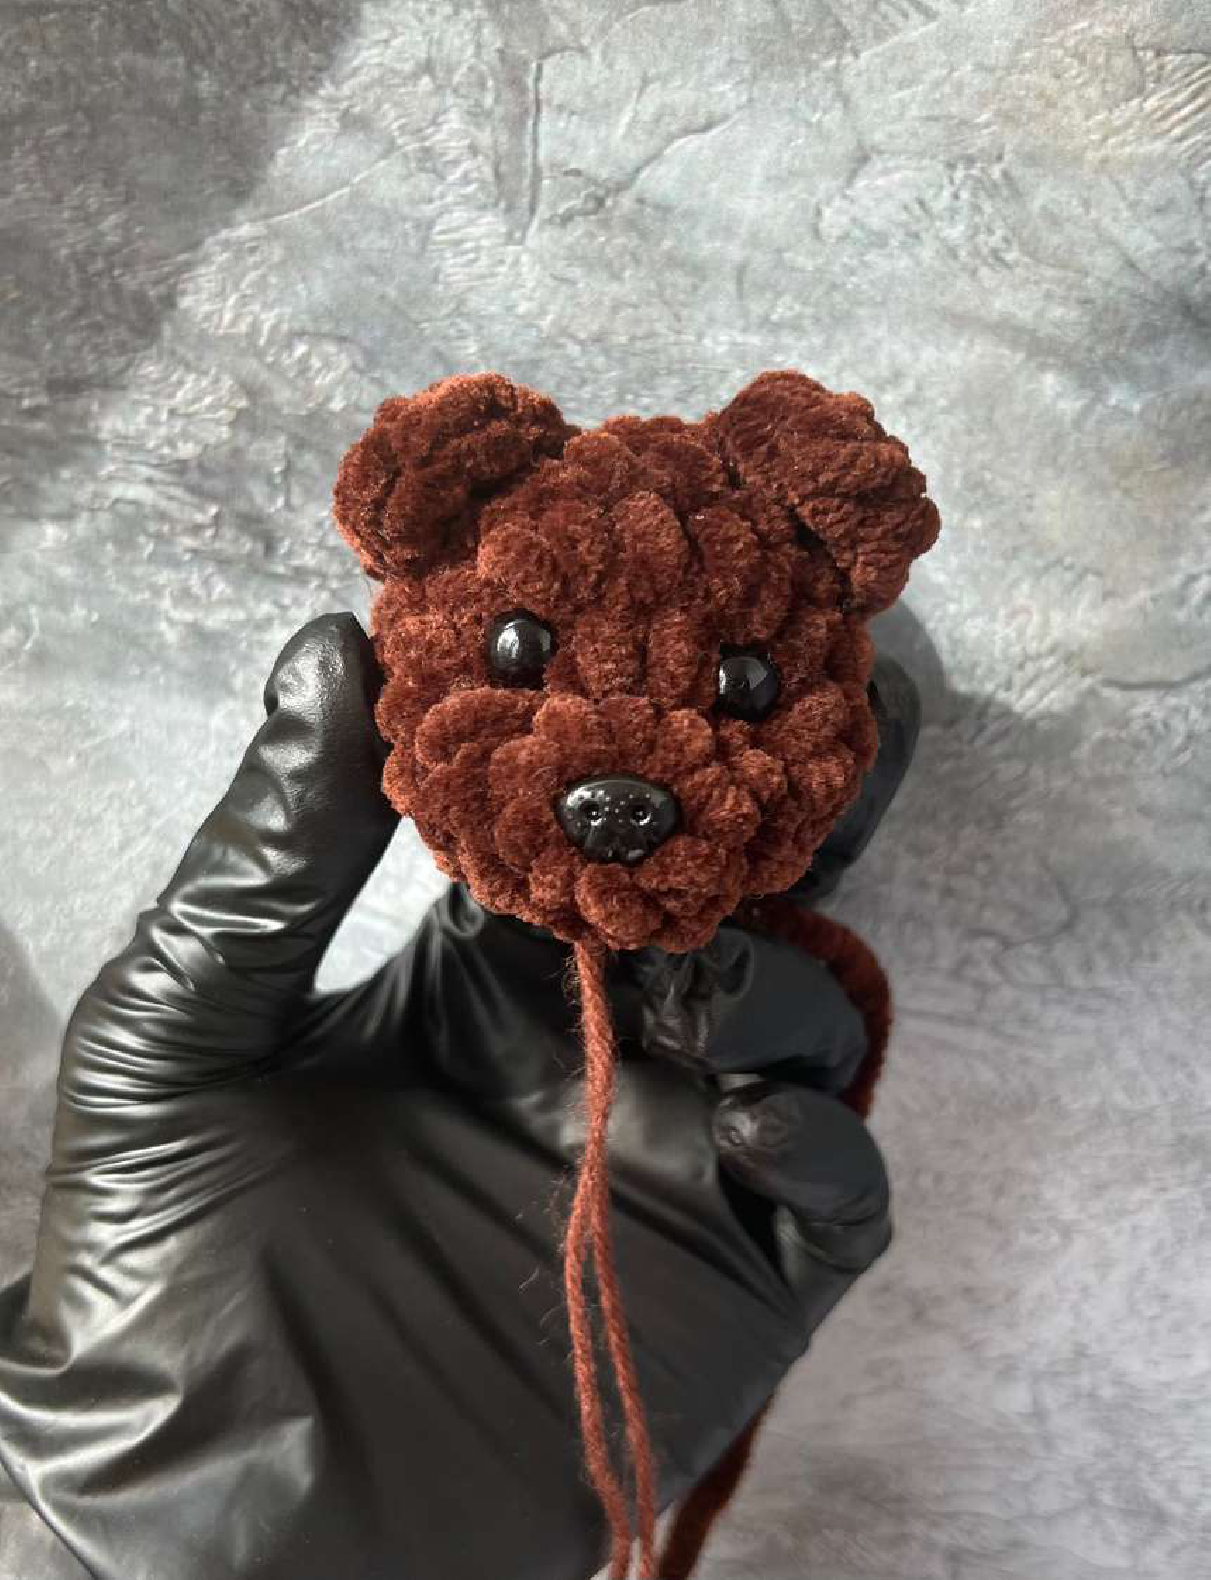
Bear Head
The Teddy Bear’s head has a slightly different shaping to accommodate its unique features.
- Start with 8 single crochets (SC) in an Amigurumi Ring (MR). (8 stitches)
- Increase (INC) in the first 4 stitches, then single crochet (SC) in the next 4 stitches. (4 INC, 4 SC). (12 stitches)
- Single crochet (SC) in one stitch, then increase (INC). Repeat this sequence 4 times. Follow with 4 single crochets. ((SC, INC) x4, 4 SC). (16 stitches)
- Single crochet (SC) in each of the 16 stitches for 2 rows. (16 SC for 2 rows)
- Single crochet (SC) in the first 2 stitches, then decrease (DEC). Repeat this sequence 4 times. ((2 SC, DEC) x4). (12 stitches)
- Decrease (DEC) six times. (6 DEC). (6 stitches)
Stuff the head firmly as you go.
Eyes & Nose Placement (Bear)
- Eyes: Place the 8mm safety eyes on the 2nd row of the head, specifically after the 1st and 3rd increases. Ensure there are 2 increases (or 4 stitches) between the eyes.
- Nose: Secure the 11-12mm safety nose in the center of the Amigurumi Ring (MR) on the head.
- Ears: The bear’s ears should be sewn between rows 4-5 on the head, positioned symmetrically.
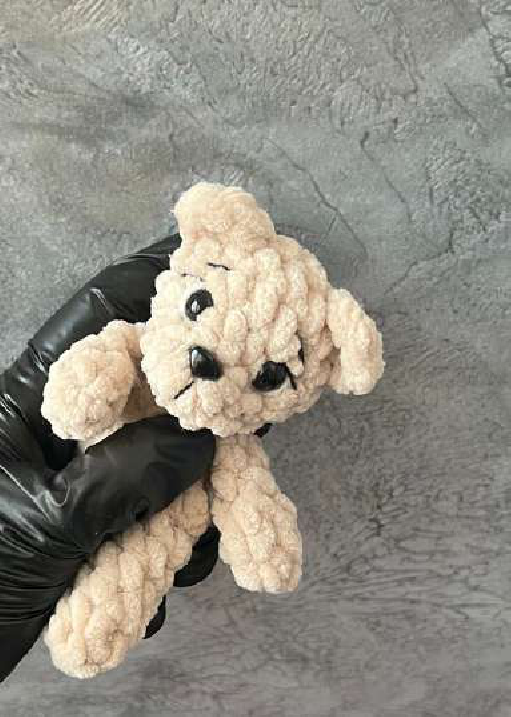
Bear Ears (Make 2)
These small, rounded ears give the Teddy Bear its classic look.
Chain 2 stitches. Starting from the 2nd chain from the hook, crochet 4 half double crochets (HDC) into that chain. This creates a small, curved piece. (4 HDC)
Essential Finishing Touches
Once all your pieces are crocheted, the assembly and finishing details are crucial to bring your Teddy Bear and Bunny Sonya to life, ensuring a polished and professional look.
Eye Tightening
Do not forget the eye tightening! This technique pulls the eyes slightly into the head, creating a more defined and expressive face. It adds depth and character that truly makes the toy pop.
The pattern recommends standard tightening. To do this, after attaching the safety eyes, insert a long needle with a sturdy piece of matching yarn into the back of the head, bringing it out right next to one eye. Go back into the head on the other side of the same eye, exiting near the second eye. Repeat for the second eye. Gently pull the yarn ends at the back of the head to indent the eyes to your desired depth, then tie them securely and hide the ends within the stuffing. This creates a charming, sunken-eye effect that is characteristic of many amigurumi designs.
Share Your Creations & Connect
We absolutely love seeing your finished Amigurumi projects! Once you’ve completed your Teddy Bear and Bunny Sonya, we encourage you to share your creations with the Black-Master community.
Here’s how to share:
- Upload photos of your finished toys to the Black-Master Telegram Channel.
- Be sure to use the hashtag #YourToys when you post. This helps us easily find and admire your beautiful work!
Your participation not only inspires others but also helps shape future patterns. The next pattern release could be exactly what you’ve been hoping for, so don’t hesitate to share and engage!
Happy Crocheting!