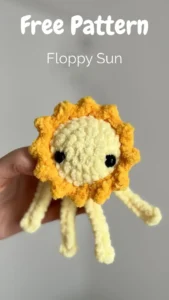
Crochet Fruit Tutorial 🍓🧶
Welcome to this fun and easy crochet project! In this tutorial, you’ll learn how to make a charming crochet fruit, perfect for adding a playful touch to your decor, gifting, or even as part of your amigurumi collection. This pattern is beginner-friendly, and you can customize it with your favorite colors and details.
MATERIALS
- Wool or cotton yarn in desired colors
- Crochet hook
- Wool needle
- Scissors
- Stitch marker
- Synthetic filling
FRUIT
- Round 1: Magic ring with 6 stitches (6 stitches)
- Round 2: 1 stitch, 1 increase — repeat around (9 stitches)
- Round 3: 2 stitches, 1 increase — repeat around (12 stitches)
- Round 4: 3 stitches, 1 increase — repeat around (15 stitches)
- Round 5: 4 stitches, 1 increase — repeat around (18 stitches)
- Round 6: 5 stitches, 1 increase — repeat around (21 stitches)
- Round 7: 6 stitches, 1 increase — repeat around (24 stitches)
- Round 8: 1 stitch in each stitch around (24 stitches)
- Round 9: 3 stitches, 1 increase — repeat around (30 stitches)
- Rounds 10 & 11: 1 stitch in each stitch around (30 stitches)
- Round 12: 1 stitch, 1 decrease — repeat around (20 stitches)
- Round 13: 1 stitch, 1 decrease — repeat around (14 stitches)
- Fill the fruit with stuffing.
- Round 14: Decrease in all stitches (7 stitches)
- Close the fabric.
LEAVES
- Start with a magic ring with 6 stitches.
- In each stitch:
- (3 chains, 2 double crochets, 3 chains, slip stitch in the same space).
- Make a slip stitch in the next stitch on the ring and repeat the process until you have 6 leaves.
- Sew the leaves onto the fruit.
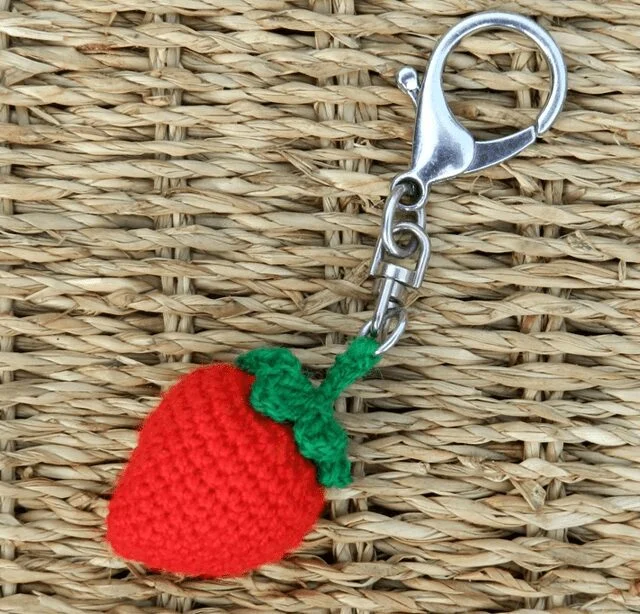
That’s it! Your adorable crochet fruit is now ready to brighten up your space or become a delightful handmade gift. Don’t forget to show off your creation using #retogumi100 — we can’t wait to see your masterpiece! 🌿🍓