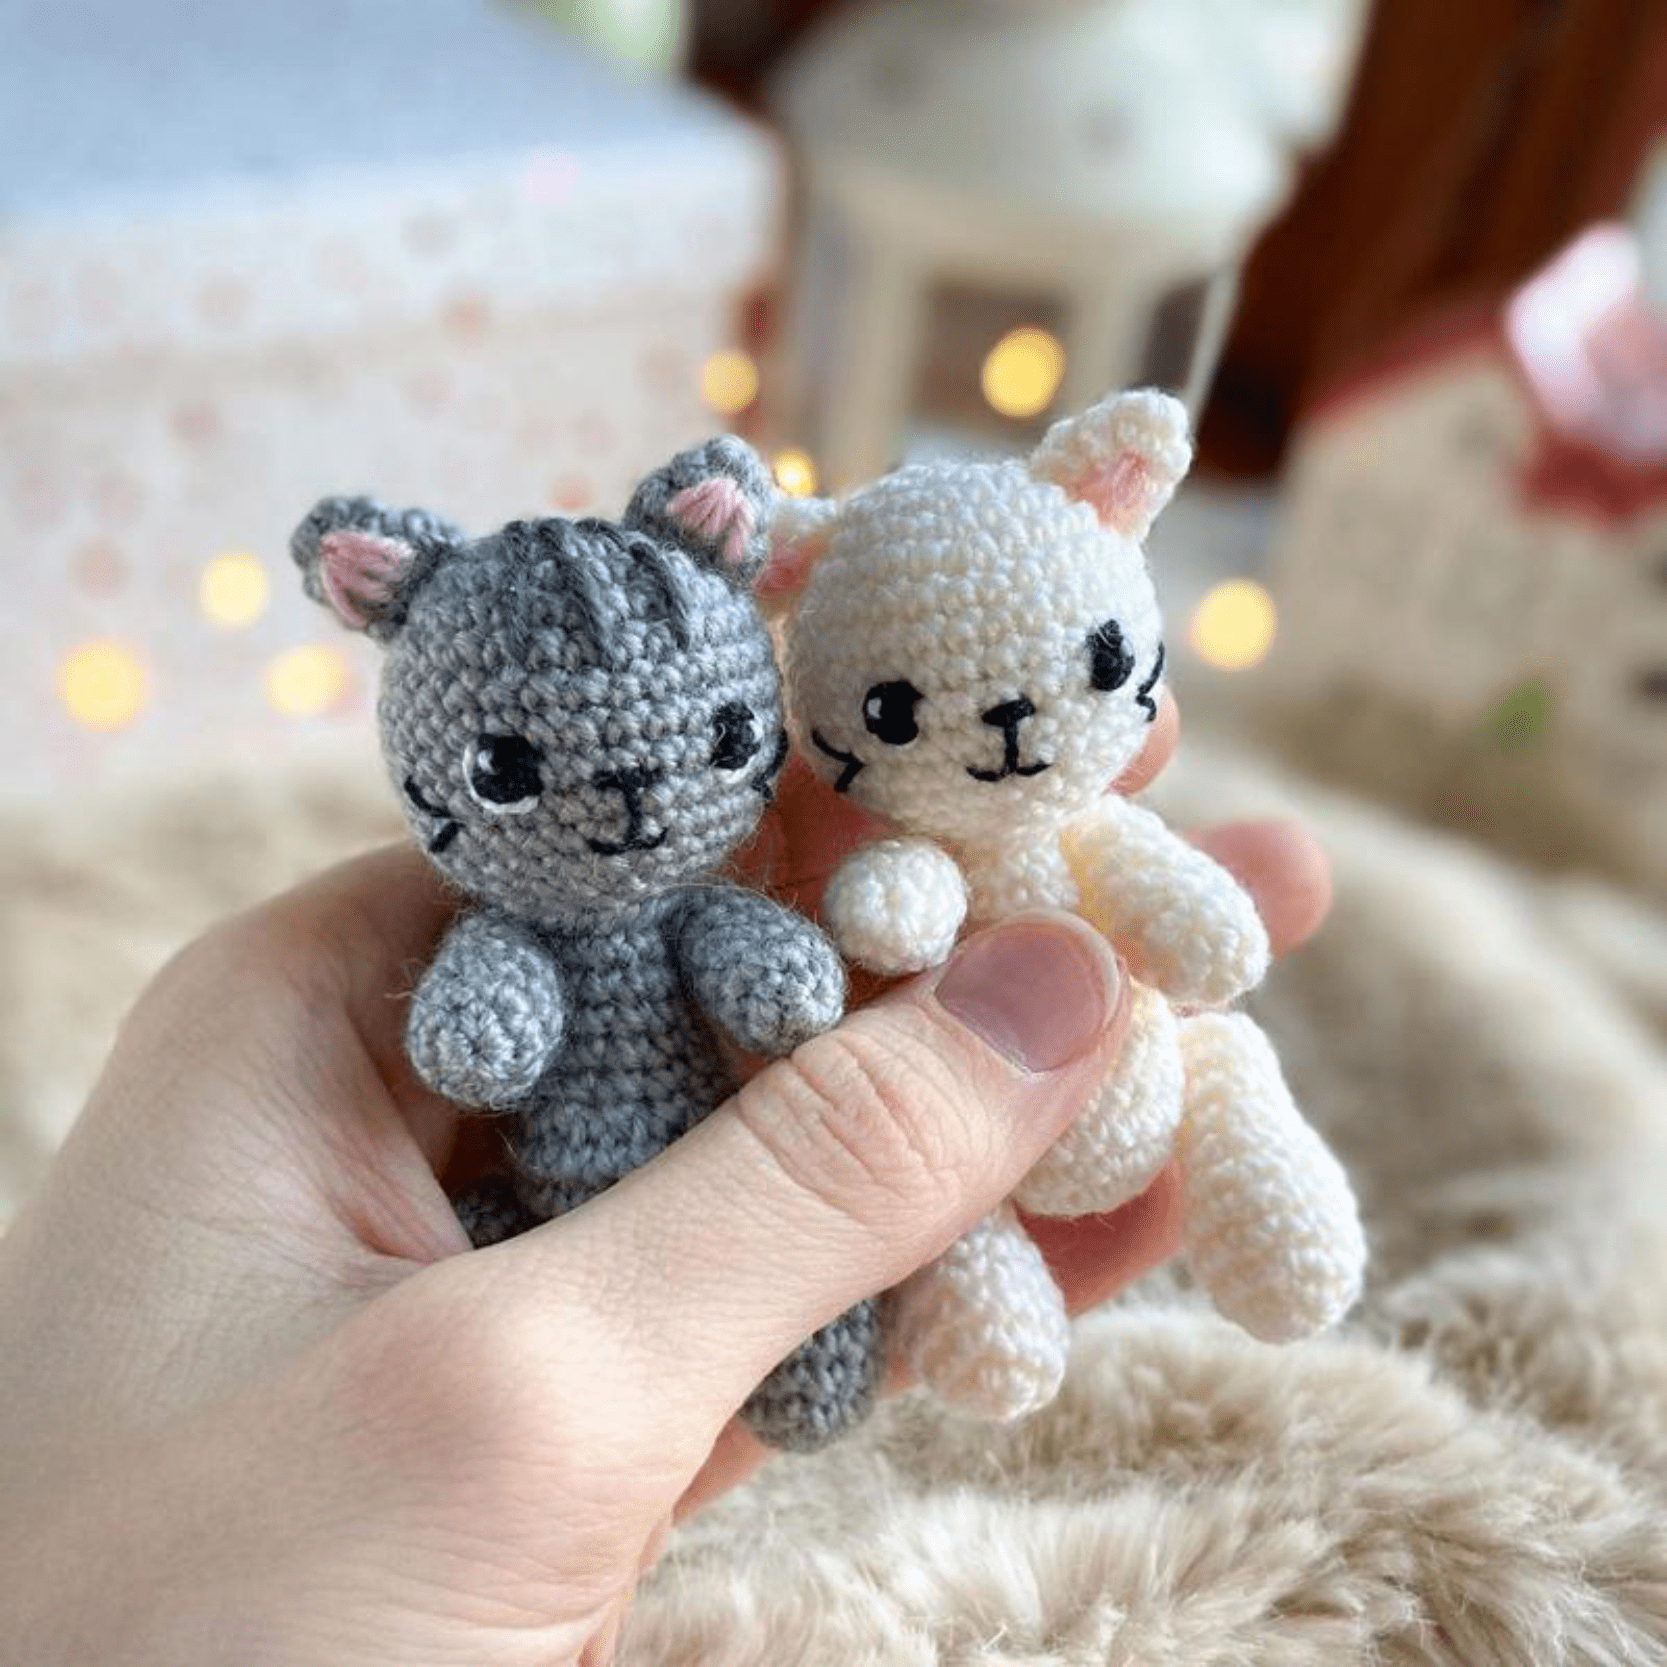
Crochet Your Own Adorable Amigurumi Kitty!
Materials You’ll Need
Before we start our crochet journey, gather these supplies to create your own 8 cm tall kitty:
- Yarn: Vita Brilliant (380 m per 100 g) or similar weight yarn.
- Crochet Hook: 1.5 mm or 1.75 mm.
- Fiberfill: For stuffing your toy.
- Embroidery Thread: Black and white (the designer recommends “Iris” thread).
- Safety Eyes: Plastic eyes (or you can embroider them).
- Tools: Sewing needle and scissors.
Crochet Abbreviations
This pattern uses standard US terminology:

- MR: Magic Ring
- sc: Single crochet
- ch: Chain
- sl st: Slip stitch
- inc: Increase (2 sc in one stitch)
- dec: Decrease (2 stitches together)
Step 1: The Head
We will work in continuous rounds. Remember to stuff the head firmly once you reach the end.
- Round 1: 6 sc in MR (6)
- Round 2: 6 inc (12)
- Round 3: (1 sc, inc) * 6 (18)
- Round 4: (2 sc, inc) * 6 (24)
- Round 5: (3 sc, inc) * 6 (30)
- Rounds 6–11: 30 sc (30)
- Round 12: (3 sc, dec) * 6 (24)
- Round 13: (2 sc, dec) * 6 (18)
- Round 14: (1 sc, dec) * 6 (12)
Fasten off, cut the thread, and hide the end. Stuff the head well.
Step 2: The Body
- Round 1: 6 sc in MR (6)
- Round 2: 6 inc (12)
- Round 3: (1 sc, inc) * 6 (18)
- Round 4: (2 sc, inc) * 6 (24)
- Rounds 5–7: 24 sc (24)
- Round 8: 6 dec, (1 sc, dec) * 4 (14)
- Rounds 9–11: 14 sc (14)
- Round 12: (5 sc, dec) * 2 (12)
- Round 13: 12 sc (12)
Leave a long tail for sewing. Stuff the body firmly.
Step 3: Ears (Make 2)
- Round 1: 6 sc in MR (6)
- Round 2: 6 sc (6)
- Round 3: (1 sc, inc) * 3 (9)
Use a needle to sew the bottom edges together. Leave a tail for assembly.
Step 4: Lower Legs (Make 2)
- Round 1: 6 sc in MR (6)
- Round 2: 6 inc (12)
- Rounds 3–5: 12 sc (12)
- Round 6: (2 sc, dec) * 3 (9)
- Rounds 7–10: 9 sc (9)
Stuff the legs. Close the opening and hide the yarn tail.
Step 5: Upper Arms (Make 2)
- Round 1: 6 sc in MR (6)
- Round 2: (1 sc, inc) * 3 (9)
- Rounds 3–4: 9 sc (9)
- Round 5: (1 sc, dec) * 3 (6)
- Rounds 6–7: 6 sc (6)
Stuff lightly. Fasten off and hide the thread inside.
Step 6: Tail
- Round 1: 6 sc in MR (6)
- Round 2: (1 sc, inc) * 3 (9)
- Rounds 3–8: 9 sc (9)
- Round 9: (1 sc, dec) * 3 (6)
Stuff the tail. Sew the top edges flat. Leave a tail for sewing.
Step 7: Assembly & Finishing Touches
Now, let’s bring your little kitty to life! Follow these steps for the perfect face and pose:
1. The Face
- Eyes: Attach safety eyes or embroider them on Round 9, leaving a 5-stitch gap between them.
- Nose: Embroider the nose between Rounds 9 and 10.
- Smile: Create a small vertical line from the nose down to Round 11, then embroider a little “V” smile between Rounds 11 and 12.
- Whiskers: Add two whiskers on each side using Rounds 10 and 11.
2. Joining the Parts
- Ears: Sew the ears onto Rounds 2–4 of the head.
- Body: Sew the head securely to the body.
- Arms: Use a thread joint or sew the arms one round below the neck seam.
- Legs: Attach the legs between Rounds 4 and 5 of the body on the sides.
- Tail: Finally, sew the tail to the back at Rounds 5–6.
Congratulations! Your tiny cat amigurumi is ready!