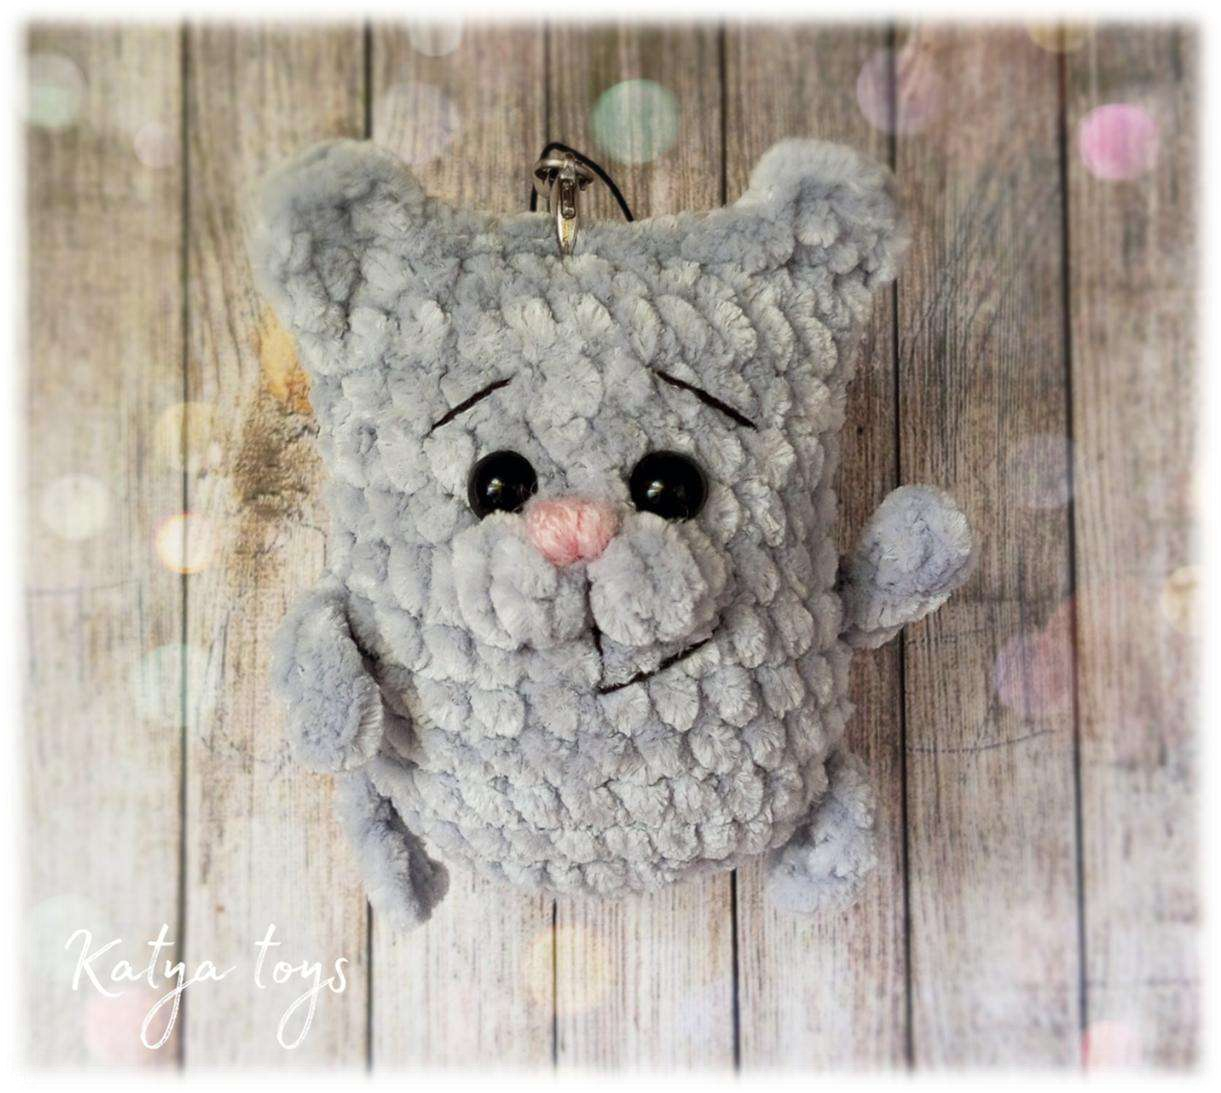
Crochet Your Own Adorable Cat Toy Pattern!
Craft a Cuddly Companion: Katya’s Adorable Amigurumi Cat Pattern
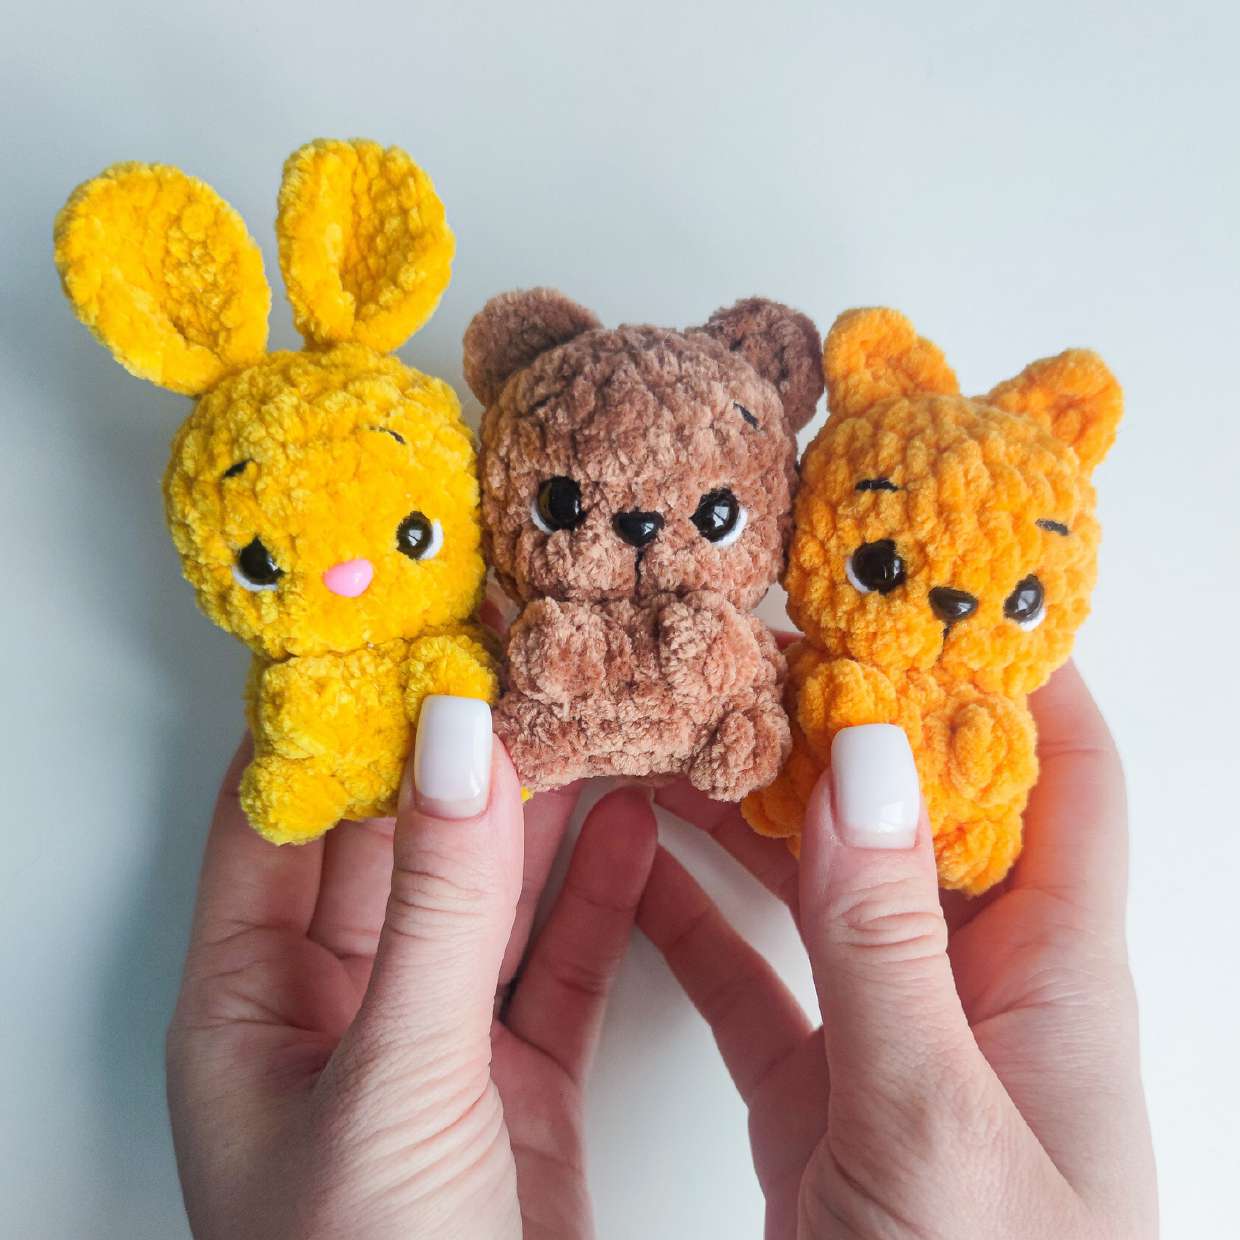
Welcome, fellow crafters, to a delightful journey into the world of amigurumi! Today, we’re thrilled to bring you a charming pattern from the talented Katya_Toys: an irresistibly cute amigurumi cat. Perfect for gifting or adding a touch of handmade warmth to your home, this pattern guides you through creating a cuddly companion that’s sure to bring a smile to anyone’s face. Get your hooks ready – let’s crochet!
Before You Begin: Important Notes & Abbreviations
Please note: This pattern assumes you have basic crocheting skills and does not include comprehensive crocheting lessons. It’s designed for those familiar with fundamental stitches and techniques.

Here are the abbreviations used in this pattern:
- MR – magic ring
- ch – chain stitch
- sc – single crochet
- hdc – half double crochet
- dc – double crochet
- inc – increase
- dec – decrease
- sl st – slip stitch
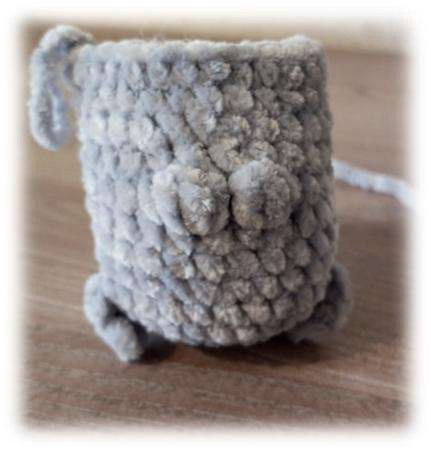
Let’s Start Crocheting!
Follow these instructions carefully to create the main body of your amigurumi cat:
- Row 1: 6 sc in MR
- Row 2: 6 inc (12)
- Row 3: 12 inc (24)
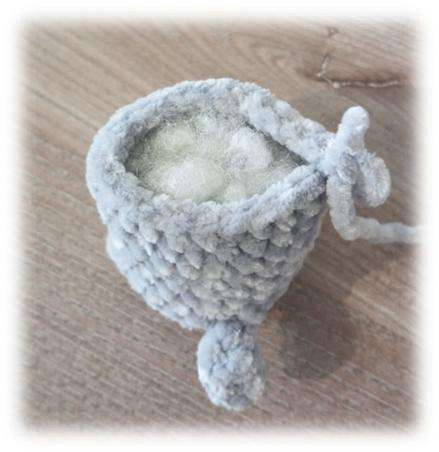
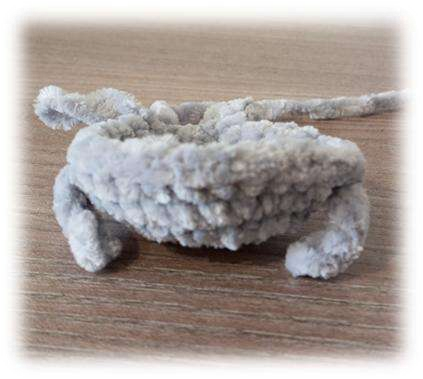
- Row 4: In this row, we crochet the paws and tail. Work yarn in the center. If necessary, make offset stitches.
- 9 sc, 5 ch starting from the 2nd stitch from the hook, 1 hdc, 3 sl st. Join the paw to the same stitch with a sl st.
- 11 sc, 5 ch starting from the 2nd stitch from the hook, 1 hdc, 3 sl st. Join the paw to the same stitch with a sl st.
- 4 sc. Finish the offset stitches, work yarn in the center.
- Crochet the tail: 5 ch starting from the 2nd stitch from the hook, 2 dc, 1 hdc, 1 sc, join with a sl st. (24 stitches in total)
- Rows 5-8: 24 sc (4 rows)
- Row 9: Crochet the muzzle. In the center, in the 1st of 3 stitches, crochet a bobble stitch made of 3 dc. In the 2nd stitch, crochet a sl st. In the 3rd stitch, crochet a bobble stitch made of 3 dc. (24)
- Rows 10-14: 24 sc (5 rows)
- In Row 14, do not crochet to the end of the row, leave the yarn on the side of the toy.
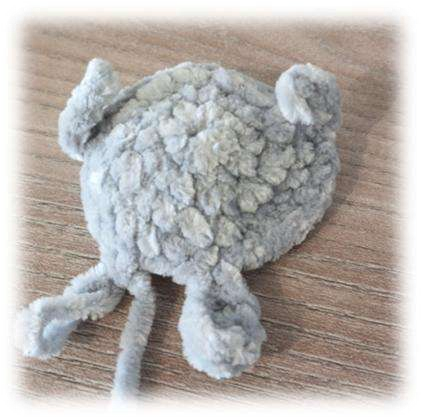
- Row 15: Crochet the ears and close the toy.
- Fold in half. In the first stitch, crochet 2 hdc (in one stitch). Then crochet a sl st. In the last stitch, crochet 2 hdc in one stitch. Join with a sl st to the edge of the toy.
Crocheting the Upper Paws
Once the main body is complete, it’s time to add the adorable upper paws:
- Attach yarn between rows 8 and 9. Chain 5 starting from the 2nd stitch from the hook, 1 hdc, 3 sl st. Join the paw to the same stitch with a sl st. Do the same on the other side.
Shaping Your Cat’s Facial Features
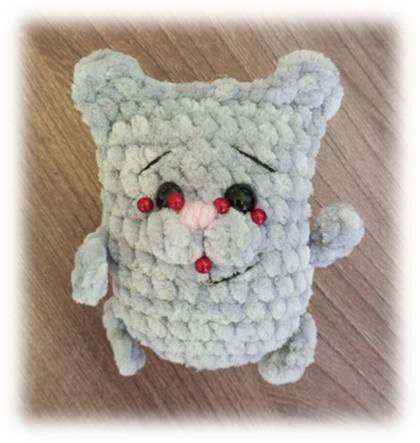
Now for the fun part – bringing your cat to life with charming facial details:
- I glued the eyes.
- Insert the needle as shown in the picture.
- Embroider the mouth, eyebrows, and nose.
And just like that, your charming crocheted cat is ready to brighten your day! We hope you loved crafting this adorable amigurumi companion with Katya_Toys. We can’t wait to see your finished creations! Share your beautiful work with us on social media by tagging @Crochetto, or leave a comment below to tell us about your experience. Happy crocheting!