Crochet Zebra Rattle Toy Pattern
Crochet Zebra Rattle Toy Pattern
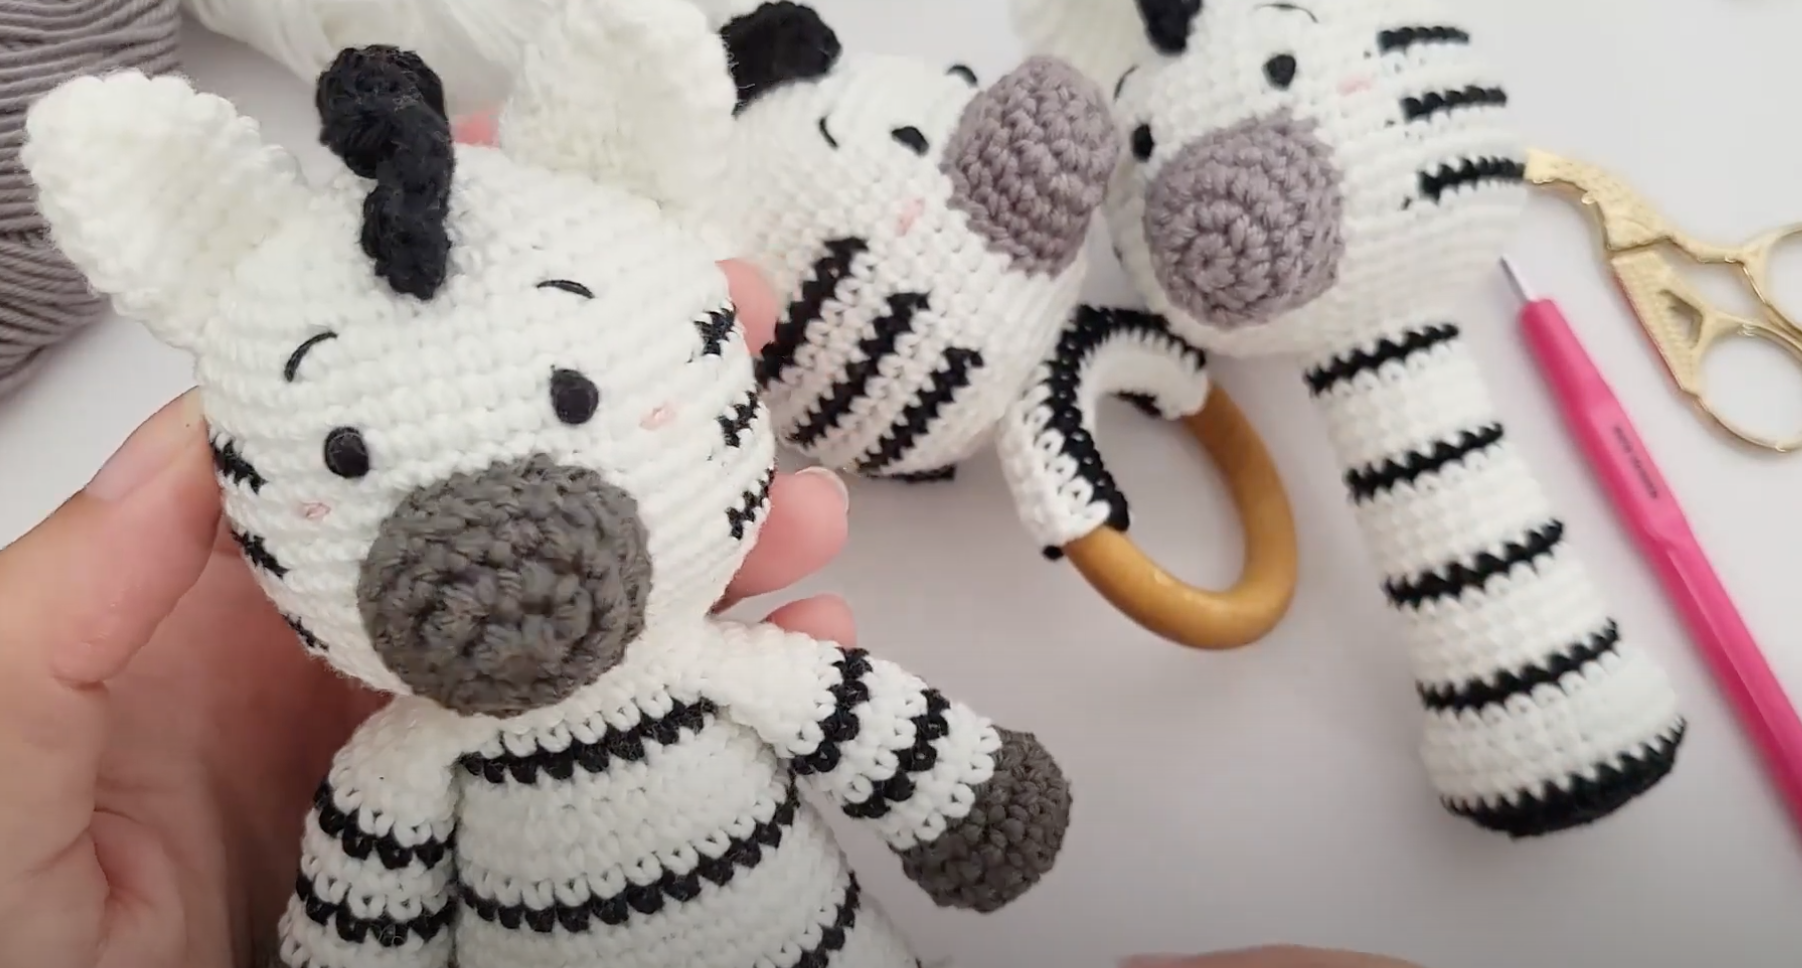
Crochet toys bring a handmade touch to every child’s playtime. When making something special for a baby, nothing beats the heartwarming charm of crocheting a unique toy like a zebra rattle. This delightful pattern is not only fun to make but adds a lovely personal touch to any nursery.
Materials Needed for the Crochet Zebra Rattle Toy
To create your own crochet zebra rattle toy, you’ll need a few basic materials. These can be found at most craft stores or online.
Yarn Choices
Choosing the right yarn is crucial for creating a soft yet durable toy. Opt for cotton or bamboo yarn as they are gentle on sensitive baby skin. They also offer the durability needed for a toy that’s sure to get a lot of use. For this pattern, you’ll want three colors: black, white, and a splash of color for the zebra’s mane.
Crochet Hooks and Other Tools
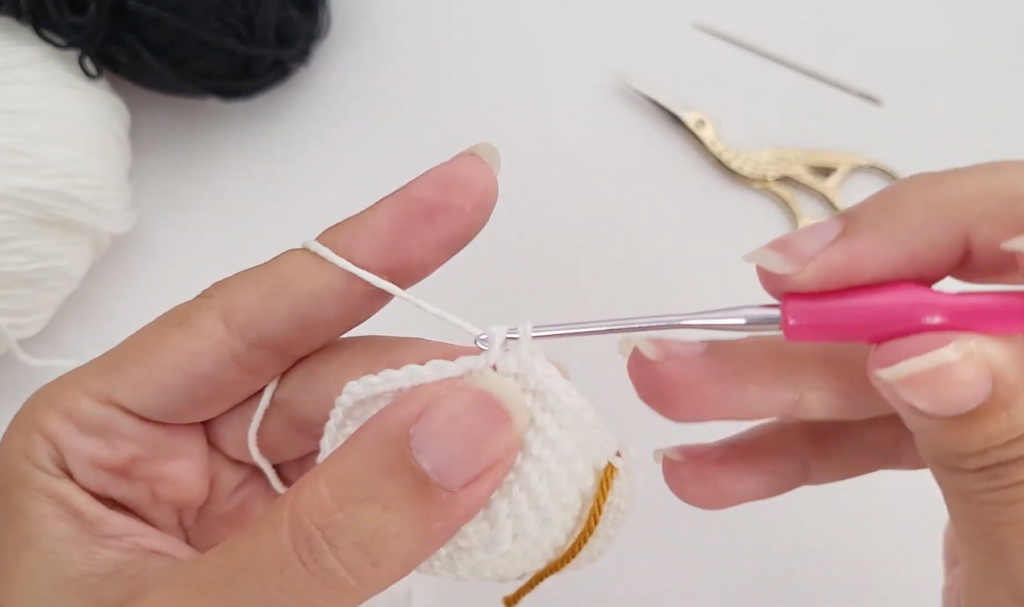
You’ll need a 3mm crochet hook, which suits most yarn choices for amigurumi projects. Polyester stuffing is necessary to fill your zebra toy, making it soft and cuddly. Don’t forget a small rattle insert to add that charming noise little ones love. You’ll also need a yarn needle for weaving in ends and assembling the pieces.
Step-by-Step Instructions to Crochet the Zebra Rattle
Let’s dive into the actual crocheting. Follow these steps to create the perfect zebra rattle toy.
Starting the Toy – Create the Base
Begin with a magic ring. This technique is perfect for starting amigurumi projects because it creates a tight ring. Chain 2 and make 6 single crochets into the circle. Pull the ring tight and join to the first single crochet with a slip stitch.
Crocheting the Zebra Body
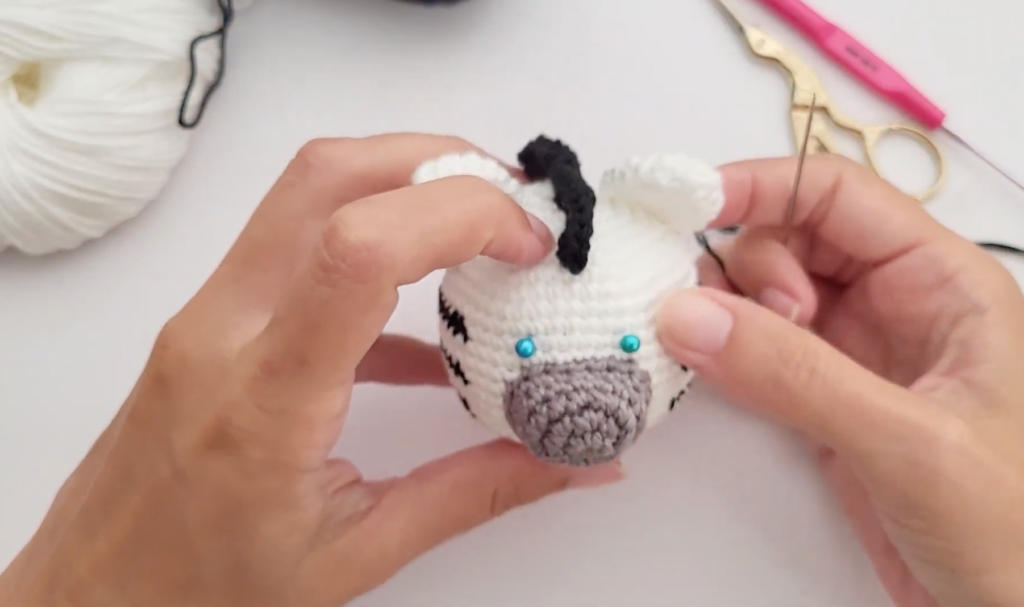
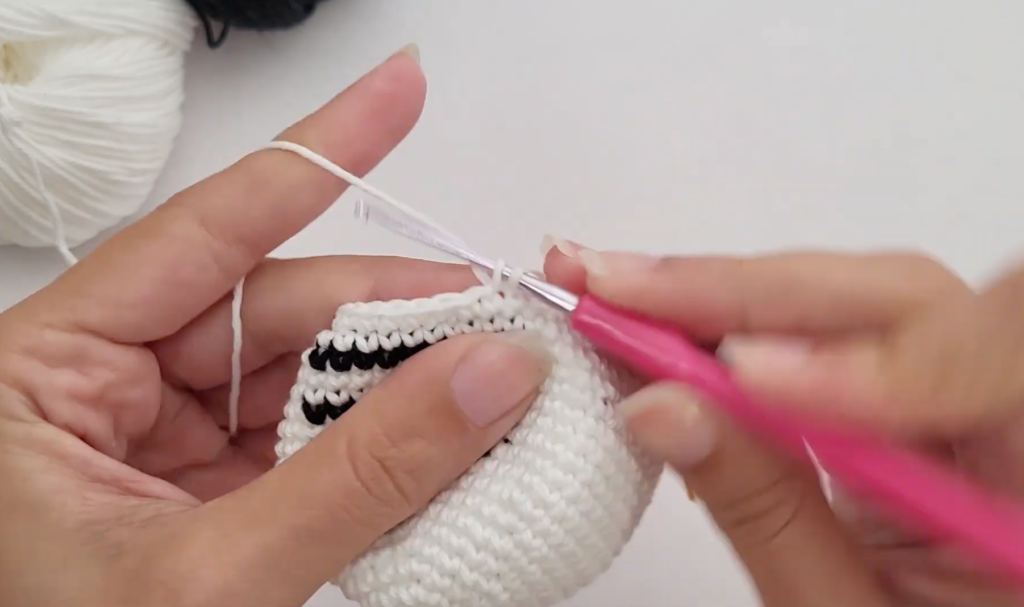
The body of the zebra is made using alternating rounds of black and white yarn. Increase gradually from 6 to 24 stitches per round by adding 6 stitches per row. Continue this pattern for about 8 rounds, then begin to decrease as you approach the head of the zebra.
Adding Details – Stripes and Face
Create the stripes by alternating rounds of black and white yarn as desired, stopping when you reach the neck area. For the face, you can embroider eyes and add a small nose using black yarn. This adds personality and charm.
Assembling the Rattle and Finishing Touches
Insert the small rattle inside before stuffing the body completely. Attach the headpiece securely, and finish with the mane by attaching strands of colored yarn on the top. Secure each piece well to ensure they are safe and durable.
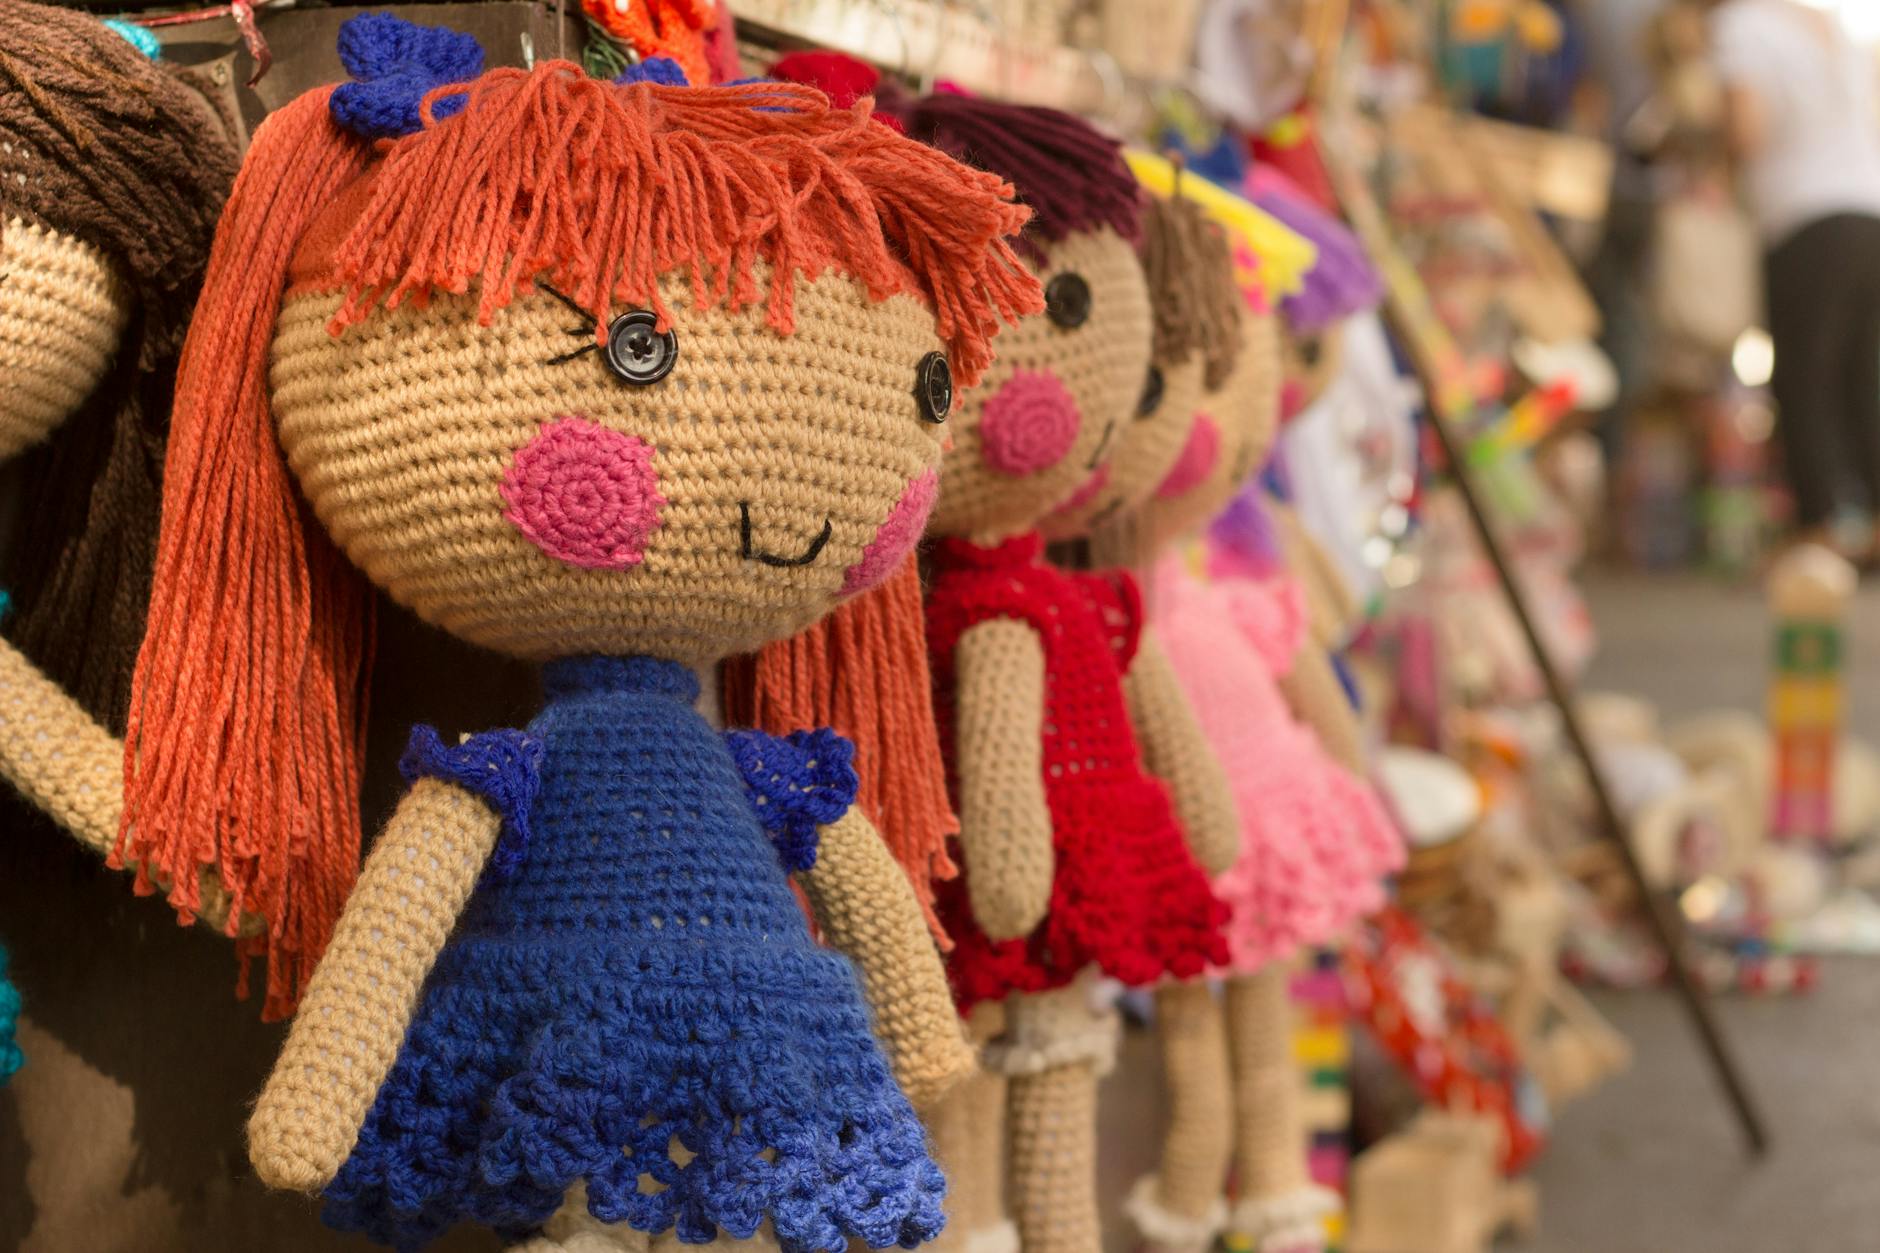 Photo by David López
Videos and Resources for Further Guidance
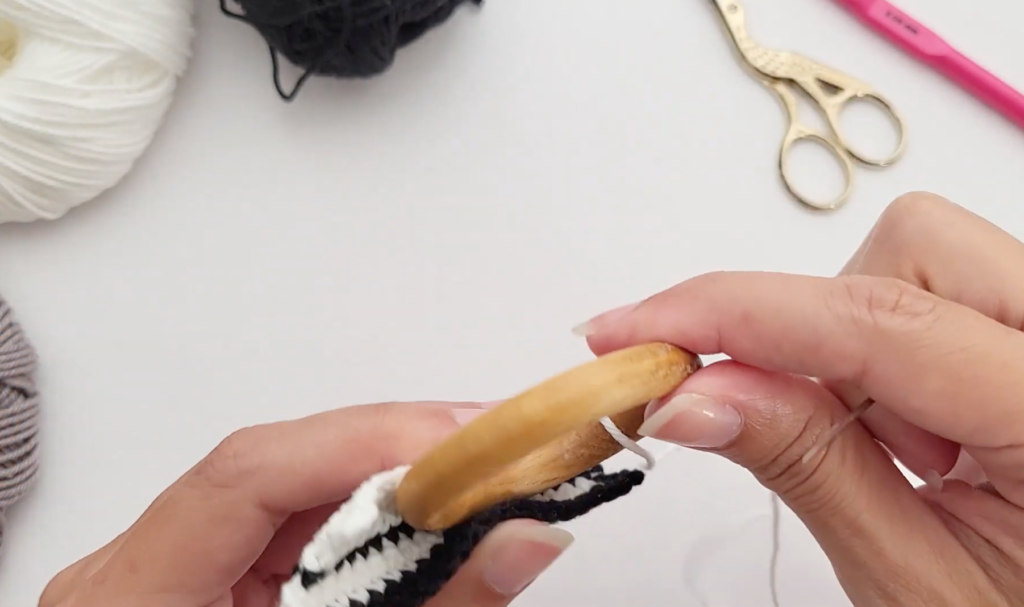
Visual learning can be invaluable, especially for those new to crochet. Here are some great YouTube tutorials that can guide you through the process.
Top YouTube Tutorials for Crochet Zebras
Discover helpful videos like the Amigurumi Zebra Free Pattern and the Chubby Zebra Amigurumi Tutorial. These tutorials cover crucial techniques and provide step-by-step instructions.
Additional Crochet Resources and Patterns
For further exploration, channels like HappyBerry Crochet and Bella Coco offer a wealth of tutorials and playlists dedicated to crochet toys. These resources can further enhance your skills and inspire new projects.
YouTube Tutorial
Watch the detailed tutorial on creating a zebra rattle here.
Conclusion
Crocheting a zebra rattle toy is a wonderful project that results in a gift full of love and charm. Whether you’re a seasoned crocheter or a beginner, the joy of seeing your creation come to life is unmatched. Share your finished zebra rattles with friends and family, and encourage them to join in the fun by trying out their own crochet projects. Happy crocheting!

