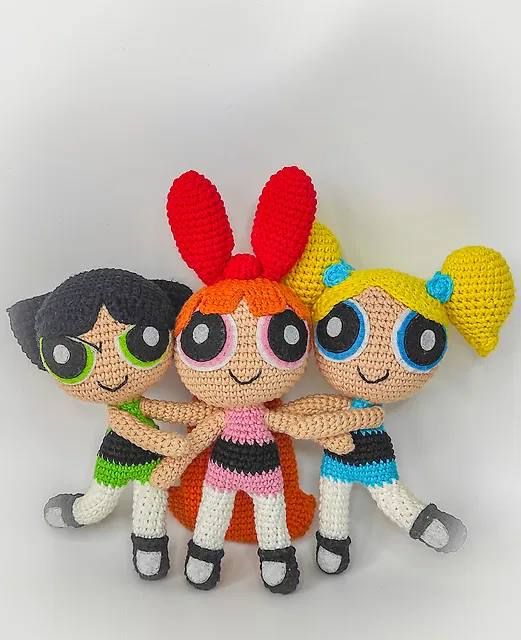
DIY Powerpuff Girls Crochet Pattern
Are you a fan of the Powerpuff Girls? Now, you can crochet your own adorable Powerpuff amigurumi dolls! This step-by-step pattern is designed for intermediate-level crocheters who want to create these iconic characters with articulated arms and a structured wire skeleton. The base of the body remains the same for all three Powerpuff Girls, with variations in hair color and style. Let’s dive into the materials and instructions to bring these beloved characters to life!
Points Used:
- Am (Magic ring)
- Sc (Single crochet)
- Mpb (Half single crochet)
- Aum (Increase)
- Dc (Decrease)
- FLO (Use the front loop)
- BLO (Use the back loop)
Materials Needed:
- Cotton wool in the following colors: Skin, white, pink, black, green, light blue, yellow, and red.
- 2 mm crochet needle
- Felt fabric: White, black, pink, green, and blue
- Wire for articulation
- Wool needle
- Scissors
- Scoreboard
- Synthetic filling
Level:
Intermediate. The doll is knitted from head to toe in one piece, with arms added separately.
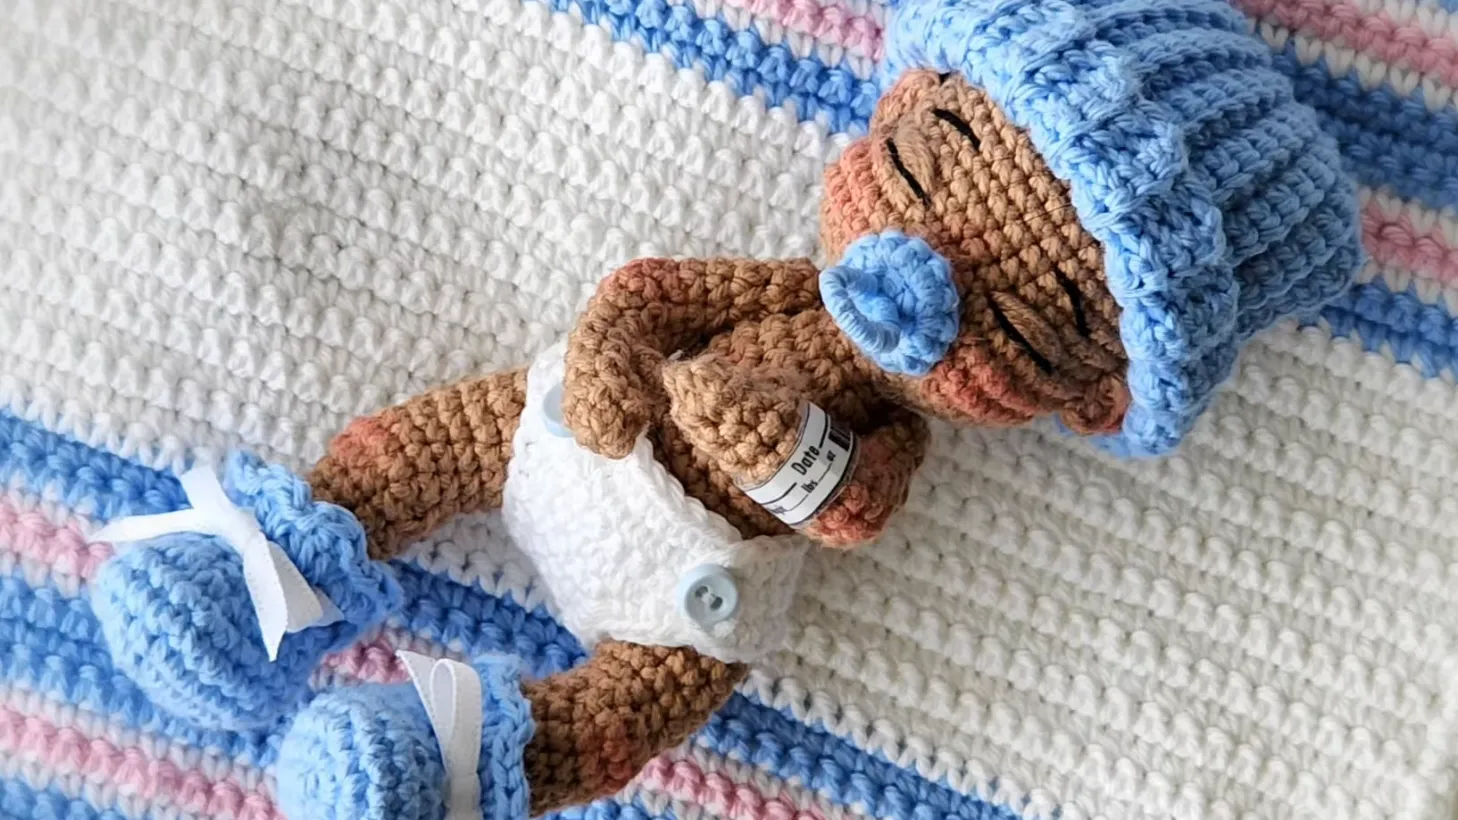
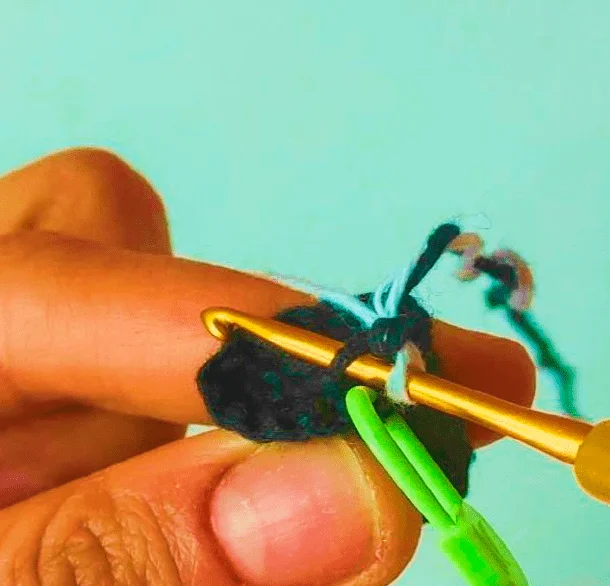
Legs (Make 6)
Start with black color
- V1) AM 6sc.
- V2) 6 increases (12 sc).
- V3 – V6) 12 sc.
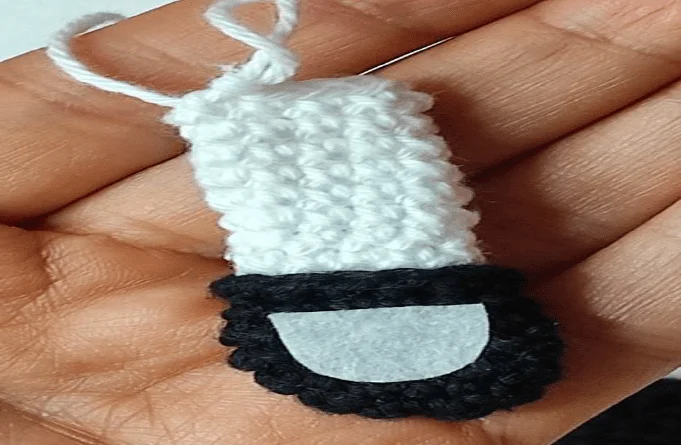
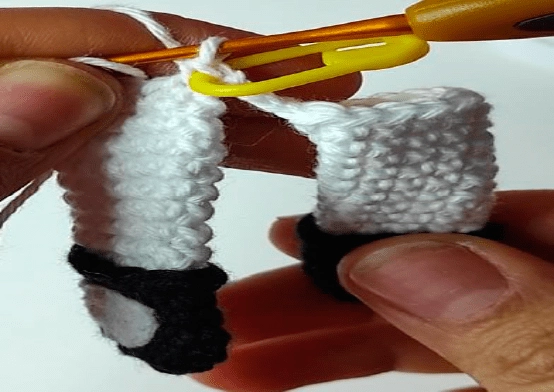
- V7) FLO (front strand) 12 sc. Change color to white before finishing the last sc. With the inside strand, make 12 sc, remaining in V7.
- V8) 4sc, 1 dec, 4sc, 1 dec = 10sc.
- V9 – V14) 10 sc.
Cut the thread from the first leg but keep the second leg attached. Cut white felt paper in the shape of stockings and sew it with white thread.

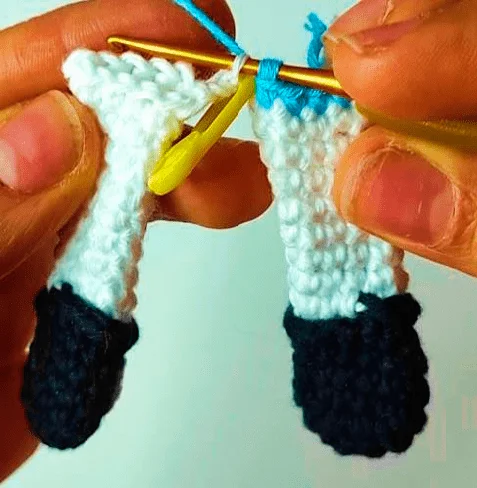
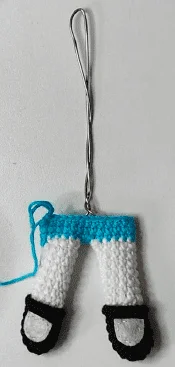
Union of Legs
- Make 3 chains on the second leg and join to the first leg.
- Hook off and start the next round:
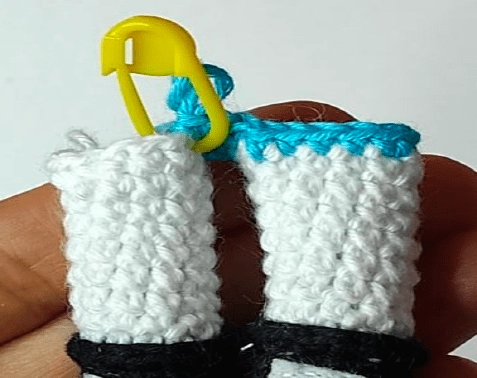
- V15) 5sc, 1 inc; change to blue, make 4 sc, then 3 sc on top of the 3 chains.
- Continue on the first leg: 5sc, 1 inc, 4sc, and 3sc on top of the 3 chains = 28sc.
- To align colors, add 7 more sc and place a stitch marker in the 8th sc.
- V16) 28sc.


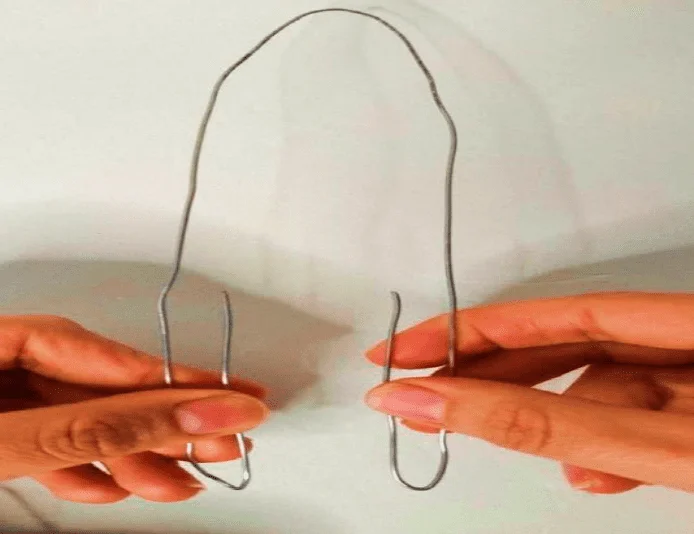
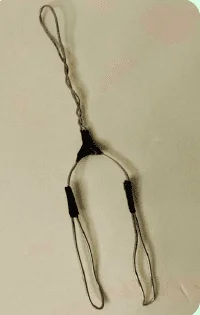
Wire Skeleton
To give the doll mobility and firmness:
- Measure the leg’s length, leaving the wire slightly longer.
- Bend the wire for the head length and repeat for the second leg.
- Wrap adhesive tape on folded sections.
- Insert the skeleton inside the doll.
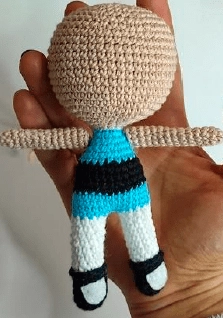
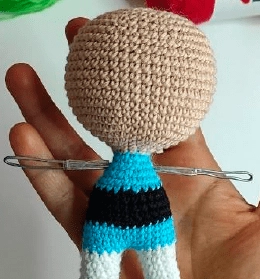
Body & Head
- V17 – V18: 28 sc.
- Change to black.
- V19: 28 bp.
- V20: 5sc, 1 dec x 4 = 24 sc.
- V21 – V22: 24 sc.
- Change to blue.
- V23: 4sc, 1 dec x 4 = 20 sc.
- Continue decreasing until V27 = 12 sc.
- Change to skin color.
- V28: 12 sc.
Head
- V29: 2sc, 1 inc x 4 = 16 sc.
- Increase rounds up to V33 = 48 sc.
- V34 – V43: 48 sc.
- Start decreasing until V50 = 8 sc. Close.
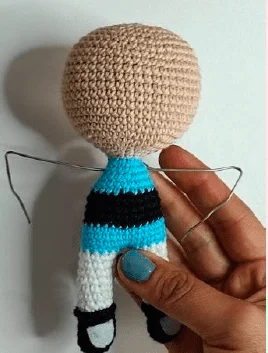
Arms (Make 6)
- V1: AM 4 sc.
- V2: 4 increases = 8 sc.
- V3 – V14: 8 sc.
- Attach arms at V26.
- For articulation, insert a wire across the body and bend the ends. Wrap adhesive tape for safety.
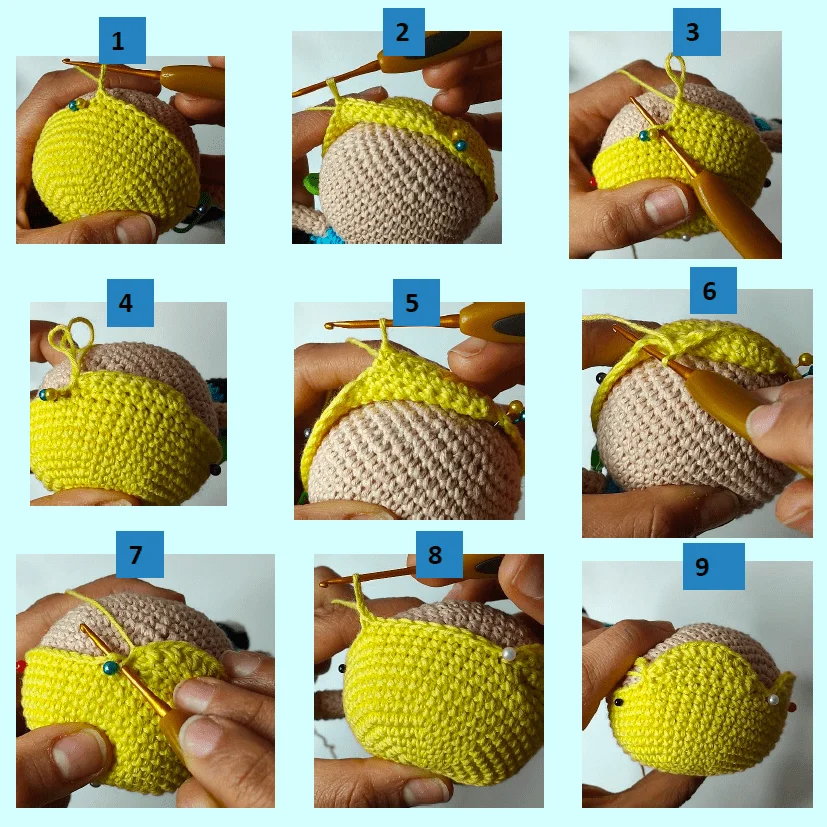
Hair (Base – Same for All)
- Use respective colors (e.g., Orange for Blossom, Black for Buttercup, Yellow for Bubbles).
- Increase rounds up to V6 = 48 sc.
- V7 – V14: 48 sc.
- Attach the head ensuring the stitch marker is at the bottom.
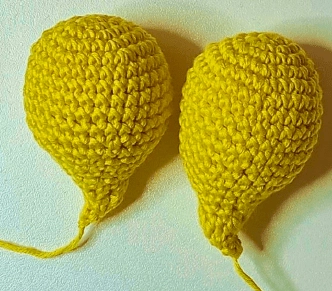
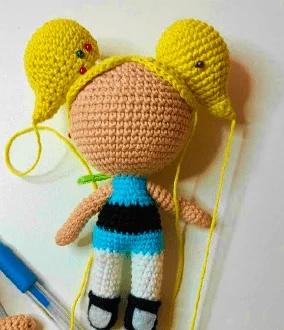
Bubbles’ Bangs & Ponytails
- Create bangs using a combination of slip stitches and increases.
- Make 2 ponytails and attach them behind the bangs.
Buttercup’s Spiky Bangs & Back Hair
- Follow a similar process, but adjust fringe shape.
- Add back hair and leave an opening to reveal layers.
Blossom’s Bow
- Create two pieces for the bow and sew them together.
- Make a center strip to wrap around.
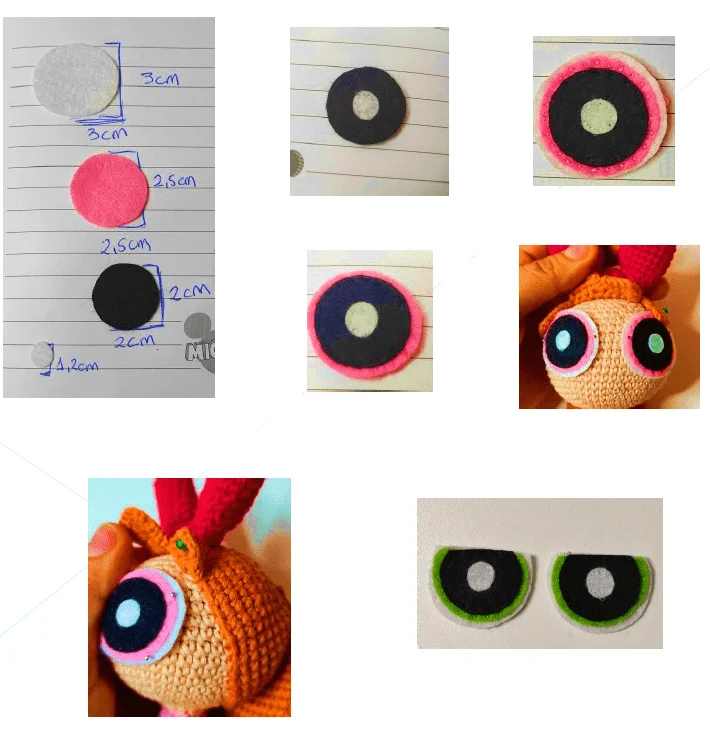
Eyes (Make 2 for Each Doll)
- Use felt fabric.
- Place between rounds 9 and 17, leaving 3-4 stitches apart.
- Sew with white thread.
- Buttercup’s eyes should have trimmed edges to give a more intense expression.
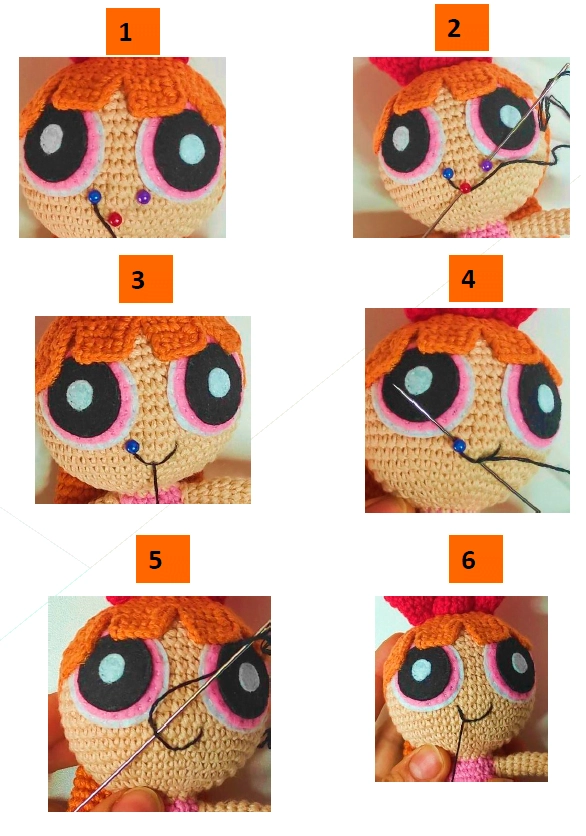
Smile
- Use pins to mark the placement.
- Stitch using black thread to create the curved mouth shape.
- Secure the thread at the back.
With this detailed guide, you can create your very own Powerpuff Girls crochet dolls! Whether you choose Blossom, Bubbles, or Buttercup, each one will be an adorable handmade masterpiece. Happy crocheting!