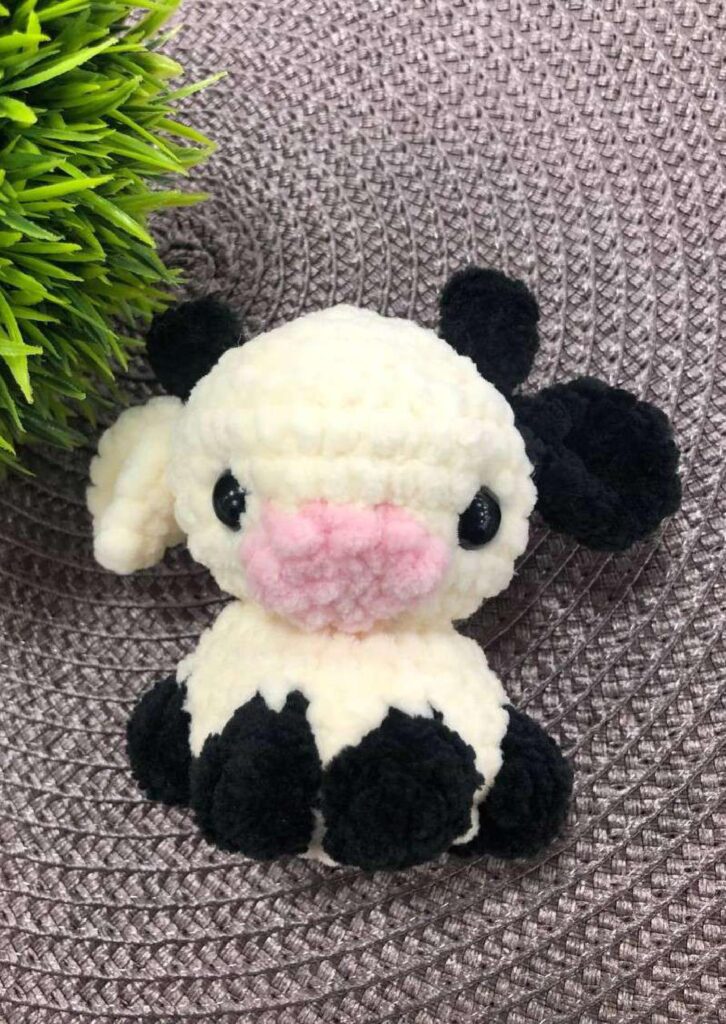
Free Amigurumi Pattern: Crochet the Cutest Mini Plush Cow! 🐄

Are you looking for a quick, adorable, and nearly no-sew crochet project? You’re in the right place! Amigurumi plushies made with super bulky chenille yarn are incredibly popular right now, and this little cow is the perfect weekend make or market-prep staple.
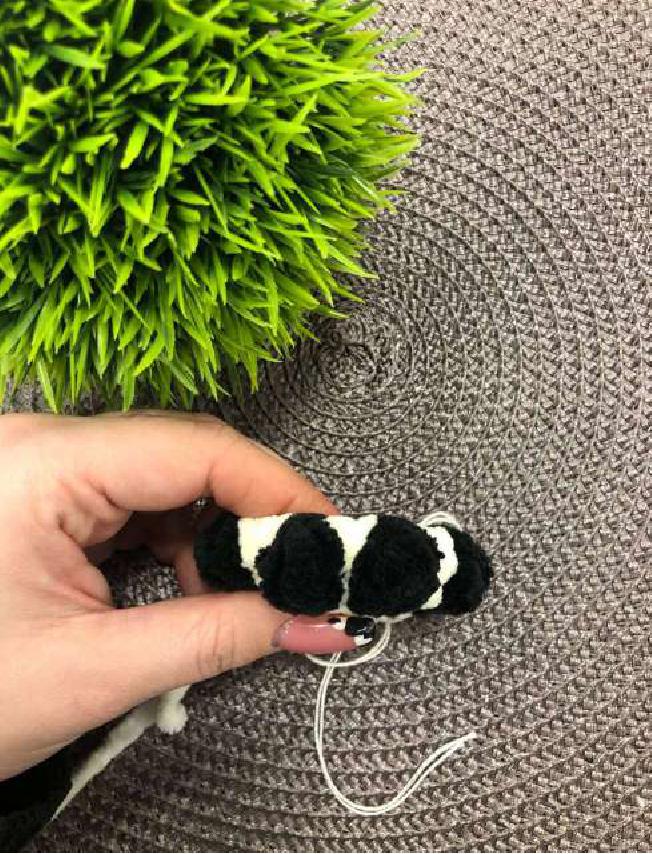
Measuring at just about 3.5 inches (9 cm) tall, this bite-sized bovine fits right in the palm of your hand! Plus, the clever construction means the legs are crocheted directly into the body—saving you from tedious sewing later.
Note: This beautiful pattern was originally designed by the talented plush.etoys. Be sure to check out her VK page here! When sharing your finished cows online, please be sure to credit her as the designer.
Grab your hook, and let’s get making!
✂️ What You’ll Need (Materials)
- Super Bulky (#6) Plush/Chenille Yarn (The original uses Himalaya Dolphin Baby, but Premier Parfait Chunky or Bernat Velvet work great too!)
- Color A: Beige or White (Main Body)
- Color B: Black (Spots & Ears)
- Color C: Pink (Muzzle)
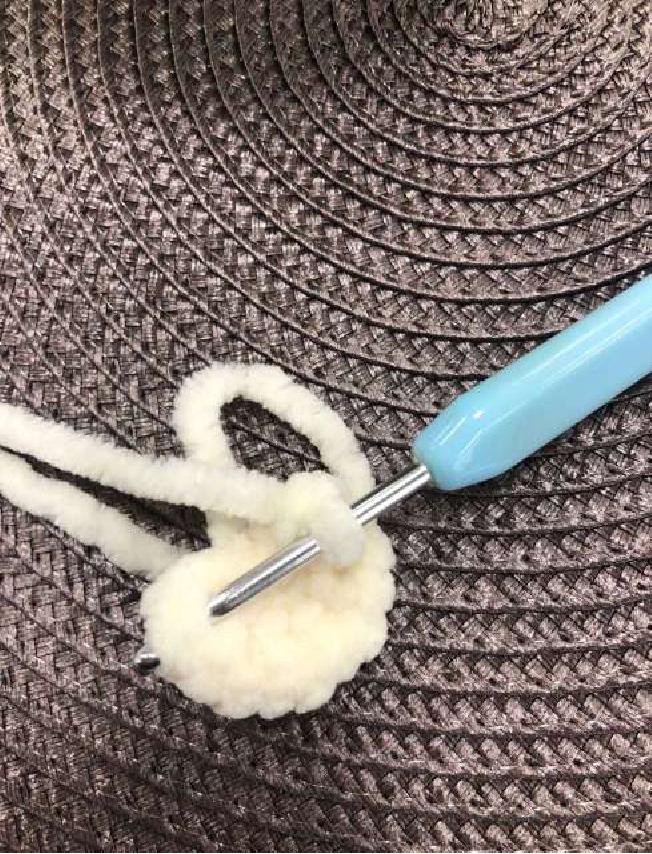
- Crochet Hook: 3.5 mm (US Size E/4) – Using a smaller hook with chunky yarn keeps the stuffing from showing!
- Safety Eyes: 10 mm
- Stuffing: Poly-fil / Fiberfill
- Sculpting Thread: Dental floss or a strong cotton thread (for eye indentations)
- Yarn Needle: A tapestry needle with an eye large enough for chunky yarn
- Scissors & Stitch Marker

📖 Crochet Abbreviations (US Terms)
- MR: Magic Ring
- ch: chain
- sc: single crochet
- dc: double crochet
- sl st: slip stitch
- inc: increase (2 sc in the same stitch)
- dec: decrease (invisible decrease recommended)
- dc4tog: double crochet 4 together (decrease across 4 dc stitches)
- (…) x: repeat the instructions inside the parentheses ‘x’ amount of times.
A Quick Note Before We Start:
This pattern is worked in continuous spiral rounds. Do not slip stitch to join or chain 1 at the end of the round unless the pattern specifically tells you to. Use a stitch marker to keep track of your first stitch!
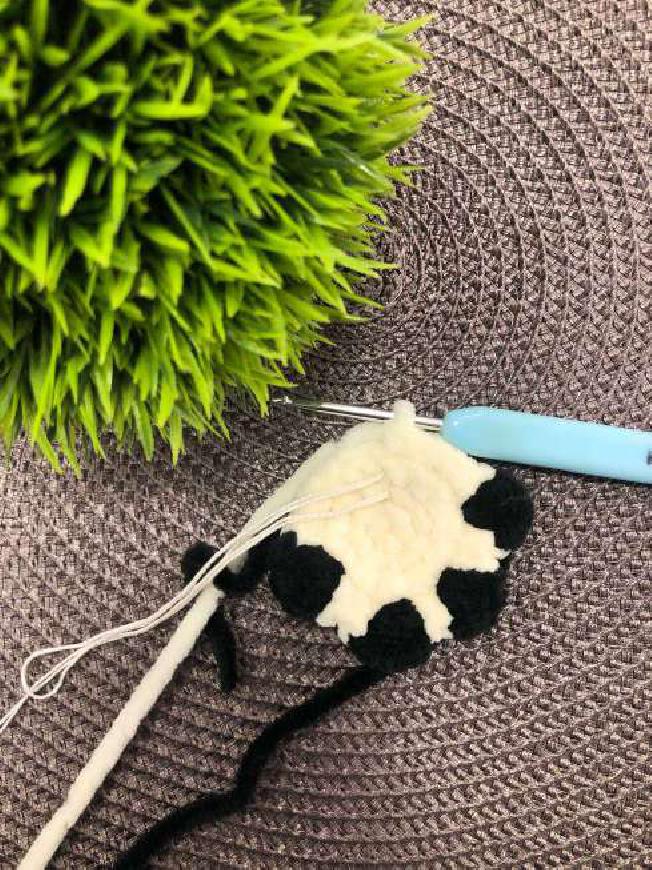
🧶 Free Mini Cow Crochet Pattern
Head & Body (Worked as one piece)
Start with Color A (Beige/White)
Round 1: 6 sc in MR (6)
Round 2: 6 inc (12)
Round 3: (1 sc, inc) x 6 (24) (Note: Pattern original says 12 inc here, which results in 24 sts)
Round 4: 6 sc, 4 dc in the next stitch, 3 sc, 4 dc in the next stitch, 2 sc, 4 dc in the next stitch, 3 sc, 4 dc in the next stitch, 6 sc. (36)
(Fun fact: Those “4 dc” clusters are going to become your cute little cow hooves!)
Round 5: 6 sc, dc4tog, 3 sc, dc4tog, 2 sc, dc4tog, 3 sc, dc4tog, 6 sc. (24)
Rounds 6-8: sc in each stitch around for 3 rounds. (24)
Round 9: 12 dec. (12) (This pinches the neck in! Start stuffing the body firmly here).
Round 10: 12 inc. (24)
Round 11: (1 sc, inc) x 12. (36)
In the next few rounds, we will be making the cow’s spot! The instructions in [Bold Brackets] should be worked in Color B (Black).
Round 12: 8 sc, [1 sc], 27 sc. (36)
Round 13: 7 sc, [3 sc], 26 sc. (36)
Round 14: 6 sc, [5 sc], 25 sc. (36)
Round 15: 5 sc, [7 sc], 24 sc. (36)
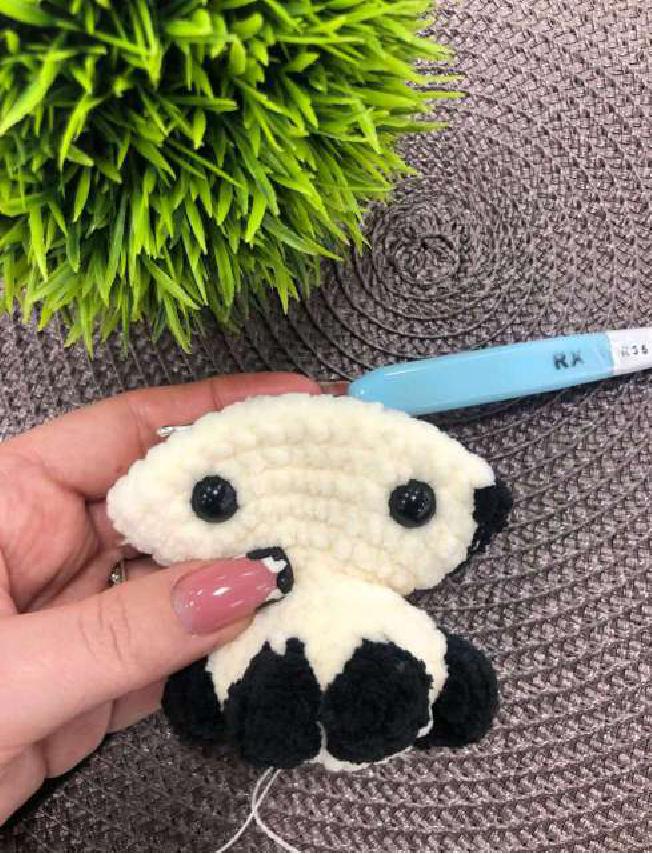
Insert your 10mm safety eyes between Rounds 13 and 14, placing them about 10 stitches apart.
Round 16: 4 sc, dec, [4 sc, dec], (4 sc, dec) x 4. (30)
Round 17: 3 sc, dec, 1 sc, [2 sc, dec], (3 sc, dec) x 4. (24)
Round 18: 2 sc, dec, [2 sc, dec], (2 sc, dec) x 4. (18)
Stuff the head firmly.
Round 19: (1 sc, dec) x 6. (12)
Round 20: 6 dec. (6)
Finish off: Fasten off, weave the yarn tail through the front loops of the remaining 6 stitches, pull tight to close the hole, and hide the tail inside the head.
Pro Tip: Take your strong thread/dental floss and do a small eye indentation (sculpting) by pulling the eyes slightly inward toward each other. This gives the cow its adorable, chubby-cheeked look!
Muzzle
Use Color C (Pink)
We are going to crochet an oval by working on both sides of a foundation chain.
Round 1: Ch 4. Starting in the 2nd ch from the hook: 2 sc, put 3 sc in the very last ch. Now, rotate your work to crochet down the opposite side of the chain: 3 sc. Sl st to join.
Finish off: Leave a long tail for sewing.
Assembly note: Sew the muzzle centered between Rounds 11 and 13. Designer secret: Sew the muzzle on with the “wrong side” (the purl side) facing outward—it gives the snout a much cuter, puffier texture!
Ears (Make 2)
Use Color B (Black)
Row 1: 6 sc in a MR. (Do not join in a circle!)
Row 2: Ch 1, turn your work. 6 inc. (12).
Fold the semi-circle in half, and sl st the two edges together.
Finish off: Leave a tail for sewing.
Assembly note: Sew the ears between Rounds 14 and 15, about 3 to 4 stitches away from the outer edge of each eye.
Horns (Make 2)
Use Color B (Black) or a Brown of your choice
Row 1: Ch 3. Starting in the 2nd ch from the hook: 1 sc, 1 dc. Sl st the two ends together to form a little cone shape.
Finish off: Leave a tail for sewing.
Assembly note: Sew the horns right underneath the ears. The designer recommends sewing one horn with the “right side” out, and the other with the “wrong side” out for a slightly quirky, organic look!
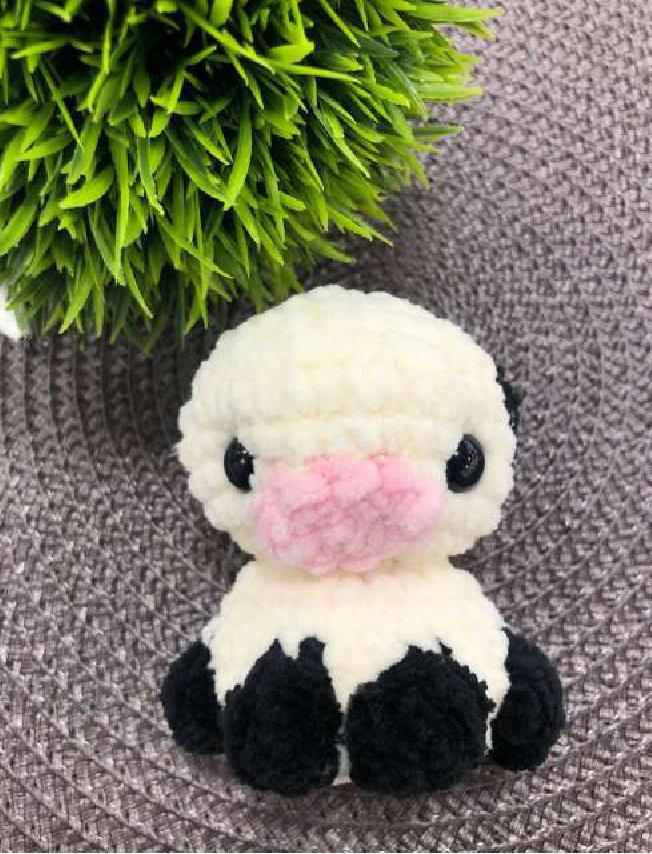
📸 Show Off Your Makes!
And just like that, your pocket-sized plush cow is complete! We hope you loved this pattern and that it left you with only pleasant impressions.
If you make this little cow, we’d love to see it!
- Tag the original designer: Be sure to link back to plush.etoys and give her credit for this genius little design.
- Pin it for later: Don’t forget to save this pattern to your Pinterest Amigurumi boards!
Happy crocheting, and may your stitches be perfectly even! ✨