How to Crochet a Christmas-Themed Blanket for Holiday Gifting
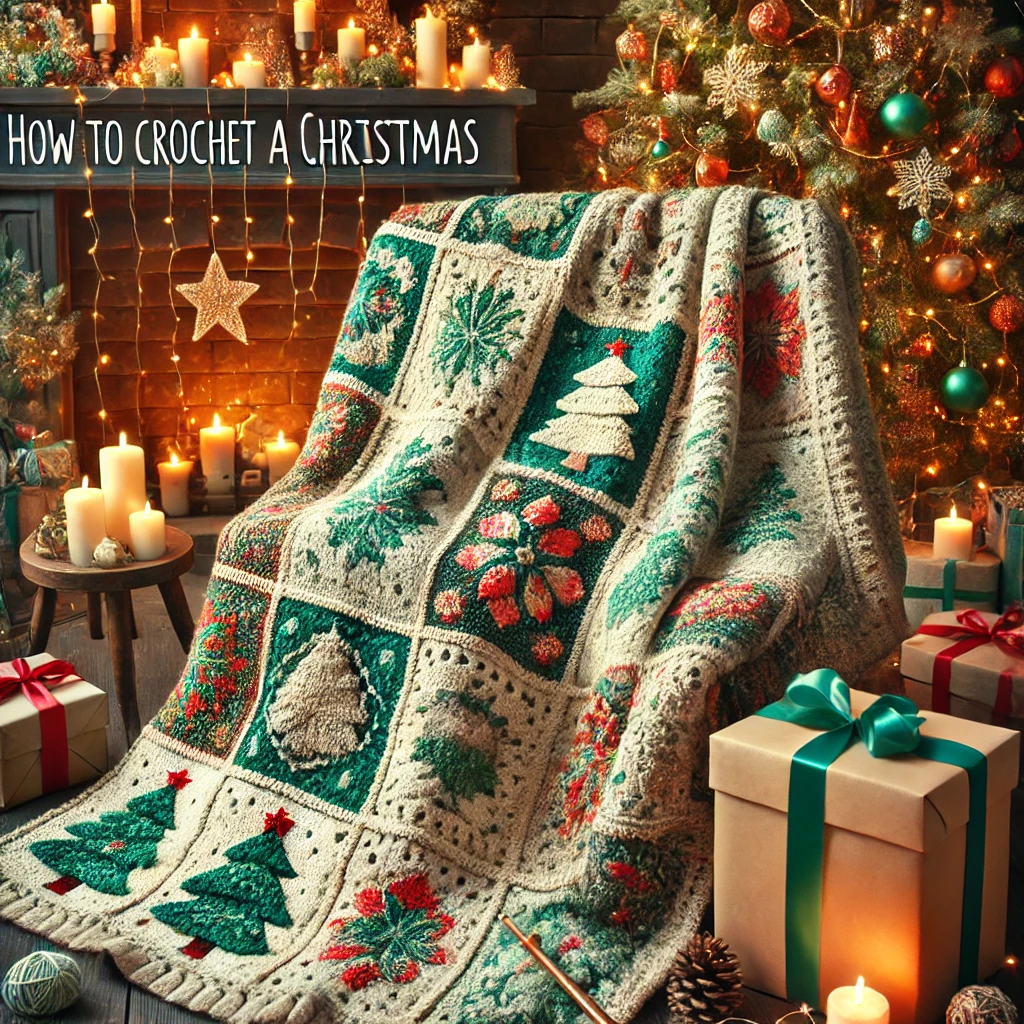
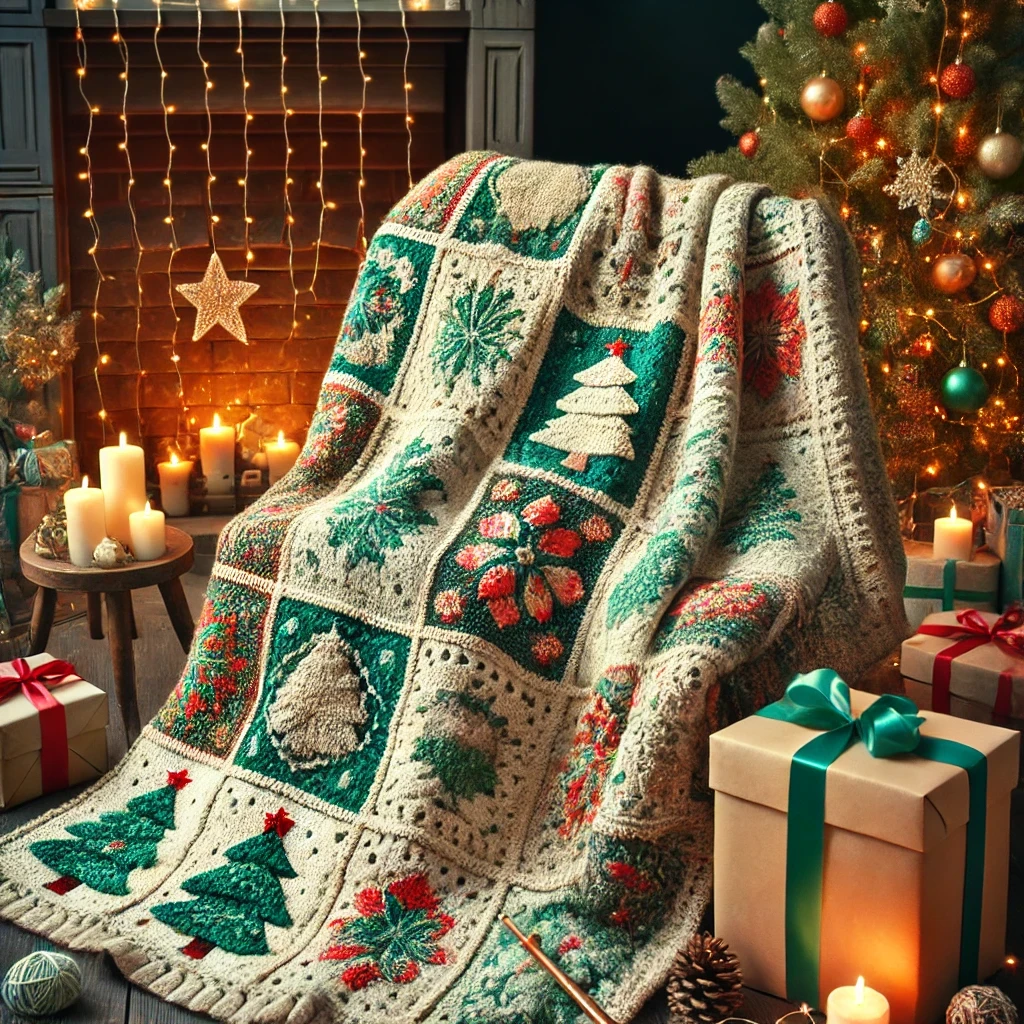
As the holiday season approaches, there’s nothing cozier or more heartfelt than gifting a handmade, Christmas-themed crochet blanket. This timeless project blends warmth, tradition, and personal touch, making it the perfect present for family or friends to enjoy year after year. In this article, we’ll guide you through crocheting a festive blanket adorned with classic Christmas motifs like Christmas trees, snowflakes, and reindeer. Let’s dive into this delightful holiday project and create a cozy throw that captures the spirit of the season!
Materials You’ll Need
- Yarn: Choose medium-weight yarn in traditional Christmas colors, such as red, green, white, and gold. A soft, machine-washable yarn like acrylic or a wool blend works well for a cozy yet easy-care throw.
- Crochet Hook: Use the hook size recommended for your chosen yarn (often around 5.5 mm or size I-9 for medium-weight yarn). Adjust as needed to achieve the correct gauge.
- Scissors and Yarn Needle: For cutting yarn and weaving in ends.
- Stitch Markers (optional): These can help mark pattern repeats or rounds for more complex motifs.
Skill Level: Intermediate
This blanket project includes basic stitches like single crochet, double crochet, and slip stitch, as well as color changes and simple intarsia crochet for motifs. While not overly complicated, it’s helpful if you’re comfortable with colorwork and reading crochet charts.
Step-by-Step Guide to Creating Your Christmas Blanket
1. Plan Your Blanket Design and Layout
Christmas-themed blankets can be designed in a variety of ways, from all-over repeated motifs to a series of different panels. Here’s a suggested layout for a balanced festive look:
- Center Panel: Features rows of Christmas trees.
- Side Panels: Alternate between snowflakes and reindeer motifs.
- Borders: Simple stripes or a scalloped edge in red, green, and white to bring everything together.
Each panel can be worked separately, then sewn together or crocheted as one large piece using colorwork techniques.
2. Create the Christmas Tree Panel
- Foundation Chain: Start by chaining the width you want for your panel, ensuring it’s a multiple of the motif’s stitch count.
- Tree Pattern:
- Work in double crochet for a solid background.
- Use a contrasting color (like green) to create small triangles that resemble Christmas trees by following a chart. Begin with a few stitches in green and increase stitches in subsequent rows to form the tree shape.
- Space the trees evenly apart, with 4-6 stitches between each tree, depending on the panel width.
- Repeat this tree motif across the entire width of the panel.
3. Snowflake Panel
Snowflakes add a classic wintery feel to your blanket. Here’s how to crochet a snowflake pattern:
- Foundation Chain: Chain the width you desire for the panel.
- Snowflake Pattern:
- Work in a single crochet background to allow the snowflake motif to stand out.
- Use white yarn to crochet the snowflakes. Snowflakes work well in a six- or eight-point design.
- Crochet each snowflake using a separate strand, carrying the background color behind it (intarsia).
- Space the snowflakes with around 5-6 stitches between them, creating a snow-dusted effect.
Alternatively, you can crochet individual snowflakes separately and sew them onto the blanket for a 3D effect.
4. Reindeer Panel
For a traditional Scandinavian touch, add a row of prancing reindeer. This panel is perfect for adding both charm and texture to the blanket.
- Foundation Chain: Start with the desired width for this panel.
- Reindeer Pattern:
- Work with double crochet as the background.
- Use brown or gray yarn for the reindeer. The simplest design involves a reindeer silhouette with antlers.
- Follow a reindeer chart to maintain consistent stitches and color changes, moving between the reindeer color and the background color.
- Position reindeer so that they face alternating directions, adding visual interest to the panel.
5. Join the Panels
Once your Christmas tree, snowflake, and reindeer panels are complete, join them:
- Use a single crochet stitch along the edges or a whip stitch for a seamless join.
- Ensure the panels are aligned, and the motifs match up nicely across each section for a polished finish.
6. Add a Festive Border
A border gives your blanket a finished look and prevents curling at the edges. Here are two festive border ideas:
- Striped Border: Work 2-3 rows of single crochet in each color, rotating through red, green, and white.
- Scalloped Edge: For a decorative touch, crochet a scalloped edge by working 5 double crochets in one stitch, skip two stitches, slip stitch in the next stitch and repeating this pattern around the blanket.
Tips for Success
- Weave in Ends as You Go: Christmas motifs involve multiple colors, so weaving in ends as you crochet will save you time at the end.
- Gauge: Check your gauge before starting, especially if you’re mixing yarn brands or weights. Consistent gauge ensures your blanket stays even.
- Blocking: Block each panel after completing it to help set the shape, especially if your motifs use multiple yarn colors.
Customizing Your Christmas Blanket
Once you’ve mastered the basic panels, feel free to get creative! Here are some ideas for personalizing your blanket:
- Add Names: Using tapestry crochet, add the recipient’s name along the border or in a special corner.
- Use Sparkly Yarn: Incorporate metallic yarns for some sections to give your blanket a twinkling effect, perfect for the holiday season.
- Pom-Pom Corners: Attach pom-poms or tassels to each corner for an extra-fun touch.
- Add Additional Motifs: Add smaller motifs like candy canes, holly leaves, or stars between your main patterns.
Wrapping Up Your Gift
Once complete, roll or fold your blanket, tying it with a festive ribbon or placing it in a gift box lined with tissue paper. You could add a tag that reads, “Handmade with Love,” along with washing instructions, so the recipient knows how to care for this special gift.
Final Thoughts
Crocheting a Christmas-themed blanket is a truly special gift that shows your time, effort, and love. With each stitch, you’re creating a warm piece of holiday cheer that will brighten up any home and be treasured for years to come. So grab your hook, settle in with some holiday tunes, and start crocheting a cozy Christmas throw that’s sure to bring joy to someone special this holiday season. Happy crocheting!

