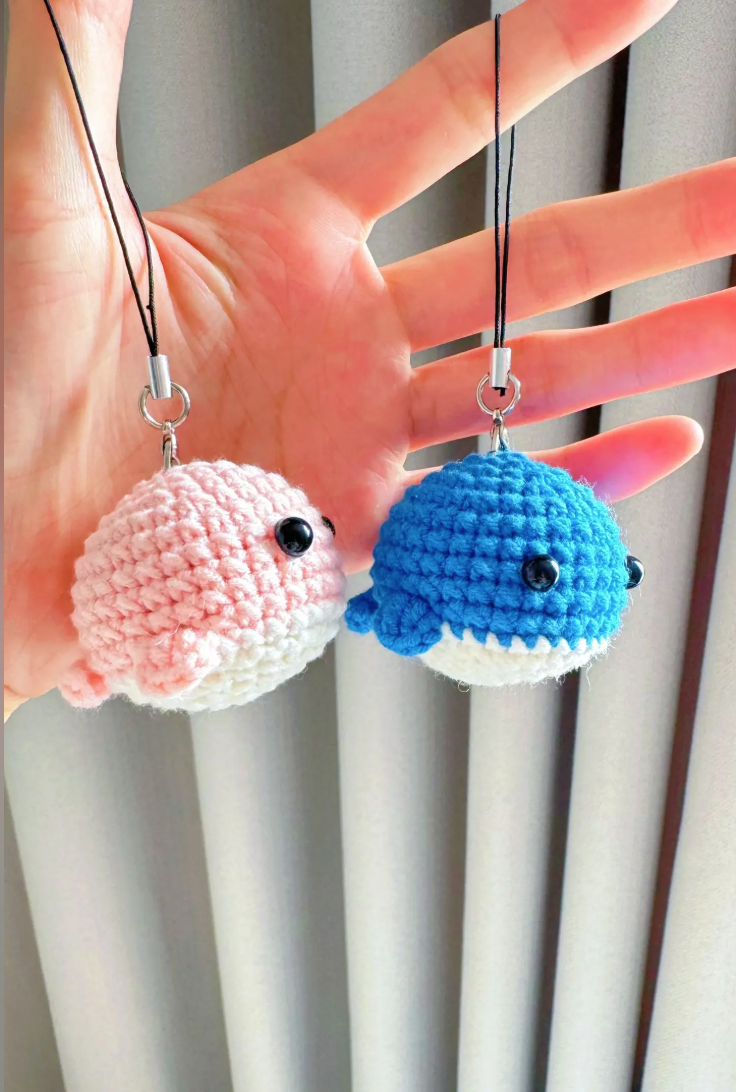
How to Crochet a Mini Whale Pendant
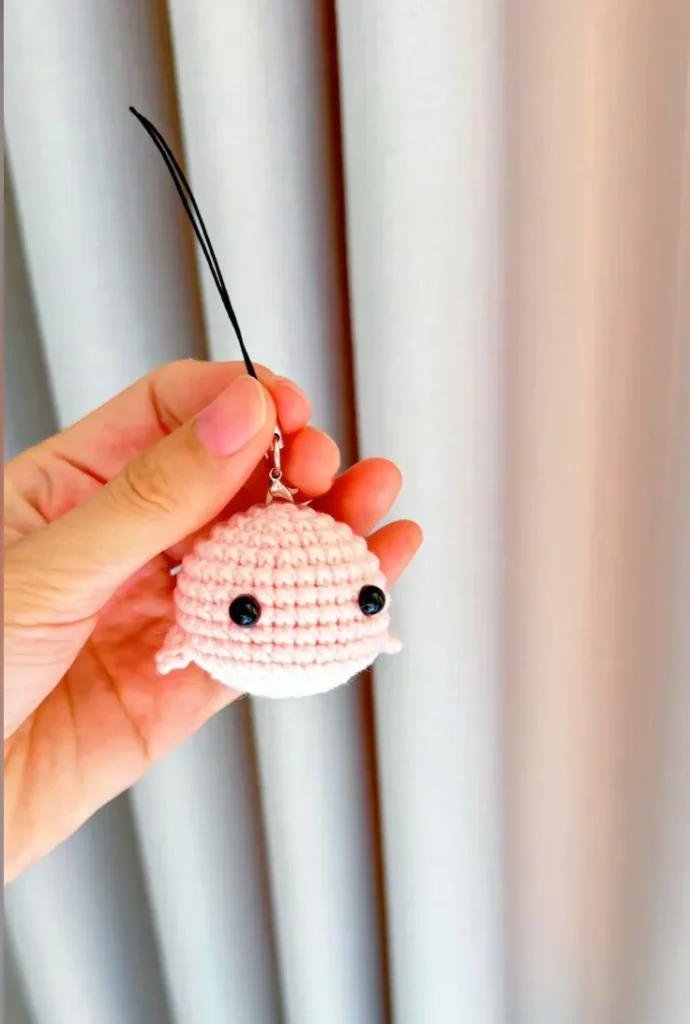
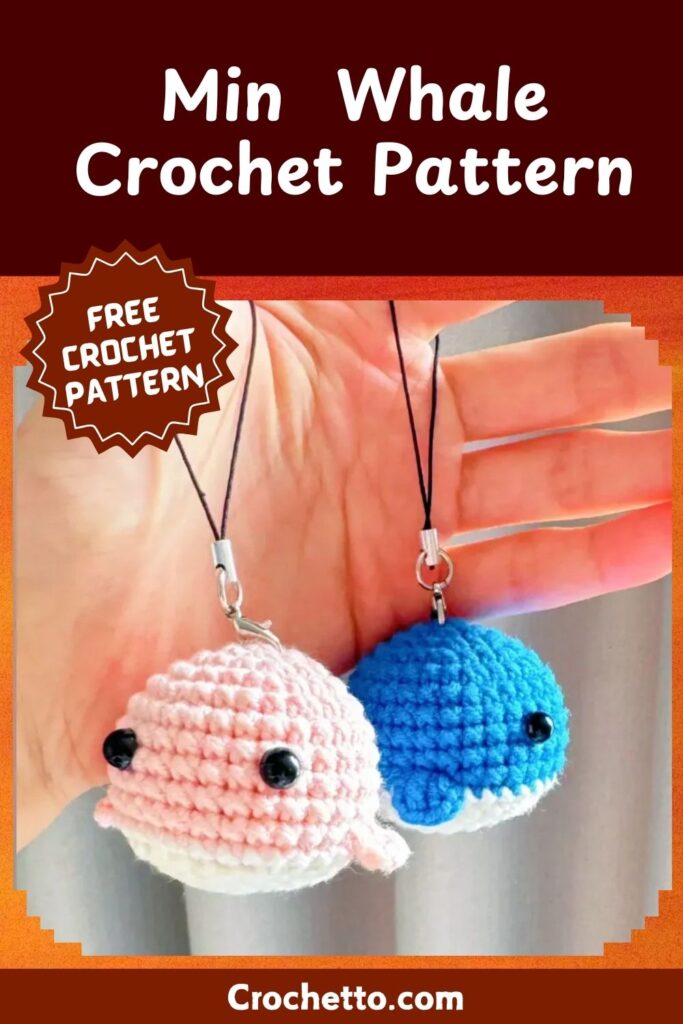
Imagine a tiny, adorable whale hanging from your keys or bag—a crochet charm that is as cute as it is unique. This mini whale pendant is the perfect beginner-friendly amigurumi project, great for gifts, accessories, or just a fun addition to your crochet collection. Let’s dive in and create this charming little whale together!
Materials Needed:
- Yarn: Light worsted weight yarn (main color for the body, plus an optional accent color for details)
- Crochet Hook: 2.5 mm
- Stuffing: Polyester fiberfill
- Safety Eyes: 6 mm or small black beads
- Yarn Needle: For weaving in ends
- Scissors
- Keychain Accessories: Key ring and jump ring
Pattern Breakdown:
This pattern uses US crochet terms and is worked in continuous spirals unless otherwise specified. Use a stitch marker to keep track of your rounds!
Abbreviations:
- MR: Magic Ring
- X: Single Crochet (SC)
- V: Increase (2 SC in the same stitch)
- A: Decrease (SC 2 together)
- F: Puff Stitch
Whale Body:
Round 1:
Start with a magic ring and work 6 single crochets (6X). Pull the ring tight.
Round 2:
Increase in every stitch around (6V = 12 stitches).
Round 3:
Single crochet 1, then increase—repeat 6 times (6 (X, V) = 18 stitches).
Round 4:
Single crochet 1, increase, single crochet 1—repeat 6 times (6 (X, V, X) = 24 stitches).
Round 5:
Single crochet 3, then increase—repeat 6 times (6 (3X, V) = 30 stitches).
Rounds 6-9:
Work 30 single crochets in each round (30X). The whale’s body will start to take shape as a rounded cylinder.
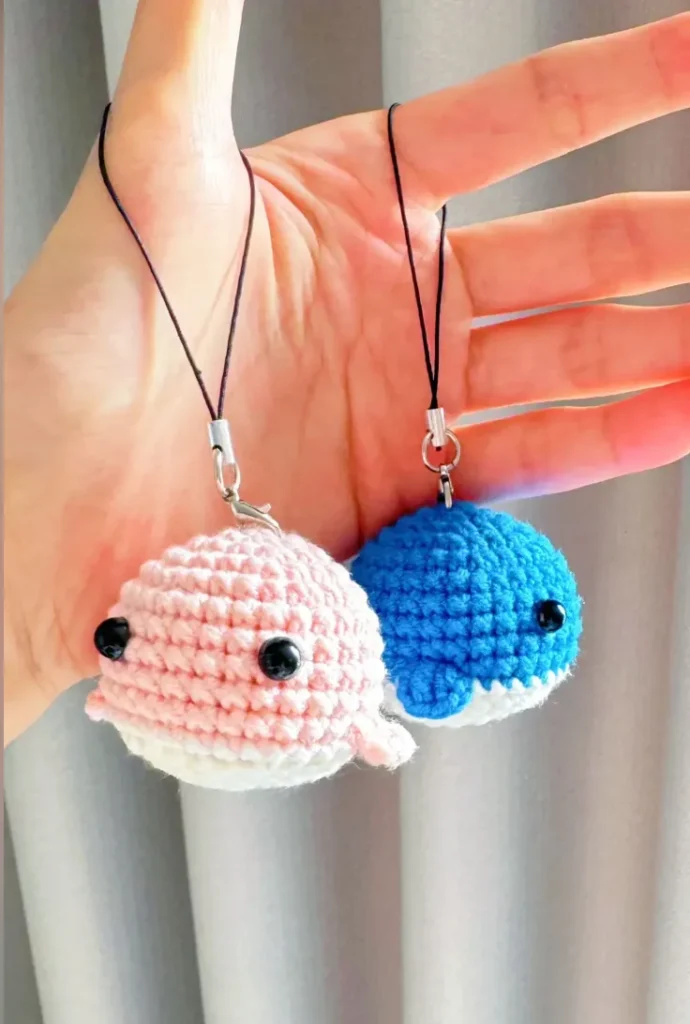
Whale Tail:
Switch to working in rows for the tail.
- In the current position, make a slip stitch and chain 5. Turn and work back down the chain:
- Single crochet in the second chain from the hook, then in the next 3 chains (4X).
- Without breaking the yarn, chain 5 again. Repeat the same process as above to form the second part of the tail.
You should now have two small, symmetrical tail fins extending from the back of the whale.
Adding the Flippers:
Work from the sides of the whale to add small flippers.
- Locate a spot on the side of the whale where you want the first flipper. Attach your yarn with a slip stitch and chain 2.
- Work a puff stitch (F) into the same stitch, then slip stitch to close.
- Repeat this process for the second flipper on the opposite side.
Closing the Body:
Round 10:
Switch to the outer loops only (to create a clean finish) and single crochet around (30X).
Round 11:
Change to your accent color, if desired. Work another 30 single crochets (30X).
Round 12:
Single crochet 3, then decrease—repeat 6 times (6 (3X, A) = 24 stitches).
Round 13:
Single crochet 1, decrease, single crochet 1—repeat 6 times (6 (X, A, X) = 18 stitches).
Round 14:
Single crochet 1, then decrease—repeat 6 times (6 (X, A) = 12 stitches).
Round 15:
Decrease in every stitch (6A = 6 stitches).
Stuff the body firmly before closing off. Use a yarn needle to weave the tail through the remaining stitches, pull tight, and secure.
Adding Safety Eyes:
- Insert the safety eyes between Rounds 6 and 7, spacing them evenly across the front of the whale.
- Secure the eyes tightly. If you don’t have safety eyes, you can sew on small black beads or embroider the eyes with black yarn or thread.
Finishing Touches:
- Attach a keyring or jump ring to the top of the whale.
- Optional: Add decorative details, such as a small embroidered smile or tiny blush accents with pink yarn or fabric paint.
Enjoy Your Mini Whale Pendant!
Your crochet whale pendant is complete! It’s the perfect little accessory to add a splash of fun to your day. Customize it with different colors or experiment with yarn textures to create a unique look. Whether you keep it for yourself or gift it to a friend, this tiny whale is sure to bring smiles all around!
Happy crocheting! 🧶🐋

