How to Make an Easy Crochet Tote Bag
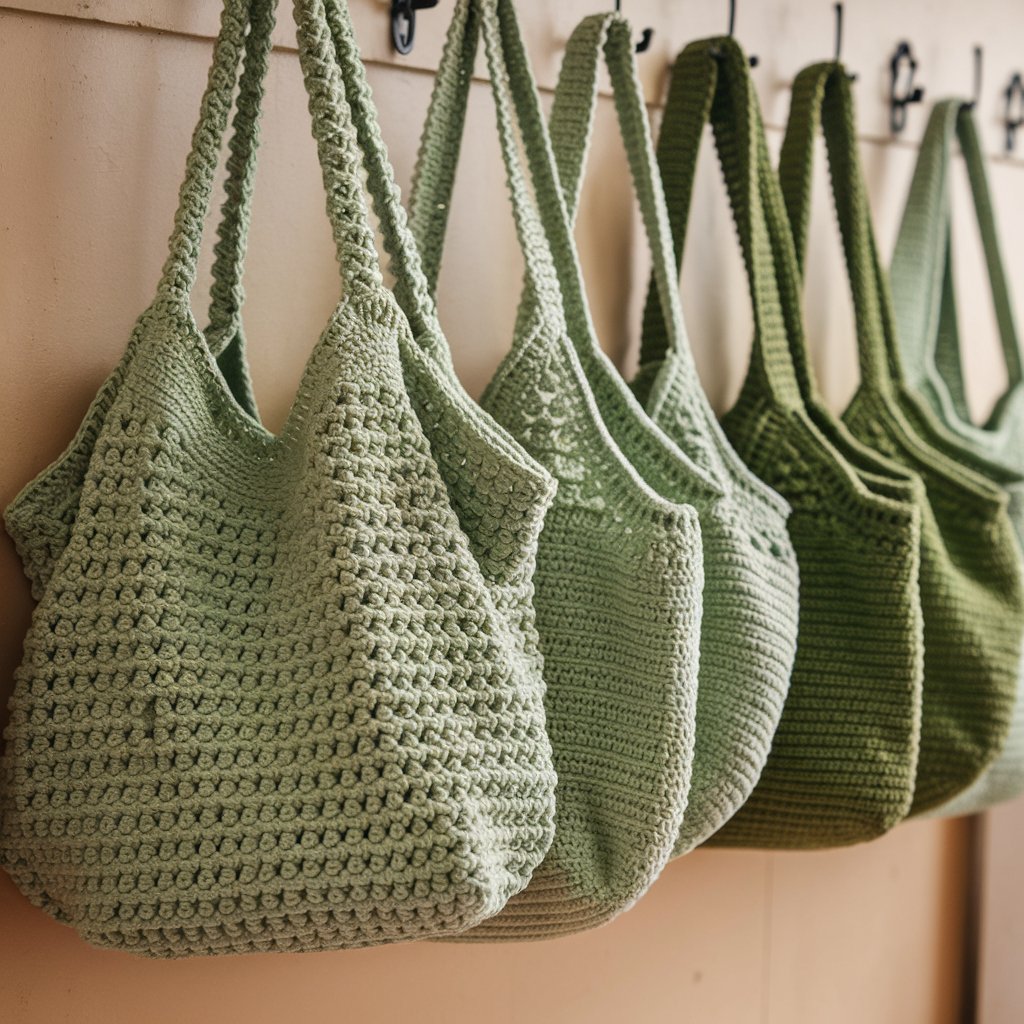
Discover the step-by-step guide to creating an easy crochet tote bag. Perfect for beginners, this crochet project is not only fun but also results in a stylish and functional bag for everyday use.
Easy Crochet Tote Bag
Materials Needed
Before you begin, gather the following materials:
- Crochet Hook: A 5 mm hook is recommended.
- Yarn: 100% acrylic yarn (available at craft stores like Walmart).
- Scissors: For cutting the yarn.
- Darning Needle: For weaving in loose ends.
1. Create the Base of the Bag
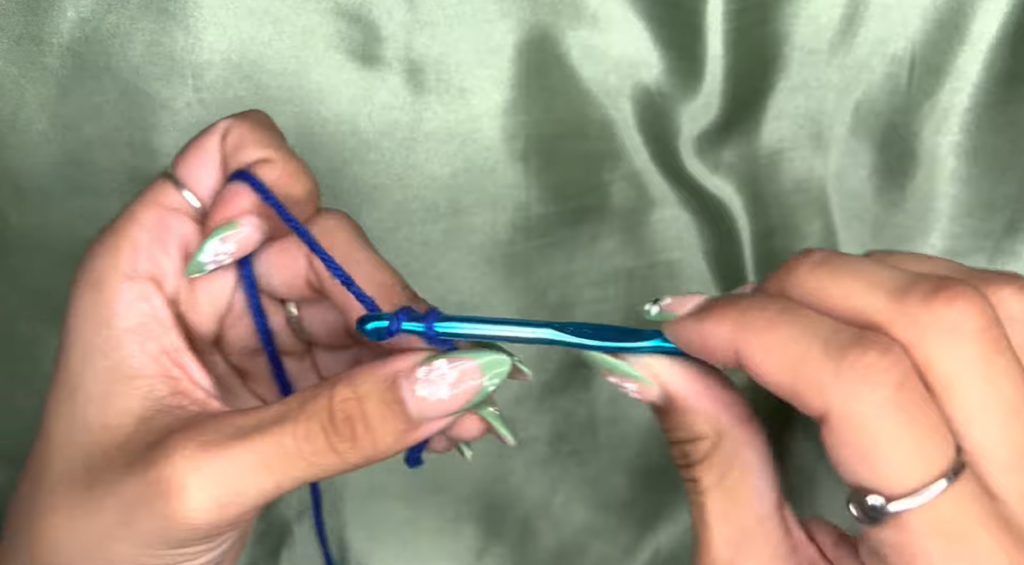
- Start with a Slip Knot: Begin by making a slip knot on your hook.
- Chain 30: This will be the width of your bag. You can adjust the number of chains according to your preference.
- Turn and Work Double Crochets: Chain one more and turn your work. In each chain, work a double crochet across.
- Add More Rows: After completing the first row, chain two and work two more rows of double crochets. You should have three rows in total.
2. Form the Sides of the Bag
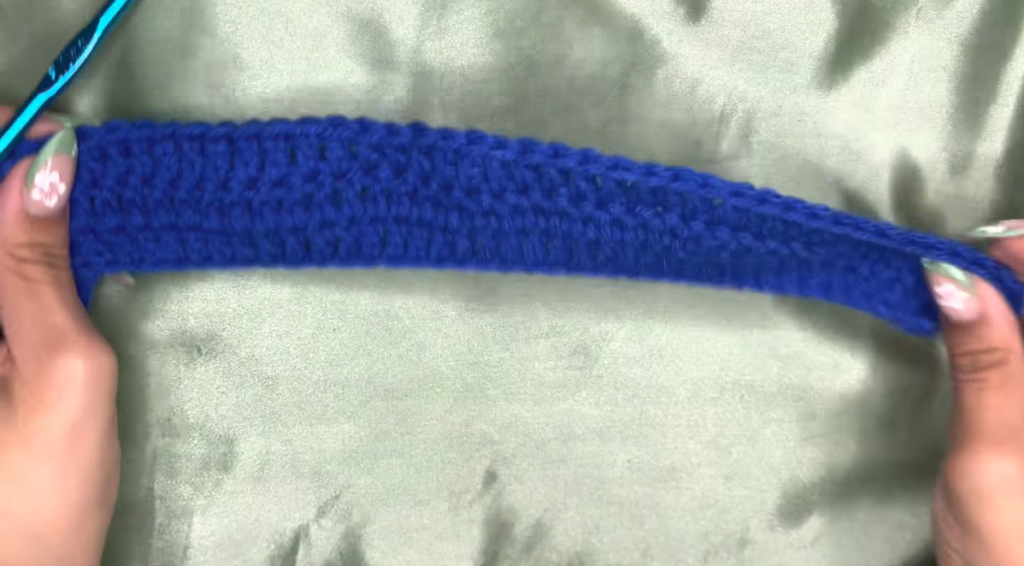
- Work Three Double Crochets: In this step, you will create the sides. Insert three double crochets into random stitches. You can start right under the last double crochet, work in the middle, and at the end, but not the very end.
- Continue Double Crocheting: From this point, work a double crochet into each chain until you reach the end of the row. You can either count your stitches or estimate.
3. Build the Body of the Bag
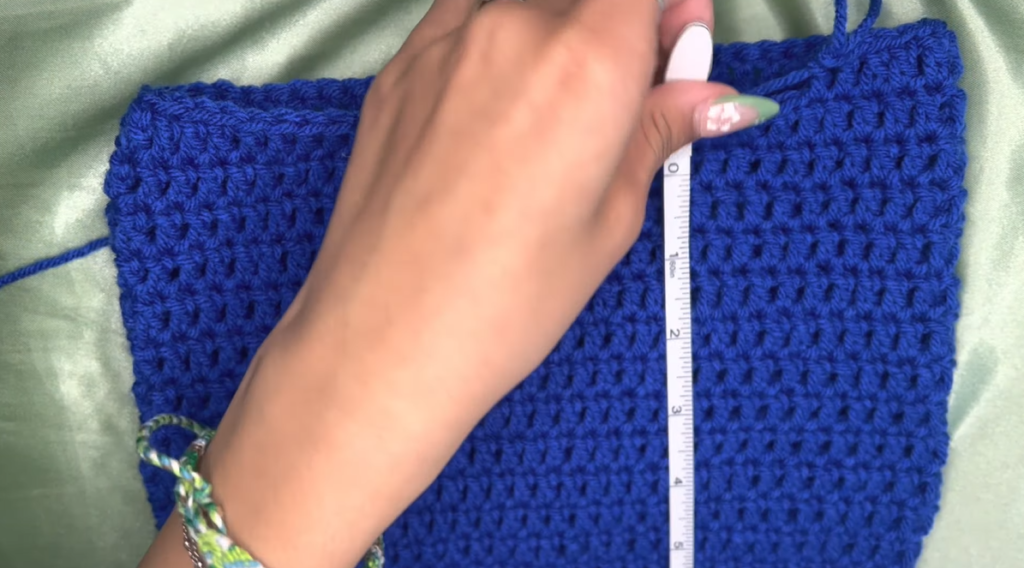
- Continue with Double Crochets: After finishing all your rows, repeat the process of working three double crochets in random stitches.
- Work in Rounds: Now, work double crochets around the bag continuously without making any slip stitches or chains. Keep going until the bag reaches your desired length. Aim for about 20 rows, which typically measures 9-10 inches in height.
4. Create the Straps
- Find the Middle of the Bag: Fold your bag in half and mark the middle stitch. Count six stitches from the middle, plus one more, to determine where to stop double crocheting.
- Work Double Crochets: Double crochet until you reach the seventh stitch you marked. Chain two, turn your work, and then work 20 double crochets across.
- Start Decreasing: To shape the strap, skip the first stitch, work a double crochet into the second, and continue until you’re three stitches from the end. Skip the second to last stitch, then double crochet.
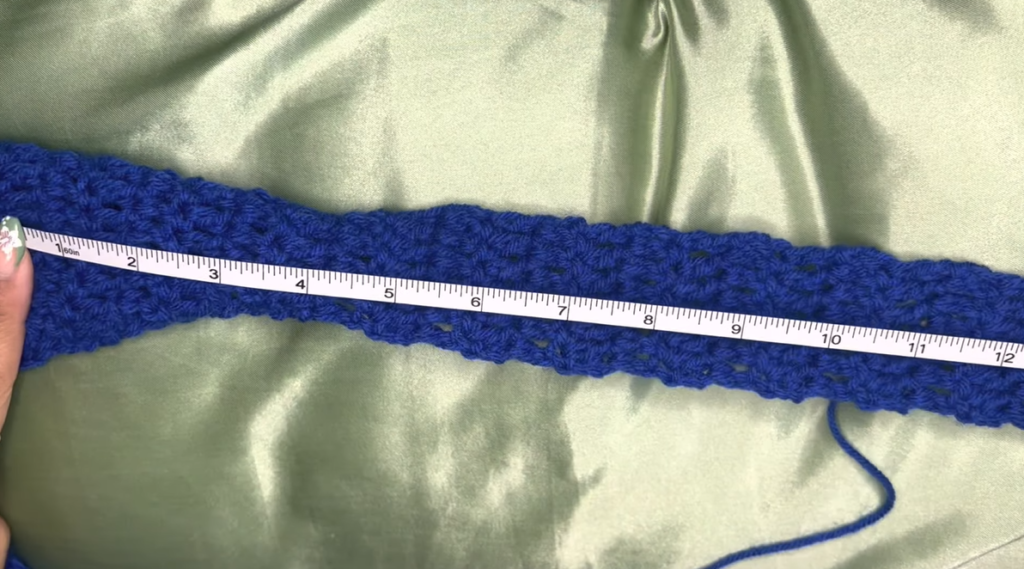
- Continue Decreasing: Chain two, turn your work, and keep decreasing at both ends until you have six stitches left. Work back and forth until you reach half the desired length of the strap (about 15 inches for a 30-inch strap).
5. Attach the Straps
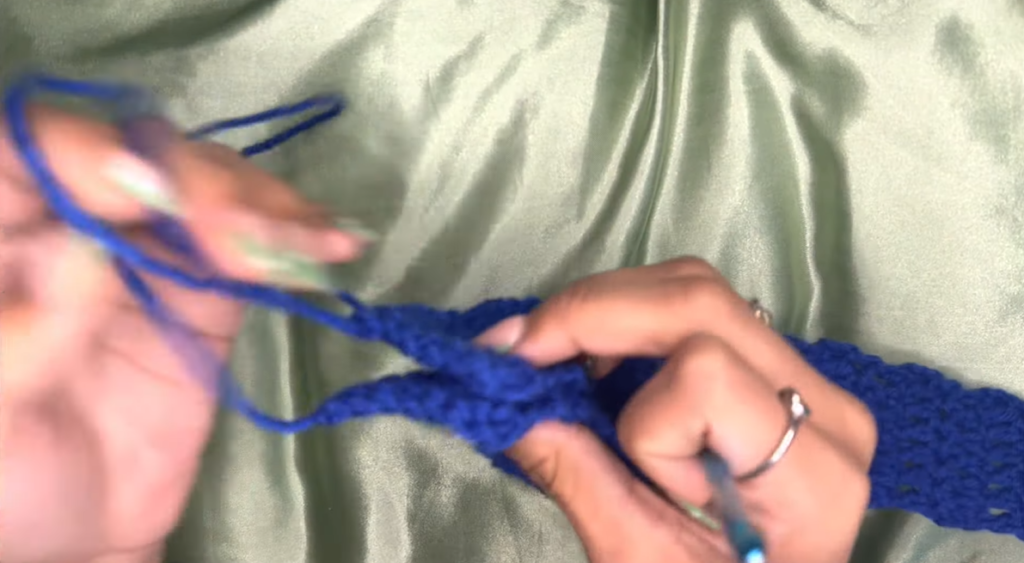
- Connect the Straps: Count six stitches away from where you last worked and repeat the previous steps for the second strap.
- Join the Straps: Ensure both straps are facing the correct way. Hold them together, flipping one strap so they align correctly. Use slip stitches to join them together.
- Secure the Yarn: Chain one, cut off the yarn, and pull it through to finish the strap.
6. Finishing Touches
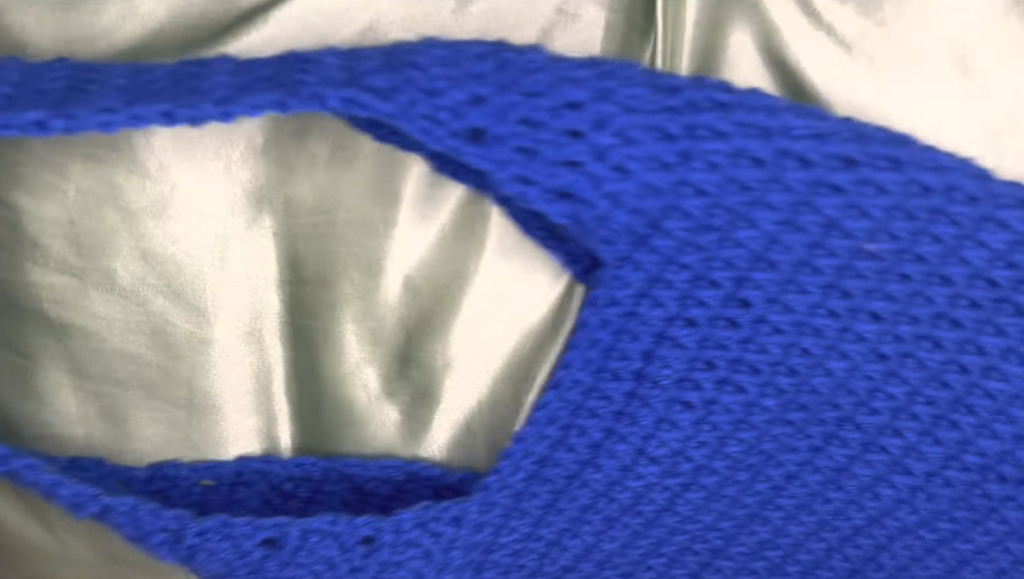
- Weave in Loose Ends: Use the darning needle to sew in any loose ends, weaving through random stitches around the bag until they are securely hidden.


