
Mastering the Basics: A Step-by-Step Guide on How to Crochet a Simple Circle
## Mastering the Basics: A Step-by-Step Guide on How to Crochet a Simple Circle
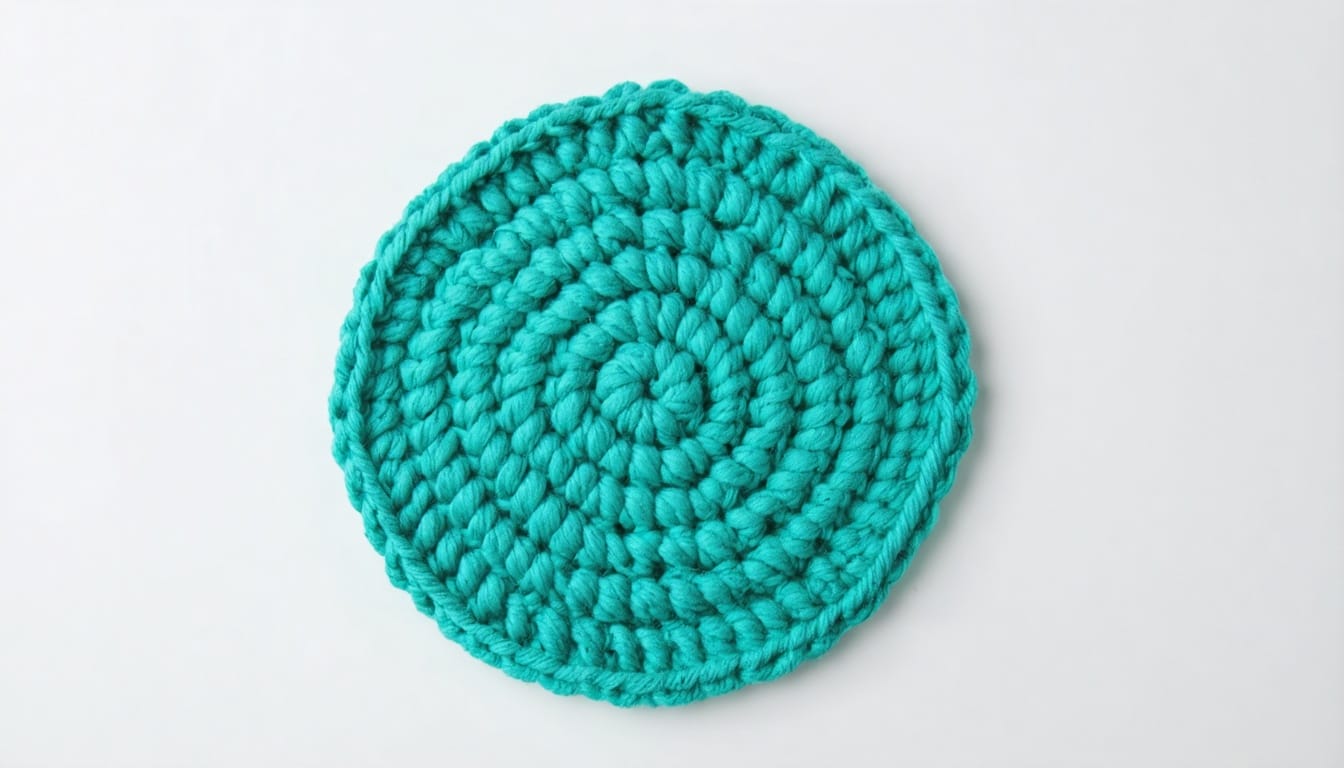
So, you want to learn **how to crochet a simple circle**? You’ve come to the right place! Crocheting a circle is a fundamental skill that opens the door to creating everything from adorable amigurumi and stylish coasters to intricate mandalas and even parts of larger garments. Don’t be intimidated – it’s easier than you think!
This blog post will break down the process into simple, easy-to-follow steps, perfect for beginners. We’ll cover everything you need to know to create a perfectly flat, beautiful circle every time. Let’s get started!
**Why Learn How to Crochet a Simple Circle?**
Before we dive in, let’s quickly touch on why mastering this technique is so valuable:
* **Versatility:** Circles are the building blocks for countless crochet projects.
* **Skill Development:** It teaches you essential crochet stitches and techniques like increases.
* **Foundation for Advanced Projects:** Understanding circle construction is crucial for more complex patterns.
* **Satisfying Results:** There’s something deeply satisfying about creating a perfectly formed circle!
**What You’ll Need:**
* **Yarn:** Any yarn will do to start, but we recommend a light-colored yarn for better visibility. Worsted weight yarn is a good choice for beginners.
* **Crochet Hook:** Choose a hook size that corresponds to your yarn weight. The yarn label will usually have a recommended hook size.
* **Scissors:** To cut the yarn.
* **Yarn Needle (Optional):** For weaving in the ends.
* **Stitch Marker (Optional):** Helpful for marking the beginning of each round, especially for beginners.
**Let’s Get Crocheting: The Step-by-Step Guide**
We’ll be using the single crochet (sc) stitch in this tutorial, as it’s a simple and effective stitch for creating circles. Don’t worry if you’re unfamiliar – we’ll walk you through it!
**Round 1: The Magic Circle (or Chain 2 Method)**
There are two common methods for starting a crochet circle: the magic circle and the chain 2 method. We’ll cover both!
**Method 1: The Magic Circle (Recommended for Invisible Starts)**
1. **Form a Loop:** Wrap the yarn around your fingers (usually your index and middle fingers) to create a loop. The tail end of the yarn should be in front of the working yarn.
2. **Insert Hook:** Insert your hook into the loop.
3. **Yarn Over:** Yarn over (wrap the yarn around your hook from back to front).
4. **Pull Through:** Pull the yarn through the loop on your hook. You should now have one loop on your hook.
5. **Chain 1:** Chain 1 (this doesn’t count as a stitch).
6. **Single Crochet:** Single crochet 6 times into the magic circle. To single crochet: insert your hook into the magic circle, yarn over, pull up a loop (you’ll have two loops on your hook), yarn over, and pull through both loops.
7. **Tighten the Circle:** Carefully pull the tail end of the yarn to tighten the magic circle closed.
8. **Join:** Slip stitch to the first single crochet of the round to join.
**Method 2: The Chain 2 Method (Simpler, but with a Small Hole)**
1. **Chain 2:** Chain 2 with your yarn.
2. **Single Crochet:** Single crochet 6 times into the second chain from the hook.
3. **Join:** Slip stitch to the first single crochet of the round to join.
**Round 2: Increasing Stitches**
This is where the circle starts to take shape!
1. **Chain 1:** Chain 1 (this doesn’t count as a stitch).
2. **Increase in Each Stitch:** Crochet 2 single crochet stitches into each stitch around. This will give you a total of 12 stitches. (An “increase” means crocheting two stitches into the same stitch).
3. **Join:** Slip stitch to the first single crochet of the round to join.
**Round 3: Continuing the Increases**
1. **Chain 1:** Chain 1 (this doesn’t count as a stitch).
2. **Follow the Pattern:** *Single crochet in the first stitch, increase in the next stitch.* Repeat from * to * around. This will give you a total of 18 stitches.
3. **Join:** Slip stitch to the first single crochet of the round to join.
**Round 4: Keeping it Flat**
1. **Chain 1:** Chain 1 (this doesn’t count as a stitch).
2. **Follow the Pattern:** *Single crochet in the first two stitches, increase in the next stitch.* Repeat from * to * around. This will give you a total of 24 stitches.
3. **Join:** Slip stitch to the first single crochet of the round to join.
**Round 5 and Beyond: Scaling Your Circle**
Notice the pattern? You’re increasing the number of single crochet stitches between each increase. To continue growing your circle, follow this pattern:
* **Round 5:** *Single crochet in the first three stitches, increase in the next stitch.*
* **Round 6:** *Single crochet in the first four stitches, increase in the next stitch.*
* **Round 7:** *Single crochet in the first five stitches, increase in the next stitch.*
And so on! Just add one more single crochet stitch between each increase for each round.
**Tips for a Flat Circle:**
* **Consistent Tension:** Maintaining consistent tension in your stitches is crucial for a flat circle. Practice makes perfect!
* **Stitch Count:** Always double-check your stitch count at the end of each round. Incorrect stitch counts are the main culprit behind wonky circles.
* **Blocking (Optional):** If your circle is slightly wavy, blocking can help flatten it out. This involves gently wetting the circle and pinning it to a flat surface until it dries.
* **Hook Size:** Experiment with different hook sizes. Sometimes a slightly smaller hook can help with flatness.
* **Yarn Weight:** Use a yarn weight appropriate for your project and hook size.
**Troubleshooting Common Problems:**
* **Circle is Curling Up:** You may be increasing too quickly. Try adding more single crochet stitches between increases.
* **Circle is Wavy or Ruffled:** You may be increasing too slowly. Make sure you’re following the increase pattern correctly.
* **Visible Joins:** Try using an invisible join technique to create a seamless transition between rounds. You can find tutorials for this online.
**Finishing Your Circle:**
1. **Fasten Off:** Cut the yarn, leaving a tail of about 6 inches.
2. **Pull Through:** Pull the yarn tail through the last loop on your hook and tighten to secure.
3. **Weave in Ends:** Use a yarn needle to weave the yarn tail back and forth through the stitches on the back of the circle to secure it. Trim any excess yarn.
**Congratulations! You’ve learned how to crochet a simple circle!**
Now that you’ve mastered this basic technique, the possibilities are endless. Experiment with different yarn colors and stitch patterns to create unique and beautiful projects.
**Now it’s your turn!** Show us your crochet circles in the comments below. What are you planning to make with your newfound skill? Share your projects and tips!
**Keywords:** How to crochet a simple circle, crochet circle tutorial, crochet for beginners, learn to crochet, crochet instructions, crochet circle pattern, easy crochet circle, crochet basics, crochet increase, magic circle crochet.