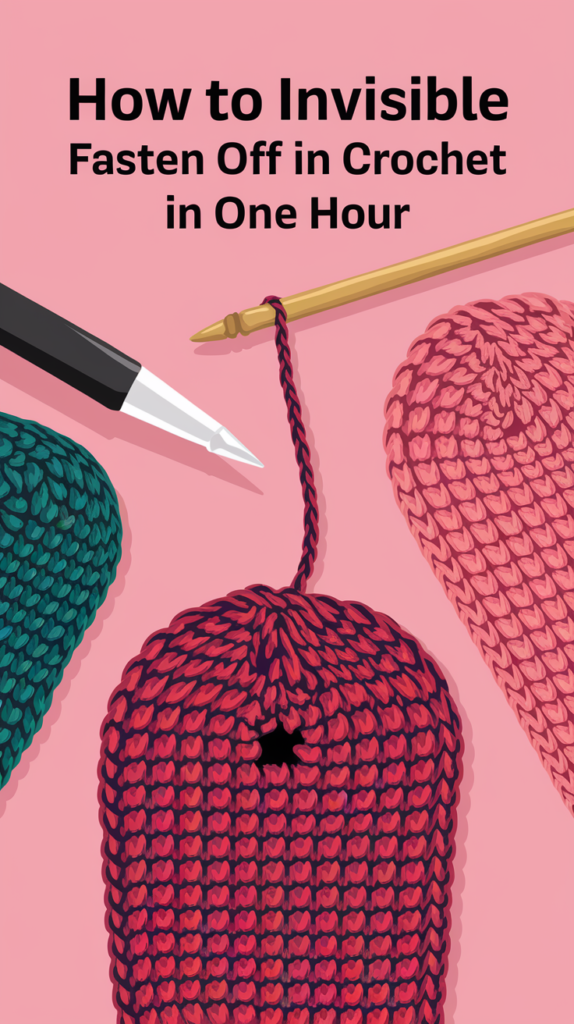
Mastering the Invisible Fasten Off in Crochet in 1 hour
The invisible fasten off technique is a game-changing skill in the crochet world. This elegant method creates seamless edges in your projects, eliminating those pesky visible knots and bumps that can detract from your hard work.
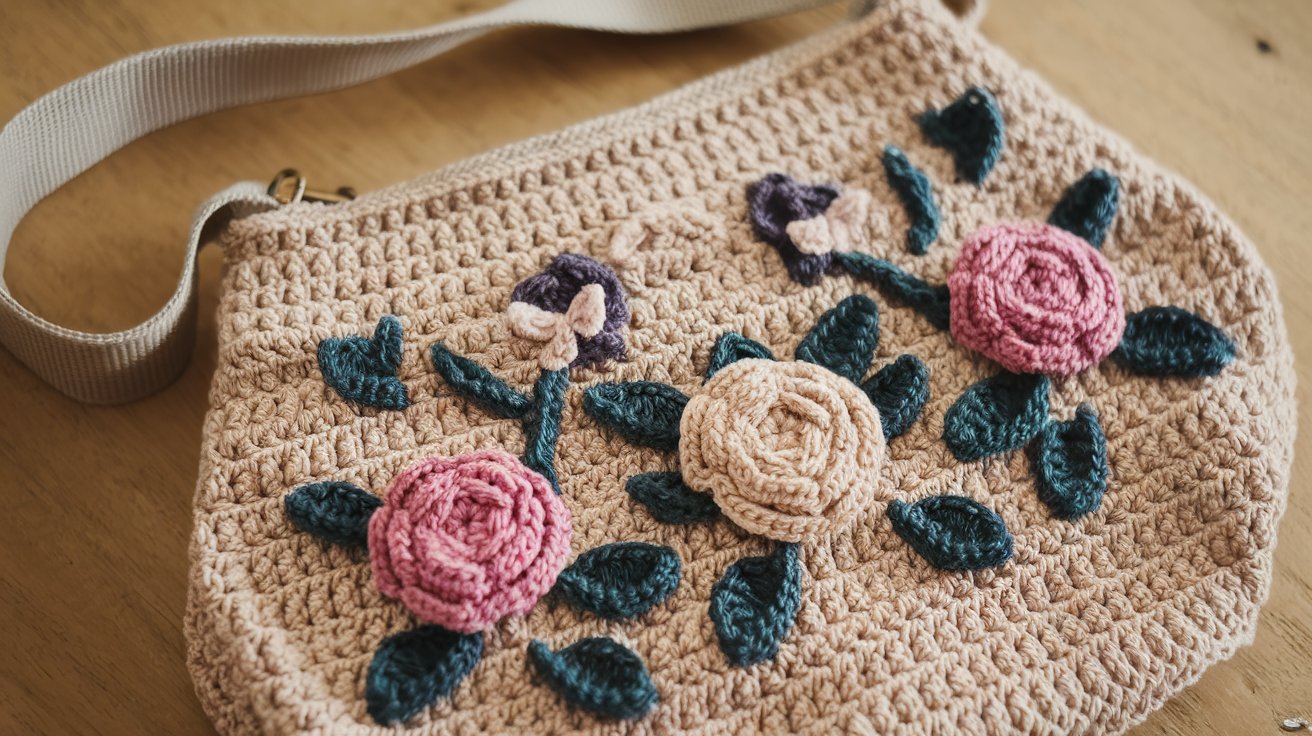
Imagine your amigurumi projects with perfectly smooth seams, or your crochet garments with professional-looking edges. The invisible fasten off makes this possible, adding a polished touch to:

- Stuffed animals and dolls
- Wearables like hats and scarves
- Home decor items
- Blankets and afghans
Here’s the exciting part: You don’t need years of experience to master this technique. With focused practice and the right guidance, you can learn the invisible fasten off in just one hour. This small time investment will transform your crochet projects, elevating them from homemade to handcrafted.
Ready to take your crochet skills to the next level? Let’s dive into the secrets of creating those flawless, professional-looking edges your projects deserve.
Understanding the Invisible Fasten Off Technique
The invisible fasten off technique is a game-changing method in crochet finishing. This specialized technique creates a seamless end to your work by mimicking the appearance of regular stitches, making the finishing point virtually undetectable.
Traditional vs. Invisible Fasten Off Methods:
- Traditional methods leave a visible knot or bump
- Traditional techniques can create an uneven edge
- Invisible method maintains stitch pattern consistency
- Seamless finish preserves project aesthetics
The invisible fasten off method transforms your project’s final appearance through a strategic process of yarn manipulation. By creating a false stitch that perfectly matches your existing stitches, this technique eliminates the telltale signs of project completion.
Key Benefits:
- Creates professional-looking finishes
- Maintains consistent stitch tension
- Perfect for amigurumi and stuffed projects
- Reduces bulk at joining points
- Enhances durability of finished items
This technique proves particularly valuable in projects requiring a polished appearance, such as garments, accessories, or display pieces. The method’s versatility allows it to work effectively across different stitch patterns and yarn types, making it an essential skill for any crocheter’s toolkit.
The invisible fasten off’s true strength lies in its ability to maintain the integrity of your crochet pattern. Your finished piece appears as one continuous flow of stitches, elevating the overall quality of your handmade creations.
Step-by-Step Guide to Performing the Invisible Fasten Off
Let’s dive into the precise steps needed to master the invisible fasten off technique. This method requires attention to detail and proper execution of each step to achieve that seamless, professional finish you’re looking for.
Step 1: Complete the Last Stitch Properly
The foundation of a successful invisible fasten off lies in the preparation of your last stitch. Here’s what you need to do:
- Complete the stitch fully
- Keep your tension consistent with previous stitches
- Don’t pull too tight or leave too loose
- Leave a minimum of 6 inches (15 cm) of yarn
- For larger projects, leave 8-10 inches (20-25 cm)
- Extra length gives you room to adjust if needed
- Use a yarn needle with a large eye
- A tapestry needle works best for most yarns
- Choose a needle size appropriate for your yarn weight
- Hold your project with the right side facing you
- Keep the working yarn accessible
- Ensure your last stitch remains intact
Your last stitch serves as the anchor point for the invisible fasten off. A properly completed last stitch prevents holes, gaps, or loose ends that could compromise your finished work. The yarn tail length is crucial – too short makes weaving difficult, too long becomes cumbersome to manage.
Step 2: Threading the Yarn Through the Last Stitch
Pull your yarn tail through the last stitch with a gentle, steady motion. The key is maintaining consistent tension – too loose creates gaps, too tight causes puckering.
Choosing Your Needle:
- Tapestry needle: Best for most yarns, features a blunt tip and large eye
- Yarn needle: Ideal for bulky yarns or delicate work
Threading Technique:
- Insert your chosen needle from front to back through the last stitch
- Pull the yarn tail completely through
- Keep tension even with the surrounding stitches
Pro Tip: Hold your work with the right side facing you during this step. This positioning helps you maintain better control and visibility as you thread the yarn through.
The yarn tail should glide smoothly without catching or splitting the yarn fibers. A clean pull-through sets you up perfectly for creating your false stitch in the next step.
Step 3: Creating a False Stitch that Mimics Other Stitches in Your Work
Creating a false stitch forms the heart of the invisible fasten off technique. Skip the first stitch directly after your last completed stitch – this creates space for your false stitch to sit naturally within your work.
Creating Your False Stitch:
- Insert your needle from front to back under both loops of the second stitch
- Return to your original stitch (where the yarn tail emerges)
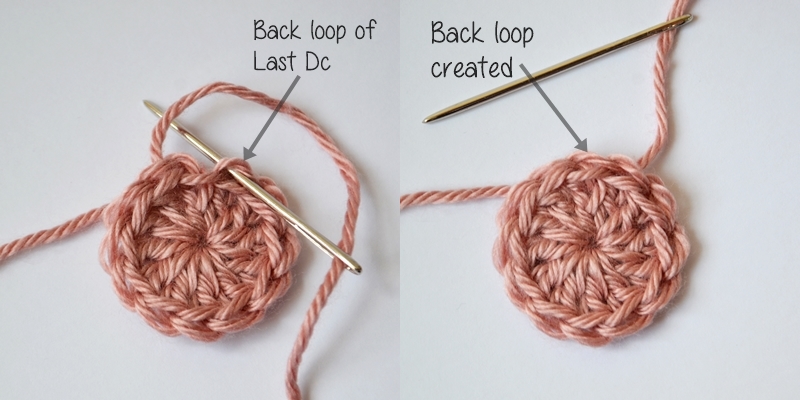
- Insert the needle through the back loop only
This technique creates a stitch that perfectly matches your existing stitches’ appearance. The back loop insertion point is crucial – it helps maintain the natural flow of your stitches while securing your work.
Pro Tip: Keep your tension consistent with the rest of your project when forming the false stitch. A looser or tighter tension will make the false stitch stand out from your other stitches.
Step 4: Tightening and Weaving In Ends for a Polished Look
The key to a professional-looking invisible fasten off lies in the tension control. Hold your work with the right side facing you and gently pull the yarn tail until your false stitch matches the size of surrounding stitches. A gentle tug should create a stitch that blends seamlessly with your project.
Secure Weaving Technique:
- Insert your yarn needle diagonally through 3-4 stitches on the wrong side
- Weave back in the opposite direction through different stitches
- Split the yarn plies for extra security in delicate projects
Pro Tips:
- Avoid pulling too tight – this creates puckering
- Test the stability by giving your work a gentle stretch
- Use a sharp tapestry needle for precise weaving
- Work in a well-lit area to see stitch definition clearly
Your fastened-off area should now be virtually undetectable from the rest of your project, creating a clean, professional finish that enhances your crochet work’s overall appearance.
Advantages of Using Invisible Fasten Off in Crochet Projects
The invisible fasten off technique transforms your crochet projects with professional-grade finishing touches. This method creates seamless transitions between rounds, eliminating the telltale “bump” or “step” that often appears with traditional fastening methods.
Key benefits of the invisible fasten off:
- Perfect Round Joins: Your continuous rounds blend together without visible seams or jogs
- Enhanced Color Changes: Color transitions appear cleaner and more professional
- Professional Finish: Projects look store-bought rather than handmade
- Versatile Application: Works with any yarn type or stitch pattern
- Structural Integrity: Creates strong, durable closures that won’t unravel
The technique shines particularly bright in color work projects. When changing colors between rounds, the invisible fasten off creates a crisp, clean line that enhances your design’s visual impact. This precision proves invaluable in projects like striped beanies, colorwork blankets, or intricate amigurumi patterns.
For items worked in continuous rounds, such as stuffed animals or basket projects, this method eliminates the spiral effect that can distract from your design. The result? A polished piece that showcases your stitchwork rather than drawing attention to the finishing points.
The invisible fasten off also maintains consistent stitch tension throughout your project. This uniformity ensures your finished pieces maintain their shape and structure, particularly important for wearable items or decorative pieces that need to hold up to regular use.
Common Mistakes and How to Avoid Them When Trying Out Invisible Fasten Off Techniques Yourself!
Learning the invisible fasten off can present some challenges. Here are the most common crochet errors you might encounter and their solutions:
- A short tail makes it difficult to weave in ends securely
- Always leave at least 6 inches of yarn for proper finishing
- For larger projects, consider leaving 8-10 inches
- Excessive tension creates puckering around the fastening area
- Match the tension of your false stitch to surrounding stitches
- Practice gentle, consistent pulling motions
3. Incorrect Stitch Placement
- Inserting the needle in wrong loops creates visible gaps
- Remember: Skip first stitch, go through both loops of second stitch
- Double-check your needle position before pulling through
4. Using Wrong Tools
- Blunt needles can split yarn and create messy finishes
- Choose a tapestry needle with appropriate eye size
- Keep your needle sharp and free from rust or damage
These mistakes are part of the learning process. Each attempt improves your technique, leading to cleaner, more professional-looking projects.
Practice Makes Perfect: Mastering Crochet Skills with Regular Use of Invisible Fasten Off Technique!
The path to mastering the invisible fasten off technique lies in dedicated practice. You’ll notice significant improvement in your skills after completing just 5-10 practice rounds on a simple swatch.
Recommended Practice Projects:
- Create small circular swatches using single crochet stitches
- Make basic granny squares
- Practice on simple amigurumi spheres
- Work on flat panels with different stitch patterns
Quick Practice Exercise:
- Chain 6 and join to form a ring
- Work 12 single crochet stitches into the ring
- Practice the invisible fasten off
- Repeat this process 3-4 times
Your practice pieces don’t need to be perfect – they’re learning tools. Set aside 15 minutes daily for focused practice sessions. Track your progress by keeping your early attempts; you’ll see visible improvement in stitch consistency and seamless joins as you develop muscle memory.
Project Ideas for Skill Application:
- Small coin purses
- Basic coasters
- Simple stuffed hearts
- Mini amigurumi animals
Conclusion
The invisible fasten off technique can make a huge difference in your crochet projects, taking them from looking amateur to professional. By learning this skill, you’re opening up a world of possibilities for creating smooth and polished pieces that really stand out.
You’ve learned how this simple yet powerful technique gets rid of any ugly bumps and creates clean edges in your work. The time you spend mastering this method will definitely pay off in the quality of your finished items.
Are you ready to take your crochet skills to the next level? Start using the invisible fasten off technique in your next project. With each stitch, you’ll be one step closer to becoming an expert at crochet techniques that define top-notch craftsmanship. Your future creations deserve this professional finishing touch – so let’s make every project count!
FAQs (Frequently Asked Questions)
What is the invisible fasten off technique in crochet?
The invisible fasten off technique is a finishing method used in crochet to create a seamless edge when completing your project. It helps minimize visible jogs and provides a polished look, especially beneficial in amigurumi and other crochet items.
How long does it take to master the invisible fasten off technique?
You can master the invisible fasten off technique in just 1 hour with practice and attention to detail.
What are the steps involved in performing the invisible fasten off?
The steps include: completing the last stitch properly, threading the yarn through the last stitch, creating a false stitch that mimics other stitches, and tightening and weaving in ends for a polished look.
What common mistakes should I avoid when using the invisible fasten off technique?
Common mistakes include not completing the last stitch properly, creating bulk or gaps while pulling the yarn tail through, and failing to securely weave in ends. To avoid these, ensure you follow each step carefully and practice regularly.
How can I practice the invisible fasten off technique effectively?
To practice effectively, start with simple crochet projects where you can apply what you’ve learned about this technique. Regular use will help build your confidence and proficiency over time.
Why should I use the invisible fasten off technique in my crochet projects?
Using the invisible fasten off technique offers several advantages, such as minimizing noticeable jogs between rounds, achieving seamless transitions, and enhancing visual appeal when changing colors.