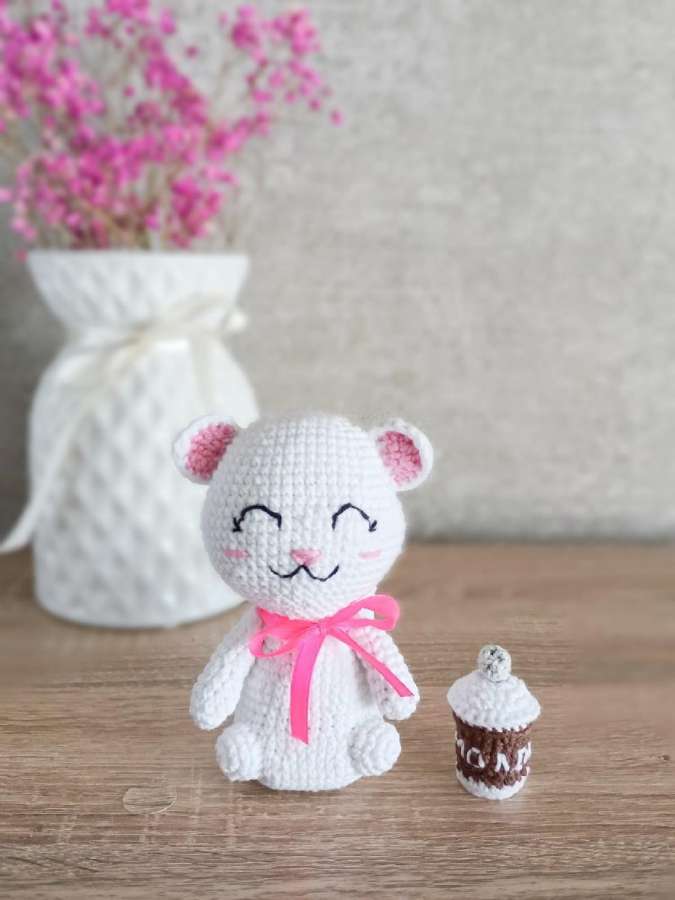
Crochet Master Class: Cute Kitty & Milk Cup Free Pattern!
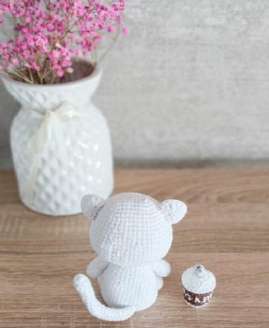
Welcome, fellow crochet enthusiasts! Get ready to melt hearts with this utterly adorable Cute Kitty amigurumi. Designed by the talented @dreams.anni69, this free pattern guides you through creating a charming little feline friend, complete with tiny paws, a whimsical tail, and even a miniature milk cup. Standing at approximately 13 cm tall when made with the recommended materials, this project is perfect for adding a touch of handmade magic to your home or gifting to a loved one. Grab your hook and let’s get started on bringing this sweet kitty to life!
Materials
YarnArt Jeans color 62 (white)
YarnArt Jeans color 36 (pink)
YarnArt Jeans color 53 (black)
YarnArt Jeans color 49 (light grey)
Alize Cotton Gold color 493 (brown) or YarnArt Jeans color 40 (brown)
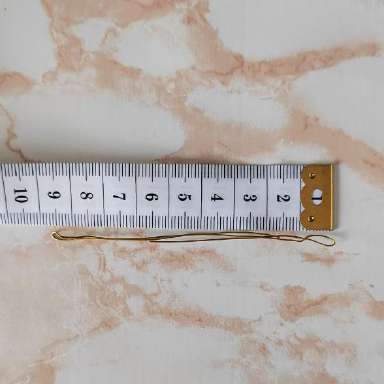
Wire 0.5 mm – 22 cm
Fabric tape
Glass pebbles (or glass granules)
Piece of plastic or cardboard
Hook 2.0 mm
Stuffing
Ribbon (optional)
Abbreviations
MR – magic ring
SL ST – slip stitch
SC – single crochet
CH – chain
DEC – decrease
INC – increase
HDC – half double crochet
DC – double crochet
TRC – treble crochet
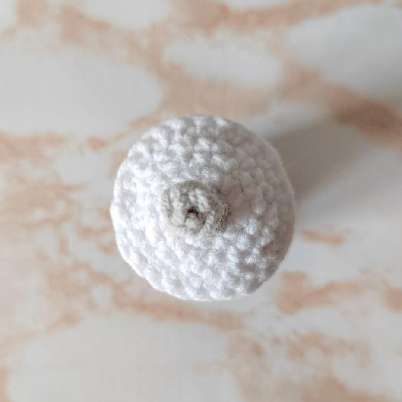
Head
Crochet with white yarn (YarnArt Jeans color 62).
1. Row 1: Chain 8, starting from the second chain from the hook, crochet INC, 5 SC, 4 SC in one stitch, 5 SC, INC (18)
2. Row 2: 2 INC, 5 SC, 4 INC, 5 SC, 2 INC (26)
3. Row 3: (1 SC, 1 INC)2, 5 SC, (1 SC, 1 INC)4, 5 SC, (1 SC, 1 INC)2 (34)
4. Row 4: 34 SC
5. Row 5: (2 SC, 1 INC)2, 5 SC, (2 SC, 1 INC)4, 5 SC, (2 SC, 1 INC)2 (42)
6. Rows 6-8: 42 SC
7. Row 9: (3 SC, 1 INC)2, 5 SC, (3 SC, 1 INC)4, 5 SC, (3 SC, 1 INC)2 (50)
8. Rows 10-11: 50 SC
9. Row 12: (4 SC, INC)10 (60)
10. Rows 13-16: 60 SC
11. Row 17: (8 SC, DEC)6 (54)
12. Row 18: 4 SC, DEC, (7 SC, DEC)5, 3 SC (48)
13. Row 19: 48 SC
14. Row 20: (6 SC, DEC)6 (42)
15. Row 21: 2 SC, DEC, (5 SC, DEC)5, 3 SC (36)
16. Row 22: (4 SC, DEC)6 (30)
17. Row 23: 2 SC, DEC, (3 SC, DEC)5, 1 SC (24)
Fasten off and cut the yarn, stuff the head and weave in the end.
Ears (Four Identical Parts)
We will crochet two pink parts and two white parts.
Start crocheting with pink yarn (YarnArt Jeans color 36), then the next part with white (YarnArt Jeans color 62).
Turn your work at the beginning of each row.
1. Row 1: 5 SC in MR, but do not form a ring, just pull tight. Turn.
2. Row 2: INC in HDC, INC in DC, TRC, INC in DC, INC in HDC (9). Turn.
3. Row 3: 4 SC, 3 HDC in one stitch, 4 SC (9).

Fasten off and cut the pink yarn. Do not cut the white yarn; join the white part of the ear with the pink part, wrong sides together. Crochet 4 SC, 3 HDC in one stitch, 4 SC (this should form a triangle). Without cutting the yarn, crochet 5 SC along the base of the ear. Leave a long tail for sewing.
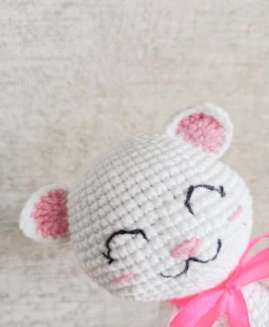
Face Embellishment
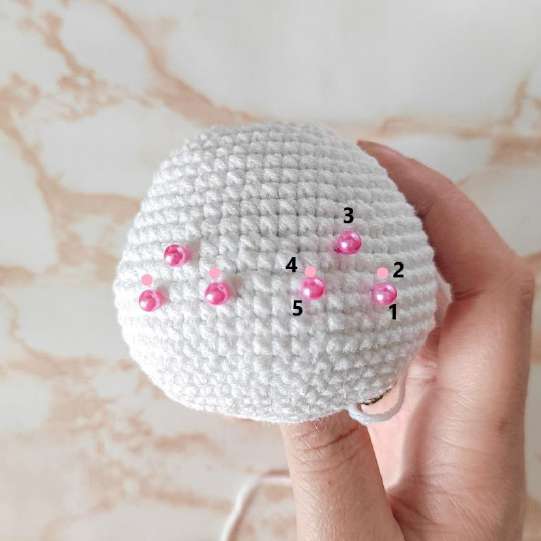
1. For the eyes, take YarnArt Jeans color 53 (black). Cut a short length of yarn and separate the strand in half. You should have two out of four threads.
Embroider the eyes on row 13. The distance between the eyes is 5 SC. The distance between points 1, 5 and points 2, 4 is 4 SC. The height of the eyes is 2 rows.
Insert the needle at the base of the head and bring it out at point 1.
Then insert it at point 2 and bring it out at point 3.
Then return to point 2.
From point 2, bring the needle out at point 4.
Then return to point 3, passing the needle between the threads.
Then bring the needle out at point 5 and return to point 4.
Finish the eye detailing with eyelashes.
2. Embroider the nose. Count 2 rows below the eyes, embroider exactly in the center. The nose is 3 SC long (I made 3 stitches), 1 SC wide. You can keep the yarn attached and immediately proceed to step 3.
3. Make blush for the kitty. From the nose, move 4 SC to each side and embroider blush 3 SC long. I made 2 stitches. The blush can also be applied with pastels, if desired.
4. Embroider the mouth.
5. Sew on the ears between rows 3 and 9.
Body
Crochet with white yarn (YarnArt Jeans color 62). Also prepare glass pebbles or granules; we will use them to fill the base so that our kitty sits stably.
1. Row 1: Chain 6, starting from the second chain from the hook, crochet INC, 3 SC, 4 SC in one stitch. Turn and crochet 3 SC, INC (14)
2. Row 2: 2 INC, 3 SC, 4 INC, 3 SC, INC (22)
3. Row 3: (1 SC, 1 INC)2, 3 SC, (1 SC, 1 INC)4, 3 SC, (1 SC, 1 INC)2 (30)
4. Row 4: (2 SC, 1 INC)2, 3 SC, (2 SC, 1 INC)4, 3 SC, (2 SC, 1 INC)2 (38)
5. Row 5: (3 SC, 1 INC)2, 3 SC, (3 SC, 1 INC)4, 3 SC, (3 SC, 1 INC)2 (46)
6. Row 6: 46 SC in back loops only
7. Rows 7-8: 46 SC
8. Row 9: DEC, (5 SC, DEC)3, 23 SC (42)
9. Row 10: 42 SC
10. Row 11: 1 SC, DEC, (4 SC, DEC)3, 21 SC (38)
11. Row 12: 38 SC
12. Row 13: INC, (5 SC, INC)3, 19 SC (42)
13. Rows 14-15: 42 SC
Here, place the glass pebbles and start stuffing the body.
14. Row 16: (5 SC, DEC)6 (36)
15. Row 17: 36 SC
16. Row 18: (DEC, 4 SC)6 (30)
17. Rows 19-20: 30 SC
18. Row 21: (3 SC, DEC)6 (24)
Fasten off the yarn and leave a long tail for sewing on the head. Stuff.
Lower Paws
1. Row 1: 7 SC in MR
2. Row 2: 7 INC (14)
3. Rows 3-4: 14 SC
Fasten off the yarn and leave a long tail for sewing.
Upper Paws
1. Row 1: 5 SC in MR
2. Row 2: 5 INC (10)
3. Rows 3-6: 10 SC
4. Row 7: 5 SL ST, 5 SC (10)
5. Rows 8-11: 10 SC
6. Row 12: 5 DEC
Pull the opening closed and weave in the yarn end.
Tail
1. Row 1: 6 SC in MR
2. Row 2: (1 SC, INC)3 (9)
3. Rows 3-22: 9 SC
Fasten off the yarn and leave a long tail for sewing.
Assembly
1. Sew the head to the body.
2. Sew the lower paws between rows 6 and 10 of the body.
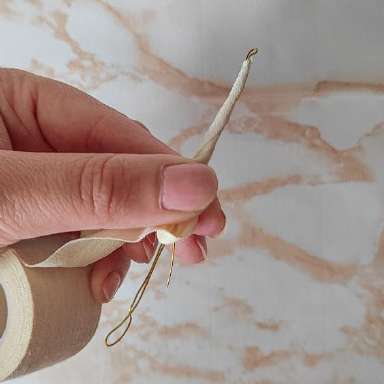
3. Cut 22 cm of wire and fold it so that it fits inside the tail (approximately 8.5 cm). Then wrap the wire with one thin layer of fabric tape. Insert the tape-wrapped wire into the tail. Finally, sew the tail centered between rows 7 and 9 of the body.
4. Attach the arms using thread attachment or sew them to the second row from the head.
5. Optionally, tie a ribbon around the kitty’s neck.
Milk Cup
Lid
1. Row 1: 6 SC in MR
2. Row 2: 6 INC (12)
3. Row 3: (1 SC, INC)6 (18)
4. Row 4: 1 SC, INC (2 SC, INC)5, 1 SC (24)
Fasten off and weave in the end.
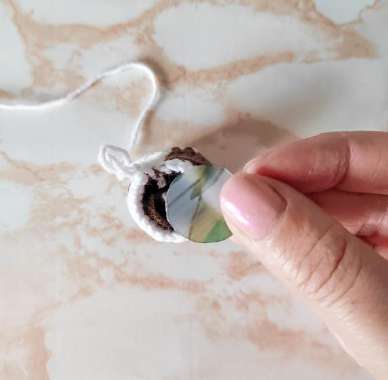
Cup
1. Row 1: 6 SC in MR
2. Row 2: 6 INC (12)
3. Row 3: (1 SC, INC)6 (18)
4. Row 4: 18 SC in back loops only
Change color to brown.
5. Rows 5-6: 18 SC
At this point, trace the bottom of the cup onto plastic or cardboard, cut out the circle, and insert it snugly into the bottom. Stuff the piece as you crochet.
6. Row 7: (5 SC, INC)3 (21)
7. Rows 8-9: 21 SC
8. Row 10: 3 SC, INC, (6 SC, INC)2, 3 SC (24)
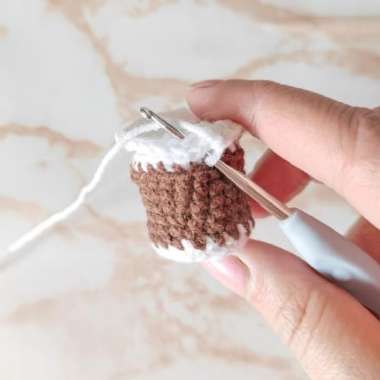
Change color to white.
9. Row 11: 24 SC
Without cutting the yarn, stuff the cup. Crochet the lid to the cup with 24 SC.
Edging the bottom with 18 SL ST.
Straw
1. Row 1: Chain 5, join with the first chain
2. Rows 2-4: 5 SC
Fasten off and leave a long tail for sewing.
Sew the straw exactly in the center of the cup’s lid.
Your adorable new kitty is ready to bring smiles! We hope you loved crocheting this sweet amigurumi. Share your finished creations with us on social media using #CrochettoPatterns and tag @dreams.anni69 to show off your beautiful work. Happy crocheting!