Make Lennard! Free Chubby Sheep Crochet Pattern.
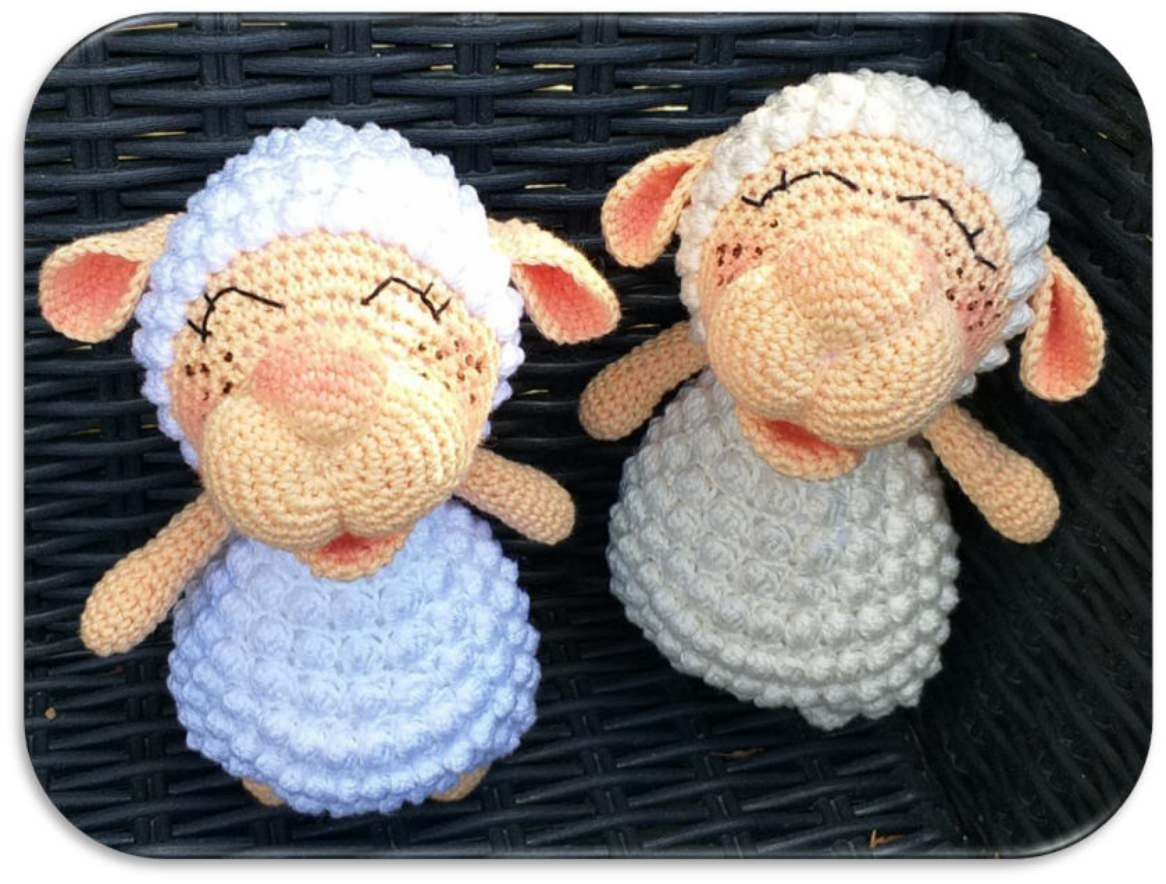
Welcome, fellow crochet enthusiasts, to a truly adorable project that’s sure to melt your heart – Lennard the Chubby Sheep! This charming little amigurumi is designed to bring a smile to your face with his soft texture and endearing shape. Whether you’re looking for a delightful gift or a new friend for your own collection, Lennard is the perfect choice. Our detailed pattern will guide you every step of the way, ensuring a fun and rewarding crafting experience. Get ready to crochet your very own cuddly companion!
Materials for Lennard
- 1 x 50 gr Soft Apricot or Skin color yarn
- 1 x 50 gr White yarn
- Stuffing
- Stitch marker / sewing notions
- Blush, brown felt-tip pen
- Small amount of black filet yarn
Notes on Yarn and Hook Size
This pattern mainly uses 100% cotton yarn with a 2.0 mm hook size. Of course, you can use any other yarn and a different hook size. Please note that this may change the final size of your figure. With Carina, Schachenmayr Catania, or Katia Capri and a 2.0 mm hook, Lennard will be approximately 17 cm tall.
Unless otherwise stated, all rounds are crocheted in spirals and NOT finished with a slip stitch at the end of the round. If crocheted in rows, this will be explicitly stated.
Abbreviations
- MR: Magic Ring
- sc: single crochet
- ch: chain
- sl st: slip stitch
- hdc: half double crochet
- dc: double crochet
- inc: increase
- dec: decrease
- Pop: Popcorn stitch
- tch: turning chain
- FLO: front loop only
- BLO: back loop only
- (…) x ?: repeat everything in parentheses ? times
Tips for Success
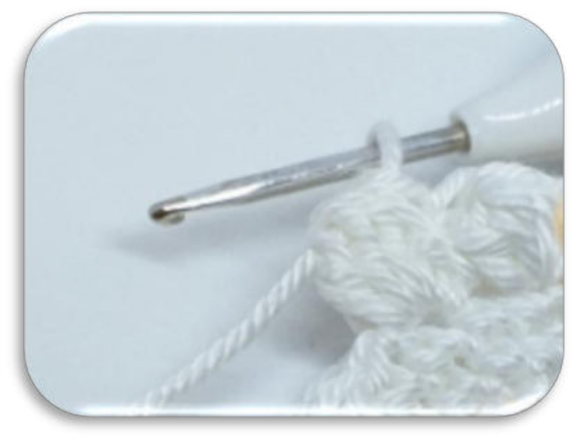
Crocheting also involves sewing the individual parts together. Here are some brief explanations on how to sew neatly. Below are some pictures to guide you.
Closing Parts
Bodies or heads are usually closed. To do this, take a needle and insert it around in each stitch, but only into the front loop, and then pull the yarn. The hole will then close completely. You should then secure the yarn with a knot and then you can weave in the yarn as indicated.

Step 1: Take a needle and insert it into the front loop of each stitch around the opening.

Step 2: Continue inserting the needle into the front loop of each stitch.

Step 3: Pull the yarn tightly to close the hole completely.

Step 4: Secure the yarn with a knot and weave in the end.
Sewing Individual Parts
Before sewing, always pin the individual parts with pins. This way you can be sure that your part stays where it belongs. The individual parts are always sewn all around with small stitches.
You can also blend the hard edge. To do this, in another round, insert your hook only into the front loop of the already sewn stitch.

Step 1: Pin the parts together before sewing to secure their position.

Step 2: Sew around the edge with small, even stitches.

Step 3: For blending, insert your hook into the front loop of an already sewn stitch.

Step 4: Continue to work along the front loops to create a seamless blend.

Step 5: Gently pull the yarn to tighten the blended seam.

Step 6: The blended seam creates a smoother transition between parts.
Folding Circles in Half and Crocheting Together
You fold your crocheted piece in half and crochet both overlapping sides together. Here, single crochet is usually used to join. Important Note: The side that is closed is always the side that will be sewn on!

Step 1: Fold your crocheted piece neatly in half.

Step 2: Insert your hook through both layers of the folded piece.

Step 3: Crochet single crochets through both layers to join them.

Step 4: The edge is now joined, creating a clean seam.

Step 5: This side, where you crocheted the layers together, will be sewn on to another part.

Step 6: The back side of the piece after folding and joining.
Sewing Flat Parts (e.g., mouth)
Pin your piece again with pins. As with all other parts, sew the previously crocheted together side with small stitches. Here too, you can blend the seam.

Step 1: Pin the flat part onto the main body to hold it in place.

Step 2: Sew the flat part using small, neat stitches along the joined edge.
Stuffing the Individual Parts
My figures are ALWAYS stuffed very firmly, until nothing more fits. Some parts are stuffed while sewing. This is indicated separately.
With the help of these tips, you are now ready to crochet. I wish you a lot of fun creating your Lennard 🙂
Pattern Instructions
Popcorn Stitch Explanation
Popcorn stitches are crocheted on the body. Here’s how it works:

Step 1: Yarn over once (like for a double crochet).

Step 2: Insert hook into the sc and pull up a loop. You now have 3 loops on the hook.

Step 3: Yarn over and pull through 2 loops. You now have 2 loops on the hook.

Step 4: Repeat steps 1-4 a total of 4 times. You will then have 5 loops on your hook.

Step 5: Now yarn over and pull through all 5 loops.

Step 6: The popcorn stitch is finished. With a little practice, you’ll be able to do this in your sleep 🙂
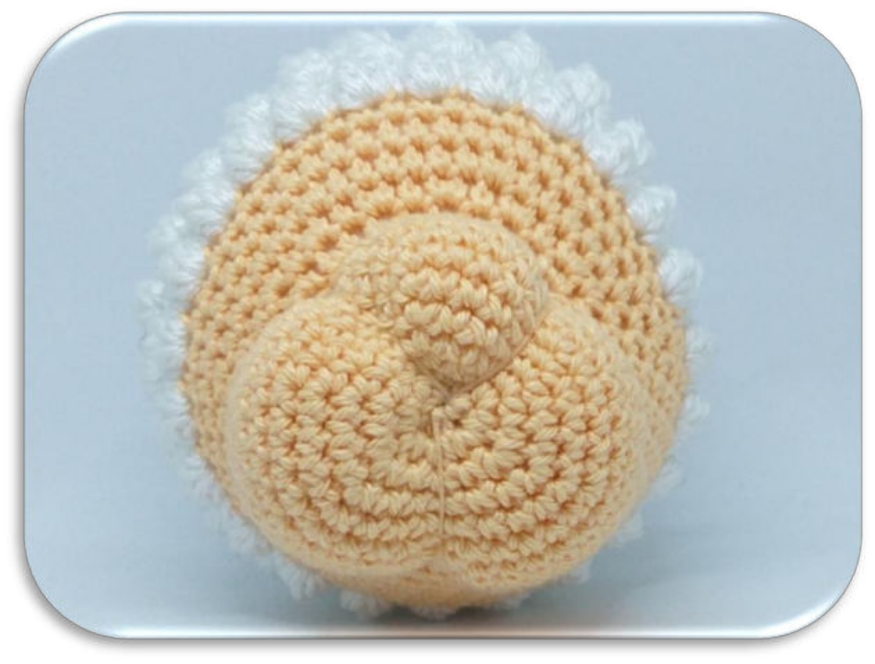
Feet and Body
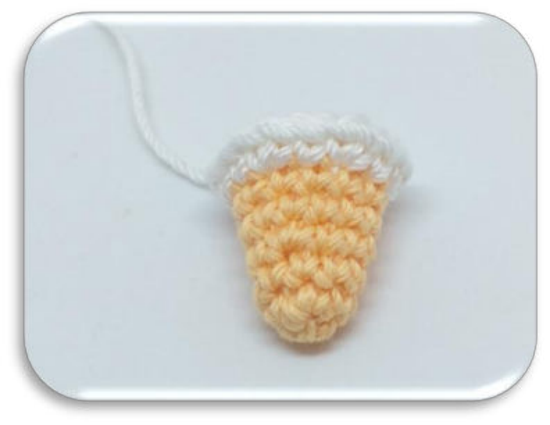
Start with the feet – Begin with Soft Apricot
- R1: MR with 6 sc = 6 sc
- R2: (1 sc, inc) x 3 = 9 sc
- R3: 9 sc = 9 sc
- R4: (2 sc, inc) x 3 = 12 sc
- R5-6: 12 sc (2 rounds) = 12 sc
Then change color to White
- R7: (1 sc, inc) x 6 = 18 sc
Finish the first leg with a sl st and set it aside.
Work the second leg exactly like the first leg but do not finish, instead continue as follows:
R8 – Joining round: 3 ch (place a marker in the 3rd ch here – This is your new beginning of the round!), now join Leg 1 with 1 sc, 17 sc on Leg 1, 3 sc in the ch – chain, 18 sc, 3 sc in the ch-chain. At the end of this round, you will have 42 sc.
For the 3 sc along the chain, only insert into 1 loop.
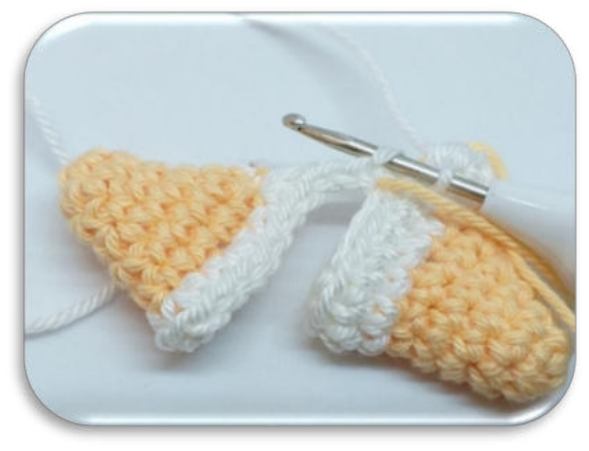
For the 3 sc on the other side of the chain, insert into the other remaining loop.
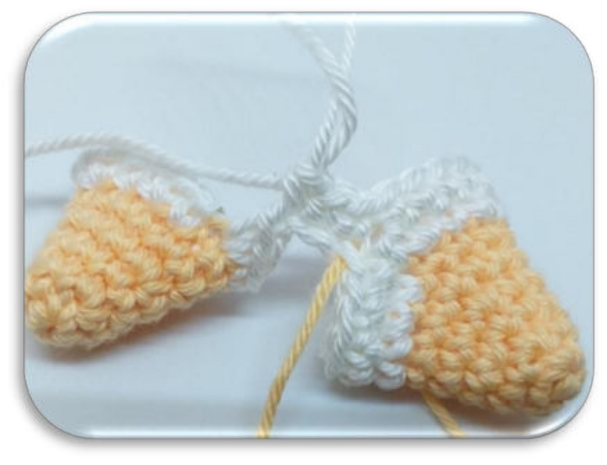
After the joining round, continue crocheting in normal rounds.
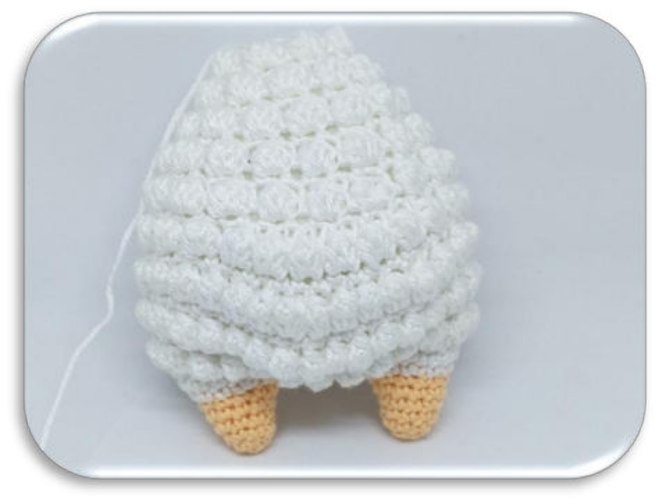
- R9: 17 sc, (inc) x 6, 19 sc = 48 sc
- R10: (Pop, sc) to end of round = 48 sc
- R11: 17 sc, (1 sc, inc) x 6, 19 sc = 54 sc
- R12: (Pop, sc) to end of round = 54 sc
- R13: 54 sc = 54 sc
- R14: (Pop, sc) to end of round = 54 sc
- R15: 54 sc = 54 sc
- R16: (Pop, sc) to end of round = 54 sc
- R17: 17 sc, (1 sc, dec) x 6, 19 sc = 48 sc
- R18: (Pop, sc) to end of round = 48 sc
- R19: 17 sc, (dec) x 6, 19 sc = 42 sc
- R20: (Pop, sc) to end of round = 42 sc
- R21: (5 sc, dec) x 6 = 36 sc
- R22: (Pop, sc) to end of round = 36 sc
- R23: (4 sc, dec) x 6 = 30 sc
- R24: (Pop, sc) to end of round = 30 sc
- R25: (3 sc, dec) x 6 = 24 sc
- R26: (Pop, sc) to end of round = 24 sc
- R27: (2 sc, dec) x 6 = 18 sc
- R28: (Pop, sc) to end of round = 18 sc
- R29: (1 sc, dec) x 6 = 12 sc
Finish with a sl st, stuff the entire body very firmly and leave a long tail for sewing!
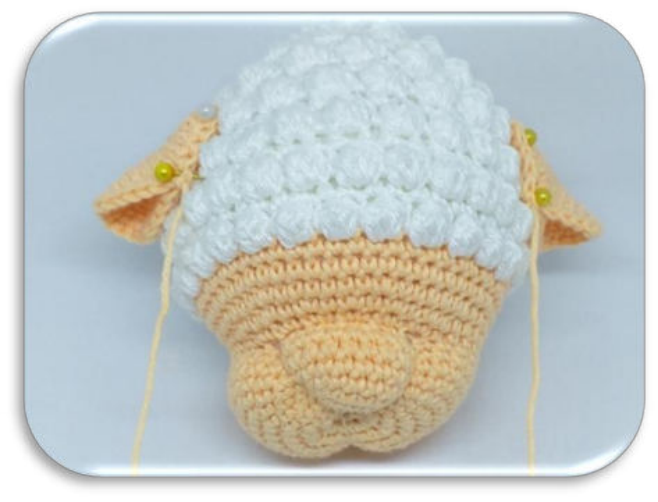
Head
Begin with Soft Apricot
- R1: MR with 6 sc = 6 sc
- R2: (inc) x 6 = 12 sc
- R3: (1 sc, inc) x 6 = 18 sc
- R4: (2 sc, inc) x 6 = 24 sc
- R5: (3 sc, inc) x 6 = 30 sc
- R6: (4 sc, inc) x 6 = 36 sc
- R7-10: 36 sc (4 rounds) = 36 sc
- R11: (dec) x 6, 24 sc = 30 sc
- R12: (FLO! inc) x 6, 24 sc = 36 sc
- R13: (1 sc, inc) x 6, 24 sc = 42 sc
- R14: (6 sc, inc) x 6 = 48 sc
- R15-16: 48 sc (2 rounds) = 48 sc
Then change color to White
- R17: (Pop, sc) to end of round = 48 sc
- R18: 48 sc = 48 sc
- R19: (Pop, sc) to end of round = 48 sc
- R20: (6 sc, dec) x 6 = 42 sc
- R21: (Pop, sc) to end of round = 42 sc
- R22: (5 sc, dec) x 6 = 36 sc
- R23: (Pop, sc) to end of round = 36 sc
- R24: (4 sc, dec) x 6 = 30 sc
- R25: (Pop, sc) to end of round = 30 sc
- R26: (3 sc, dec) x 6 Stuff firmly! = 24 sc
- R27: (Pop, sc) to end of round = 24 sc
- R28: (2 sc, dec) x 6 = 18 sc
- R29: (Pop, sc) to end of round = 18 sc
- R30: (1 sc, dec) x 6 = 12 sc
- R31: (Pop, sc) to end of round = 12 sc
- R32: (dec) x 6 = 6 sc
Finish with a sl st, stuff firmly and weave in the yarn.
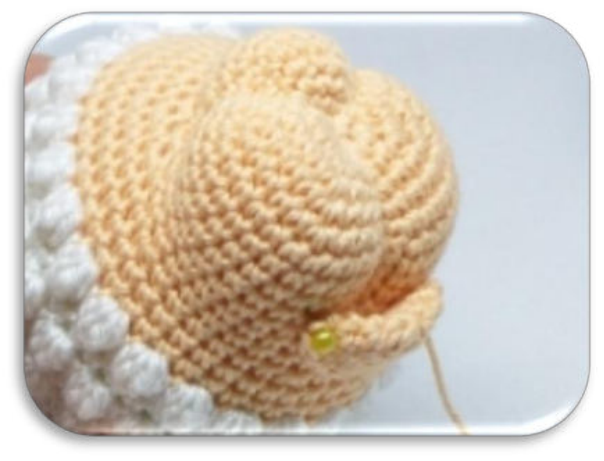
Shaping the Face
Now shape the face. For this you need a needle and a long strand of yarn in skin color.

Step 1: Mark the first and last increases from Round 12 with a pin. Also mark the center of the MR.

Step 2: Take the needle with the yarn and insert it into the bottom of the head. The needle must come out in the center of the MR.

Step 3: Now insert into the 1st marker from the top.

Step 4: Bring the needle out again in the center of the MR.

Step 5: Now pull the yarn tight and secure it with a knot in the center of the MR.

Step 6: Now insert into the 2nd marker and bring the needle out to the center.

Step 7: Pull the yarn tight again and secure it with a knot.

Step 8: Now insert from the bottom and bring the needle back to the center of the MR.

Step 9: Now pull the yarn tight again and secure it with a knot in the center. Now sew in the remaining yarn and hide it inside the head.
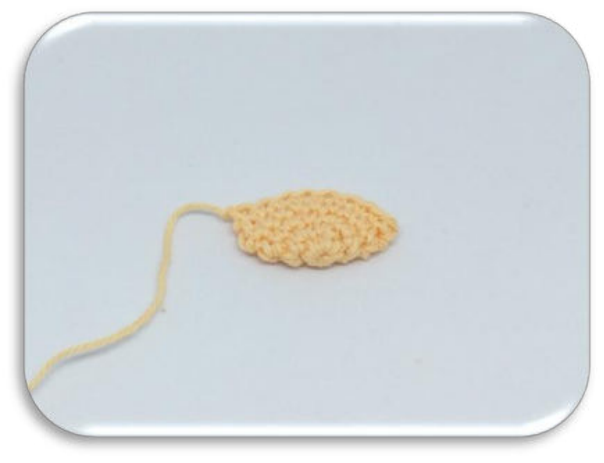
Mouth
In Soft Apricot
- R1: MR with 6 sc = 6 sc
- R2: (inc) x 6 = 12 sc
- R3: (1 sc, inc) x 6 = 18 sc
- R4: 18 sc = 18 sc
Now fold your crocheted piece in half and crochet both sides together with 8 sc (see tips!). Finish with a sl st and leave a long tail for sewing.
Position the mouth in the center of the nose and sew it on.
Ears (make 2)
In Soft Apricot
- R1: MR with 6 sc = 6 sc
- R2: (inc) x 6 = 12 sc
- R3: (1 sc, inc) x 6 = 18 sc
- R4: (2 sc, inc) x 6 = 24 sc
- R5: (3 sc, inc) x 6 = 30 sc
Fold your crocheted piece in half and crochet both sides together with ONLY 4 sc! Finish with a sl st and leave a long tail for sewing.
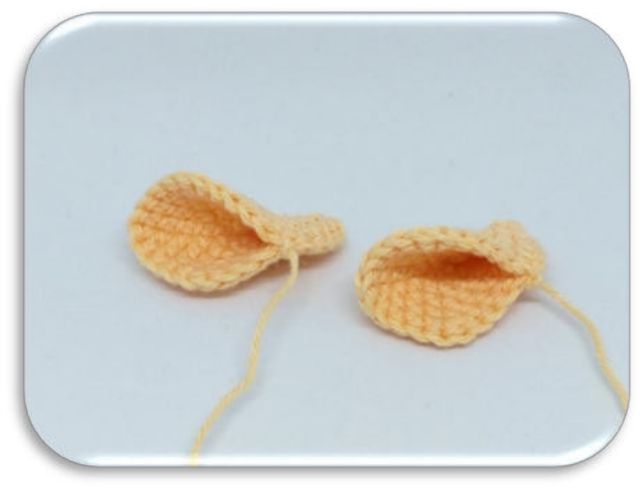
Position the ears on the right and left sides of the head and sew them on.
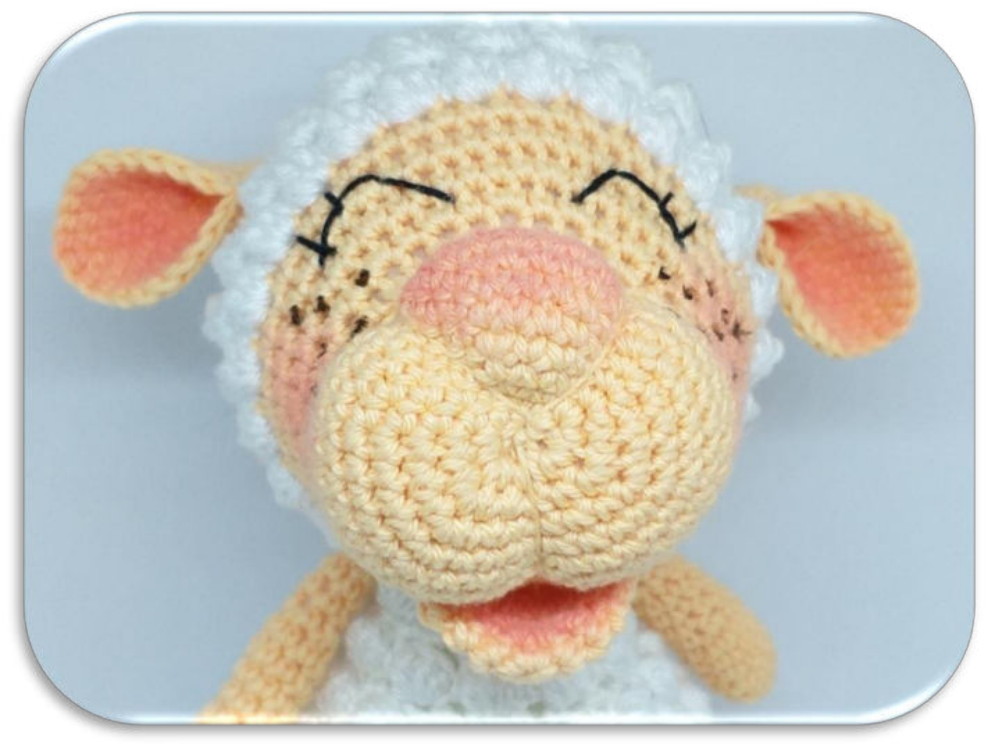
Embroidering Eyes

Step 1: Mark the spots where you want to embroider the eyes.

Step 2: Now embroider from point to point with black filet yarn.
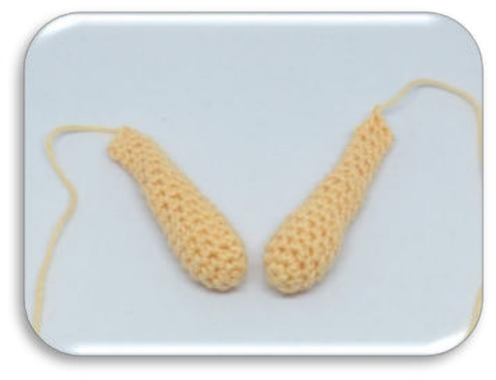
Arms (make 2)
In Soft Apricot
- R1: MR with 6 sc = 6 sc
- R2: (1 sc, inc) x 3 = 9 sc
- R3: (2 sc, inc) x 3 = 12 sc
- R4-6: 12 sc (3 rounds) = 12 sc
- R7: (2 sc, dec) x 3 = 9 sc
- R8-11: 9 sc (4 rounds) = 9 sc
- R12: (1 sc, dec) x 3 = 6 sc
- R13-17: 6 sc (5 rounds) = 6 sc
Finish with a sl st and lightly stuff the arm. Now fold your crocheted piece and crochet both sides together with 2 sc. Leave a long tail for sewing.
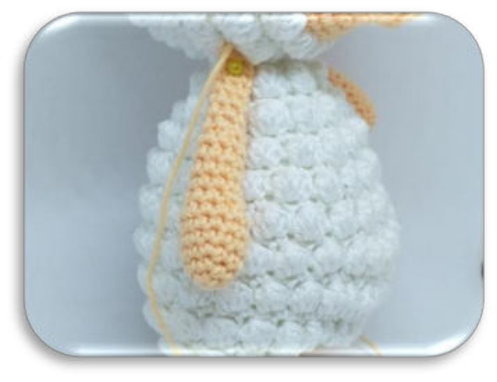
Sew the arms to the body.
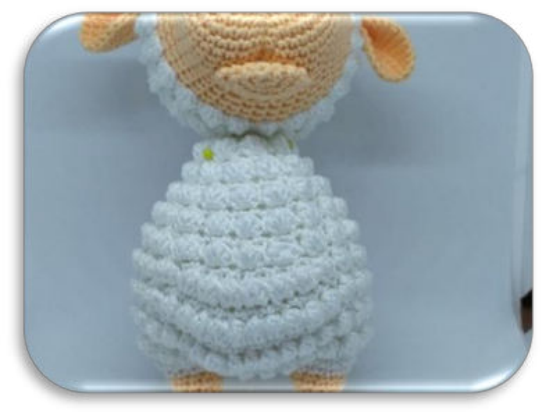
Assembly and Finishing Touches
Now attach the head to the body. Stuff firmly as you sew.
You can give your “Lennard” a particularly beautiful facial expression with blush and freckles.
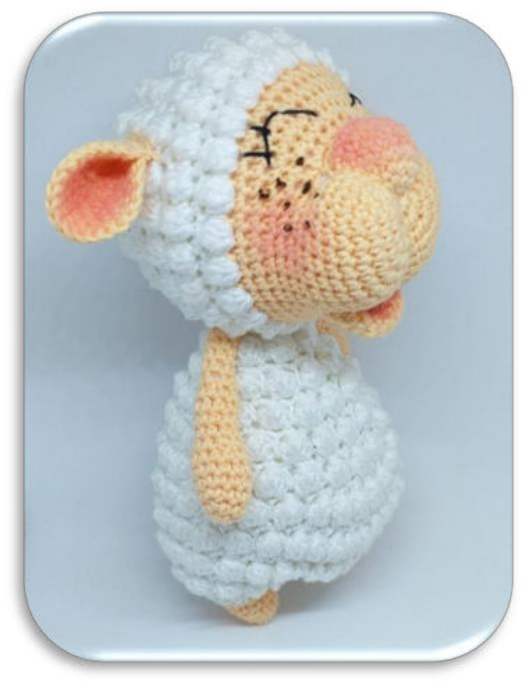
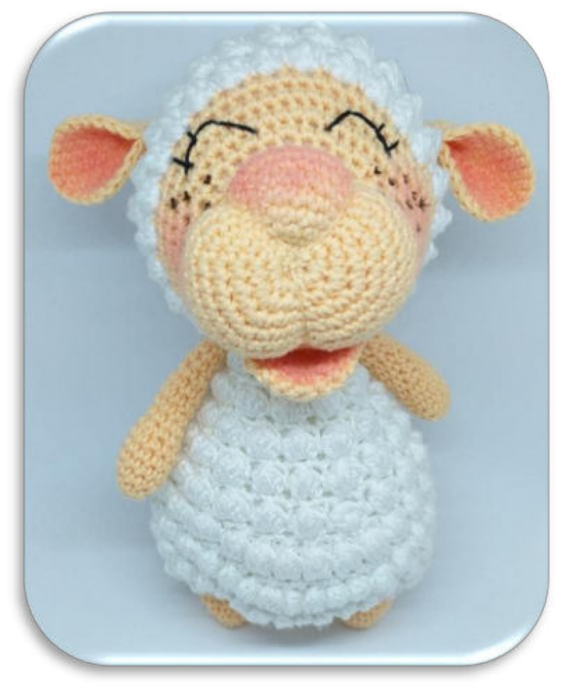
Your “Lennard” is now finished and we wish you a lot of fun with this sweet little guy!