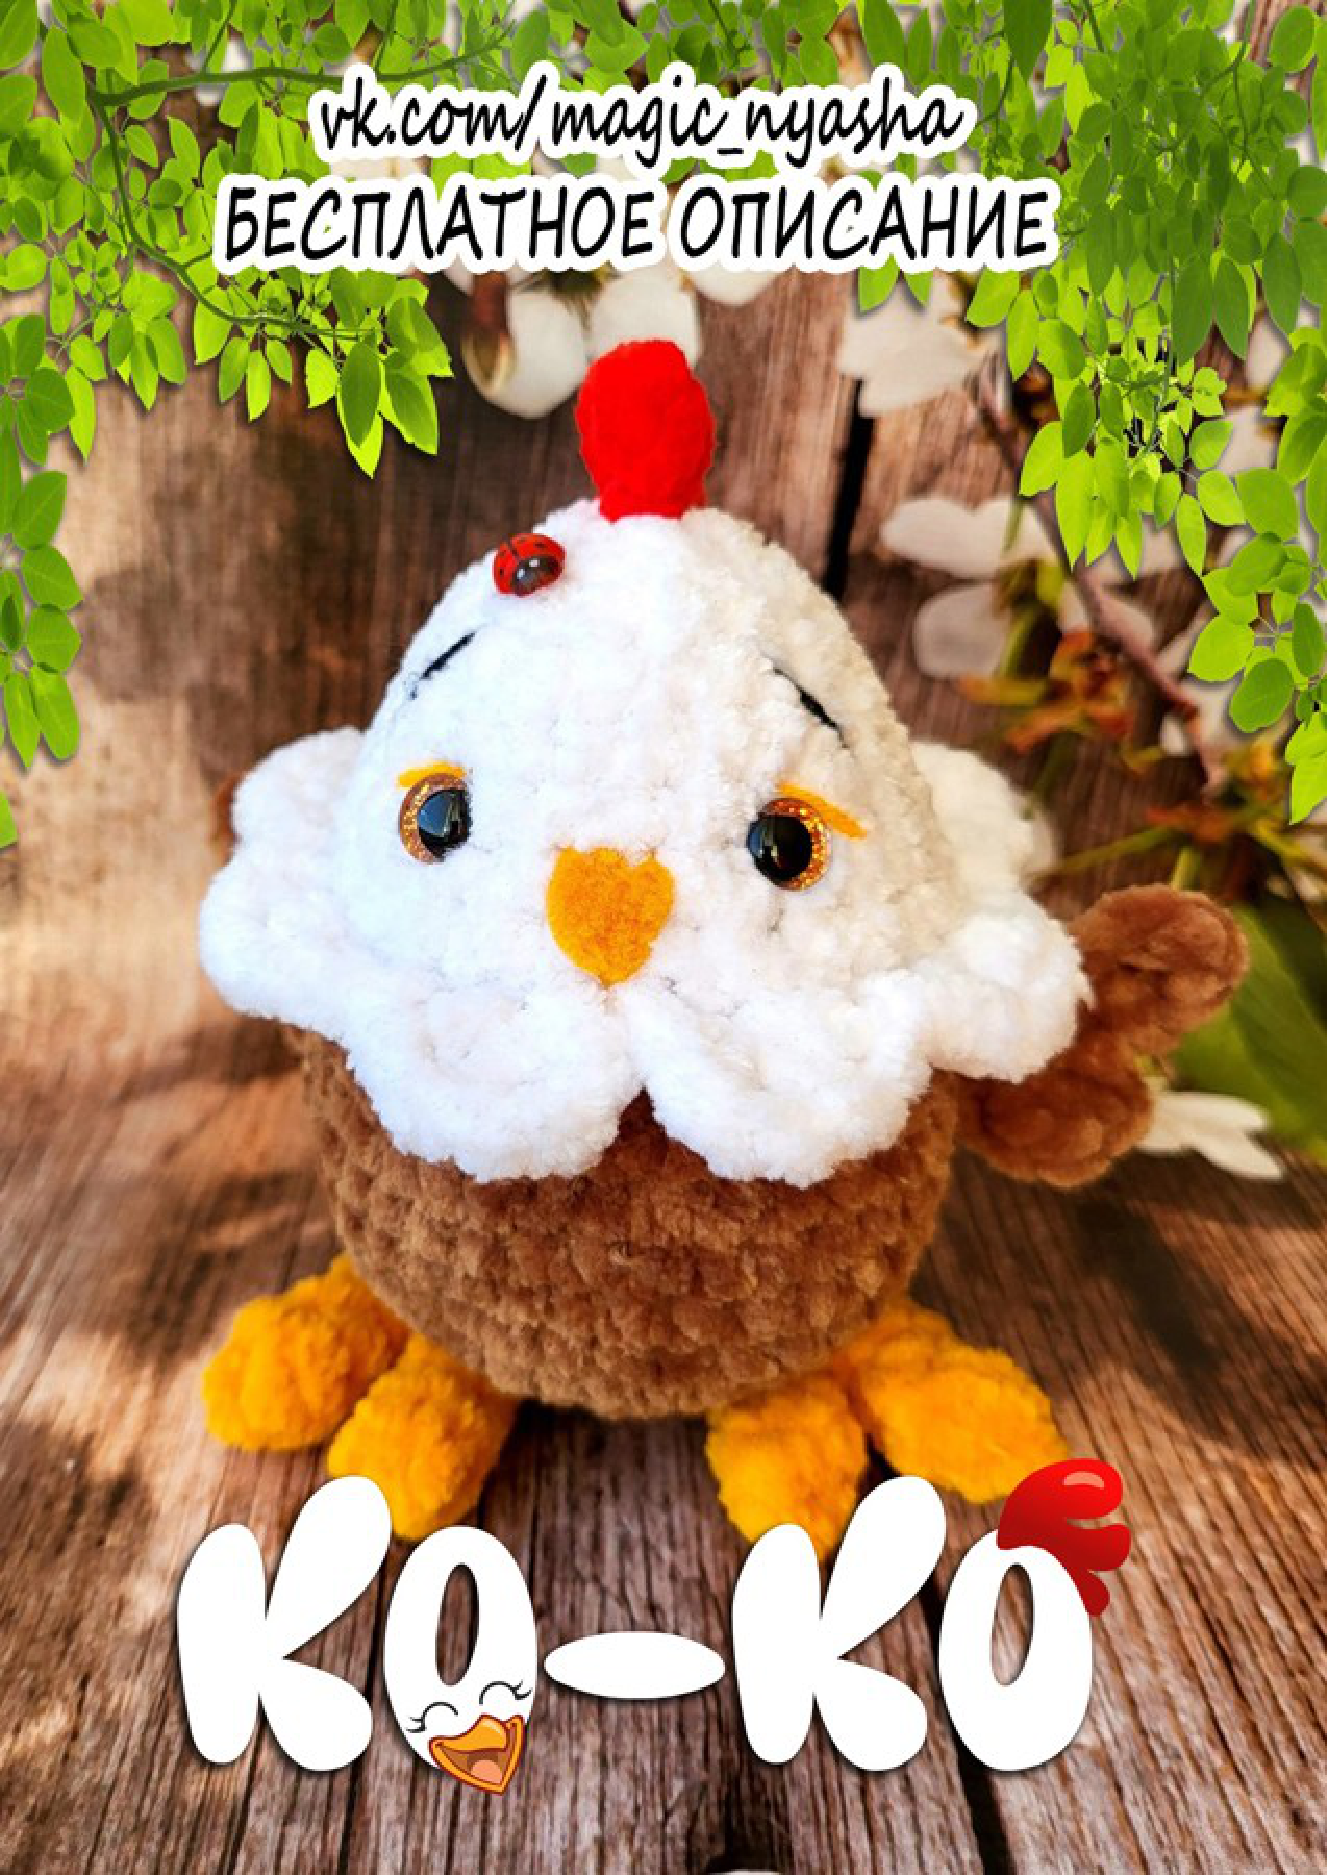
Crochet An Adorable Chicken Amigurumi Pattern
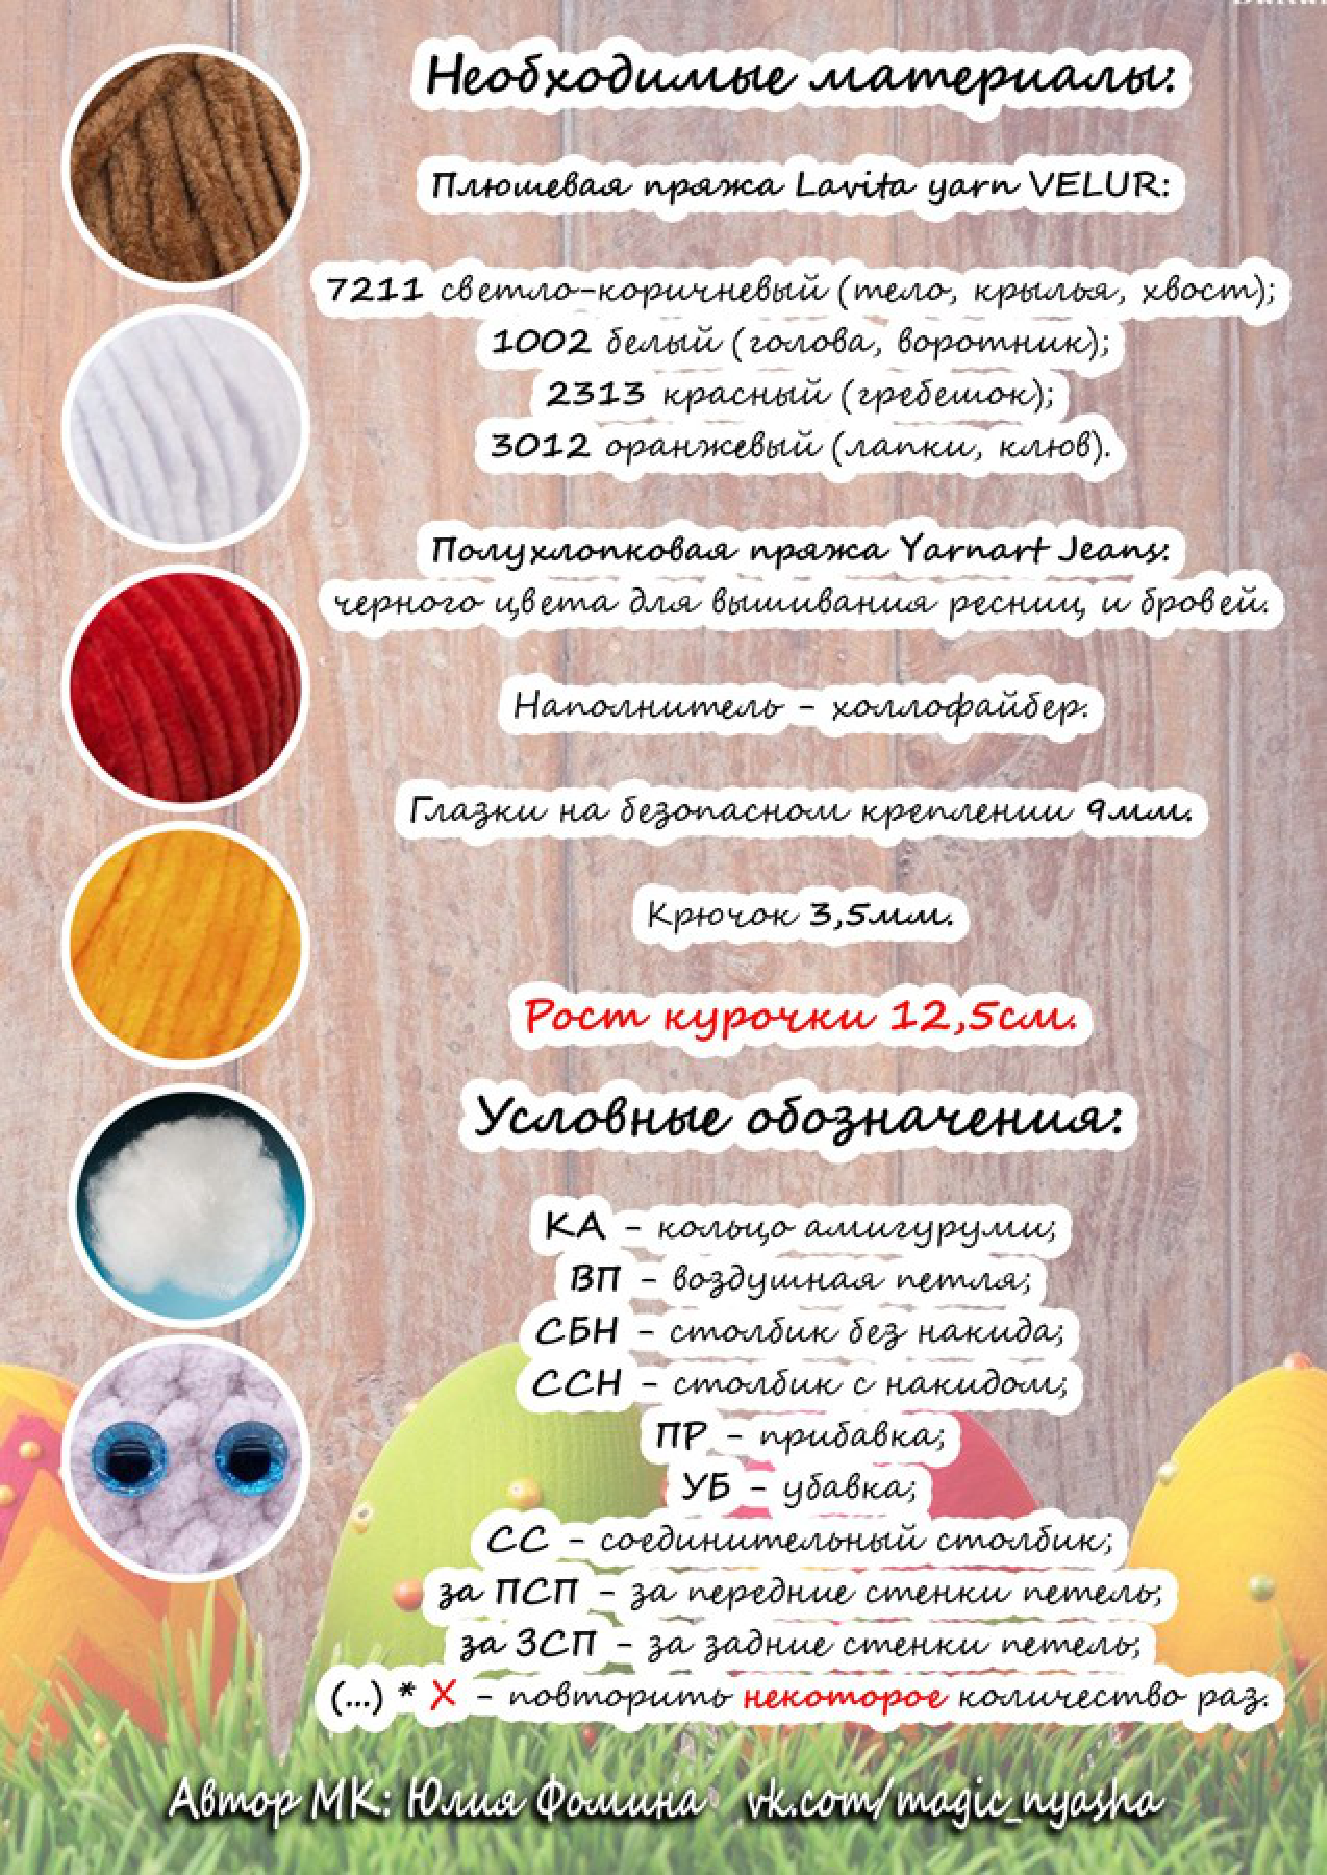
Materials
- Plush Yarn (Lavita yarn VELUR):
- 7211 Light Brown: Body, wings, tail
- 1002 White: Head, collar
- 2313 Red: Comb
- 3012 Orange: Feet, beak
- Semi-Cotton Yarn (Yarnart Jeans):
- Black: For embroidering eyelashes and eyebrows
- Hook: 3.5mm
- Eyes: 9mm safety eyes
- Filler: Holofiber or similar toy stuffing
- Needle: For sewing and finishing
The finished chicken stands approximately 12.5cm tall.
Abbreviations
- MR: Magic Ring
- CH: Chain Stitch
- SC: Single Crochet
- DC: Double Crochet
- INC: Increase (2 sc in the same stitch)
- DEC: Decrease (sc 2 stitches together)
- SL ST: Slip Stitch
- FBLO: Front Loop Only
- BPLO: Back Loop Only
- (…)*X: Repeat the instructions in the parenthesis X times
Pattern Instructions
Head and Body
Start with light brown yarn. The head and body are worked as one piece from the bottom up.
Round 1: Make 8 sc in a MR. (8)
Round 2: 8 inc. (16)
Round 3: (sc, inc) * 8. (24)
Round 4: (2 sc, inc) * 8. (32)
Round 5: (7 sc, inc) * 4. (36)
Rounds 6-9: sc in each stitch around (4 rows). (36)
Round 10: (7 sc, dec) * 4. (32)
Round 11: sc in each stitch around. (32)
Switch to white yarn for the head.
Round 12: Working in FBLO, sc in each stitch around. (32)
Round 13: Working in BPLO, (2 sc, dec) * 8. (24)
Round 14: sc in each stitch around. (24)
Round 15: (6 sc, dec) * 3. (21)
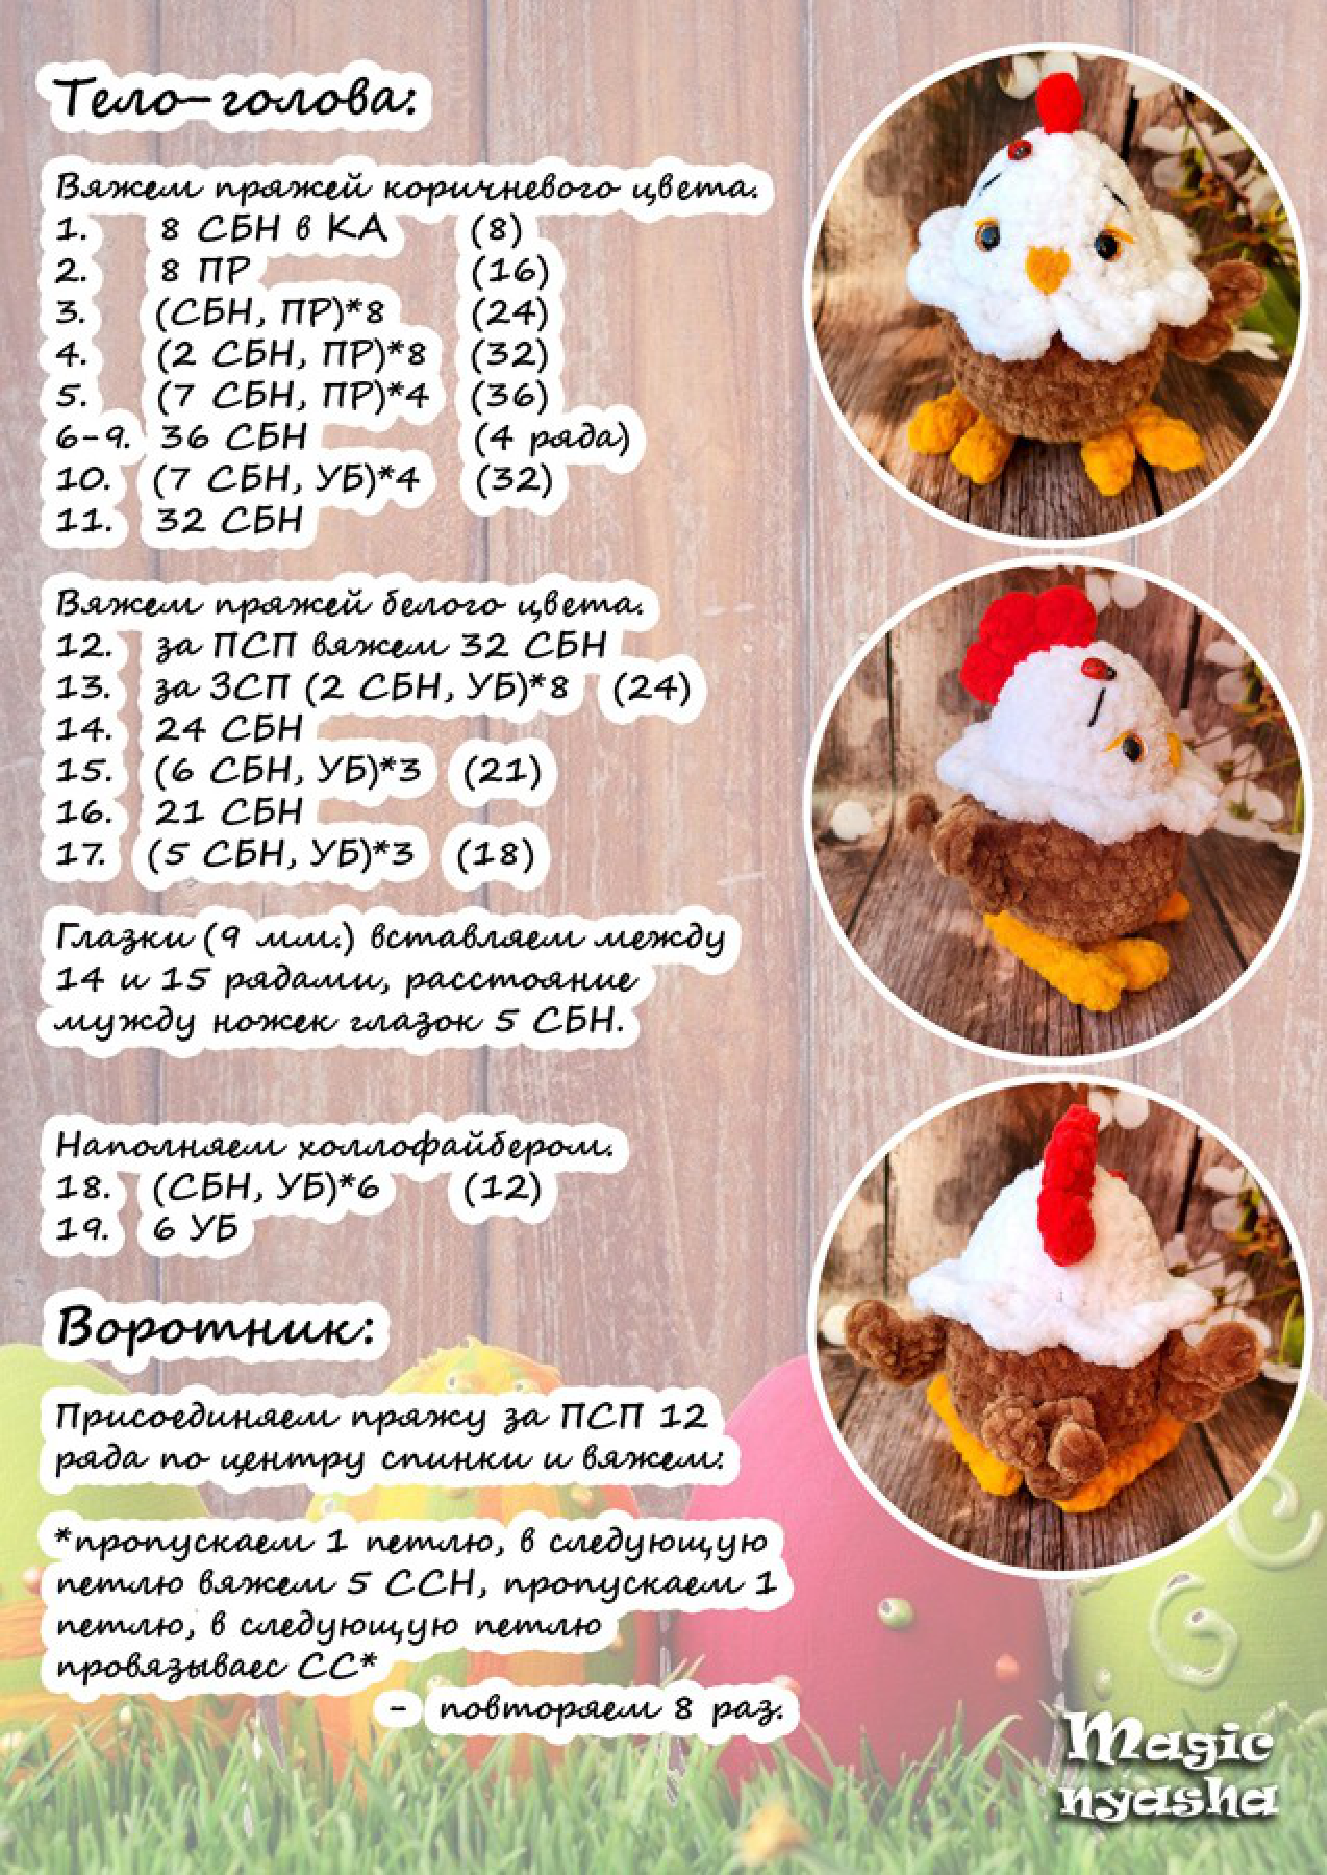
Insert 9mm safety eyes between rounds 14 and 15, with about 5 stitches visible between the eye posts. Begin stuffing the body and head firmly with holofiber.
Round 16: sc in each stitch around. (21)
Round 17: (5 sc, dec) * 3. (18)
Round 18: (sc, dec) * 6. (12)
Round 19: 6 dec. (6)
Fasten off, leaving a long tail. Weave the tail through the front loops of the final 6 stitches and pull tight to close the hole. Weave in the end.
Collar
Using white yarn, join with a slip stitch to one of the unused front loops from Round 12 at the center of the back.
Crochet the following pattern around the entire collar: *skip 1 stitch, work 5 dc in the next stitch, skip 1 stitch, sl st in the next stitch*. Repeat this sequence 8 times in total to create the ruffles. Fasten off and weave in the ends.
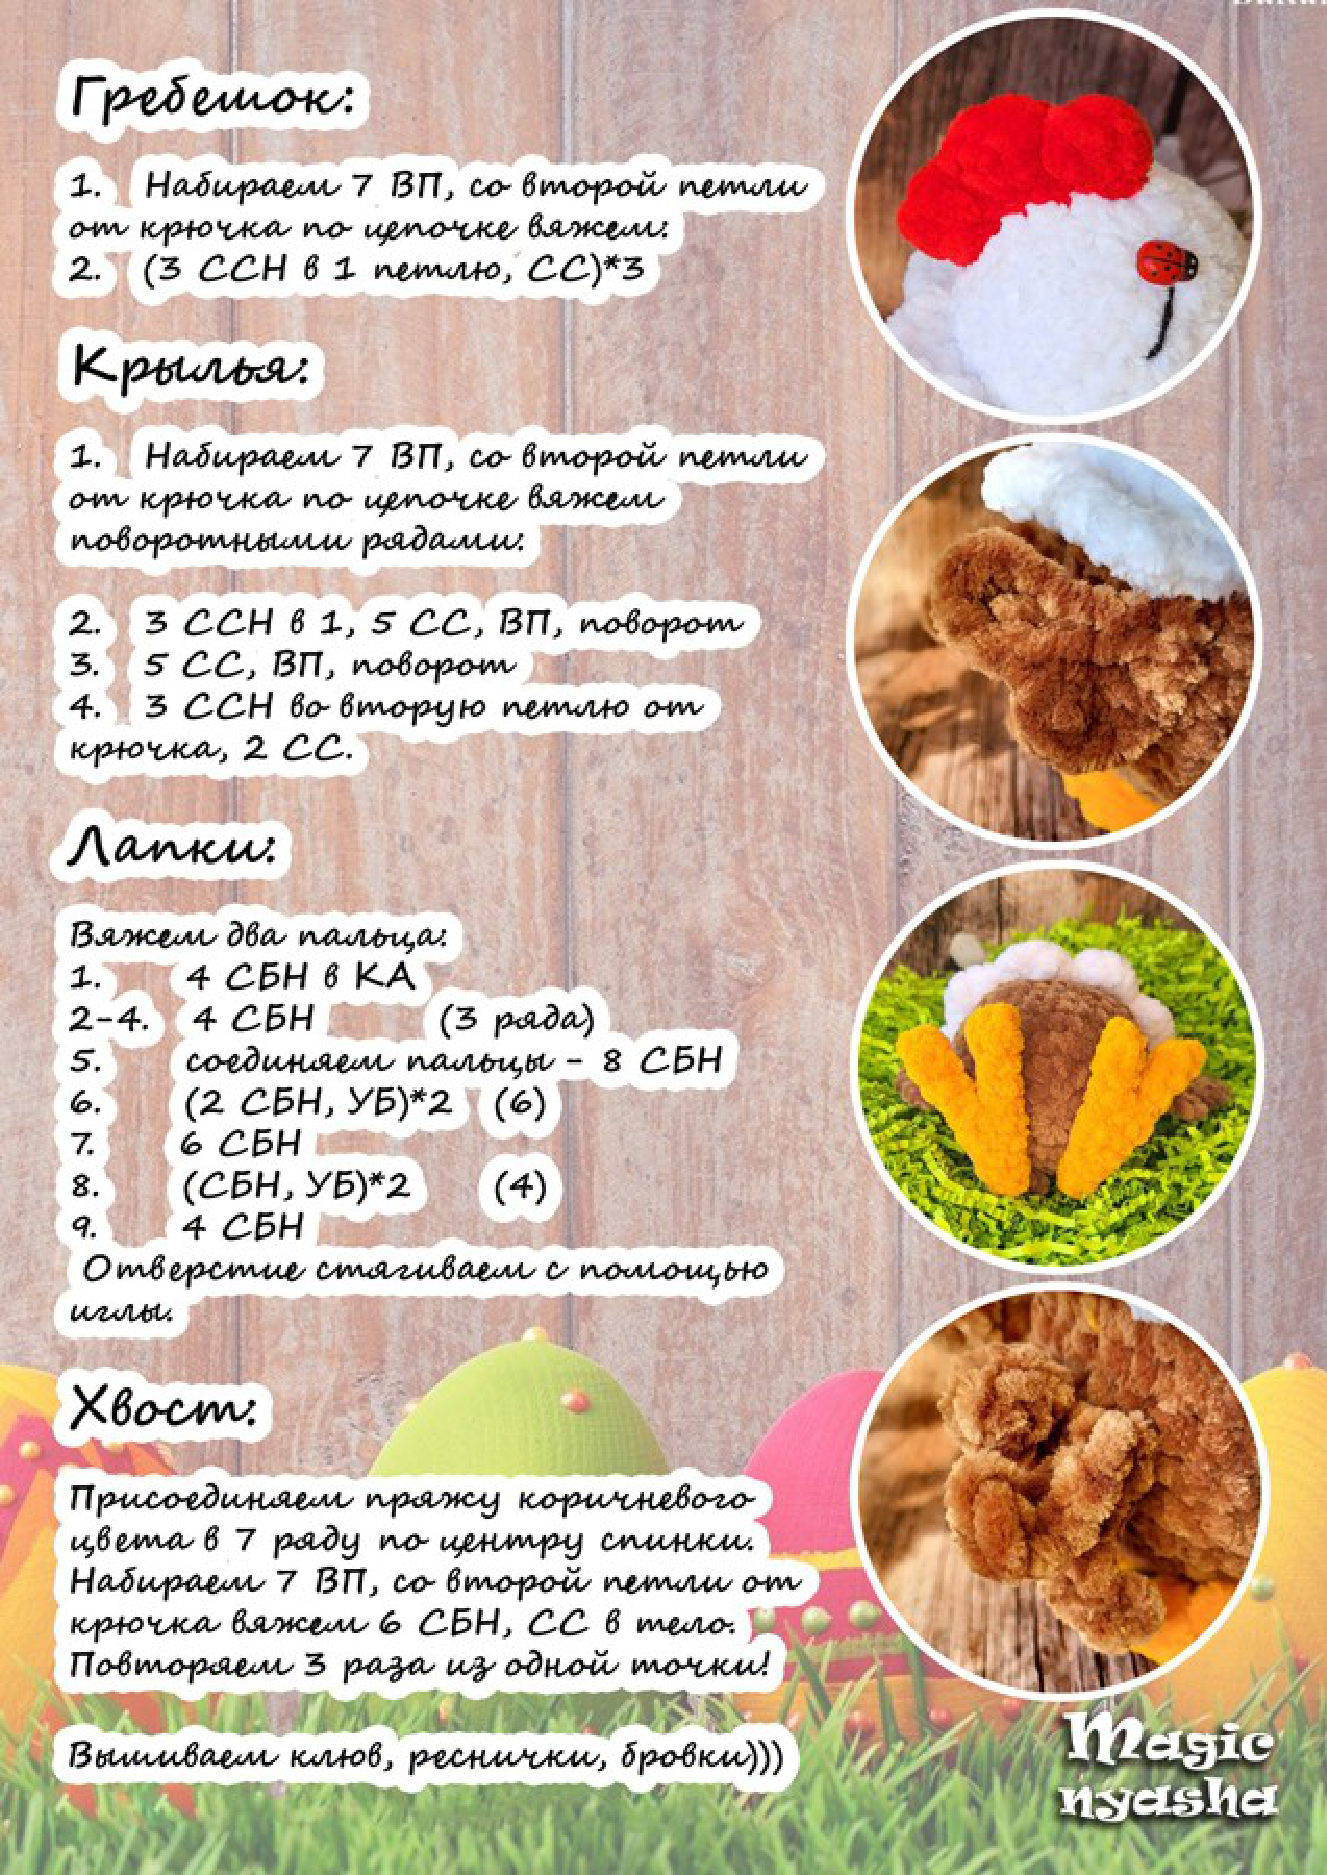
Comb
Using red yarn.
Row 1: Chain 7.
Row 2: Starting in the second chain from the hook, work the following pattern along the chain: (3 dc in the same stitch, sl st in the next stitch) * 3. Fasten off, leaving a long tail for sewing.
Wings (Make 2)
Using light brown yarn. You will be working in turning rows.
Row 1: Chain 7.
Row 2: Starting in the second chain from the hook, work 3 dc in the same stitch, then 5 sl st across the rest of the chain. Ch 1, turn. (8)
Row 3: Work 5 sl st. Ch 1, turn. (5)
Row 4: Starting in the second stitch from the hook, work 3 dc in the same stitch, then 2 sl st. (5)
Fasten off, leaving a long tail for sewing.
Feet (Make 2)
Using orange yarn.
First, make two toes for each foot:
Round 1: 4 sc in MR. (4)
Rounds 2-4: sc in each stitch around (3 rows). (4)
Fasten off the first toe. Do not fasten off the second toe.
Now, join the toes to form the foot:
Round 5: With the hook still in the second toe, sc around both toes to join them into one piece. You should have a total of 8 stitches. (8)
Round 6: (2 sc, dec) * 2. (6)
Round 7: sc in each stitch around. (6)
Round 8: (sc, dec) * 2. (4)
Round 9: sc in each stitch around. (4)
Fasten off, leaving a tail. Use a needle to close the small remaining opening and for sewing to the body.
Tail
Join light brown yarn with a slip stitch to the center of the back on Round 7 of the body.
To create the feathers, repeat the following steps 3 times from the same attachment point:
Chain 7. Starting from the second chain from the hook, work 6 sc back down the chain. Sl st back into the body at the starting point.
After making all three feathers, fasten off and weave in the ends securely.
Assembly & Finishing Touches
Arrange all the pieces before sewing to ensure proper placement.
1. Attach Features: Sew the comb to the top of the head. Sew the wings to the sides of the body and the feet to the bottom.
2. Embroider Details:
- Using orange semi-cotton yarn, embroider a small beak between the eyes.
- Using black semi-cotton yarn, embroider small eyelashes and eyebrows to give your chicken character.