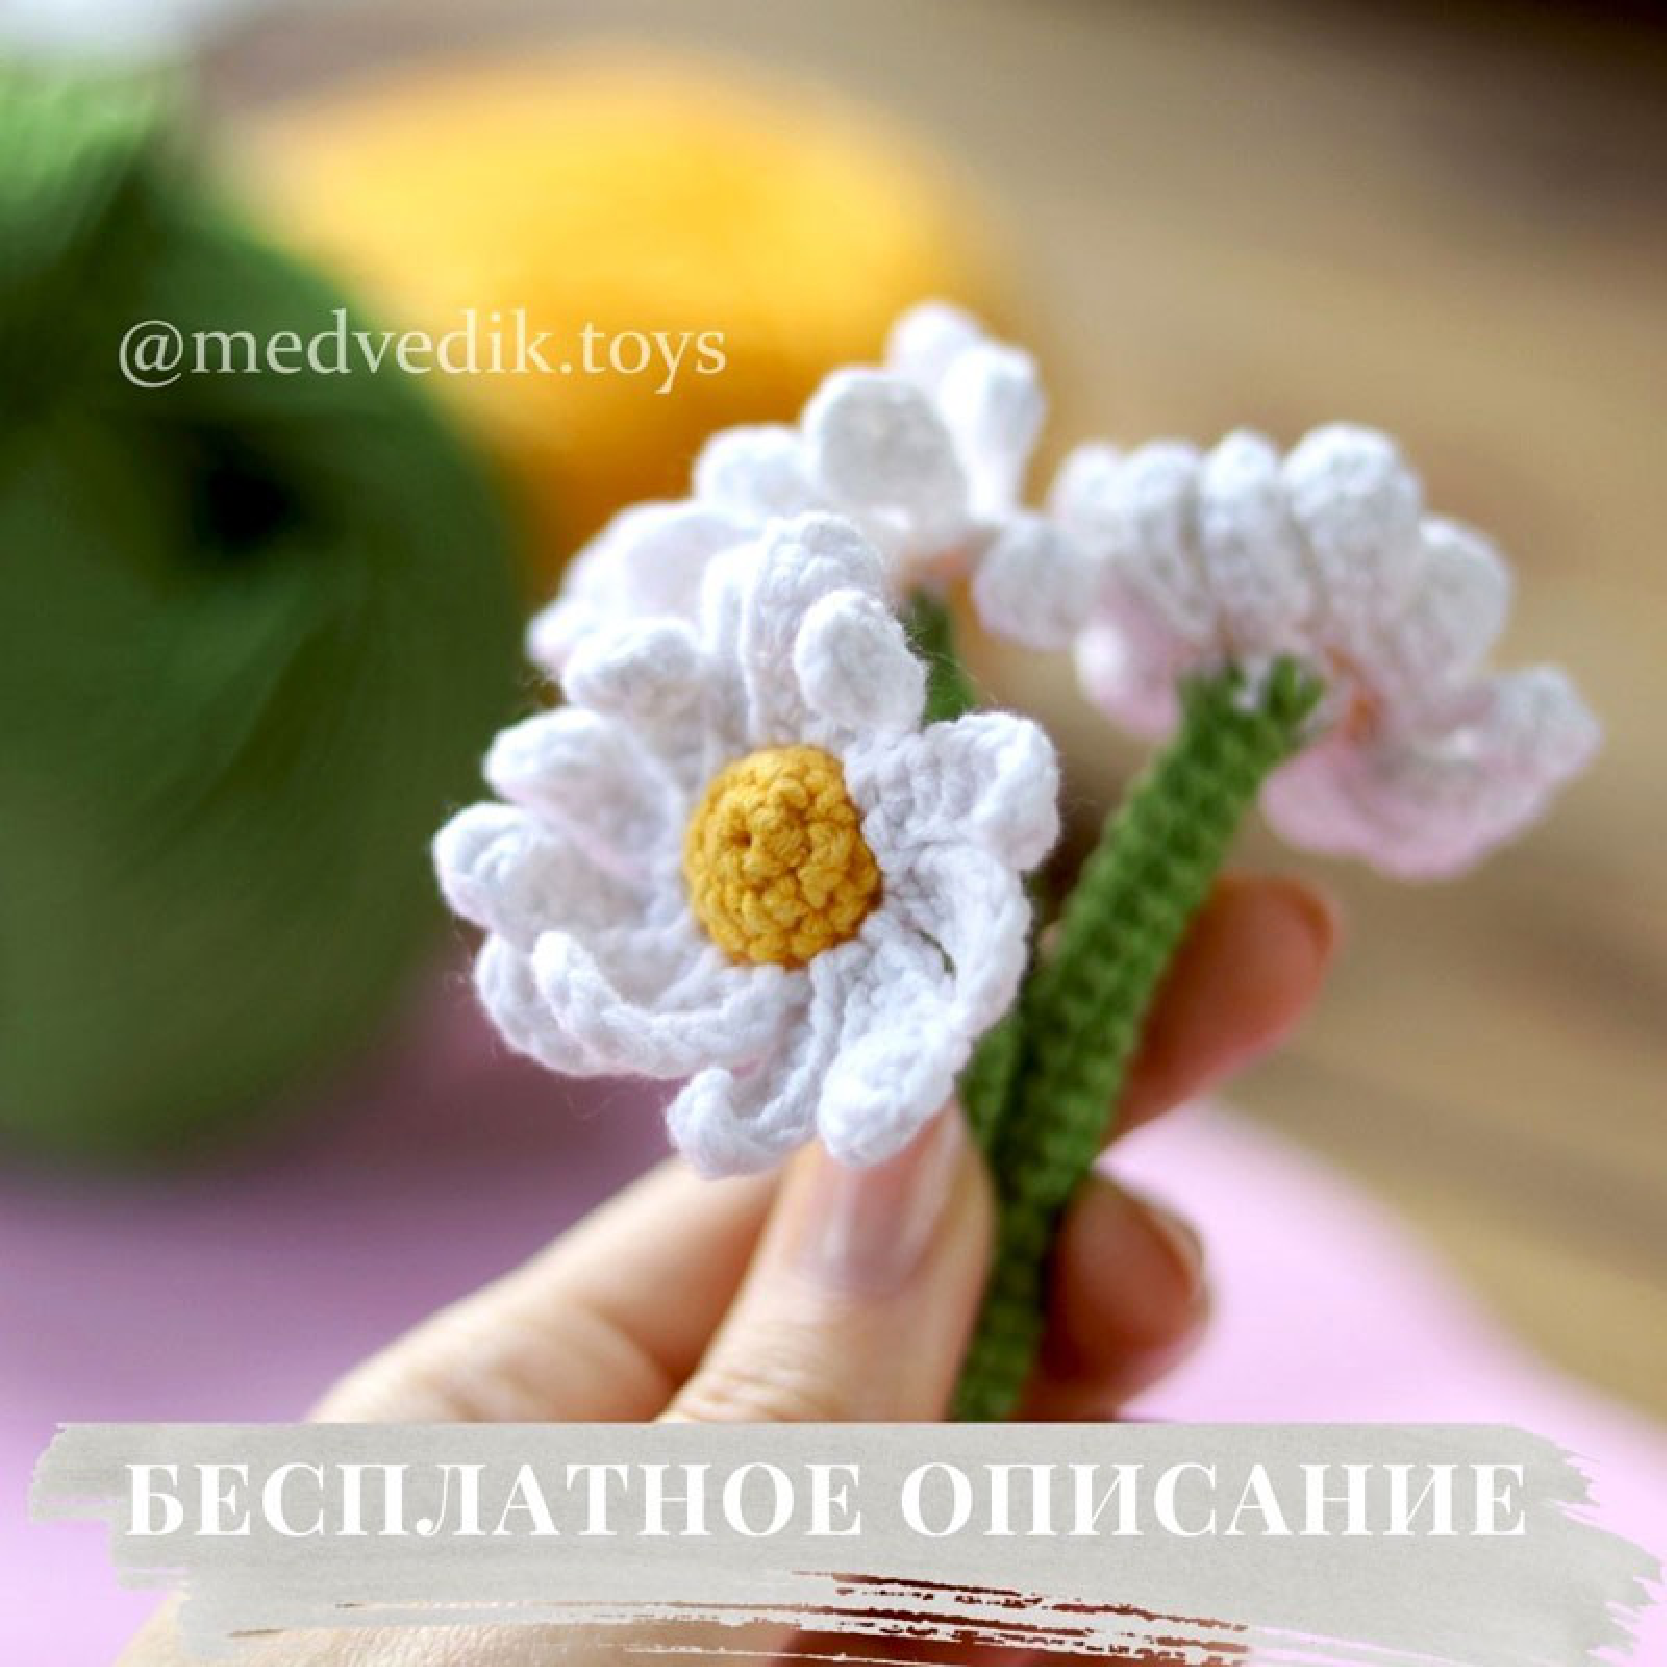
Bloom Beautiful Crochet Daisies: Free Pattern!
Materials and Tools
To get started, you will need the following supplies:
- Yarn: YarnArt Jeans (160m / 50g) or any similar Sport/Fingering weight cotton-blend yarn.
- Color A (Center): Yellow (No. 35)
- Color B (Petals): White (No. 01)
- Color C (Stem): Green (No. 69)
- Crochet Hook: 2.0 mm
- Scissors
- Yarn Needle
Abbreviations (US Crochet Terms)
This pattern uses standard US crochet terminology.
- MR: Magic Ring
- st: Stitch
- ch: Chain
- sl st: Slip Stitch
- sc: Single Crochet
- hdc: Half Double Crochet
- dc: Double Crochet
- inc: Increase (2 sc in the same stitch)
- dec: Decrease (sc 2 stitches together)
- BLO: Back Loop Only
- FLO: Front Loop Only
Crochet Daisy Pattern Instructions
Let’s begin! We’ll create the daisy in three parts: the center, the stem, and finally, the beautiful white petals.
Part 1: The Flower Center
Start with your Yellow (Color A) yarn.
- Round 1: Create a MR and work 6 sc into it. (6 sts)
- Round 2: Work 1 inc in each stitch around. (12 sts)
- Round 3: Work 1 sc in each stitch around. (12 sts)
Do not fasten off yet. You will change colors in the next step.
Part 2: The Calyx and Stem
This part creates the green base of the flower and the long stem.
- Round 4: Change to White (Color B) yarn. Working in the BLO, sc in each of the 12 stitches around. (12 sts)
(Note: Working in the back loops leaves the front loops free. We will use these later to create the petals!) - Round 5: Change to Green (Color C) yarn. Work 6 dec around. (6 sts)
- Round 6-22: Work 1 sc in each stitch around for 17 rounds. (6 sts per round)
After completing Round 22, fasten off, cut the yarn, and use your yarn needle to weave in the end securely.
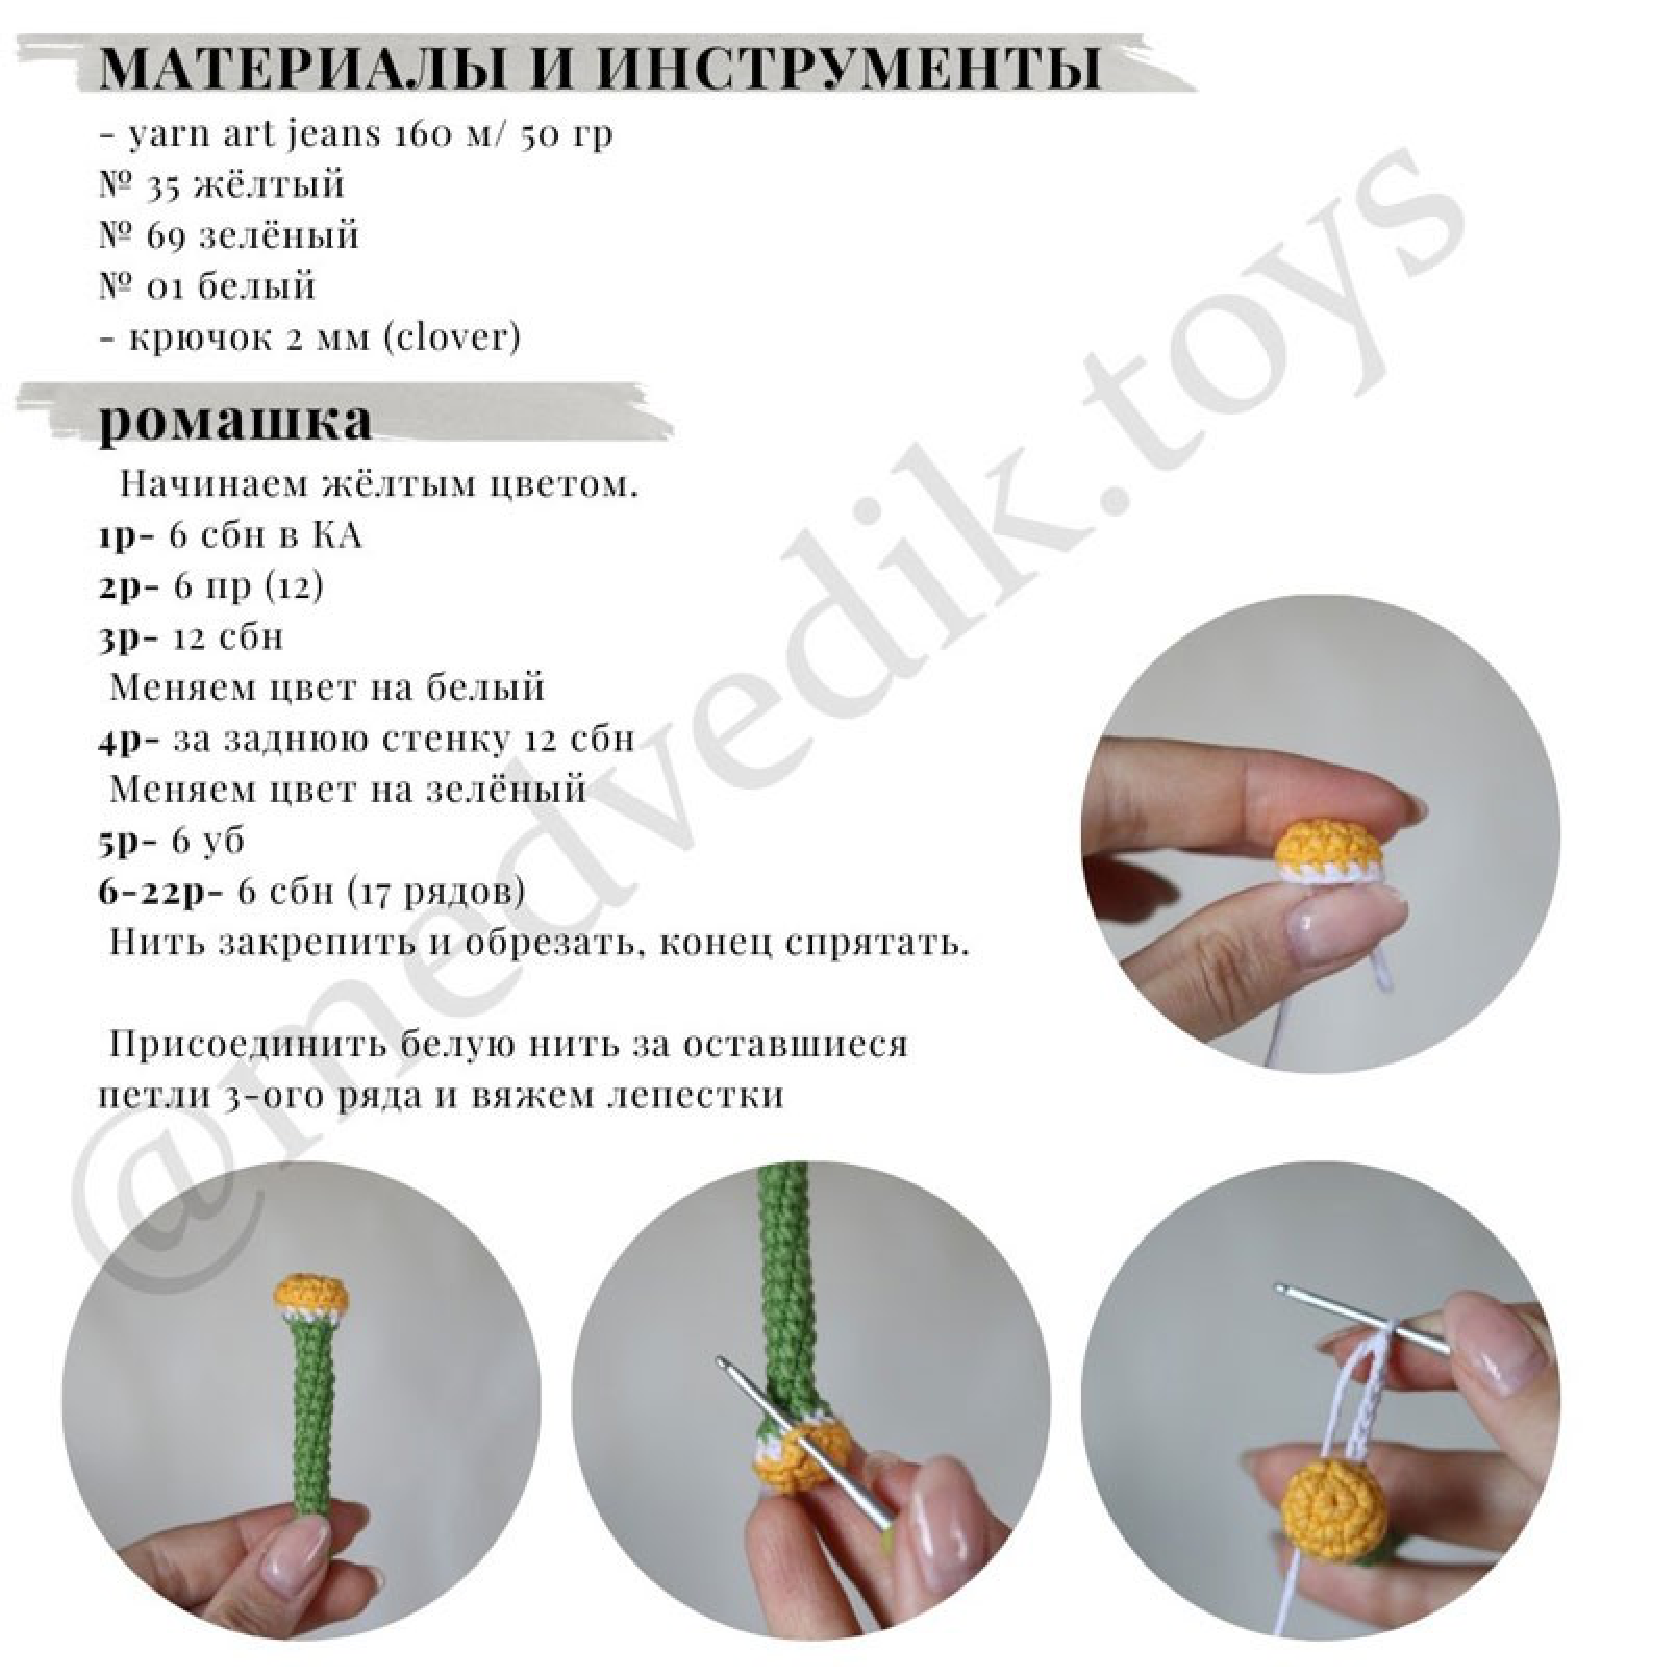
Part 3: The Petals
Now it’s time to add the iconic daisy petals!
- Turn your work so you are looking at the front of the yellow center. Locate the unworked front loops from Round 3.
- Attach your White (Color B) yarn with a sl st to any of these front loops.
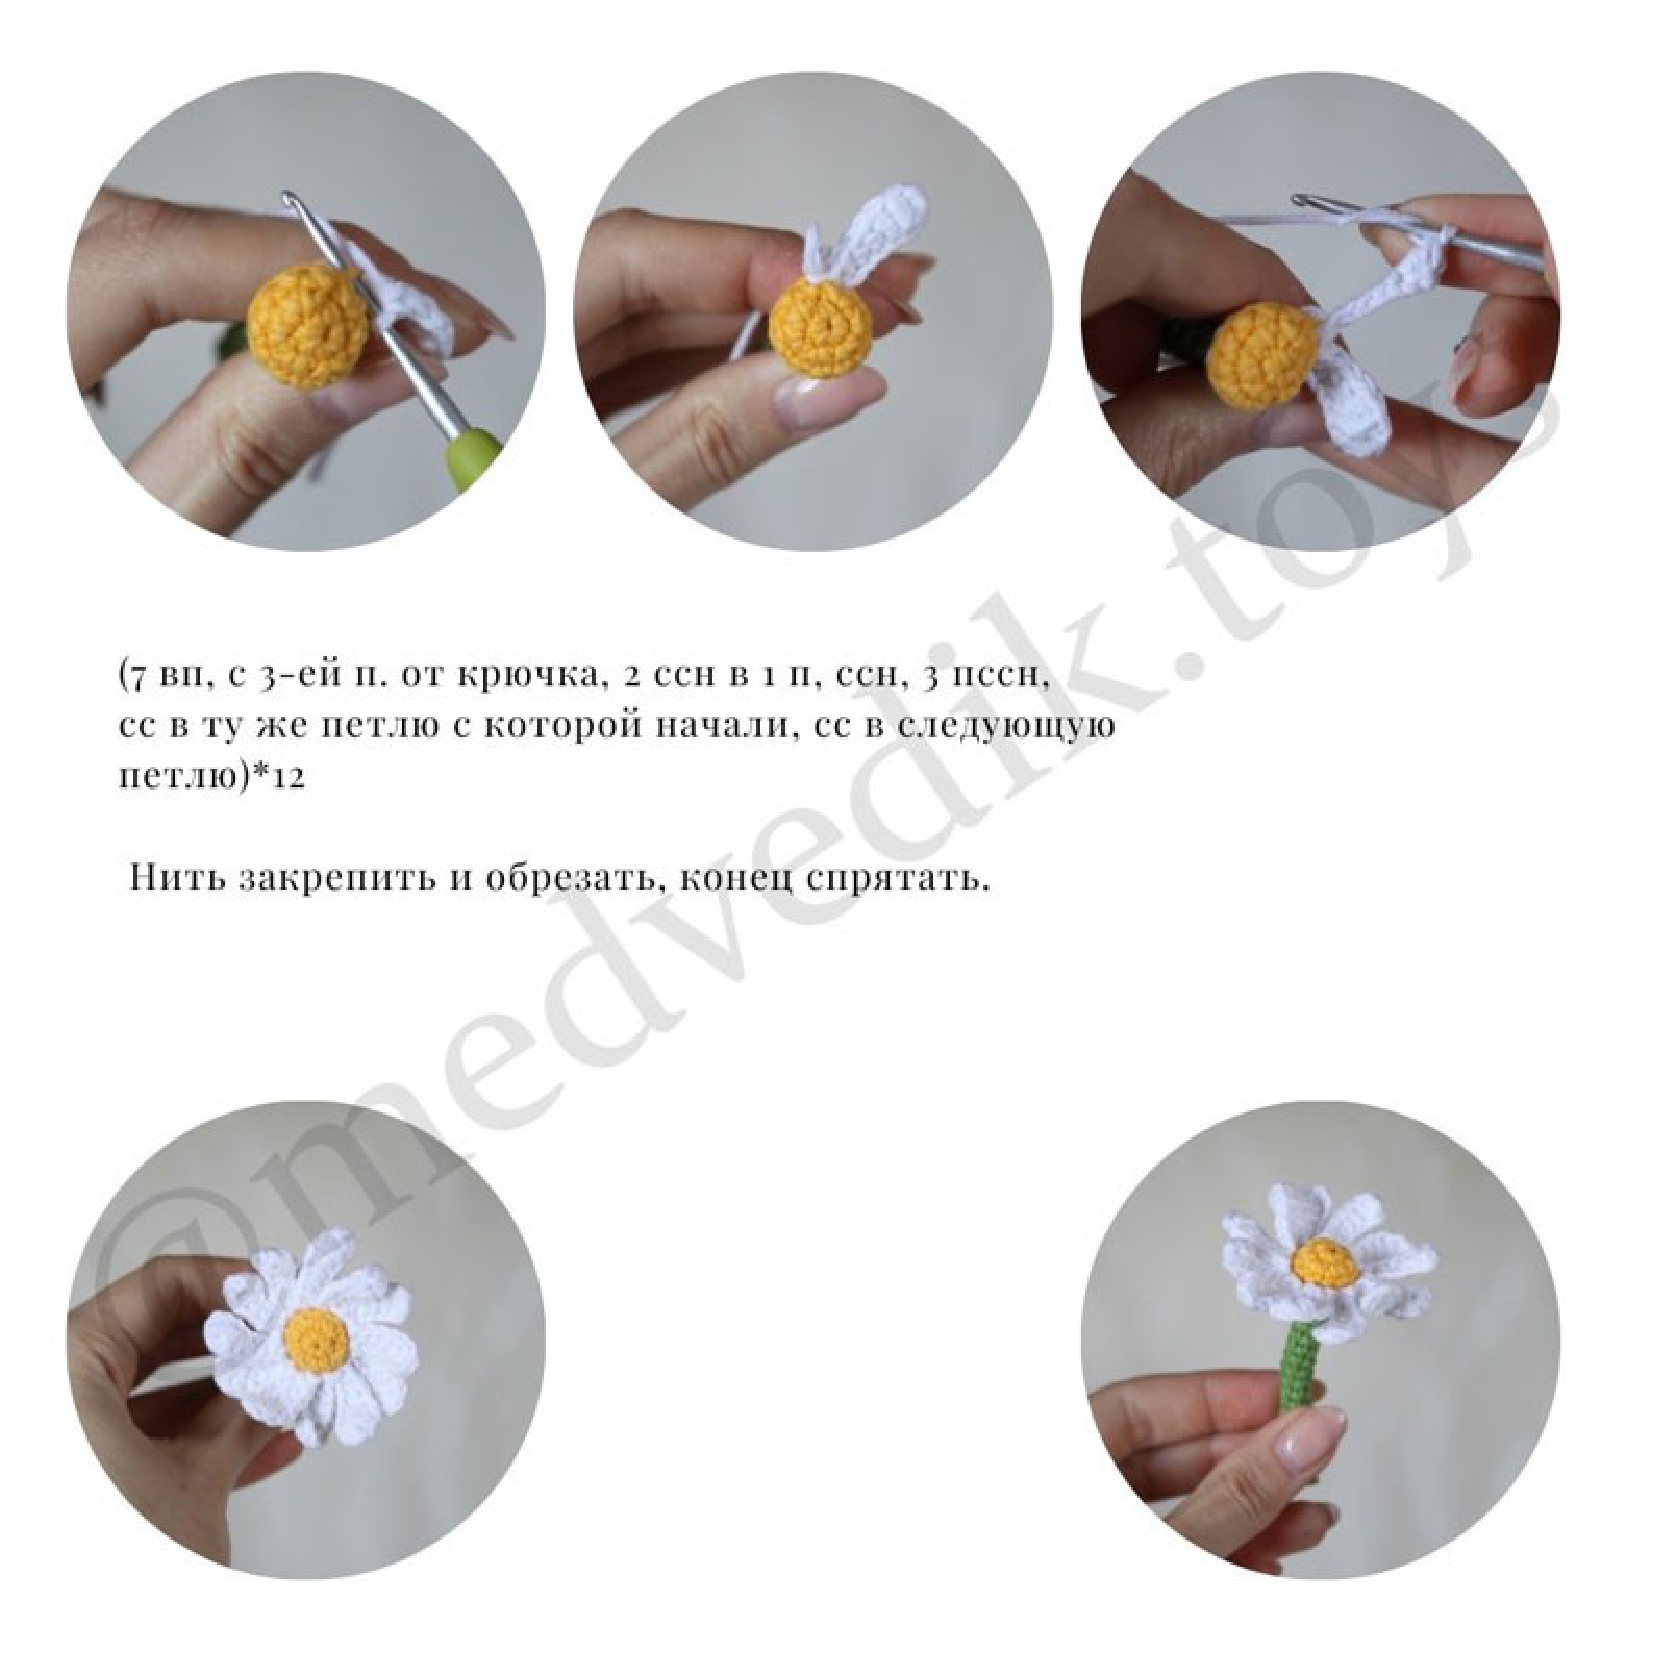
- Now, you will create 12 petals by repeating the following sequence in each of the 12 front loops:
- Step 1: Chain 7.
- Step 2: Starting in the 3rd chain from the hook, work 2 dc into that same chain.
- Step 3: Work 1 dc in the next chain.
- Step 4: Work 1 hdc in each of the next 3 chains.
- Step 5: Sl st back into the same front loop where you started the petal.
- Step 6: Sl st into the next available front loop to begin your next petal.
- Repeat the steps above 11 more times until you have 12 beautiful petals.
After your final petal, fasten off and weave in any remaining ends neatly on the back of the flower.
Finishing Touches
Gently shape your petals with your fingers to make them lie flat and look their best. And that’s it! You have a gorgeous, handcrafted crochet daisy. Make a few more to create a stunning bouquet that will never wilt!
Share Your Blooming Creations!
We hope you enjoyed this free pattern! We would love to see your finished daisies. Feel free to share your creations on social media and tag us so we can admire your work. Happy crocheting!