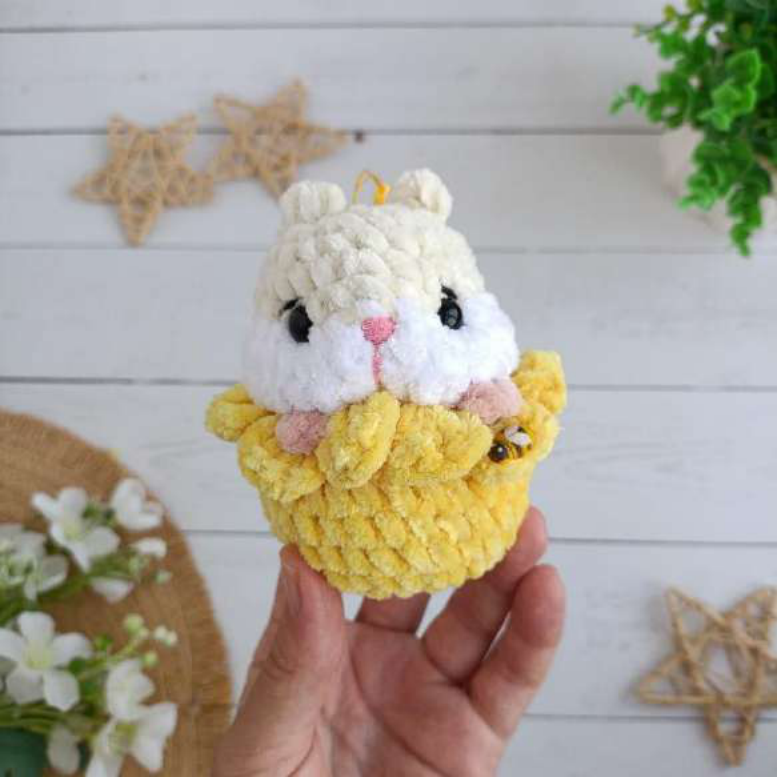
FREE Crochet Hamster Flower Keychain Pattern
Get ready to crochet the cutest little companion! This charming hamster nestled in a vibrant flower makes for a perfect keychain or a sweet gift. Designed by the talented Yulia Musatova, this pattern is presented in easy-to-follow steps.
Let’s get started on your very own Hamster in a Flower!
Materials:
- Himalaya Velvet or Dolphin yarn in:
- Milk (light cream)
- White
- Beige
- Yellow
- Thin pink yarn for the nose
- Thin black yarn for the eyebrows
- Safety eyes 10mm
- Keychain holder
- Holofiber (stuffing)
Size:
Approximately 10-11cm tall.
Abbreviations Used:
- MR: Magic Ring (or Amigurumi Ring)
- sc: single crochet
- inc: increase (crochet 2 single crochets into one stitch)
- dec: decrease (single crochet two stitches together)
- sl st: slip stitch
- ch: chain stitch
- dc: double crochet
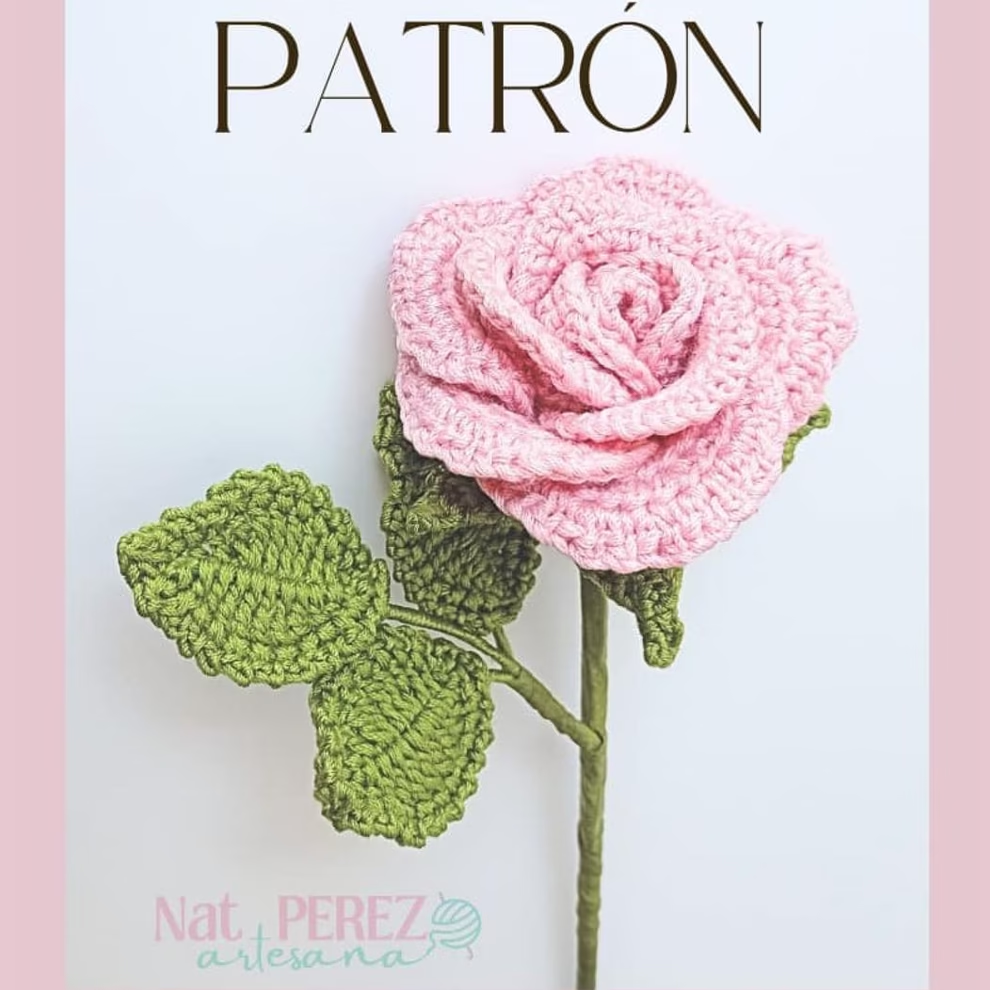
1. The Flower
Using yellow yarn:
- Row 1: 7 sc into a MR (7 stitches)
- Row 2: (inc)*7 times (14 stitches)
- Row 3: (1 sc, inc)*7 times (21 stitches)
- Row 4: (2 sc, inc)*7 times (28 stitches)
- Rows 5-8: 28 sc (4 rows)
- Row 9: (2 sc, dec)*7 times (21 stitches)
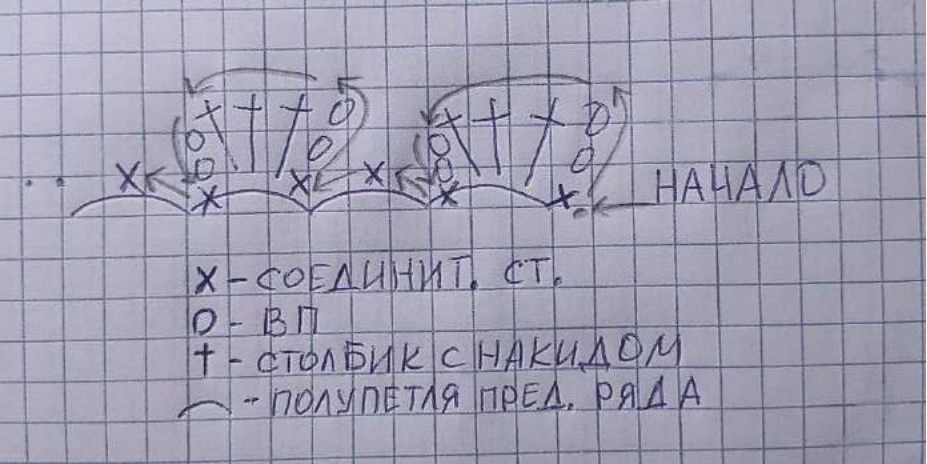
Crocheting the Flower Petals (FOR THE FRONT LOOPS ONLY):
Now, we will create the petals by working into the front loops of Row 9. This means you will insert your hook only into the loop closest to you on each stitch.
- Row 10: In each stitch, repeat the following sequence 10 times:
- (sl st + 2 ch + 3 dc + 2 ch + sl st) into one front loop,
- Then sl st into the next front loop.
You should now have 10 beautiful petals.
Cut the yarn, secure it, and weave the tail into the inside of the flower to hide it.
2. The Head
Using milk yarn (light cream):
- Row 1: 6 sc into a MR (6 stitches)
- Row 2: (inc)*6 times (12 stitches)
- Row 3: (1 sc, inc)*6 times (18 stitches)
- Row 4: 18 sc (1 row)
- Row 5: (2 sc, inc)*6 times (24 stitches)
- Row 6: 24 sc (1 row)
Switch to white yarn:
- Row 7: 6 sc, then 3 inc, then 6 sc, then 3 inc, then 6 sc (30 stitches)
- Row 8: 30 sc (1 row)
- Row 9: (13 sc, dec)*2 times (28 stitches)
- Row 10: (2 sc, dec)*7 times (21 stitches)
Cut the yarn, secure it, and hide the tail inside the head.
Assembly for the Head:
- Eyes: Insert the 10mm safety eyes between Row 6 and Row 7 (this will be above the increases you made in Row 7). There should be 8 single crochet stitches visible between the posts of the eyes.
- Stuffing: Lightly stuff the head with holofiber.
- Attach to Flower: Using the yarn tail or a new piece of milk yarn, sew the head onto the flower. Attach it by stitching into the stitches of the head and the back loops of Row 9 of the flower (the loops you didn’t use for the petals).
3. Ears and Paws
Ears and paws are crocheted the same way, just with different yarn colors.
- Start: Leave a 10cm tail of yarn at the beginning.
- Chain: Chain 3.
- Stitch: In the first chain stitch from your hook, crochet 1 half double crochet.
- Finish: Cut the yarn, leaving another 10cm tail.
You will need to make two ears (with milk yarn) and two paws (with beige yarn).
Placement of Ears and Paws:
- Ears: Sew the ears onto the top/sides of the head, positioning them as desired. Use the yarn tails to sew and secure.
- Paws: Sew the paws underneath the cheeks, between the head and the flower. This makes it look like the hamster is holding itself in the flower.
Finishing Touches
- Embroider Nose: Using thin pink yarn, embroider a small triangular or round nose on the face, typically between the eyes.
- Embroider Eyebrows: With thin black yarn, embroider small eyebrows above the eyes for expression.
- Tightening (Indentations): This step creates cute dimples or cheek definitions. Do not pull too tightly!
- Insert your needle from the right eye to the position of the right paw, and then back up to the right eye. Pull gently to create a slight indentation.
- Repeat from the left eye to the left paw, and back to the left eye.
- Repeat from the right eye to the left eye, and back to the right eye.
- Keychain Holder: Attach the keychain holder to the top of the hamster’s head or the flower, ensuring it’s securely fastened.