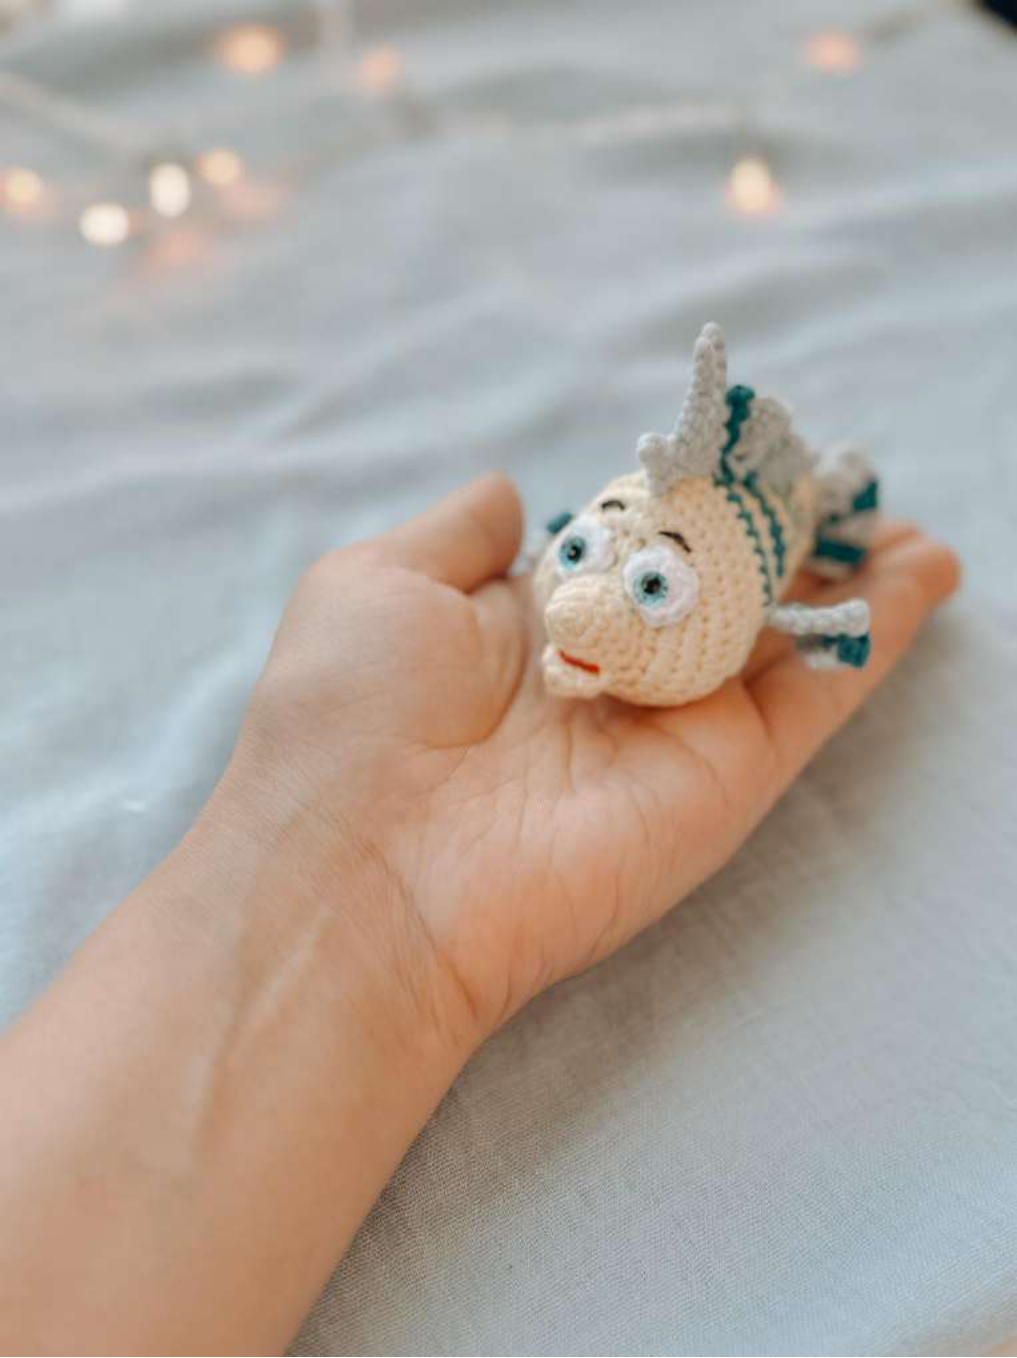
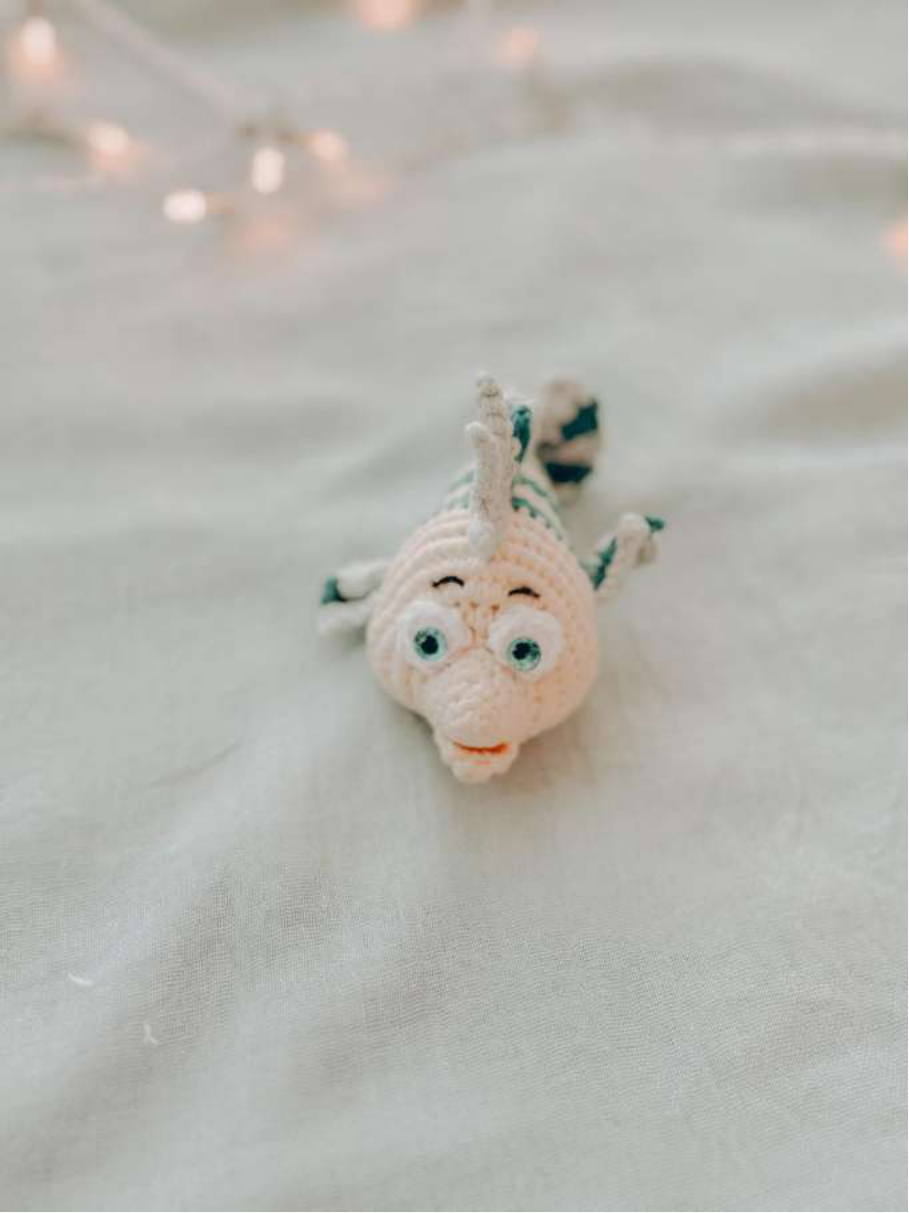
Easy Flounder Crochet: Make This Adorable Fish!
Materials You’ll Need
- Yarn: Any acrylic or cotton blend yarn in yellow, blue, and light blue. (Original pattern used Gazzal Baby Cotton: Yellow 3413, Light Blue 3423, Blue 3421).
- Stuffing: Synthetic fiberfill.
- Eyes: Cabochon eyes, black with a shank (5 mm) or embroidery thread for eyes.
- Sewing Thread: For attaching parts.
- French Pins: Up to 4 pcs (helpful for positioning parts before sewing).
- Scissors.
- Needle: For sewing pieces.
- Crochet Hook: Size suitable for your yarn (Original pattern used 1.75 mm).
- Glue: Moment transparent glue (if using cabochon eyes).
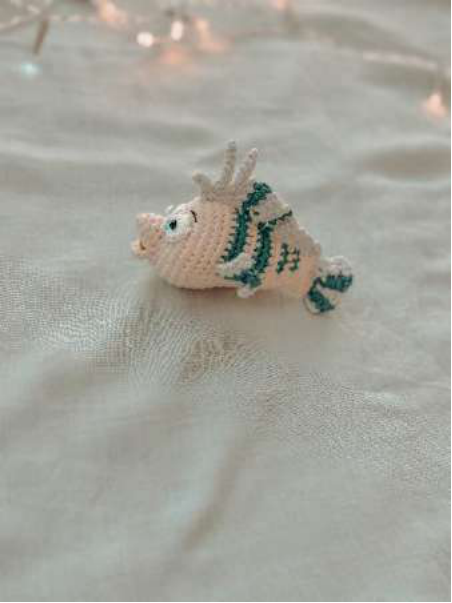
Finished Size: When using the specified materials, your Flounder will be approximately 10 cm long.
Important Notes & Tips Before You Start
- This pattern assumes you have basic crochet skills.
- All parts are crocheted in continuous rounds unless otherwise stated.
- You can crochet with either the right side facing or the wrong side facing, whichever you find more comfortable.
- When you see a number in parentheses at the end of a row, like (12), it indicates the total number of stitches you should have in that row.
- If steps are enclosed in parentheses followed by a number (e.g., (1 SC, 1 Inc) – 2 times), repeat the instructions inside the parentheses that many times.
- “Insert hook into the stitch 1 row below”: This technique creates a slightly longer, textured stitch, often used to simulate scales or add definition. Simply insert your hook into the corresponding stitch in the row directly below your current working row, then complete your SC as usual.
Abbreviations
MR: Magic Ring SC: Single Crochet SL ST: Slip Stitch DC: Double Crochet HDC: Half Double Crochet Inc: Increase (crochet two single crochet stitches into one stitch of the previous row) Dec: Decrease (crochet two stitches of the previous row together into one stitch) CH: Chain (often used for turning chains) CH ST: Chain Stitch (refers to the actual chain stitches created)
Let’s Crochet Your Flounder!
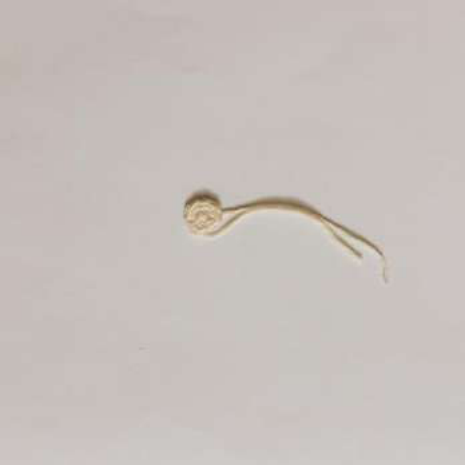
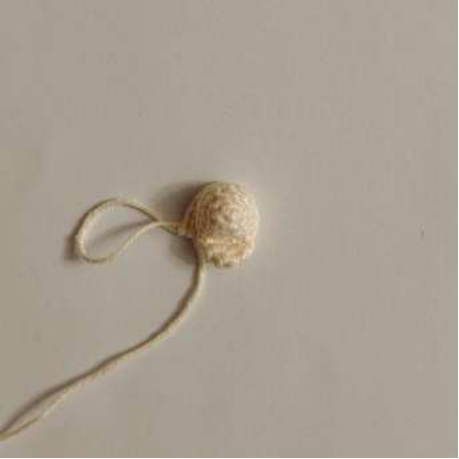
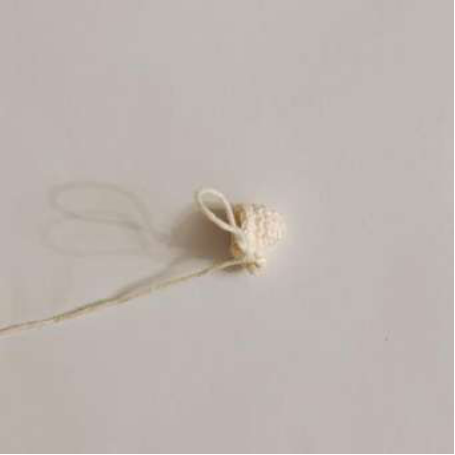
Lower Lip (Yellow Yarn)
This small piece will be folded in half to create the Flounder’s signature lip shape.
- Row 1: Make 4 SC into a Magic Ring (4)
- Row 2: Work 4 Inc (8)
Fasten off, cut the yarn, and fold the piece in half. Set it aside for now.
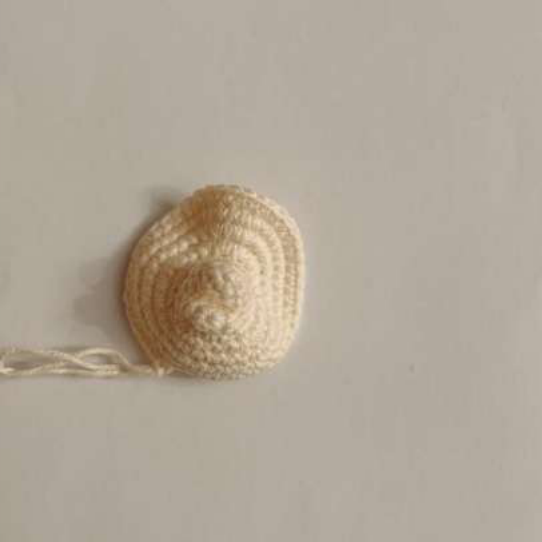
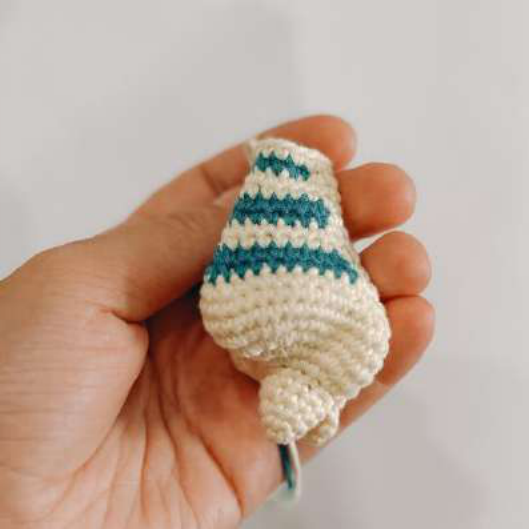
Head & Body (Yellow and Blue Yarn)
Start with yellow yarn. We will attach the lower lip in Row 6 to form the mouth.
-
- Row 1: Make 4 SC into a Magic Ring (4)
- Row 2: (1 SC, 1 Inc) – repeat 2 times (6)
- Row 3: (2 SC, 1 Inc) – repeat 2 times (8)
- Row 4: (3 SC, 1 Inc) – repeat 2 times (10)
- Row 5: (4 SC, 1 Inc) – repeat 2 times (12)
-
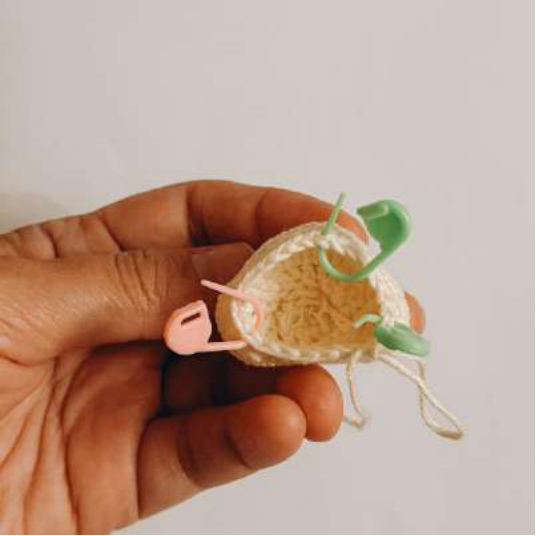
- Row 6 (Attaching the Lower Lip): Take your folded lip piece. Position it against the “nose” of your current work. Crochet 4 SC, working through 2 stitches of the lip AND a stitch of the main body piece simultaneously. Then continue with 1 Inc, 6 SC, 1 Inc (14)
-
- Row 7: 6 SC, then 6 Inc (make sure these increases are directly above the nose area to form the snout), 2 SC (20)
-
- Row 8 (Cheek Shaping): 4 SC (this forms the lower part, under the nose), then 4 Inc (these increases should be strictly on the side of the nose for the first cheek), 2 SC, 4 Inc (second cheek increase), 2 SC, 4 Inc (this helps shape the back/top of the head) (32)
-
- Row 9: 14 SC, 8 Inc, 10 SC (40)
- Row 10: 40 SC (40)
- Row 11: 40 SC (40)
- Row 12: 6 SC, 2 Dec, 24 SC, 2 Dec, 2 SC (36)
- Row 13: 7 SC, 1 Dec, 10 SC, 1 Dec, 10 SC, 1 Dec, 3 SC (33)
*Important Color Change Guide:* When changing colors, work the last yarn over and pull through of the final stitch of the old color with the new color. When not actively using a color, carry it loosely inside your stitches by crocheting over it. This prevents having to cut and reattach yarn constantly and creates a neater finish.
-
- Row 14:
- Yellow: 6 SC, 1 Dec (when working this decrease, finish the last step with your blue yarn).
- Blue: (carry the yellow yarn inside) 9 SC, 1 Dec, 9 SC (finish the last SC with your yellow yarn).
- Yellow: 1 Dec, 3 SC (30)
- Row 15:
- Yellow: 6 SC, 1 Dec (finish this decrease with your blue yarn).
- Blue: 8 SC, 1 Dec, 8 SC (finish the last SC with your yellow yarn).
- Yellow: 1 Dec, 2 SC (27)
- Row 14:
- Row 16 (Yellow): 6 SC, 1 Dec, 7 SC, 1 Dec, 7 SC, 1 Dec, 1 SC (24)
- Row 17 (Yellow): 24 SC (24)
- Row 18:
- Yellow: 5 SC, 1 Dec, 1 SC (finish the last SC with your blue yarn).
- Blue: 5 SC, 1 Dec, 6 SC (finish the last SC with your yellow yarn).
- Yellow: 1 Dec, 1 SC (21)
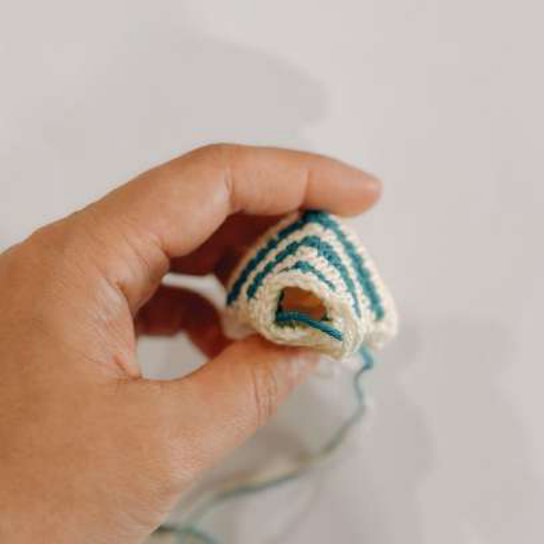
Stuffing Break: Now is a good time to begin stuffing the head firmly. Pay special attention to the cheeks and nose area, shaping them to be nice and round.
- Row 19:
- Yellow: 7 SC (finish the last SC with your blue yarn).
- Blue: 12 SC (finish the last SC with your yellow yarn).
- Yellow: 2 SC (21)
- Row 20 (Yellow): 5 SC, 1 Dec, 5 SC, 1 Dec, 5 SC, 1 Dec (18)
- Row 21 (Yellow): 18 SC (18)
- Row 22:
- Yellow: 4 SC, 1 Dec, 1 SC (finish the last SC with your blue yarn).
- Blue: 3 SC, 1 Dec, 4 SC (finish the last SC with your yellow yarn).
- Yellow: 1 Dec (15)
- Row 23 (Yellow): 15 SC (15)
Continue stuffing your toy as you go, ensuring it’s firm and holds its shape well. Make sure there are no lumpy spots.
- Row 24:
- Yellow: 3 SC, 1 Dec, 1 SC (finish the last SC with your blue yarn).
- Blue: 2 SC, 1 Dec, 3 SC (finish the last SC with your yellow yarn).
- Yellow: 1 Dec (12)
- Row 25: (Note: Row 25 is missing from the original pattern. Proceed to Row 26.)
- Row 26 (Yellow): 12 SC (12)
- Row 27 (Yellow): 12 SC (12)
- Row 28 (Yellow): 12 SC (12)
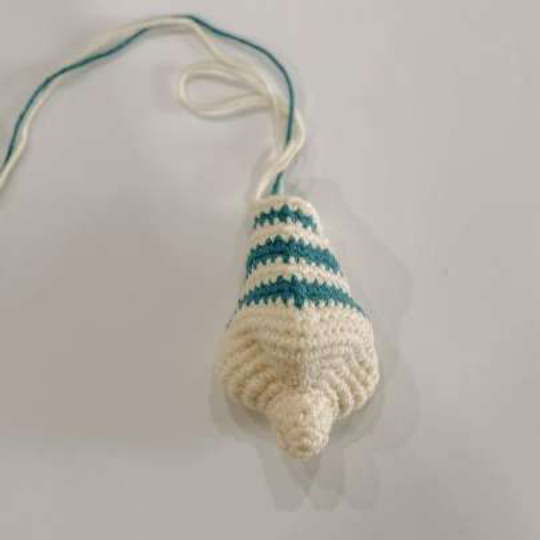
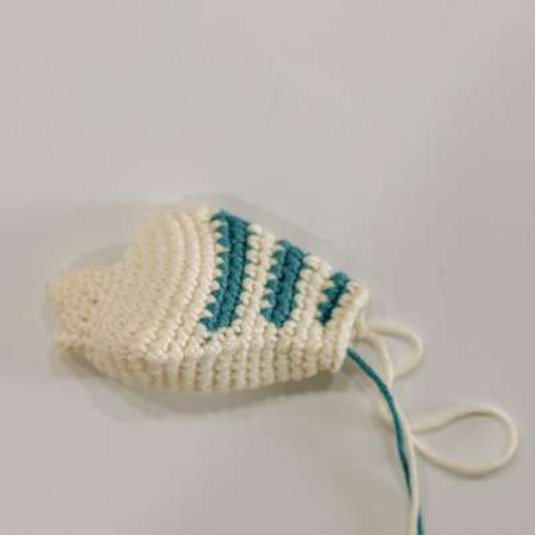
Finishing the Body: Once Row 28 is complete, fold the opening of your body piece in half. Crochet 6 SC across the opening, picking up a stitch from both sides simultaneously to close the gap.
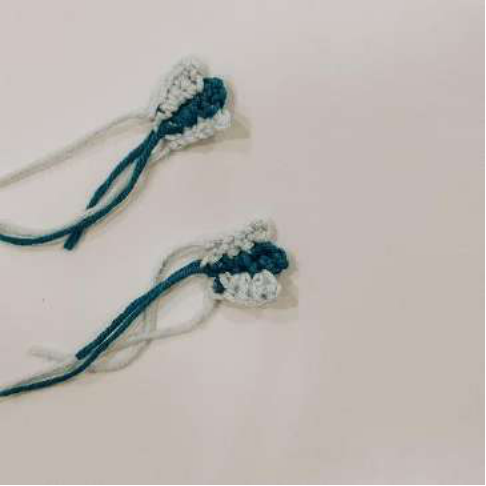
Side Fins (Make 2 – Light Blue and Blue Yarn)
These fins are crocheted in turning rows. Remember to Chain 1 (CH) at the beginning of each row before turning your work.
-
- Row 1 (Light Blue): Chain 4, then make 1 CH (as your turning chain). (4 CH ST)
- Row 2 (Light Blue): Starting in the 2nd CH from your hook, work 4 SC. Then make 1 CH (turning chain). (4 SC)
-
- Row 3 (Blue): Work 3 SC, then 1 Inc. Then make 1 CH (turning chain). (5 SC)
-
- Row 4 (Blue): Work 3 SC, then make 2 SC by inserting your hook into the stitch 1 row below (this adds texture). Then make 1 CH (turning chain). (5 SC)
-
- Row 5 (Light Blue): Work 3 SC, then 1 Dec. Then make 1 CH (turning chain). (4 SC)
-
- Row 6 (Light Blue): Work 2 SC, then make 2 SC by inserting your hook into the stitch 1 row below. (Do NOT make a turning chain at the end of this row). (4 SC)
Fasten off, leaving a long tail for sewing the fins to the body.
Assembly Note: Sew the side fins securely to the body, positioning them at the ends of the first blue stripe you crocheted.
Tail (Light Blue and Blue Yarn)
Crochet in turning rows. Remember to Chain 1 (CH) at the beginning of each row unless specified.
-
- Row 1 (Light Blue): Chain 4, then make 1 CH (turning chain). (4 CH ST)
- Row 2 (Light Blue): Starting in the 2nd CH from your hook, work 3 SC. Then make 1 CH (turning chain). (3 SC)
-
- Row 3 (Blue): Work 3 SC. Then make 1 CH (turning chain). (3 SC)
- Row 4 (Blue): Work 1 SC, then make 2 SC by inserting your hook into the stitch 1 row below. Then make 1 CH (turning chain). (3 SC)
- Row 5 (Light Blue): Work 3 SC. Then make 1 CH (turning chain). (3 SC)
- Row 6 (Light Blue): Work 1 SC, then make 2 SC by inserting your hook into the stitch 1 row below. Then make 1 CH (turning chain). (3 SC)

- Row 7 (Blue): Work 3 SC. Then make 1 CH (turning chain). (3 SC)
- Row 8 (Blue): Work 1 SC, then make 2 SC by inserting your hook into the stitch 1 row below. Then make 1 CH (turning chain). (3 SC)
- Row 9 (Light Blue): Work 1 SC, then 2 HDC. Then make 1 CH (turning chain). (3 ST)
- Row 10 (Light Blue): Work 1 SC, then make 2 SC by inserting your hook into the stitch 1 row below. Then make 1 CH (turning chain). (3 SC)
Fasten off, leaving a long tail for sewing the tail to the body.
Eyes (Make 2 – Use yarn to match your eye color or black for pupils)
These small circles will form the base for your Flounder’s eyes.
- Row 1: Make 9 SC into a Magic Ring (9)
Make a SL ST to close the circle. Fasten off, leaving a tail for sewing to the toy.
Eye Assembly Options:
- If using cabochon eyes, glue a colored cabochon into the center of the crocheted eye piece using transparent glue.
- Alternatively, you can embroider the eyes: use black thread for the inner pupil, then light blue thread in a radial pattern for the iris, and a small stitch of white thread for a highlight.
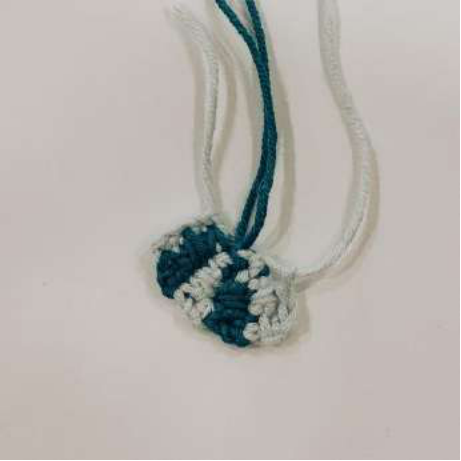
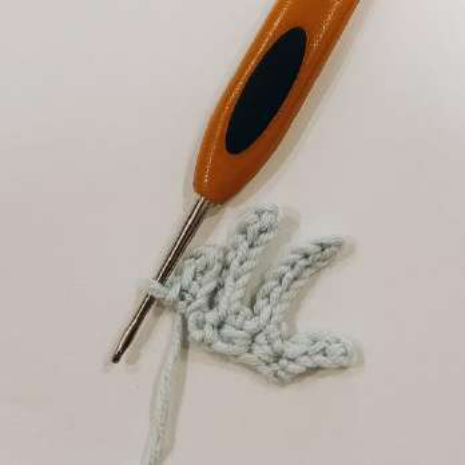
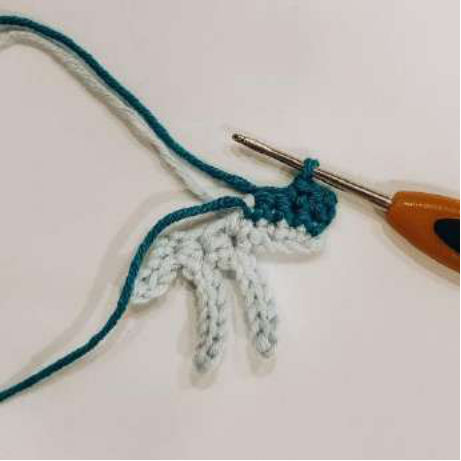
Top Fin (Light Blue and Blue Yarn)
Crochet in turning rows. Remember to Chain 1 (CH) at the beginning of each row unless specified otherwise.
-
- Row 1 (Light Blue): Chain 4, then make 1 CH (turning chain). (4 CH ST)
- Row 2 (Light Blue): Starting in the 2nd CH from your hook, work 3 SL ST, then 1 SC. Then make 1 CH (turning chain). (4 ST)
- Row 3 (Light Blue): Work 1 SC, then Chain 9. (9 CH ST)
- Row 4 (Light Blue): Starting in the 2nd CH from your hook, work 8 SL ST, then 1 SC (insert hook into the stitch 1 row below). Then make 1 CH (turning chain). (9 ST)
-
- Row 5 (Light Blue): Work 1 SC, then Chain 8. (8 CH ST)
- Row 6 (Light Blue): Starting in the 2nd CH from your hook, work 7 SL ST, then 1 SC (insert hook into the stitch 1 row below). Then make 1 CH (turning chain). (8 ST)
- Row 7 (Light Blue): Work 1 SC, then Chain 2. Then make 1 CH (turning chain). (3 CH ST)
- Row 8 (Light Blue): Starting in the 2nd CH from your hook, work 2 SC, then 1 SC (insert hook into the stitch 1 row below). Then make 1 CH (turning chain). (3 SC)
- Row 9 (Blue): Work 3 SC. Then make 1 CH (turning chain). (3 SC)
- Row 10 (Blue): Starting in the 2nd CH from your hook, work 2 SC, then 1 SC (insert hook into the stitch 1 row below). Then make 1 CH (turning chain). (3 SC)
- Row 11 (Light Blue): Work 3 SC. Then make 1 CH (turning chain). (3 SC)
- Row 12 (Light Blue): Starting in the 2nd CH from your hook, work 2 SC, then 1 SC (insert hook into the stitch 1 row below). Then make 1 CH (turning chain). (3 SC)
- Row 13 (Light Blue): Work 3 SC. Then make 1 CH (turning chain). (3 SC)
- Row 14 (Light Blue): Starting in the 2nd CH from your hook, work 2 SC, then 1 SC (insert hook into the stitch 1 row below). Then make 1 CH (turning chain). (3 SC)
- Row 15 (Blue): Work 3 SC. Then make 1 CH (turning chain). (3 SC)
- Row 16 (Blue): Starting in the 2nd CH from your hook, work 2 SC, then 1 SC (insert hook into the stitch 1 row below). Then make 1 CH (turning chain). (3 SC)
- Row 17 (Light Blue): Work 3 SC. Then make 1 CH (turning chain). (3 SC)
- Row 18 (Light Blue): Starting in the 2nd CH from your hook, work 2 SC, then 1 SC (insert hook into the stitch 1 row below). Then make 1 CH (turning chain). (3 SC)
- Row 19 (Light Blue): Work 3 SC. (Do NOT make a turning chain). (3 SC)
- Row 20 (Light Blue): Starting in the 2nd stitch from your hook, work 1 SC, then 1 SC (insert hook into the stitch 1 row below). Then make 1 CH (turning chain). (2 SC)
- Row 21 (Light Blue): Work 2 SC. Then make 1 CH (turning chain). (2 SC)
- Row 22 (Light Blue): Starting in the 2nd stitch from your hook, work 1 SC, then 1 SC (insert hook into the stitch 1 row below). (Do NOT make a turning chain). (2 SC)
- Row 23 (Light Blue): Work 1 SC. (1 SC)
Fasten off, cut the yarn, leaving a tail for sewing the fin. Sew the top fin with small stitches along the back of the toy, positioning it nicely.
Your Flounder is Ready!
Congratulations! You’ve successfully crocheted your very own adorable Flounder fish. This little guy is sure to bring a smile to anyone’s face!