Free Crochet Book Sleeve Pattern (Fits Most Books)
I have a soft spot for book sleeves. Not because they are fancy. Mostly because I have ruined enough covers in my bag to finally admit I needed a little fabric armor.
And yes, you can buy one. But crocheting one is weirdly satisfying. It is fast, it uses a small amount of yarn, and it is one of those projects that looks a lot more impressive than the effort it takes.
This pattern is free, beginner friendly, and designed to fit most standard paperbacks and a lot of hardcovers too. The fit is forgiving because we are building the sleeve based on the book’s measurements, not guessing some random “one size fits all” number.
Let’s make one.
What you are making
A simple crochet book sleeve with:
- a snug, slightly stretchy fabric
- a fold over flap (optional but included)
- a button loop closure (optional but included)
- a base that actually fits your book, because we measure it
The stitch pattern is intentionally plain. You can use it as a blank canvas and add stripes, texture, a label, whatever you want.
Skill level
Beginner to easy intermediate.
You need to be comfortable with:
- chaining
- single crochet
- half double crochet (optional, but I’ll show you where)
- working in the round (for the base)
- seaming (optional, we mostly avoid it)
If you can crochet a dishcloth, you can do this.
Materials
Yarn (recommended): Worsted weight (Category 4)
Cotton or cotton blend is durable and less prone to pilling. Acrylic works too, especially if you want softness and lots of color choices.
- Approx: 120 to 220 yards depending on book size and whether you add a flap.
Hook: 4.5 mm to 5.5 mm
Pick a hook that gives you a fabric that is not holey. Book corners will try to escape through gaps.
Other:
- Scissors
- Tapestry needle – you might also find it useful to know what other tools and materials are needed for learning tapestry weaving.
- 1 button (optional)
- Stitch marker (helpful)
Finished size and fit (the whole point)
This is a custom fit pattern written in a way that still feels like a “real pattern”. You’ll follow the same steps every time, but you’ll plug in your book measurements.
It fits:
- most mass market paperbacks
- most trade paperbacks
- many hardcovers
If your book is extra chunky, it still works. We just add a few more rounds.
Measure your book (quick + important)
You only need two measurements:
- Book height (H): top to bottom of the cover
- Book “wrap” (W): wrap a tape measure around the book like a belt
- Go around the front cover, across the spine, and around the back cover. Keep it snug, not tight.
If you do not have a tape measure, wrap a yarn strand around and measure that against a ruler.
Ease (how snug it should be):
For a sleeve that stays put, subtract about 1 inch (2.5 cm) from your wrap measurement.
So your working wrap is:
W_working = W minus 1 inch
If your stitch pattern is very tight and not stretchy, subtract only 0.5 inch. If it is loose and stretchy, subtract 1.5 inches.
Stitches and abbreviations
- ch = chain
- sc = single crochet
- sl st = slip stitch
- hdc = half double crochet
- blo = back loop only
- st(s) = stitch(es)
- rnd = round
Notes before you start (so it comes out nice)
- We start at the base and work upward in joined rounds, like a little tube.
- The base is an oval. That helps books slide in without fighting sharp corners.
- You can keep it super simple: just the sleeve, no flap, no button. Still looks great.
- Want a thicker sleeve? Use a slightly smaller hook, or use a textured stitch like sc blo.
Stitch pattern (recommended)
For a clean look with a little stretch:
Body Stitch:
- Round 1: sc
- Remaining rounds: hdc in blo for subtle ribbing and flexibility
If you want to keep it ultra beginner simple, do sc in blo for the whole thing. It takes a bit longer but looks very polished and firm.
I’ll write the pattern using hdc blo, and I’ll note where you can swap to sc.
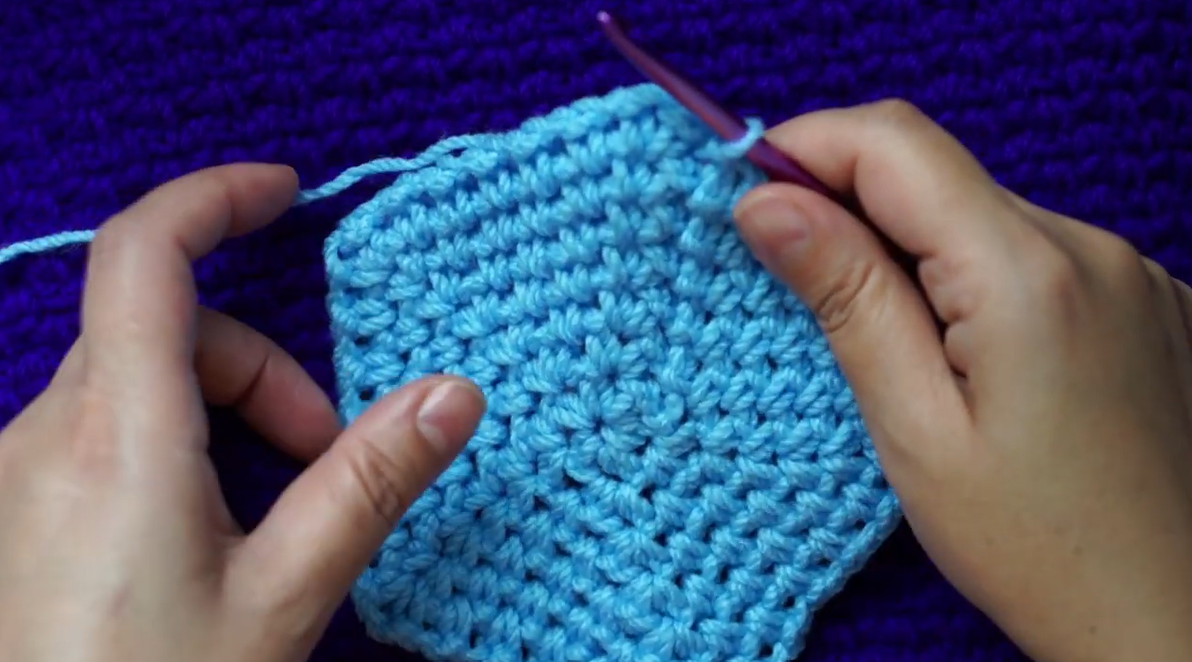
Step 1: Make the oval base
We will build an oval that matches the thickness of your book and begins to form the wrap. This is where we need to choose a starting chain length that will allow us to crochet around a chain oval.
Pick your starting chain length
Take your book and look at its thickness (spine width). A good starting point is to make a chain that matches that thickness.
- Thin paperback: start with ch 15 to 19
- Average paperback: ch 19 to 23
- Hardcover or thick book: ch 23 to 29
If you want to be exact, chain and measure the chain length against the book’s thickness.
Starting chain = C
Write down C. You may adjust it after Round 1 if it looks way off. Crochet is forgiving.
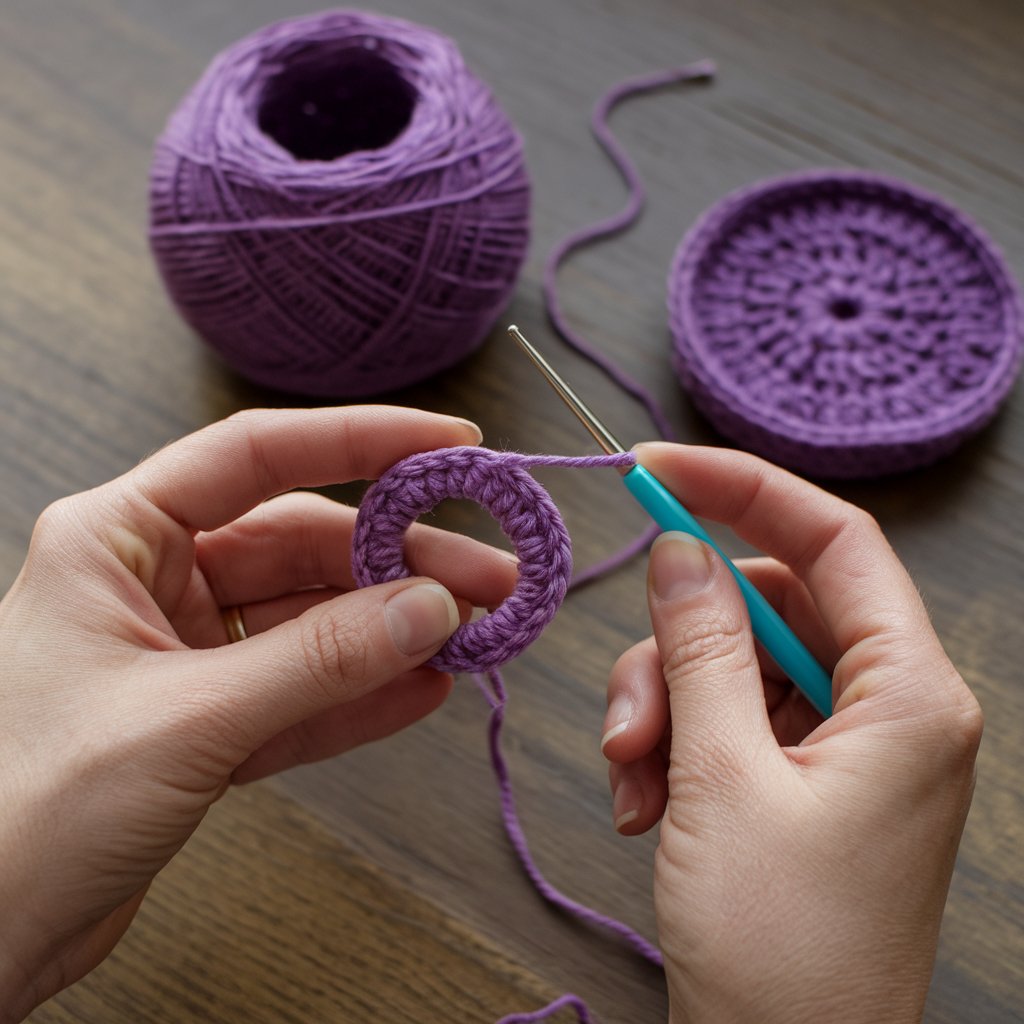
Oval Base Instructions
Rnd 1:
Ch C.
Sc in 2nd ch from hook and in each ch across until last ch.
In last ch, work 3 sc (this turns the corner).
Working down the other side of the chain, sc in each ch back toward the start.
In the last ch (the one at the beginning), work 2 sc.
Join with sl st to first sc.
You now have an oval.
Rnd 2:
Ch 1. Sc in same st and in each st around.
At each rounded end, you will increase to keep the oval flat:
- In the center stitch of the 3 sc group, work 3 sc.
- On the other end, in the center stitch of that end, work 3 sc.
Join with sl st to first sc.
Rnd 3:
Repeat Rnd 2. Keep the oval flat. If it starts to cup, add more increases at the ends. If it starts to ruffle, reduce increases.
When to stop the base rounds
Stop increasing and doing base rounds when the oval’s perimeter is close to your W_working measurement (your wrap minus ease).
Quick method: wrap your oval base around the book like a belt.
- If it does not reach around, keep adding rounds (with increases at ends).
- If it reaches and overlaps a lot, your base is too big. Either remove a round, or accept a looser sleeve.
You do not need perfection. You just want it snug enough that the book does not fall out when you hold it upside down.
Most books land around 3 to 6 base rounds.
Step 2: Build the sleeve walls (no more increases)
Now we stop increasing. This turns the oval into a tube.
Rnd 1 of walls (set up):
Ch 1. Sc in blo in each st around. Join with sl st.
This round creates a crisp fold at the base. It is one of those tiny steps that makes it look “finished”.
Step 3: Crochet the body to book height
Now work upward until it covers your book.
Body Rounds
Repeat:
Ch 1. Hdc in blo in each st around. Join with sl st.
Keep going until the sleeve is about H minus 0.5 inch tall if you want no flap.
If you want the flap, crochet until it is about H minus 1.5 to 2 inches tall, because the flap will cover the rest.
Try it on your book as you go. This is allowed. Encouraged, actually.
Quick fit check
Slide the book in.
- Too tight and hard to slide? Switch to a slightly larger hook or remove ease next time.
- Too loose and floppy? Go down a hook size or use sc instead of hdc for the body.
If you want a tighter, more protective fabric, do sc blo for the body. It is dense and sturdy.
Step 4 (Optional): Add a flap
If you want a flap that folds over the top:
You will now stop working in the round and crochet back and forth in rows across only one side of the sleeve. This makes a flap.
Find the back of the sleeve
Put the book inside. Decide which side you want as the front.
- The flap will start at the back and fold to the front.
Mark the two “side points” of the sleeve with stitch markers. Basically the left and right edges when the sleeve is on the book.
Flap setup
With the sleeve on the book, flatten it so you can see the front and back.
Count stitches from one side marker to the other across the back panel. That is your flap width.
Most people like the flap to be the full back panel width. But you can make it narrower if you want a tapered look.
Flap Rows
Attach yarn at the first side marker (back left edge).
Row 1:
Ch 1. Sc in blo (or hdc blo if you prefer) across to the other side marker. Turn.
Rows 2 and onward:
Ch 1. Sc blo across. Turn.
Work until the flap is long enough to fold over and cover the front by about 1 to 2 inches.
For a neat edge, finish with one row of regular sc (both loops) across the last row.
Fast tip: If you want the flap to curve nicely, do 2 sc in the first and last stitch of every row for the last 3 rows. It rounds the corners a little.
Step 5 (Optional): Button loop closure
This is the simplest closure and it works.
Make the loop
With the sleeve on the book and the flap folded over, decide where the button will go on the front.
Now on the flap tip, make a loop:
- Ch 12 to 20 (depends on button size)
- Sl st back into the flap tip to form a loop
Test it around your button. Adjust chain count if needed.
Sew on the button
Sew the button onto the front of the sleeve where the loop naturally lands when closed.
Use matching yarn or sewing thread. Go through the button holes a bunch of times. Tug firmly. Books are heavier than they look.
Step 6: Finish the top edge (recommended)
Even if you skip the flap, finishing the top edge makes it look clean.
For a simple finish:
- Work one round of sc around the top opening.
- Join with sl st.
- Fasten off and weave in ends.
If you want a slightly stretchy edge, do sl st around instead. It looks sleek, but can tighten the opening. So test it.
If you want to make it “not just a plain sleeve” without complicating your life:
1. Stripes
Change color every 2 to 4 rounds. The ribbing from hdc blo makes stripes look extra crisp.
2. A little handle
On one side seam area:
- Ch 14
- Sl st into a stitch a couple inches away
- Reinforce by working sc around the chain loop (optional)
It becomes a wrist strap. Surprisingly handy.
3. Add a lining (no sewing machine required)
You can hand stitch a simple fabric rectangle inside. Not necessary, but it feels fancy.
4. Texture swap
Instead of hdc blo, try:
- Moss stitch (sc + ch 1)
- Lemon peel (sc, dc alternating)
- Even just sc in blo for a tighter, minimal look
Just keep the fabric dense enough that corners do not poke out.
Every yarn and hook combo is different, but generally:
- Mass market paperback: 120 to 160 yards
- Trade paperback: 150 to 200 yards
- Hardcover: 180 to 260 yards
If you are using scrap yarn, this is a great “use up the leftovers” project. Mix colors on purpose and call it design.
My base is ruffling
Too many increases. On the next base round, only increase at the ends once, not multiple times. Or remove a round.
My base is cupping like a bowl
Not enough increases. Add one extra increase stitch at each end on the next round.
The sleeve is too tight to slide the book in
Go up a hook size, or switch the body stitch to hdc (more stretch than sc). Also check that you subtracted too much ease.
The sleeve is too loose
Go down a hook size. Or use sc blo for the body. You can also add a button loop even without a flap, just to keep it secure.
The flap looks lumpy where it starts
That is normal at first. One round of sc around the flap edge smooths it out a lot. Blocking helps too.
Cotton: lightly steam or damp block.
Acrylic: steam carefully, do not melt it.
Honestly, for a sleeve that will be shoved into bags, blocking is not mandatory. But it does make the edges sit flatter.
If you just want to follow a size without thinking too hard, make a “standard paperback” sleeve:
- Start: ch 21
- Oval base: 4 rounds total (with increases at ends as described)
- Wall setup: 1 round sc blo
- Body: hdc blo until 7.5 inches tall
- Top edge: 1 round sc
- Optional flap: 3.5 to 4.5 inches long, sc blo rows
This fits a lot of paperbacks. Not all. But a lot.
Wrap up
That is the whole pattern. Make the oval base until it wraps your book, build the walls, crochet to height, and add a flap and button if you want that “real book sleeve” feel.
If you make one and it comes out slightly too snug or slightly too loose, do not overthink it. The second one will be perfect. And the first one will still protect a book, which is kind of the point.
If you want, tell me the height and wrap of your book (and what yarn weight you are using) and I can translate it into a very specific starting chain and round count so you can start without guessing.
FAQs (Frequently Asked Questions)
Why should I crochet a book sleeve instead of buying one?
Crocheting a book sleeve is satisfying, quick, and uses only a small amount of yarn. It offers a custom fit based on your book’s measurements, providing better protection than generic sleeves you can buy. Plus, it’s a beginner-friendly project that looks impressive with minimal effort.
What skill level do I need to crochet this book sleeve?
This pattern is suitable for beginners to easy intermediate crocheters. You should be comfortable with chaining, single crochet, half double crochet (optional), working in the round for the base, and optionally seaming. If you can crochet a dishcloth, you can make this sleeve.
What materials and tools do I need to make the crochet book sleeve?
You’ll need worsted weight (Category 4) yarn—cotton or cotton blend is recommended for durability and less pilling; acrylic works well for softness and color variety. Approximately 120 to 220 yards depending on book size and flap addition. Use a 4.5 mm to 5.5 mm hook that produces a fabric without holes. Also have scissors, tapestry needle, optional button, and stitch marker handy.
How do I measure my book to ensure the sleeve fits perfectly?
Measure two things: 1) Book height (H) from top to bottom of the cover; 2) Book wrap (W) by wrapping a tape measure snugly around the front cover, spine, and back cover like a belt—not too tight. Subtract about 1 inch (2.5 cm) from W for ease so the sleeve stays snug but not tight. Adjust subtraction depending on stitch tightness.
What stitch pattern is recommended for making the book sleeve?
The recommended stitch pattern starts with single crochet (sc) in Round 1 for the base, then uses half double crochet in back loop only (hdc blo) for subtle ribbing and stretchiness throughout the body. For an ultra-beginner option, use sc in blo for all rounds which creates a firm and polished look.
Can I customize the design of my crochet book sleeve?
Yes! The pattern features a plain stitch canvas perfect for adding stripes, textures, labels, or other embellishments. You can also choose to add an optional fold-over flap and button loop closure or keep it simple without these features. Adjust hook size or stitch texture if you want a thicker or firmer sleeve.