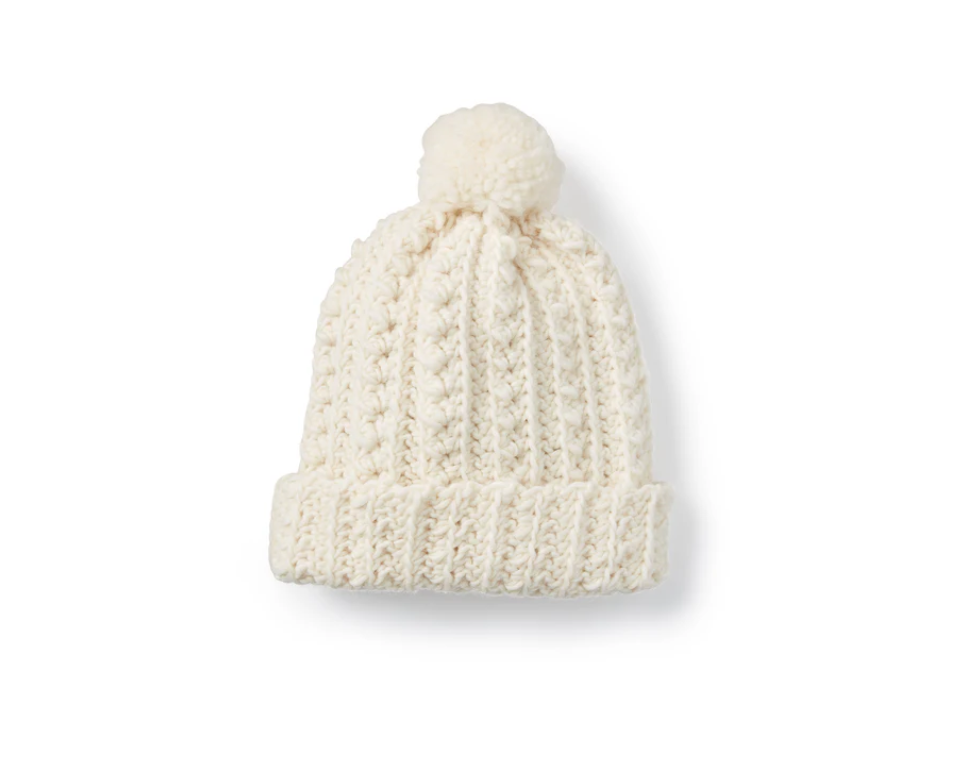
How to Crochet a Ruffle Bucket Hat – Quick & Stylish Tutorial (Step-by-Step)
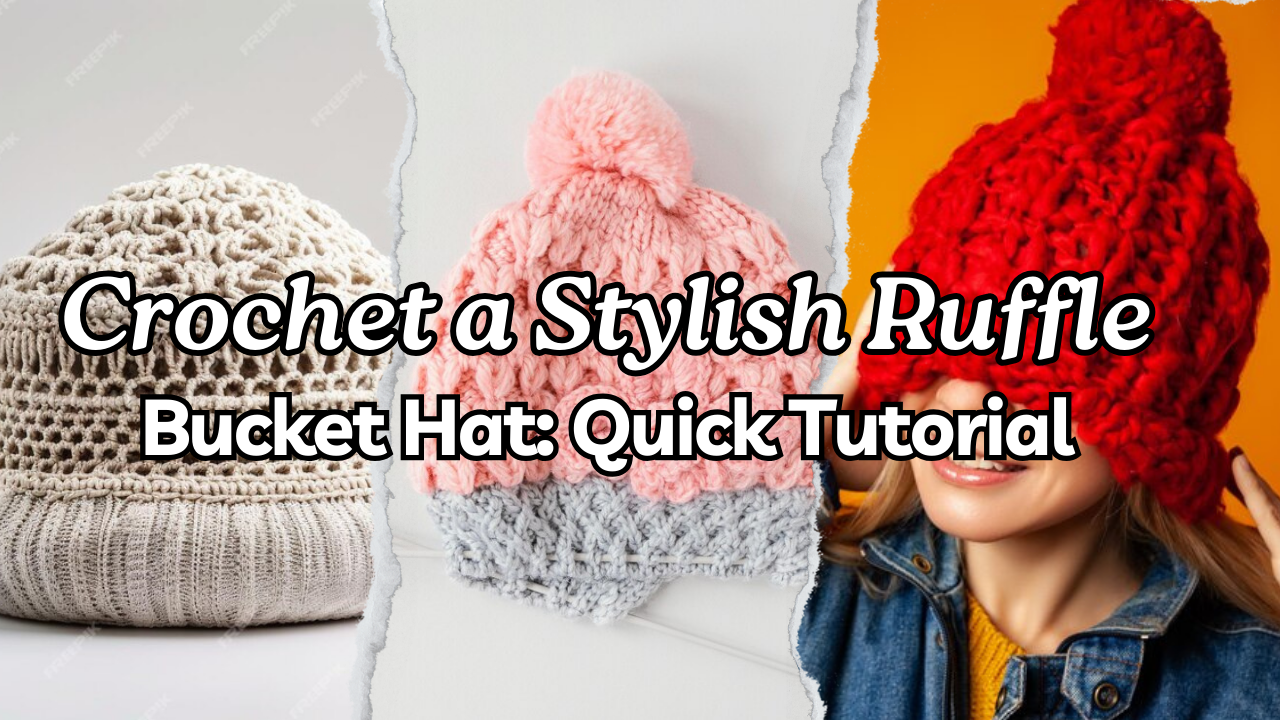
Want to learn how to crochet a stylish ruffle bucket hat? This easy, step-by-step guide will help you make a trendy hat using the M Stitch. Whether you’re just starting or already know how to crochet, this pattern is great for making a fun accessory that’s perfect for any season.
How to Crochet a Ruffle Bucket Hat
Materials Needed
- Yarn: Medium worsted acrylic yarn
- Hook: 5.5 mm crochet hook
Step 1: Start with a Slip Knot and Chain
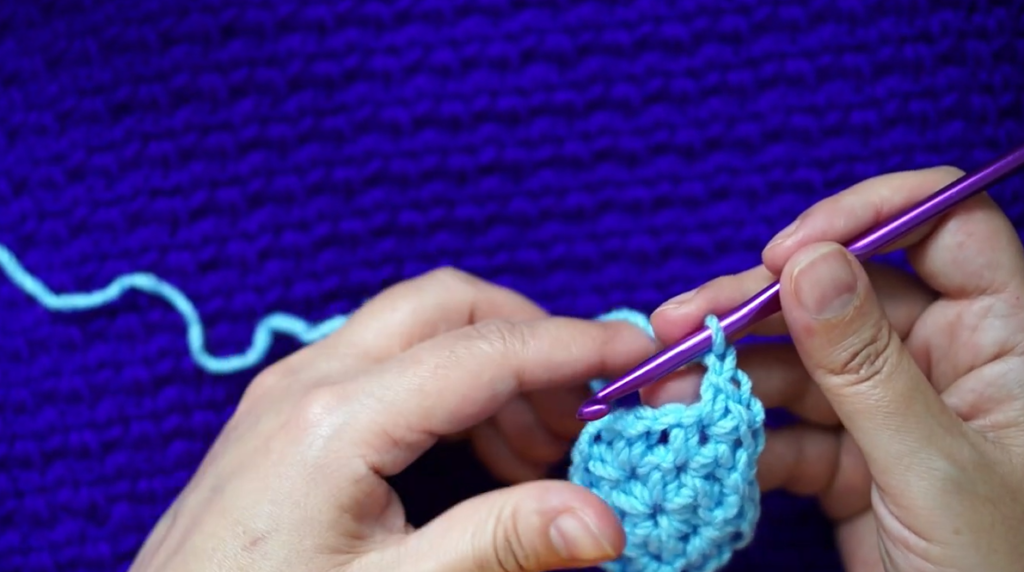
Begin by making a slip knot on your crochet hook. Then, chain 2 stitches. In the second chain from the hook, crochet 1 single crochet, chain 1, and crochet 1 single crochet again. Repeat this 6 times in total.
After finishing, chain 1 and join to the first stitch with a slip stitch. This will form the center of your hat.
Step 2: Begin the First Round
To start the first round:
- Chain 1.
- Single crochet in the next space, chain 1, and single crochet again in the same space.
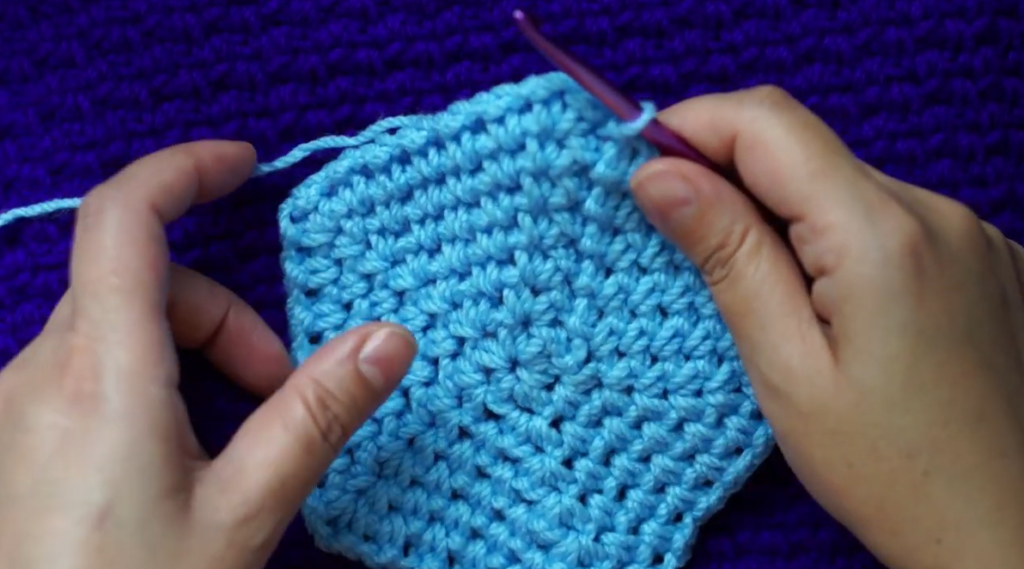
- Continue this pattern around the circle. By the end, you should have 12 single crochets.
Step 3: Build the Rounds
For the second round:
- Chain 1.
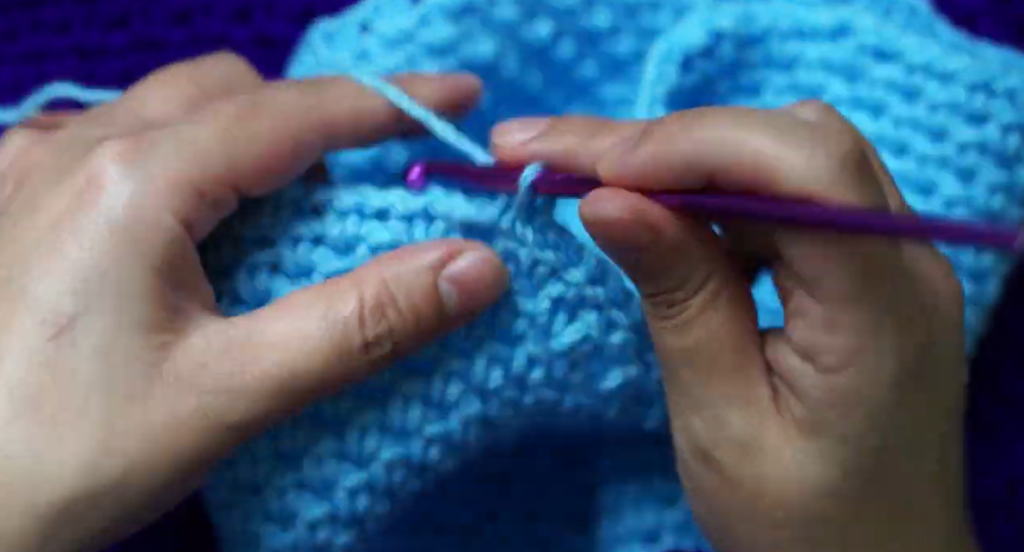
- Single crochet in the next space, chain 1, and single crochet again.
- Work your way around using this pattern, joining with a slip stitch at the end.
For the third round:
- Repeat the same pattern (chain 1, single crochet, chain 1).
- This step helps create the ruffled look of your hat.
Step 4: Shaping the Hat
Keep adding stitches as you move to the next rounds:
- Round 4: Chain 1, single crochet in the next 2 spaces, double single crochet in the next space. Repeat.
- Round 5: Chain 1, single crochet in the next 4 spaces, double single crochet in the next space. Repeat.
- Round 6: Chain 1, single crochet in the next 5 spaces, double single crochet in the next space. Repeat.
At this point, the hat may look a bit hexagonal, but don’t worry, it will round out as you continue.
Step 5: Shape the Beanie (Rounds 7-23)
From round 7 to round 23, continue the pattern:
- Chain 1, single crochet in each space around.
This will give the hat its beanie shape. Stay consistent with the stitch pattern to build the hat’s length.
Step 6: Decrease for the Brim
In round 24:
- Chain 1, single crochet in the next space, chain 1, and keep alternating between single crochets and chain stitches.
- To create the ruffled brim, alternate between double single crochets and regular single crochets in the next spaces.
Step 7: Finish (Rounds 25-31)
For the final rounds:
- Keep repeating the single crochet and chain stitch pattern for 6 more rounds to complete the ruffled brim.
- Finish off with a slip stitch.
Final Step: Fasten Off and Finish
When you reach the end of round 31, finish by making a slip stitch. Weave in any loose yarn ends, and your ruffle bucket hat is done!
Final Thoughts
This ruffle bucket hat is a great crochet project for all skill levels. It’s a cute, stylish hat perfect for any season. You can experiment with different yarn colors to make it uniquely yours. Enjoy making your new favorite accessory!

