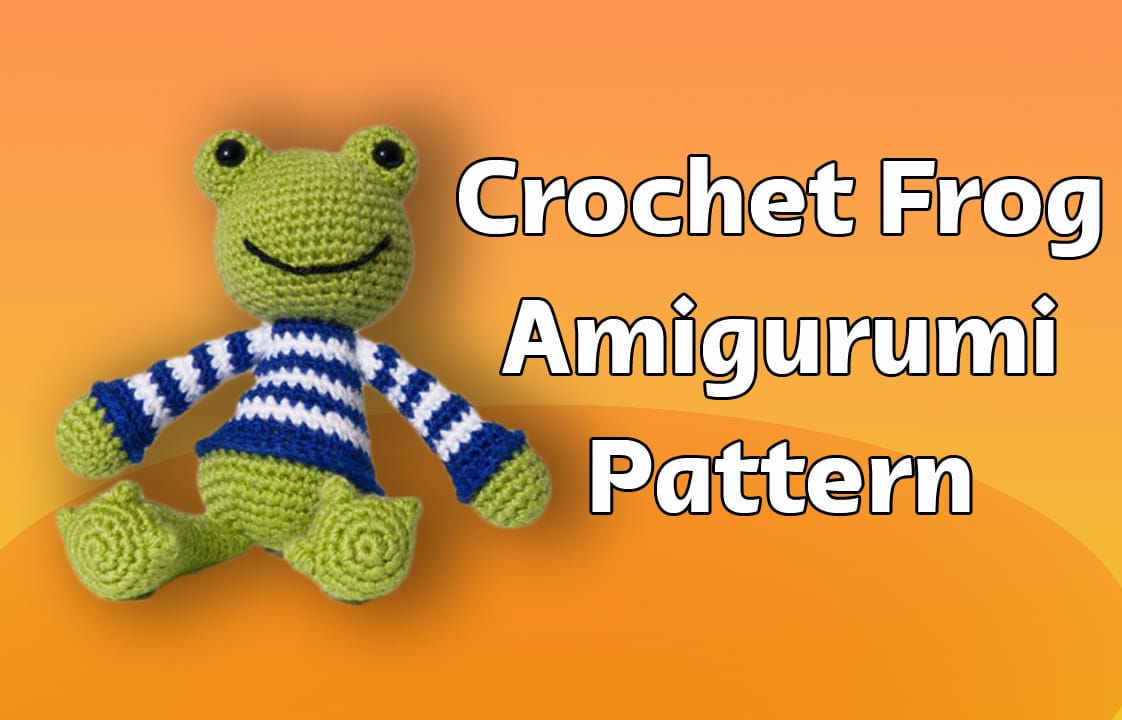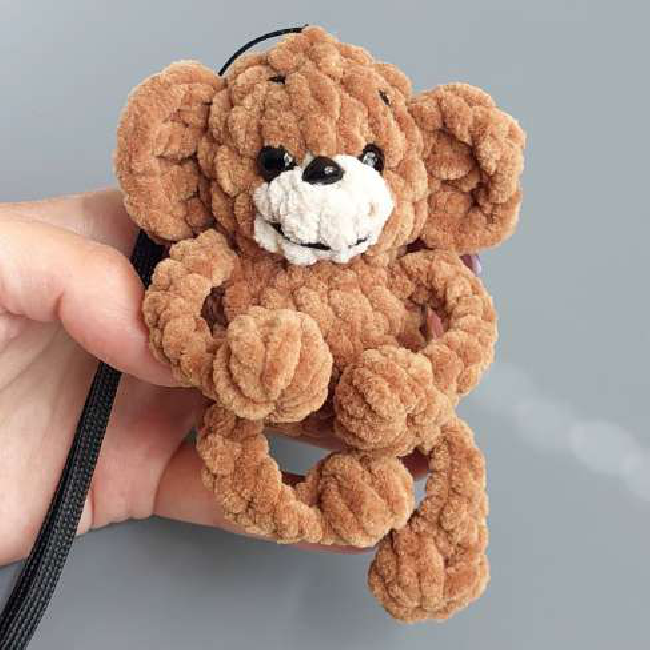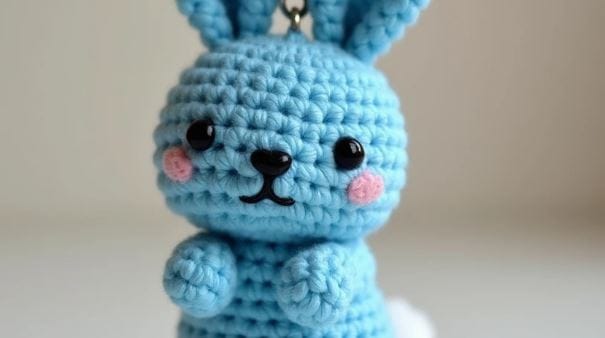
Blue Bunny Keychain Free Crochet pattern
(This piece forms the entire head/body of the bunny. Later you’ll sew on the facial details and attach the appendages. For a balanced look, the finished piece should be roughly 3–3.5 cm in height—a cute size for a keychain.)
- Round 1: With Pastel Blue yarn, make a magic ring. Work 6 sc into the ring. (6 stitches)
- Round 2: Inc in each stitch around: 2 sc in each of the 6 stitches. (12 stitches)
- Round 3: Sc in next stitch, Inc in next stitch around. (18 stitches)
- Round 4: Sc in the next 2 stitches, Inc in next stitch around. (24 stitches)
• Before closing this round, mark two stitches opposite each other (approximately stitch 8 and stitch 16) and, following your safety eye manufacturer’s instructions, insert the two black plastic eyes between the rounds so that they are evenly spaced on the front of the bunny’s face. - Round 5: Sc in each of the 24 stitches. (24 stitches)
- Begin shaping the “crown” of the head:
Round 6: Sc in next 2 stitches, then Dec over next 2 stitches around. (This should yield roughly 18 stitches.) - Stuff the head firmly with fiberfill.
- Round 7: Sc in next stitch, then Dec over next 2 stitches around. (Approximately 12 stitches remain.)
- Fasten off, leaving a long tail for sewing later. Use your tapestry needle to weave the opening closed completely. • Facial Embellishments:
– Once your head is assembled and lightly stuffed, use a small amount of black embroidery thread to stitch a tiny, central nose just below the safety eyes.
– With a fine tip and pink thread, add a small curved “blush” on each cheek—just a light dab is enough.
─────────────────────────────
Part 2: Arms (Make 2 – left and right)
(These cute little arms are designed to be slightly raised, as in the image.)

- Using Pastel Blue yarn, create a small tube for each arm.
a. Begin with a magic ring, working 6 sc into the ring. (6 stitches)
b. Round 2: Sc in each stitch (6 stitches).
c. Round 3: Sc in each stitch (maintain 6 rounds total if you desire an arm length of about 1.5–2 cm). - Fasten off, leaving a long tail for sewing.
- Lightly stuff each arm with fiberfill so they hold their gentle “raised” shape.
- Position and sew each arm to the sides of the body (around the upper/mid section), angling them slightly upward for a playful, inviting look.
─────────────────────────────
Part 3: Legs (Make 2 – left and right)
(These are very similar in construction to the arms but slightly shorter.)
- With Pastel Blue yarn, form a magic ring and work 6 sc into the ring. (6 stitches)
- Round 2: Sc in each stitch (6 stitches).
- Fasten off leaving a long tail.
- Optional: You may add a touch more stuffing if you prefer them plumper.
- Sew each leg to the bottom of the body, positioning them so the bunny sits upright.
─────────────────────────────
Part 4: Ears (Make 2)
(The ears are longer than the head and are made in two layers: an outer ear in Pastel Blue and an inner “lining” in Light Blue.)
Outer Ear:
- With Pastel Blue yarn, chain 2. (These two chains form the base, and the loop counts as the first sc if you prefer a magic ring alternative.)
- Round 1: Work 4 sc into the second chain. (4 stitches)
- Round 2: Turn; in the first stitch, work 2 sc (an increase), then work 1 sc in each of the next 2 stitches, and 1 sc in the final stitch. (5 stitches)
- Round 3: Sc in each stitch. (5 stitches)
- Continue in sc for one more row if you want a bit more length, then fasten off leaving a long tail for sewing.