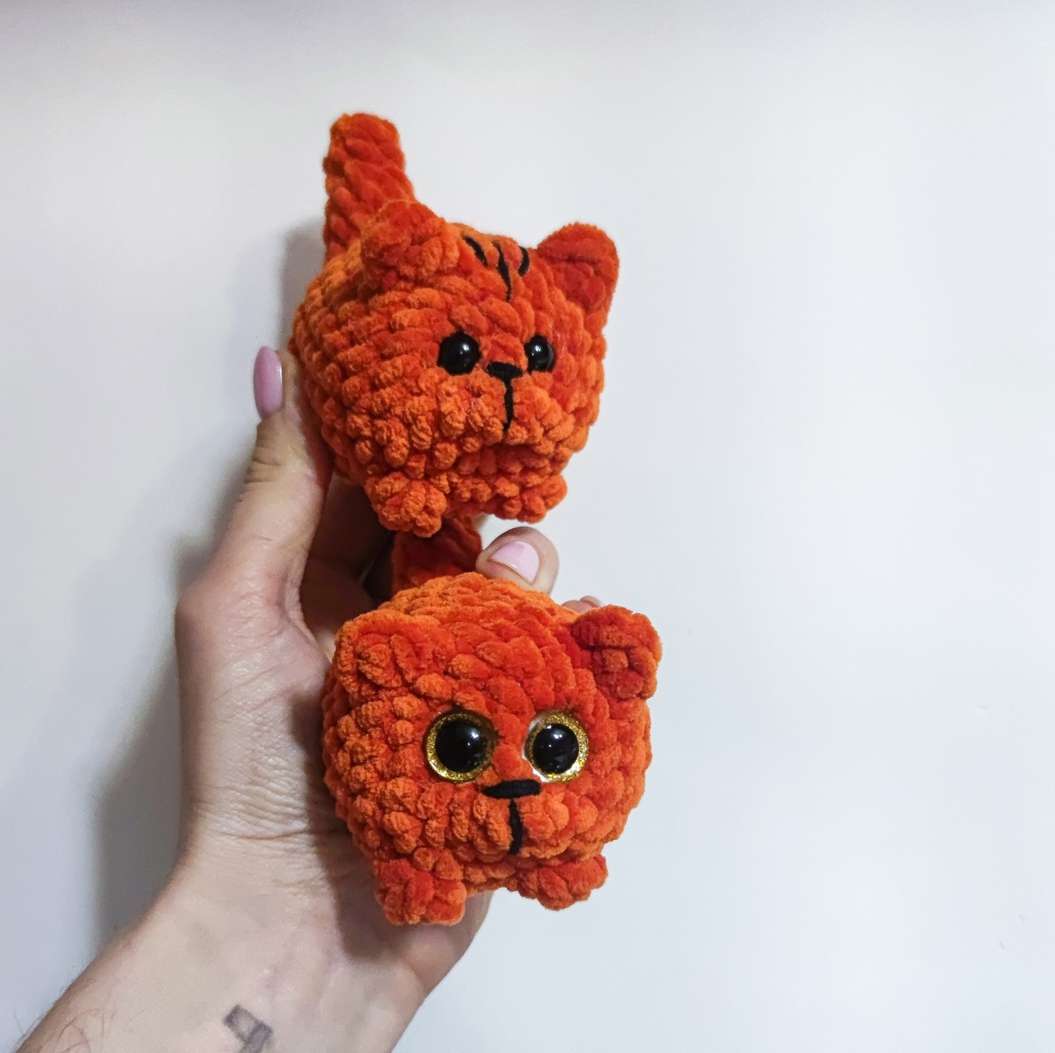
Crochet Adorable Chubby Kittens — Free Pattern!
Looking for a quick and cute project? These plush chubby kittens are perfect for keychains, gifts, or desk buddies. They take very little yarn and come together in just a few rounds!
Materials You Will Need
- Yarn: Any plush or chenille yarn (Weight: Super Bulky/100g/120m). You only need about 15 grams per kitten.
- Hook: 3.5 mm crochet hook.
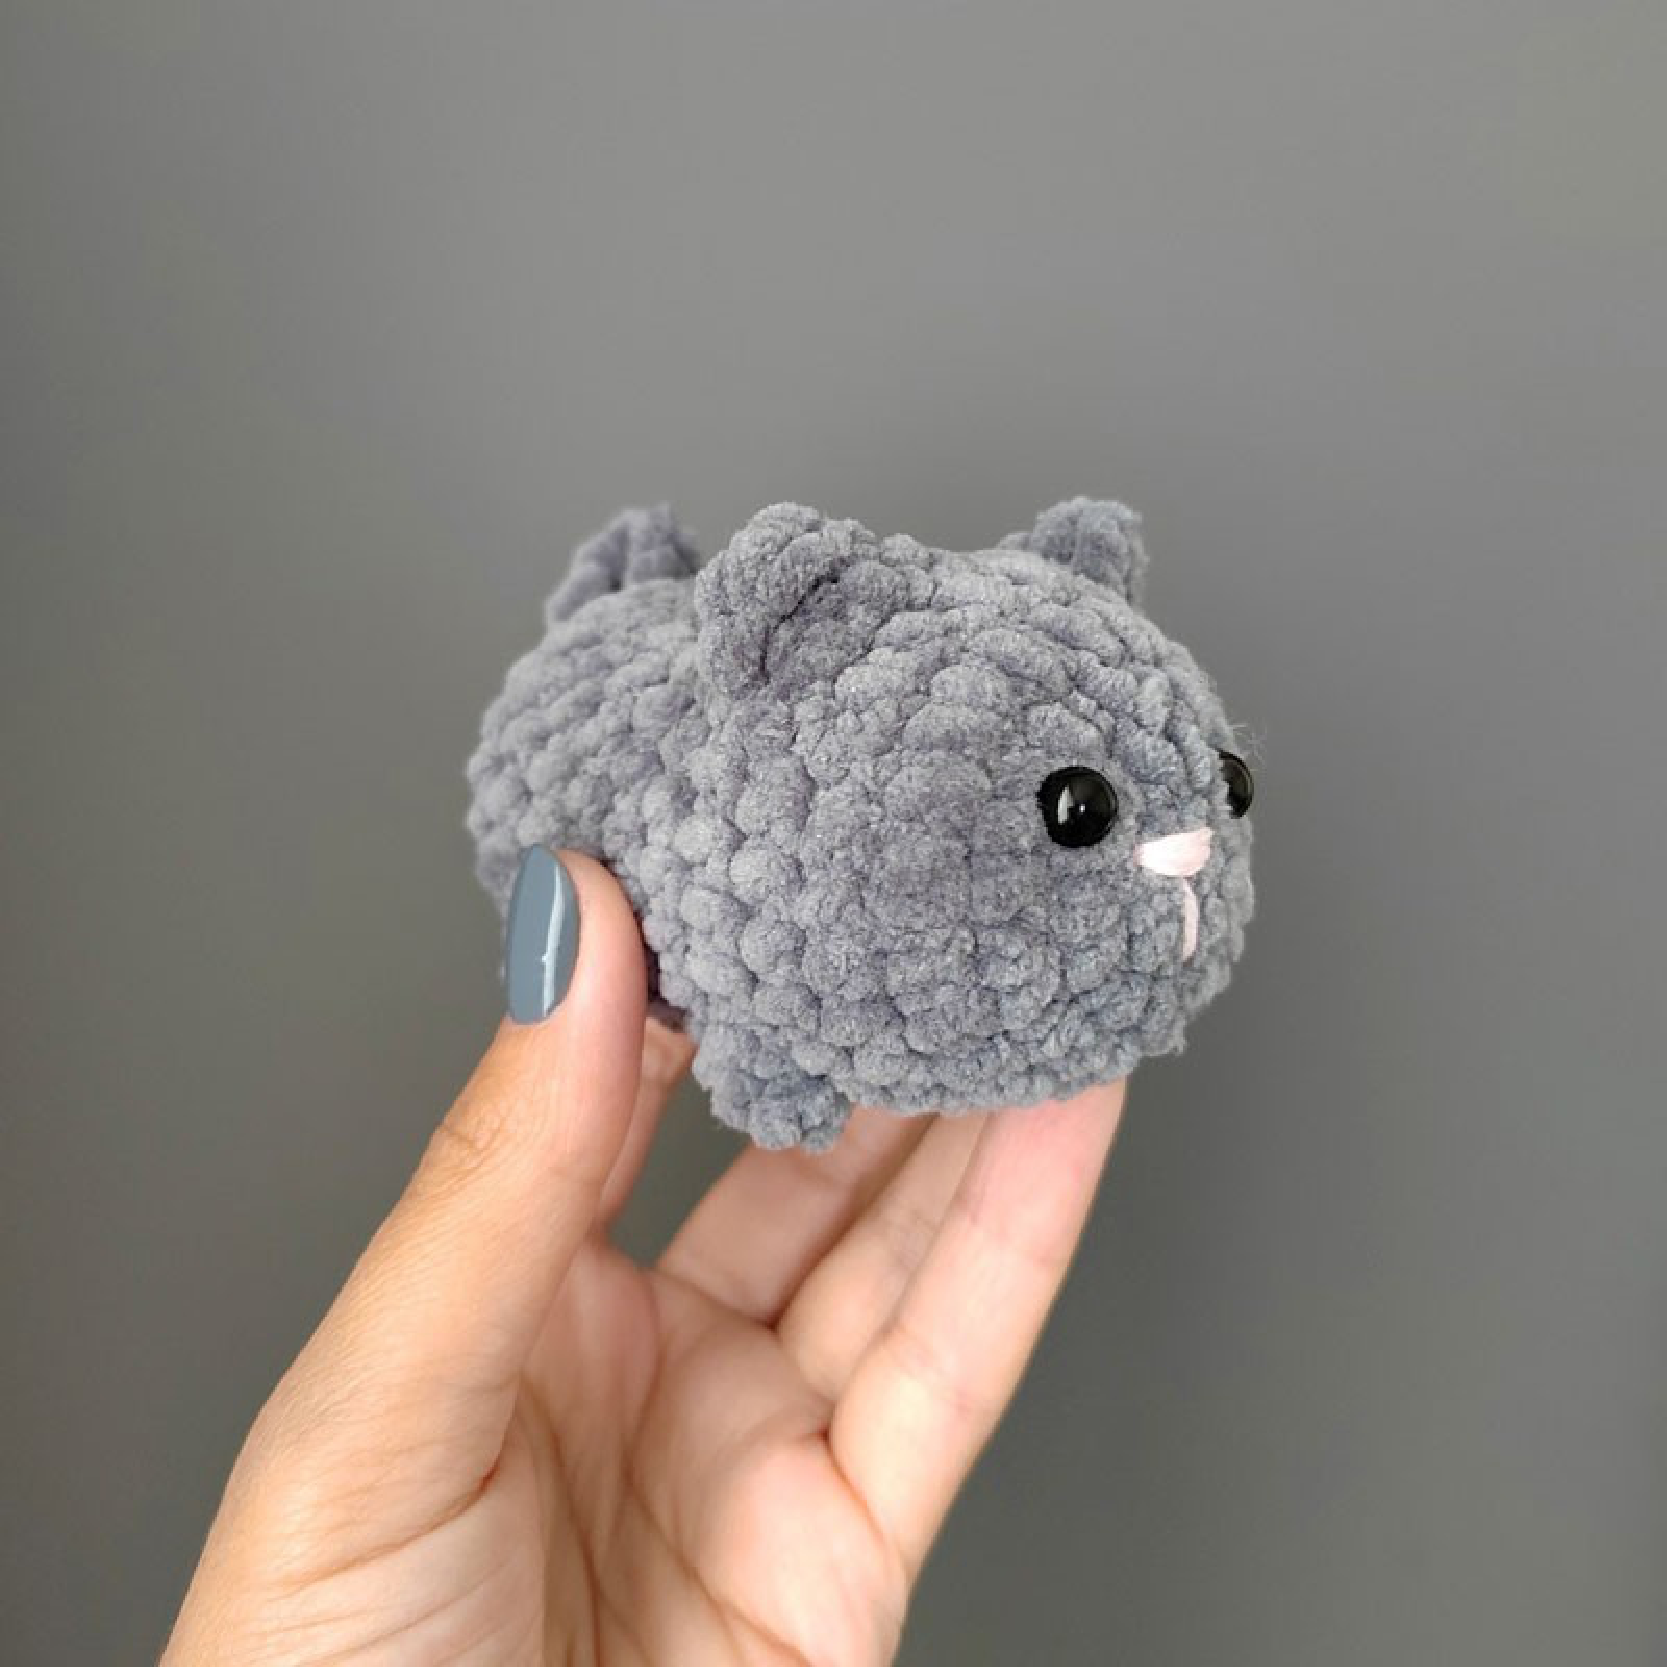
- Eyes: 7 mm safety eyes.
- Other: Fiberfill stuffing, yarn needle, and embroidery thread for the nose.
- Finished Size: Approximately 8 cm long and 5 cm high.
Abbreviations (US Crochet Terms)
- ch: chain
- sc: single crochet
- inc: increase (2 sc in one stitch)
- dec: decrease (sc 2 stitches together)
- hdc: half double crochet
- dc: double crochet
- tr: treble crochet
- FLO: front loop only
- BLO: back loop only
- Bobble: 4-dc bobble stitch (4 dc in 1 stitch with a shared top)
Pattern Instructions
Phase 1: The Head and Ears
Round 1: Start with 6 sc in a magic ring (6)

Round 2: (inc) x 6 (12)
Round 3: (1 sc, inc) x 6 (18)
Round 4: (2 sc, inc) x 6 (24)
Round 5: 24 sc (24)
Round 6 (The Ears): 8 sc, hdc, [1 dc + 1 tr + 1 dc] in the next stitch FLO (Left Ear), hdc, 2 sc, hdc, [1 dc + 1 tr + 1 dc] in the next stitch FLO (Right Ear), hdc, 8 sc (24)
Phase 2: The Body and Front Legs
Round 7: 9 sc, 1 sc in the BLO (the loop left behind the ear), 4 sc, 1 sc in the BLO (the loop left behind the other ear), 6 sc, Bobble (Right Front Leg), 2 sc (24)
Round 8: 2 sc, Bobble (Left Front Leg), 21 sc (24)
Rounds 9 – 10: 24 sc (2 rows total)

Phase 3: Back Legs and Tail
Round 11: 23 sc, Bobble (Right Back Leg) (24)
Round 12: 4 sc, Bobble (Left Back Leg), 19 sc (24)
Round 13: 24 sc (24)
Stop: Insert safety eyes between rows 2 and 3. Space them about one visible increase apart.
Round 14: (2 sc, dec) x 6 (18). Stuff the body firmly with fiberfill.
Round 15 (The Tail): (1 sc, dec) x 4. Now we make the tail: ch 7, then starting from the 2nd loop from the hook, work 6 sc back down the chain. Resume the row: (1 sc, dec) x 2 (12)
*Tip: The tail should be centered on the kitten’s back. Depending on your tension, you may need to add or remove 1-2 sc before starting the chain to get it perfectly straight.
Round 16: (dec) x 6 (6)
Finishing Touches
- Fasten off, leaving a small tail for sewing.
- Using a yarn needle, weave through the front loops of the remaining 6 stitches and pull tight to close the hole.
- Weave in all ends inside the kitten’s body.
- Embroider the nose: Use a pink or black thread to stitch a small “T” or “V” shape between the eyes.
Congratulations! Your chubby kitten is ready for its new home!