Crochet Yoda Amigurumi: Unleash The Force!
Welcome, fellow crochet enthusiasts, to Crochetto! Today, we’re embarking on an exciting crafting journey to bring one of the most beloved characters from a galaxy far, far away to life with your hook and yarn. Get ready to crochet your very own adorable Yoda, a fantastic amigurumi project designed by the talented Galina Burlakova. This pattern is crafted to be clear, engaging, and utterly satisfying to complete, resulting in a charming companion that will surely bring a smile to anyone’s face. Let’s gather our materials and begin this adventure!
Materials Used
- Plush yarn in green and brown colors (100gr/120m)
- Crochet hook suitable for your tension (example: 3.75 mm hook)
- Stitch marker
- Tapestry needle
- Stuffing material
- 10 mm safety eyes
Abbreviations
- MR – Magic Ring
- SC – Single Crochet
- INC – Increase
- DEC – Decrease
- SL ST – Slip Stitch
- CH – Chain
- BLO – Back Loop Only
- FLO – Front Loop Only
- HDC – Half Double Crochet
Body – Head
Crocheting starts from the bottom. Begin with brown yarn.

- 1. 6 MR (6)
- 2. 6 INC (12)
- 3. (SC, INC)*6 (18)
- 4. 18 SC (18) (Next row is worked in BLO)
- 5. 18 SC (18)
- 6. 18 SC (18)
- 7. (4 SC, DEC)*3 (15) (In the next row, we will crochet the arms; they are worked with green yarn)
- 8. 5 SC, ARM (CH 4, starting from the 2nd CH from hook, 3 SC and SL ST into the base stitch), 7 SC, ARM, 3 SC (15)
- 9. (3 SC, DEC)*3 (12) (In the next row, change from brown to green yarn and work in BLO)
- 10. 12 INC (24)
- 11. 24 SC (24)
- 12. 24 SC (24)
- 13. 24 SC (24) (3 rows total)
- 14. (2 SC, DEC)*6 (18)
- 15. (SC, DEC)*6 (12)
- 16. 6 DEC (6)
Cut the yarn, fasten off, weave in the tail.
Collar Note: In row 10, using the remaining front loops, work 12 SC with brown yarn. This will be the collar.
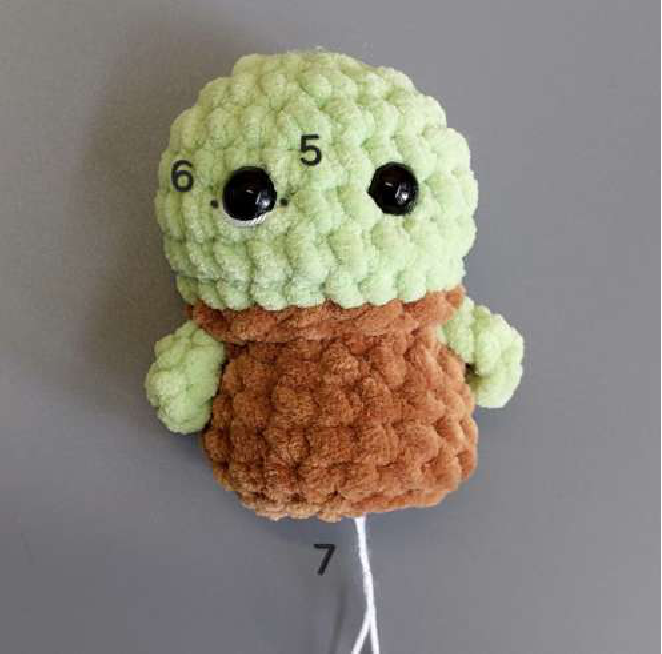
Crocheting the Ears
Left Ear
Join green yarn between rows 11 and 12, opposite the arm, and crochet into the next row (between rows 12 and 13), all into one stitch: HDC. Make CH 2: SL ST into the 2nd CH from hook, then another HDC and SL ST into the base stitch. Cut the yarn, fasten off, weave in the tail.
Right Ear
Crochet similarly to the left ear, but join the yarn between rows 12 and 13, and crochet between rows 11 and 12.
Finishing Touches
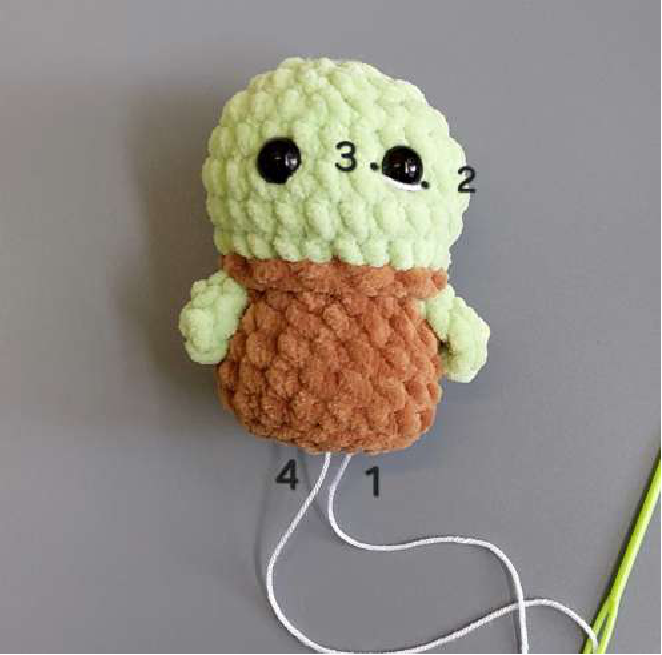
Insert the eyes between rows 12 and 13.
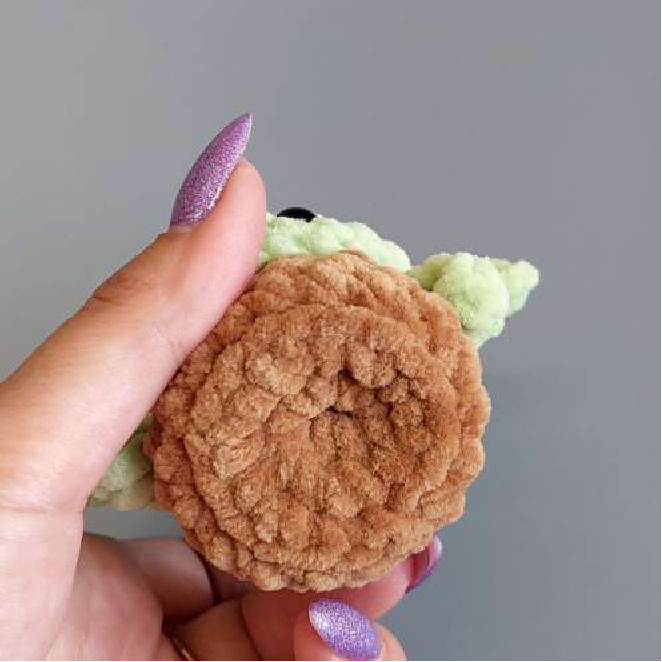
Create an indentation as shown in the photo below.
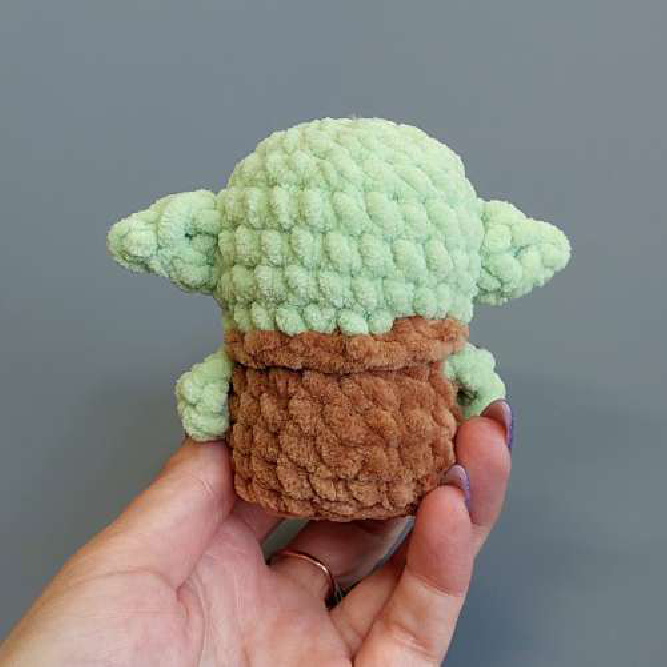
Embroider the nose with a couple of stitches using green yarn.
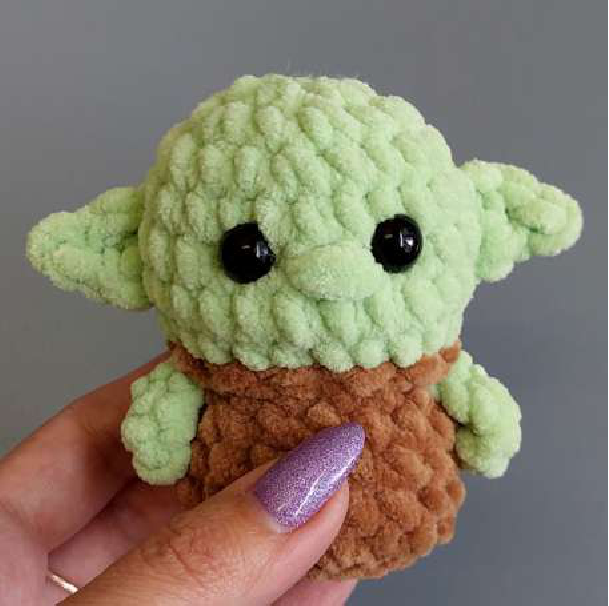
Our Yoda is ready!
Congratulations on completing your adorable Yoda amigurumi! We hope you loved every stitch of this journey. Don’t forget to share your finished creation with us on social media using #CrochettoYoda – we can’t wait to see your unique take on this beloved character. Happy crocheting, and keep those hooks busy!