Crocheting a Knotted Baby Hat
Crocheting a Knotted Baby Hat: A Charming Keepsake
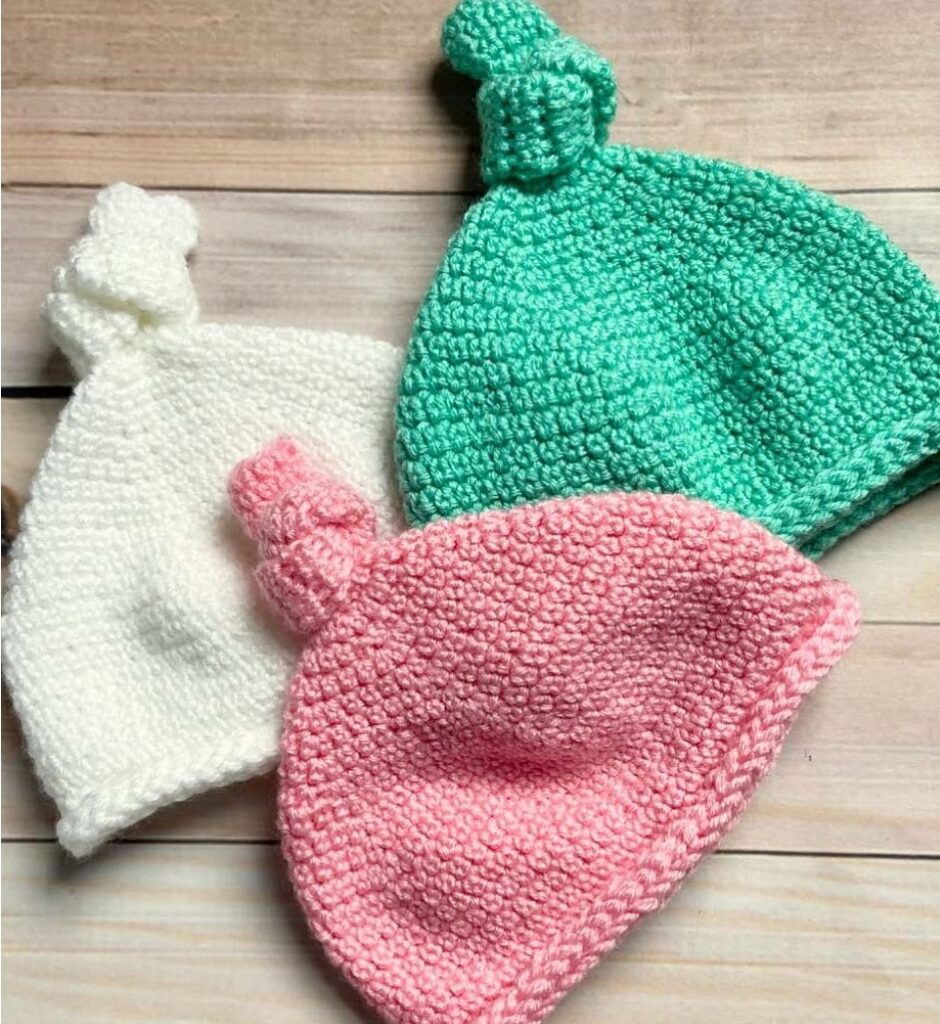
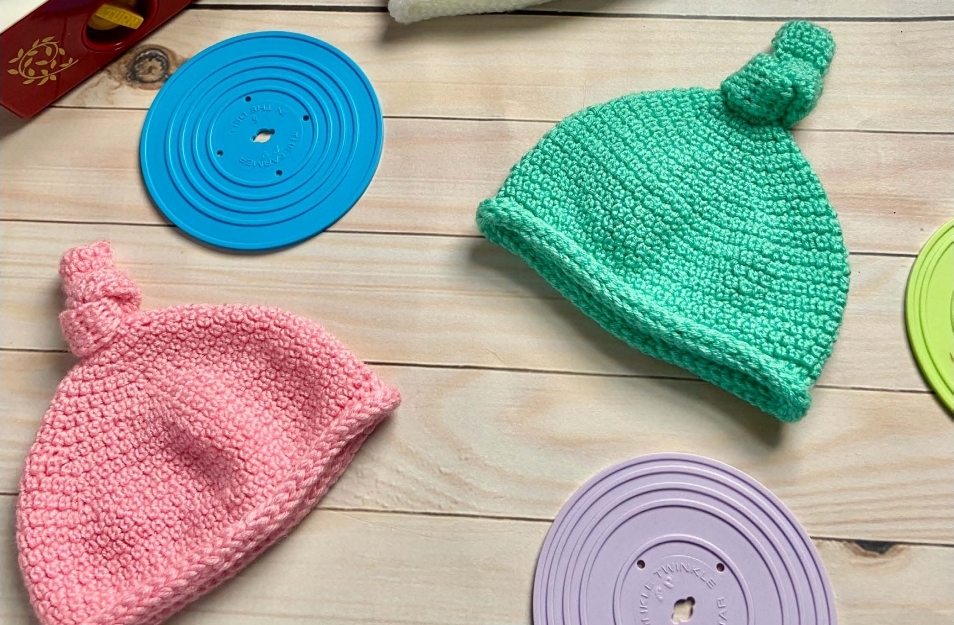
Creating a knotted baby hat not only offers a sense of accomplishment but provides a precious, handmade gift for the little ones in your life. With the right tools and step-by-step guidance, anyone can craft this heartfelt accessory.
Understanding the Basics of Crocheting
Before diving into creating a knotted baby hat, it’s essential to understand the basic terminology and tools used in crocheting. This knowledge forms the foundation of every crochet project, making it both enjoyable and successful.
Essential Crochet Supplies
To start, you need the right tools. Here’s a simple list:
- Yarn: Opt for soft, baby-friendly yarn. Learn more about choosing the best yarn for baby hats.
- Crochet Hooks: For baby hats, a size G (4.0 mm) or H (5.0 mm) is usually recommended.
- Tapestry Needle: Handy for weaving in loose ends.
- Stitch Markers: Essential for marking and tracking your rounds.
Basic Crochet Stitches to Master
Understanding some basic stitches is crucial before you begin. Here are a few:
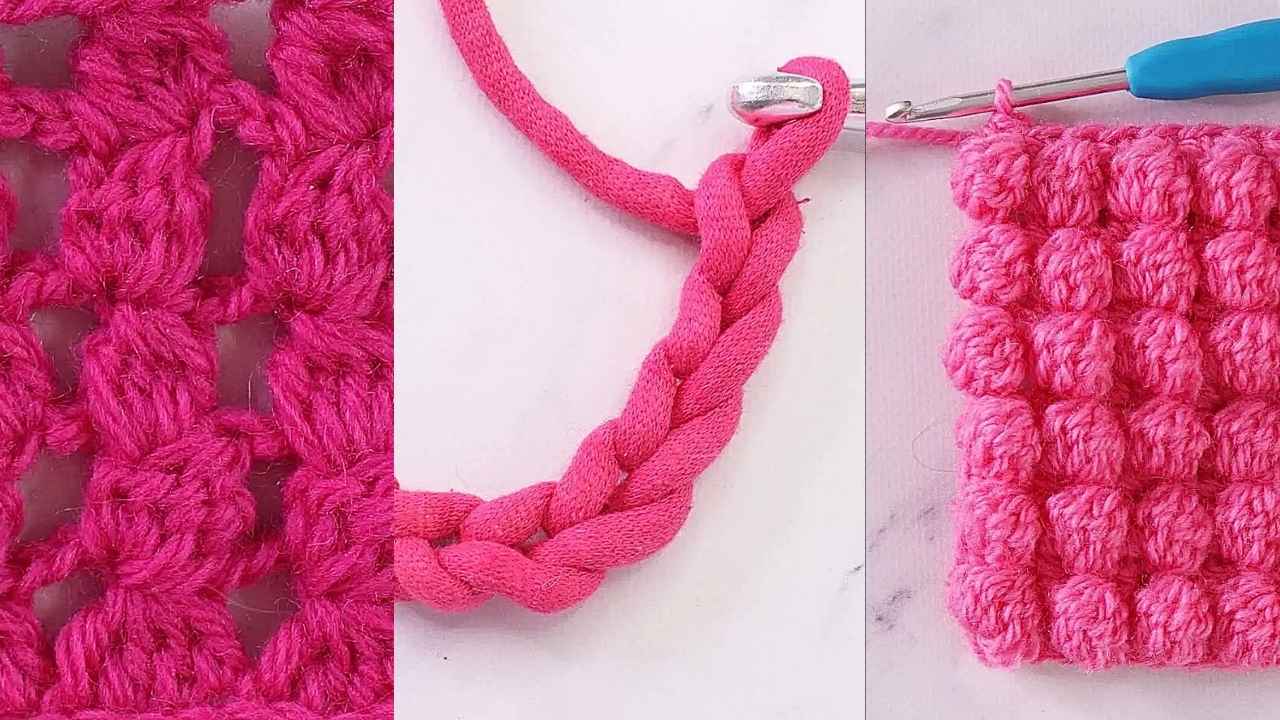
- Chain Stitch (ch): The foundation of most projects. It’s the starting point.
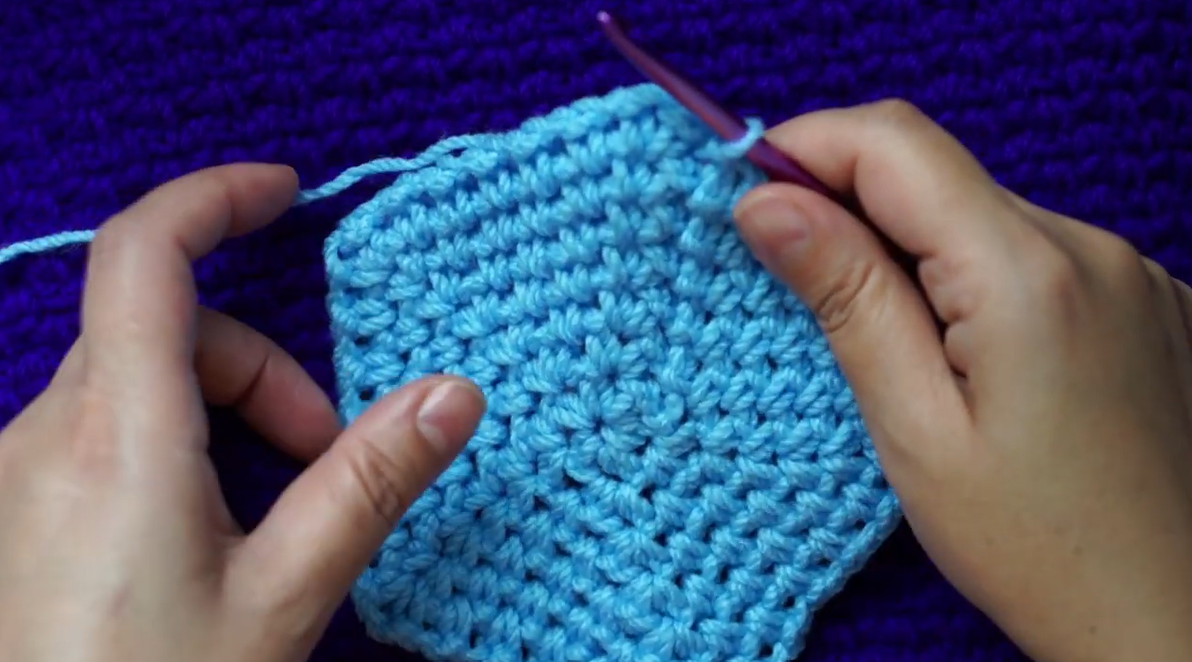
- Single Crochet (sc): A versatile stitch forming the fabric of your work.
- Slip Stitch (sl st): Essential for joining rounds and finishing off projects.
For a detailed explanation of these stitches, check out these basic crochet stitches.
Step-by-Step Guide to Crocheting a Knotted Baby Hat
Now, let’s transform those yarns into a knotted baby hat.
Starting with the Foundation Chain
First, you’ll create a foundation chain, usually 30-35 chains long, depending on the size you desire. This chain forms the base of your baby hat.
Creating the Hat Body
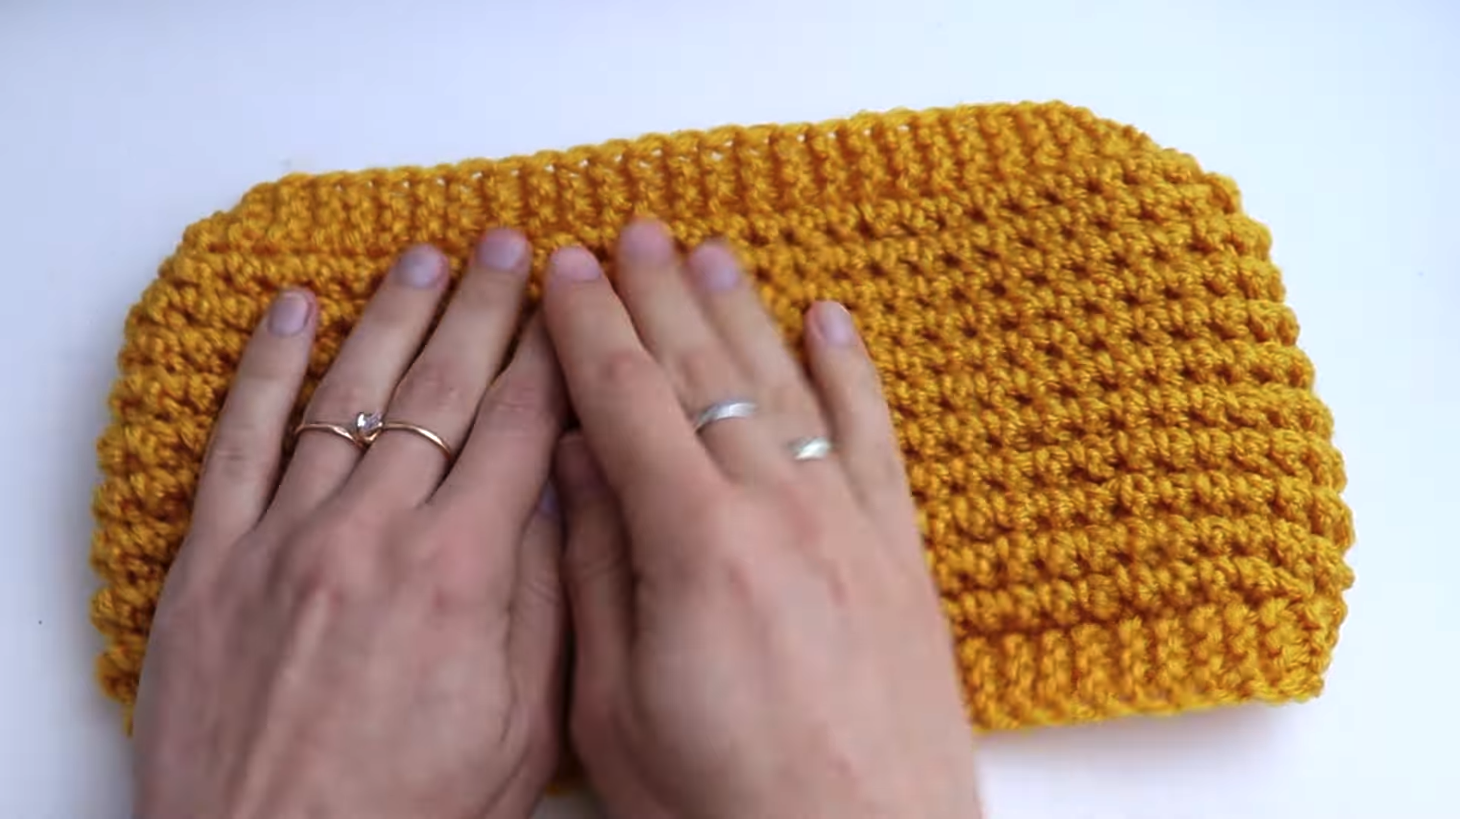
From the foundation chain, you’ll begin creating the body of the hat using single crochet stitches. Work in continuous rounds, increasing stitches gradually to form a dome shape suitable for a baby’s head.
Shaping the Knot
Next comes the cute top knot! As you reach the desired height, you’ll decrease stitches to form a narrow tube. This part will be tied into a knot.
Finishing Touches
Finally, finish your work by weaving in all ends with a tapestry needle. Consider adding small, safe embellishments for a personalized touch.
Helpful Video Tutorials
Visual aids can be invaluable as you learn to crochet. Here are some recommended YouTube tutorials:
Top Knot Baby Hat Tutorial
30-Minute Crochet Baby Hat Guide
If you’re pressed for time, this quick crochet guide offers a simple, speedy method to make a baby hat.
Tips for New Crocheters
Here are some handy tips to keep your crochet adventure smooth and enjoyable.
Choosing the Right Yarn
When choosing yarn, softness and safety are key. Cotton or acrylic yarn tends to be the best yarn for baby hats, ensuring comfort and ease.
Practice and Patience
Crocheting is a skill honed over time. Be patient and practice consistently, and you’ll soon see improvement.
Conclusion
Completing a knotted baby hat is incredibly satisfying. Not only do you hone a skill, but you create something filled with love and care. Share your completed hats with family and friends or consider donating them to hospitals or charities. Happy crocheting!

