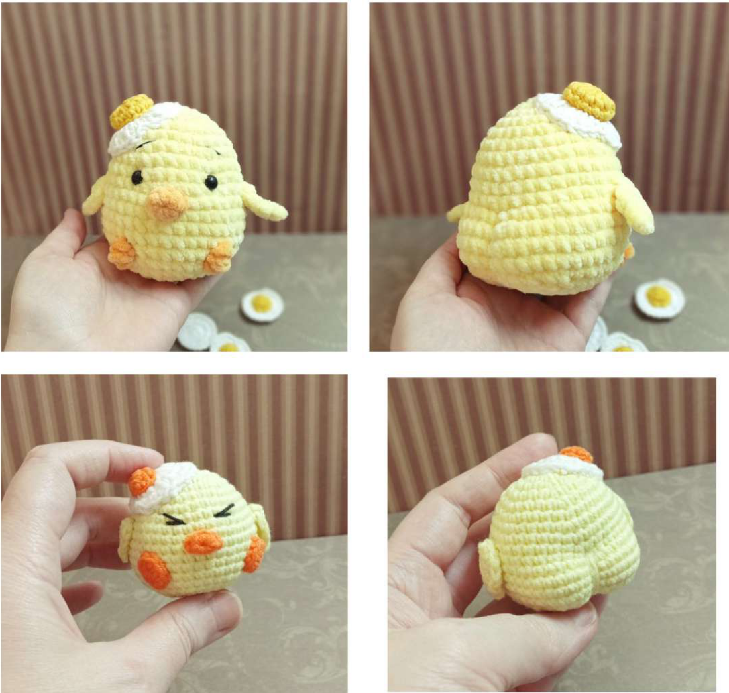
Hatch a Cute Crochet Chick: Free Pattern
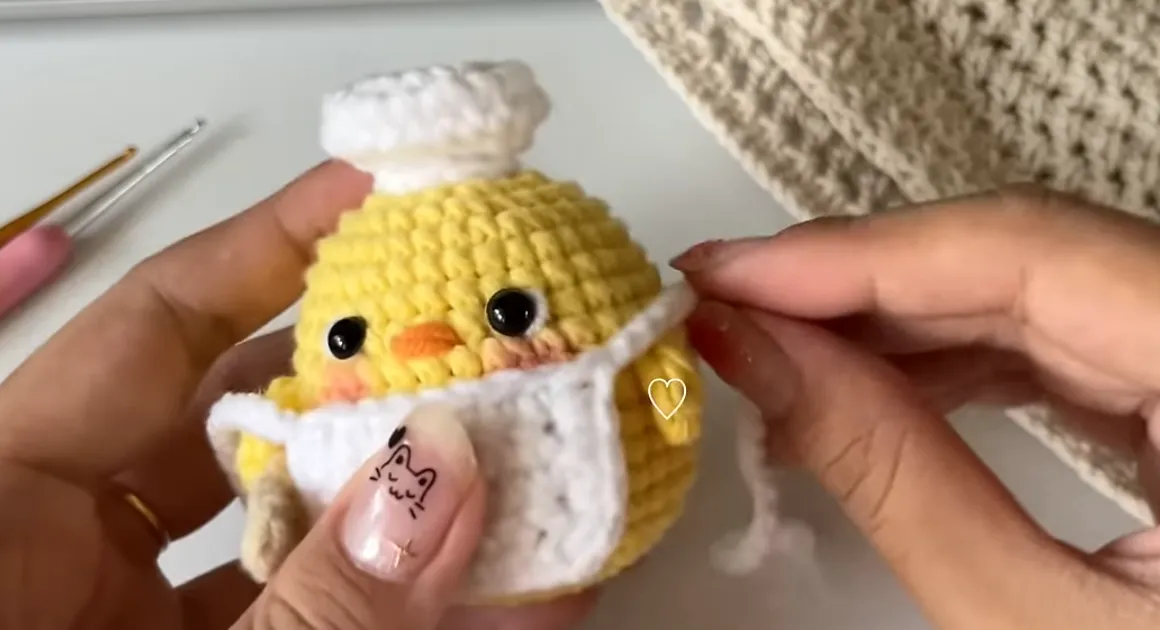
Spring is in the air, and what better way to celebrate new beginnings than with an adorable, handmade crochet chick nestled perfectly in its own little egg? This delightful project, designed by the talented Marina Shulakova, is perfect for adding a touch of whimsy to your home decor, gifting to a loved one, or simply enjoying the meditative process of bringing a cute amigurumi to life. Whether you’re an experienced crocheter or looking for a fun new challenge, our detailed, easy-to-follow pattern will guide you every step of the way. Get ready to create a truly special little companion!
Tools and Materials
Tools List:
- Hook suitable for the chosen yarn
- Filler (synthetic winterizer or holofiber)
- Scissors
- Needle with a large eye (to hide ends), regular needle
- Sewing thread matching the main yarn (or white) – for sewing the egg
Materials List:
For the Plush Chick:
- WOLANS Bunny baby yarn light yellow and a little yellow (for the beak and paws)
- YarnArt Jeans Plus yarn in yellow and white – for the egg
- Black yarn for embroidering eyebrows
- Sew-on eyes 9 mm – 2 pcs
For the Small Chick:
- YarnArt Jeans yarn light yellow and orange
- YarnArt Jeans yarn white and orange – for the egg
- Black yarn for embroidering eyes and eyebrows
Abbreviations
- MR – magic ring
- Inc – increase
- Dec – decrease
- Ch – chain stitch
- Dc – double crochet
- Sc – single crochet
- Sl st – slip stitch
Chick’s Head Pattern
Let’s begin crocheting the head for our adorable chick:

- Row 1: 6 sc in MR
- Row 2: 6 inc = 12
- Row 3: (sc, inc) 6 times = 18
- Row 4: (2 sc, inc) 6 times = 24
- Row 5: (3 sc, inc) 6 times = 30
- Row 6: 30 sc
- Row 7: (4 sc, inc) 6 times = 36
- Rows 8 – 10: 36 sc
- Row 11: 12 sc, (sc, inc) 6 times, 12 sc = 42
Visually this row will be slightly different, but to make sure you don’t get lost, you can mark the middle with a marker – this is where we will make the indentation. I marked it with a white thread. My black thread is instead of a marker for the beginning of the row.
- Rows 12 – 14: 42 sc
- Row 15: 12 sc, (sc, dec) 6 times, 12 sc = 36
Here you can see that one side is slightly more convex (where the white marker thread is)
- Row 16: (4 sc, dec) 6 times = 30
- Row 17: (3 sc, dec) 6 times = 24
- Row 18: (2 sc, dec) 6 times = 18
Now you can add stuffing, but not too tightly – so that it doesn’t interfere with crocheting.
- Row 19: (1 sc, dec) 6 times = 12
- Row 20: 6 dec = 6
Cut the thread, leaving a tail for pulling the opening closed. If crocheting not with plush yarn – leave the tail longer (approx. 40 – 50 cm), as we will use it to shape the chick’s bottom.
Shaping the Chick’s Bottom
If you’re crocheting a chick from plush yarn, we recommend shaping the bottom with a thinner and stronger yarn of a matching color, because plush yarn might tear when pulling tight.
Using tweezers or a stick, add stuffing through the small opening and pull it closed. Make an indentation – shape the chick’s bottom.
In the photo, the red line marks the indentation spot. After pulling the opening closed, make a couple of securing stitches and pull the thread end out opposite the white marker thread (middle of row 11) approximately 1 row from the opening.
If crocheting with plush yarn – hide the thread end inside the body. Take a thinner and stronger thread matching the main yarn and insert it not far from the opening and also pull it out about 1 row from the opening opposite the white marker thread.
Turn the body upside down and insert the needle into the middle of row 11 (remove the marker thread) – point 1 – and pull it out at point 2 (the place where you pulled out the end after closing the opening). Make sure the thread lays in the middle, pull tight. Repeat one more time.
The result should look like this:
Secure the thread and hide it inside the body.
Additional Parts
Beak:
- 6 sc in MR, sl st. Cut the thread, hide the ends. Fold the resulting circle in half.
Legs (2 pcs):
For the YarnArt Jeans Chick:
- Chain 3 ch, starting from the 2nd loop from the hook work 1 sc, 4 sc in 1 stitch, 1 sc, sl st. Cut the thread, hide the ends.
For a Plush Yarn Chick:
The legs can be crocheted directly into the body. To do this, insert the hook where the leg should be, grab the yarn and pull up a loop (leave enough of the starting thread end to tie a knot and hide it inside the body), chain 3 ch., in the same spot work 3 incomplete dc, pull all loops on the hook together, cut the thread and tie it with the first end (the stitches will fold in half).
Wings (2 pcs):
- Chain 4 ch, starting from the 2nd loop from the hook, work 2 sc, (2 sc, picot, 2 sc) in 1 stitch, 2 sc, sl st, cut thread, hide ends.
Egg:
White Part:
- 13 dc in MR. If it seems small, add another row: (sc, inc) to the end of the row. Cut the thread, secure and hide the end.
Yolk:
- Row 1: 6 sc in MR
- Row 2: 6 sc
Cut the thread, hide the end.
Assembly
- Sew the yolk to the white with sewing thread.
- Mark the position of all parts with pins.
- Sew on the legs, wings, and beak.
- Sew the egg onto the head.
- Sew on (or embroider) the eyes.
- Embroider the eyebrows.
We hope you thoroughly enjoyed crocheting this adorable little chick with its egg! It’s such a rewarding project that brings joy to both the maker and the recipient. We love seeing your unique creations, so please share your finished chicks on social media and tag Crochetto! Your stitches inspire us all. Happy crocheting!
Find Amazing Free Crochet Patterns on Crochetto

“`