How to Crochet a Beginner-Friendly Beanie: Step-by-Step Guide for Beginners
Want to make your own cozy beanie? This beginner-friendly tutorial will show you how to crochet a stylish beanie using simple single crochet stitches. Follow this easy guide for everything you need, including materials, techniques, and tips for getting a snug fit. Perfect for first-time crocheters!
Materials You’ll Need
To crochet this beanie, gather the following supplies:
- Yarn: Choose your favorite yarn weight. For this tutorial, we’re using 100% acrylic yarn.
- Crochet Hook: Use the hook size recommended on your yarn’s label. A 5 mm crochet hook works well for this project.
- Tape Measure: Optional but helpful for measuring the beanie’s length.
- Scissors: To cut the yarn when needed.
- Yarn Needle: For sewing the top of the beanie closed.
- Stitch Markers: These will help you keep track of your stitches, especially when working in rows.
Step-by-Step Instructions
1. Make a Slip Knot and Chain
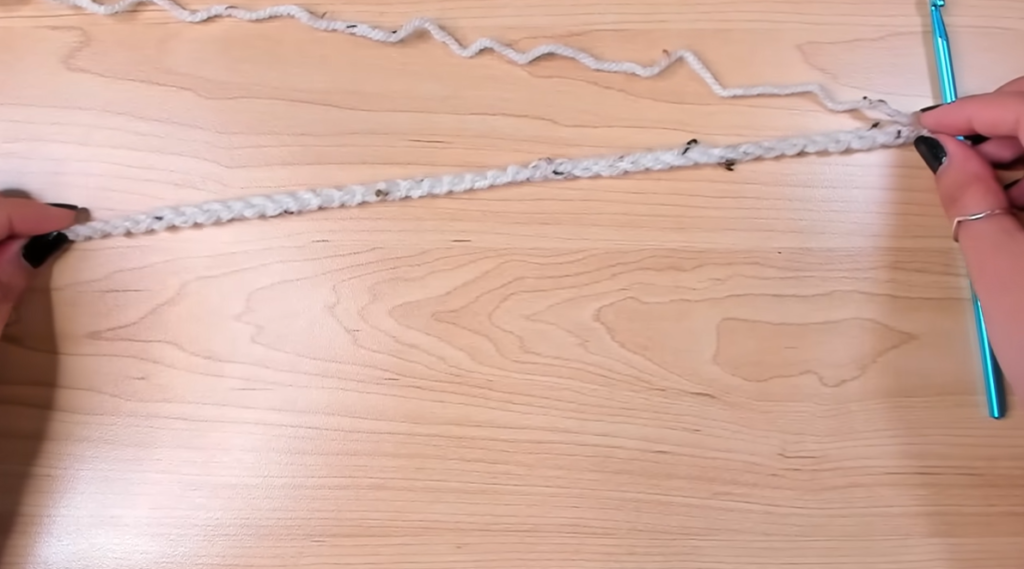
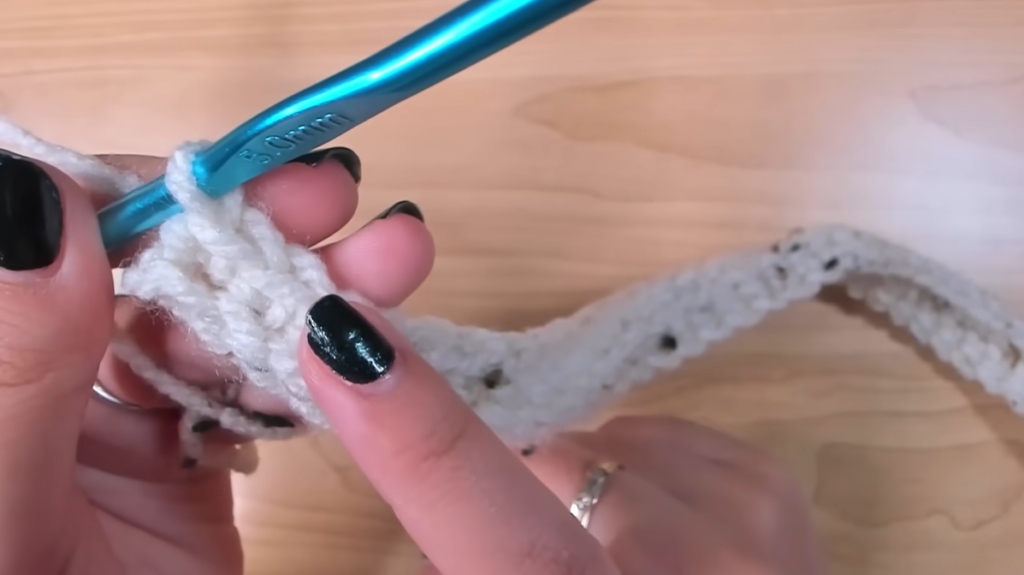
Begin by making a slip knot on your crochet hook. Then, create a chain that will be the beanie’s length, including the brim. In this tutorial, chain until your work measures about 12 inches. This may vary depending on your yarn, hook size, and tension, so feel free to adjust the chain length as needed.
2. Start Row One with Single Crochet
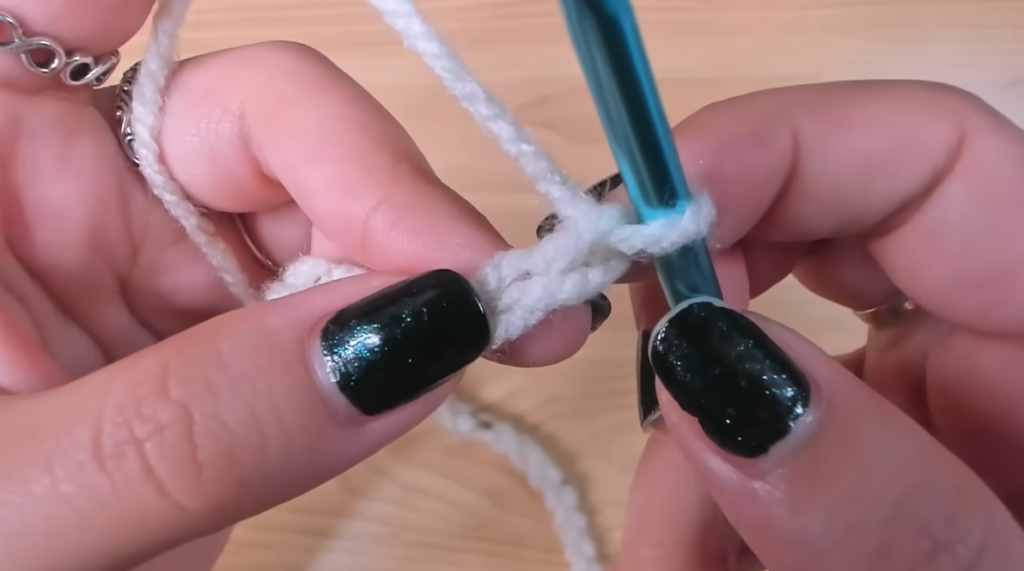
Once you’ve reached the desired chain length, chain one more to begin your first row. Put your crochet hook into the second chain from your hook, making sure to go into the back loop. Yarn over, pull through, then yarn over again and pull through both loops on the hook to complete a single crochet stitch. Repeat this across the row, working into the back loop of each stitch.
3. Continue with Row Two and Beyond
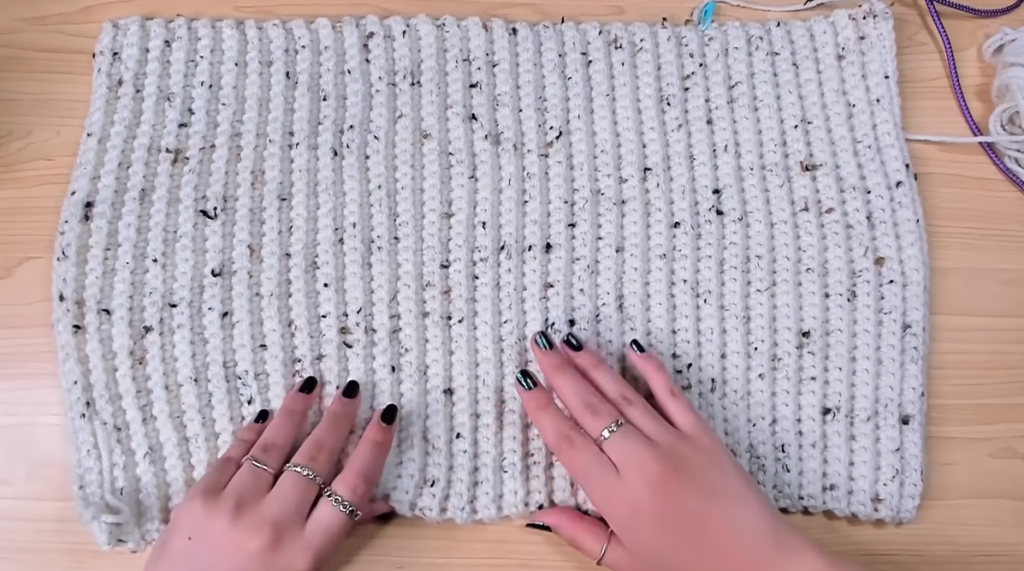
At the end of the row, chain one, turn your work, and repeat the single crochet stitch into the back loop only. This creates a ribbed texture, giving your beanie its stretch. Mark the first stitch of each row with a stitch marker to track your progress. Keep crocheting in the back loop for each row until your beanie is long enough to wrap around your head. This will usually take about 66 rows, but adjust based on your tension and the fit you want.
4. Join the First and Last Rows
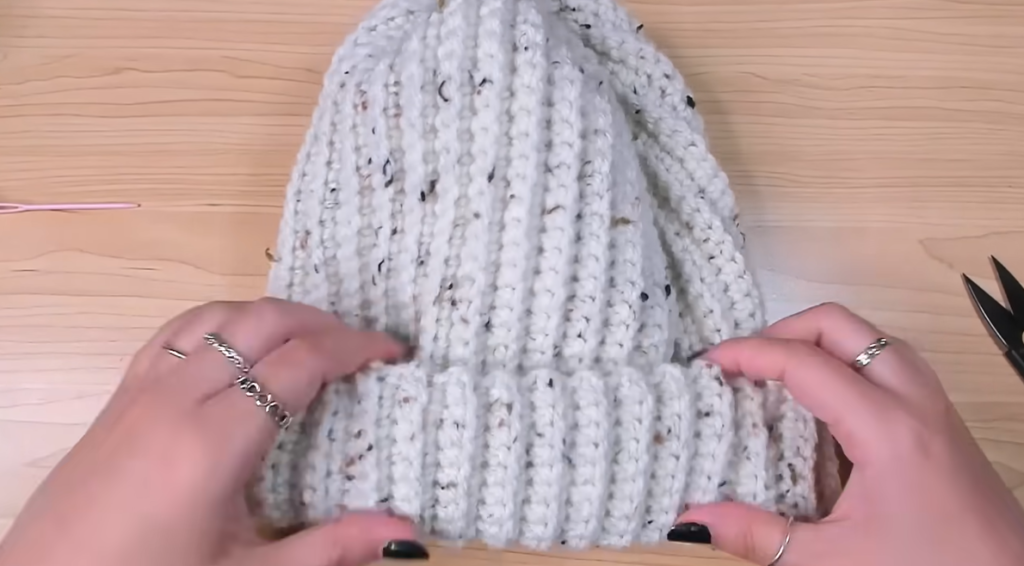
Once your rows are complete, join the first and last rows to create a tube shape. Slip stitch the first 10 stitches together to form the brim. Turn the piece inside out, then continue slip stitching the remaining stitches to form a hidden seam inside the beanie.
5. Close the Top of the Beanie
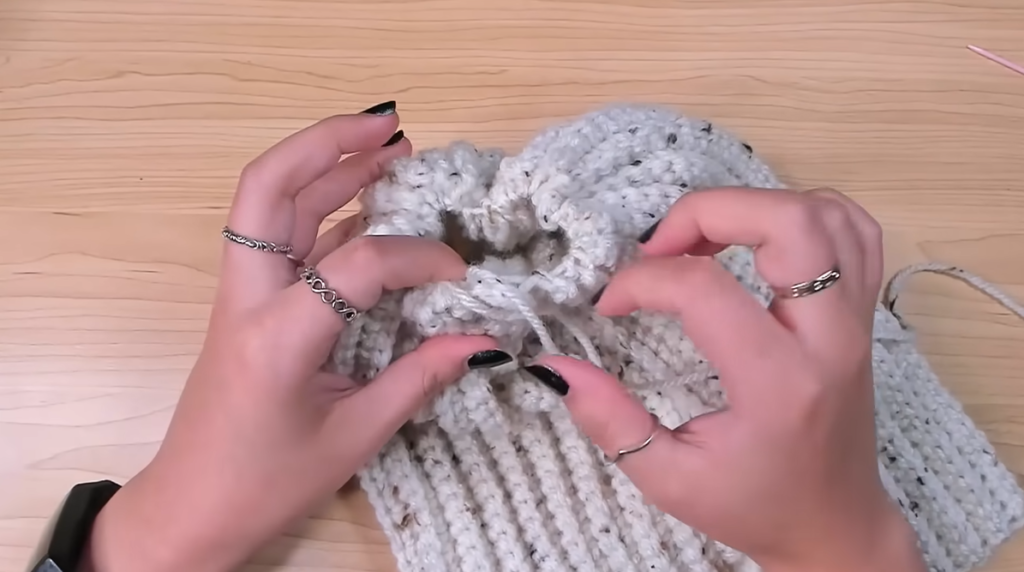
Leave a yarn tail around 20 inches long. Use a yarn needle to weave the tail in and out around the top edge of the beanie. Once you’ve woven around the entire top, pull the yarn tightly to cinch the top closed. Knot the yarn securely, then fasten off and trim any excess. Turn the beanie right-side out for a neat finish.
6. Final Touches
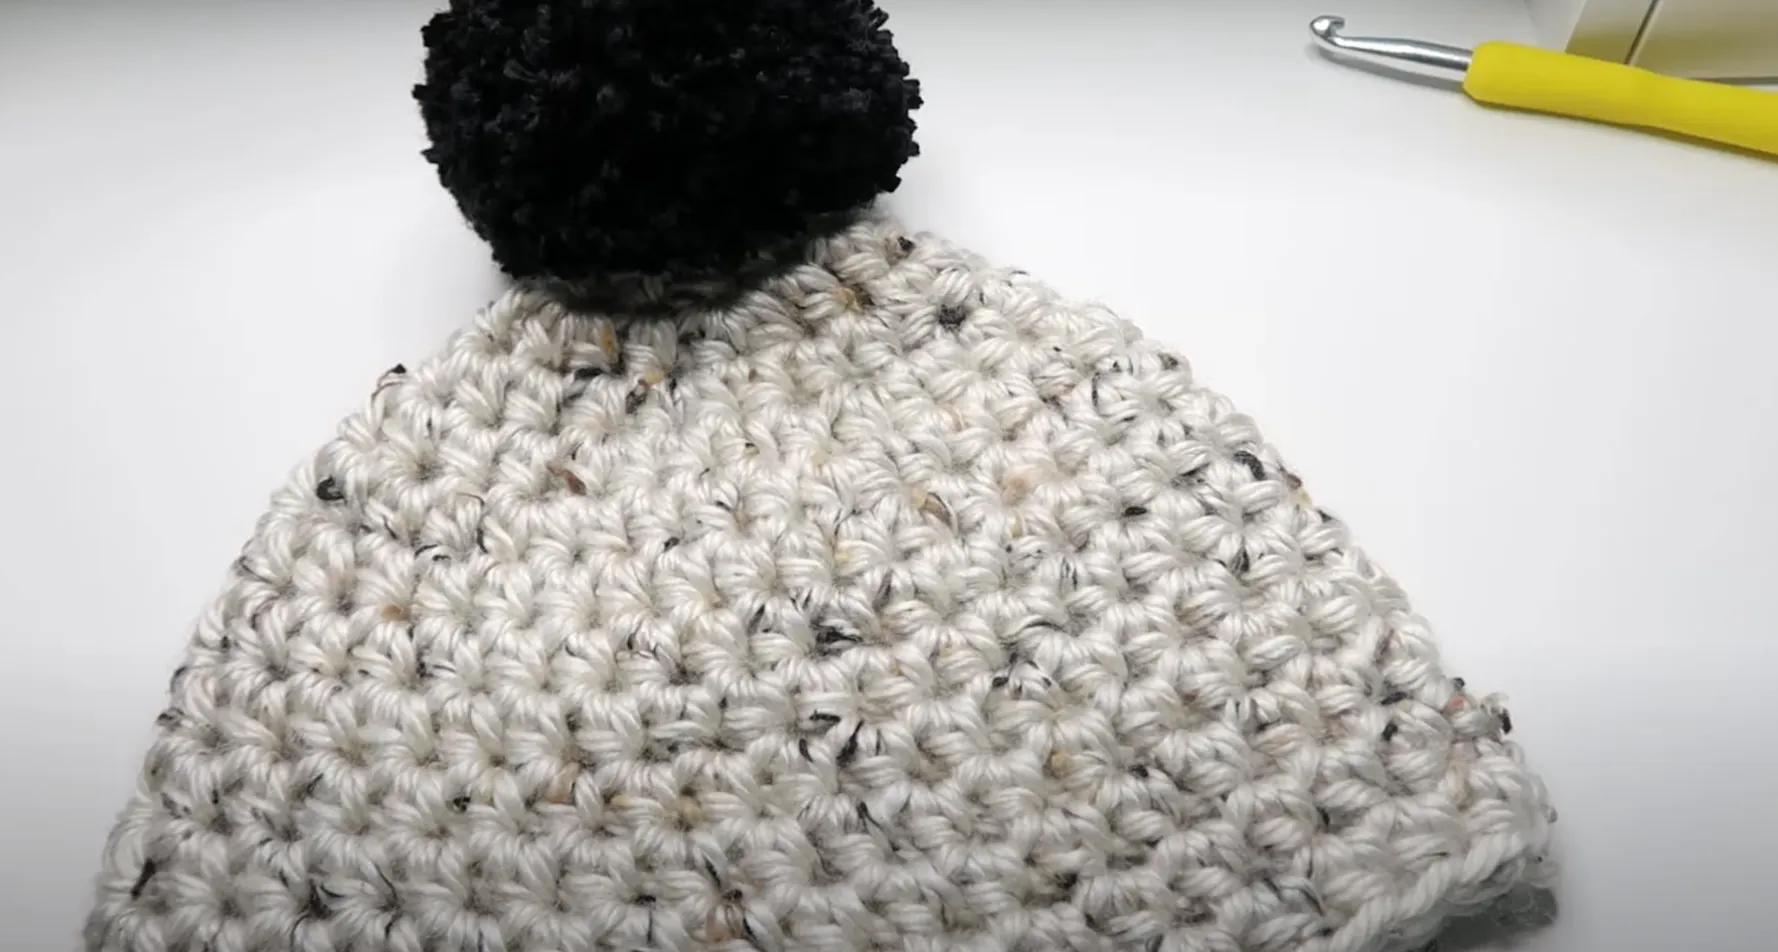
Try on your beanie to make sure it fits snugly. You can make small adjustments if needed. For a personalized touch, consider using different yarns or adding a pom-pom to the top of your beanie for extra style.
Congratulations! You’ve just completed your first crochet beanie. This simple project is perfect for gifts or for adding a handmade touch to your winter wardrobe. Enjoy your cozy new accessory!

