How To Crochet A Granny Square: The Only Guide You’ll Need
How to Crochet a Granny Square
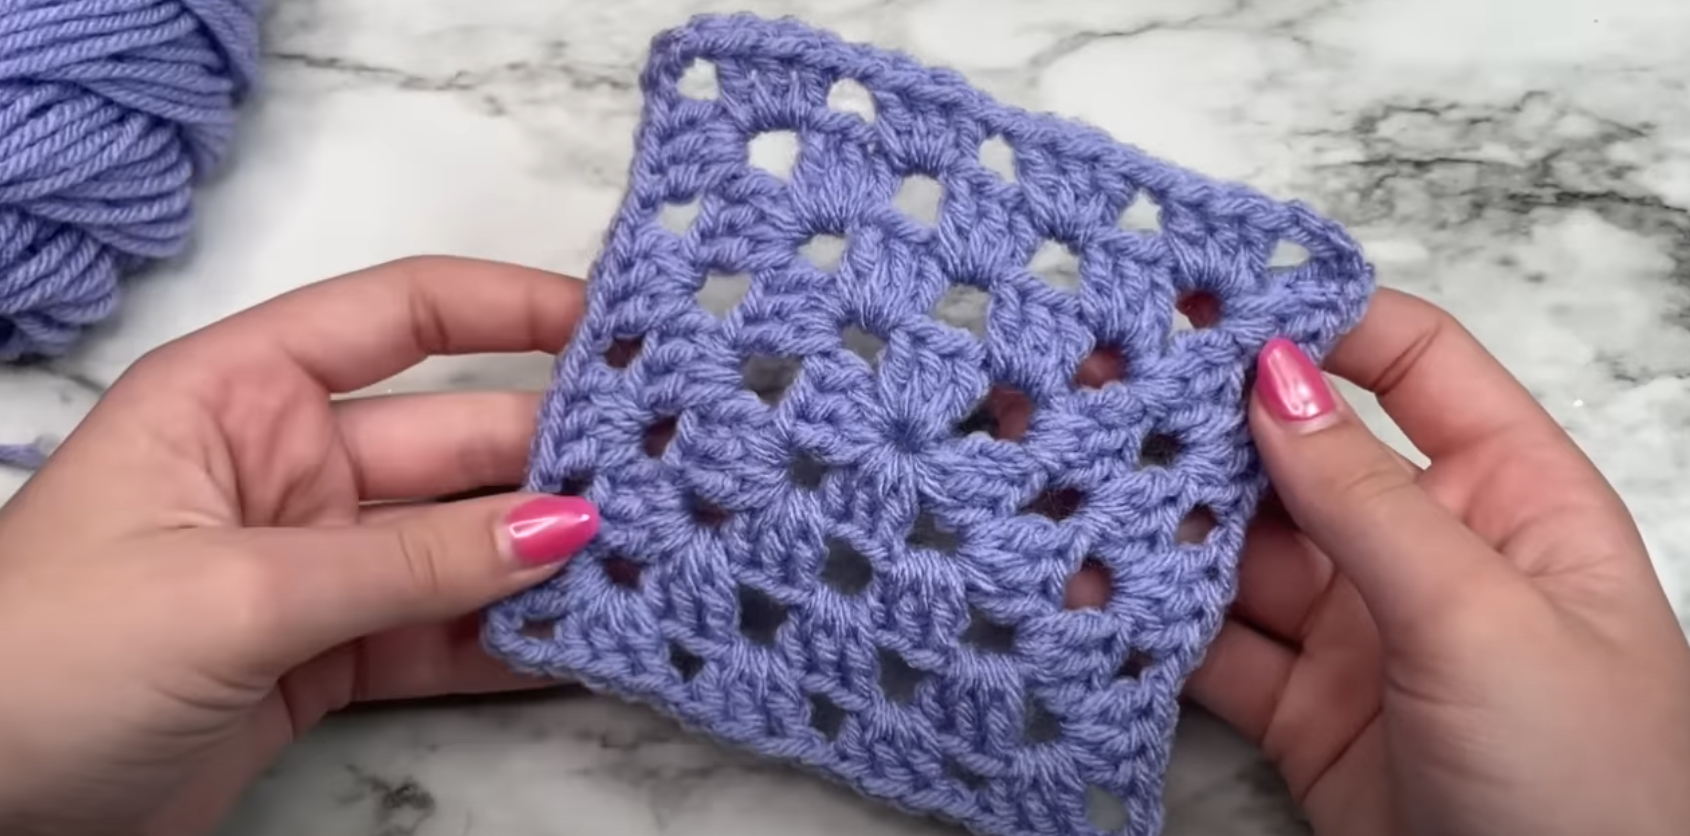
Looking for a fun and versatile crochet project? Learning how to crochet a granny square is the perfect place to start! This simple yet timeless pattern can transform into cozy blankets, trendy tote bags, decorative pillow covers, and more. Below, you’ll find an updated, step-by-step tutorial tailored for complete beginners. Let’s get started on your first granny square!
Materials You’ll Need
- Yarn: Worsted-weight yarn (acrylic is excellent for beginners).
- Crochet Hook: Size 5.0 mm (H-8) or follow your yarn label’s suggestion.
- Scissors: For trimming yarn.
- Yarn Needle: To weave in the ends.
Step-by-Step Granny Square Pattern
Step 1: Start with a Slip Knot
- Hold the tail end of the yarn in your right hand and the working strand in your left.
- Cross them to form a loop.
- Insert your fingers through the loop from behind, grab the working yarn, and pull it through.
- Gently tighten the knot by holding both strands.
- Place the slip knot on your crochet hook, adjusting the loop size with the working yarn.
Step 2: Chain Four (ch-4)
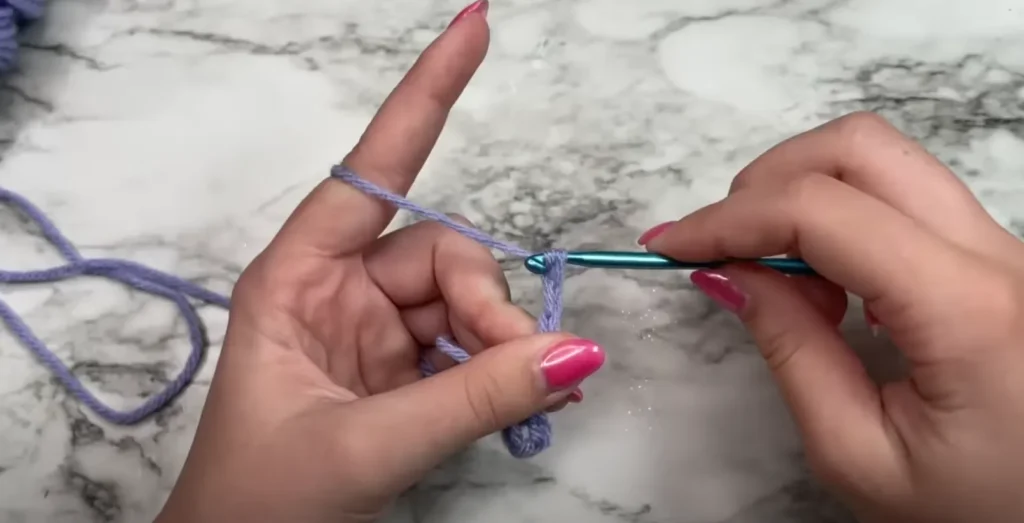
- Yarn over the hook and pull through the loop—this is your first chain.
- Continue until you have four chains (ch-4).
Step 3: Form a Ring
- Insert your hook into the first chain you made.
- Yarn over and pull through both the chain and the loop on your hook (a slip stitch, sl st).
- You’ve created a small ring; this will be the center of your granny square.
Step 4: Chain Six & Start Round 1
- Chain six (ch-6). The first three chains count as a double crochet (dc), and the next three chains form a corner space.
- Make 3 double crochets (3 dc) into the ring:
- Yarn over, insert hook into the ring, yarn over again, pull up a loop (3 loops on your hook).
- Yarn over, pull through two loops.
- Yarn over again, pull through the last two loops.
- Repeat twice more for a total of 3 dc.
- Chain three (ch-3) to form another corner.
- Repeat 3 dc + ch-3 two more times.
- For the last cluster, make 2 dc instead of 3. Then slip stitch into the third chain of your starting ch-6 to close the round.
Congratulations—you’ve completed the first round of your granny square!
Step 5: Begin Round 2
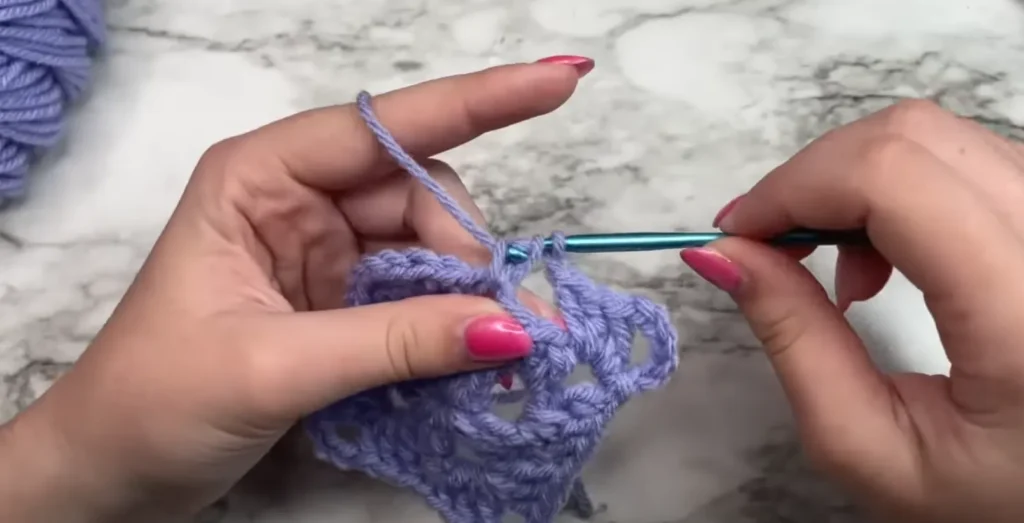
- Slip stitch (sl st) into the next chain space (the corner).
- Chain six (ch-6). The first 3 chains count as your first dc, and the next 3 chains form the corner.
- In the same corner space, make 3 dc.
- Chain one (ch-1) and move on to the next corner space.
- In each corner, crochet:
- 3 dc
- ch-3
- 3 dc
- Remember to chain one (ch-1) between each corner cluster.
- To finish the round, slip stitch into the third chain of the starting ch-6.
Your square is growing! Now, you’ll see four corners and chain spaces in between.
Step 6: Round 3 and Beyond
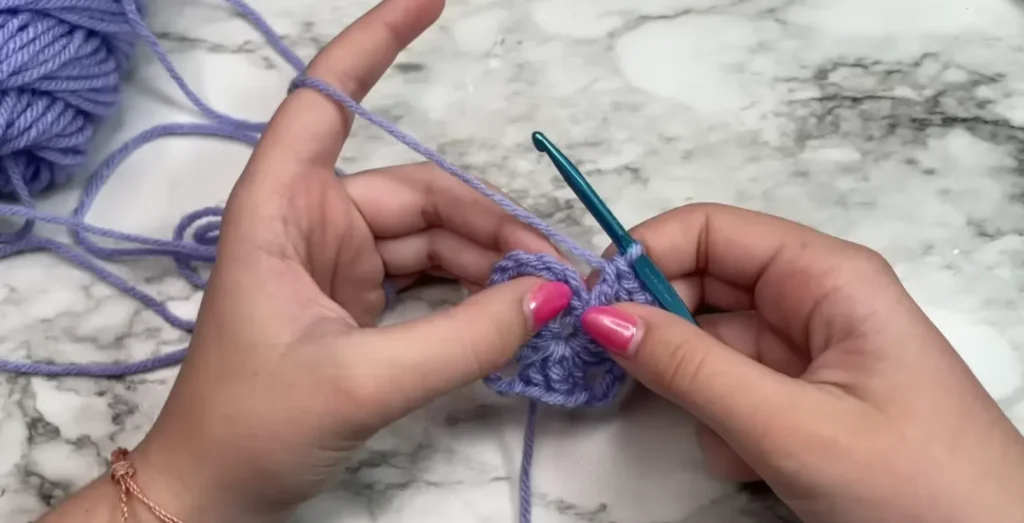
For Round 3 (and any additional rounds), follow this pattern:
- Slip stitch into the next chain space and chain six (ch-6).
- Work 3 dc in the same space.
- For middle chain spaces (non-corner spaces):
- 3 dc
- ch-1
- For corner chain spaces:
- 3 dc
- ch-3
- 3 dc
- Repeat around your square, always ch-1 between clusters.
- Slip stitch into the third chain of your starting ch-6 to finish each round.
Continue adding rounds until your granny square is the size you want!
Step 7: Finish Your Granny Square
- Slip stitch into the starting chain, then chain one.
- Cut the yarn and pull the tail through the final loop to secure.
- Use a yarn needle to weave in any loose ends.
Creative Ways to Customize Your Granny Square
- Play with Colors: Switch yarn colors at the start of each round for eye-catching combinations.
- Use Variegated Yarn: A single skein can create a self-striping effect without extra color changes.
- Size It Up: Keep adding rounds to reach your desired dimension.
Fun Projects Using Granny Squares
Wondering how to crochet a granny square into something practical? Here are a few ideas:
- Blankets & Afghans: Stitch multiple squares together for cozy throws.
- Scarves & Shawls: Connect smaller squares for fashionable accessories.
- Tote Bags & Purses: Reinforce the granny square pattern for a sturdy yet stylish bag.
- Coasters & Dishcloths: Use just one square for a quick and functional piece.
- Pillow Covers: Sew several squares together for a custom cushion cover.
Wrapping Up
By now, you’ve learned how to crochet a granny square from start to finish. Once you get the hang of the basic stitches—slip stitch, chain, and double crochet—the possibilities truly are endless. From vibrant blankets to chic tote bags, your granny squares can become anything you dream up.
If you enjoyed this tutorial, check out my guide on turning granny squares into a trendy tote bag—it’s a perfect follow-up project for new crocheters. As always, happy crocheting and don’t forget to share your creations in the comments below!
Frequently Asked Questions
- How long does it take to crochet a granny square?
A small granny square can be completed in about 15–20 minutes, depending on your skill level and yarn weight. - Can I use different yarn weights for granny squares?
Absolutely! Just adjust your hook size accordingly, and remember that yarn weight will affect the final square’s size and drape. - What’s the best way to join multiple granny squares?
You can sew them together with a yarn needle or use a join-as-you-go crochet method to connect squares seamlessly.
Feel free to ask any more questions below, and I’ll be happy to help. Enjoy your crocheting journey!

