How to Make Homemade Slime: The Ultimate Guide
Slime has been a popular toy for children and adults alike for years, and it’s easy to see why. It’s squishy, stretchy, and incredibly satisfying to play with. While you can buy slime in stores, making it at home is a fun and easy activity that allows for endless customization. If you’re wondering “how to make homemade slime,” you’ve come to the right place! This guide will walk you through the simplest and most popular methods, along with tips for variations and safe play.
How to Make Homemade Slime: The Ultimate Guide
Making slime at home is much simpler than you might think. Most recipes require just a few common household ingredients. Let’s dive into the most popular methods.

Method 1: Classic Glue and Borax Slime
This is often considered the original slime recipe and yields a wonderfully stretchy and pliable slime.
What You’ll Need:
- 1/2 cup (4 oz) white school glue (PVA glue like Elmer’s is best)
- 1/2 cup water (for glue mixture)
- 1 teaspoon borax
- 1 cup warm water (for borax solution)
- 2 bowls
- Spoon for mixing
- Optional: Food coloring, glitter, small beads
Instructions:
- Prepare the Borax Solution: In one bowl, dissolve 1 teaspoon of borax into 1 cup of warm water. Stir until the borax is completely dissolved. Set aside.
- Mix Glue and Water: In the second bowl, combine the 1/2 cup of white school glue with 1/2 cup of water. Stir until well combined.
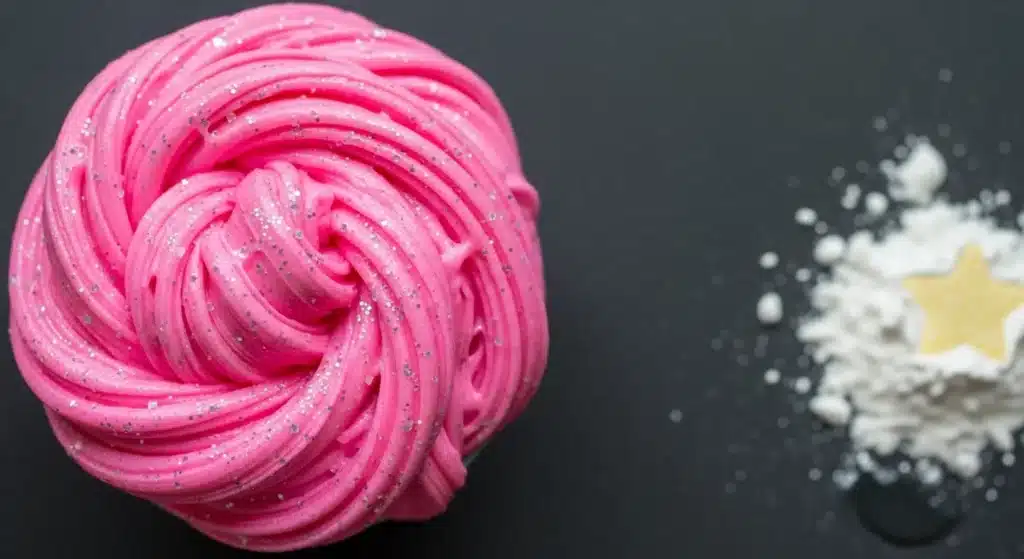
- Add Color (Optional): If you want colored slime, add a few drops of food coloring to the glue mixture and stir until you achieve your desired shade. You can also mix in glitter at this stage.
- Combine the Mixtures: Slowly pour the borax solution into the glue mixture, stirring continuously. You’ll notice the slime immediately start to form and pull away from the sides of the bowl.
- Knead the Slime: Once the mixture is too thick to stir, take it out of the bowl and begin to knead it with your hands. It will be sticky at first, but as you continue to knead, it will become less sticky and more pliable. If it’s too sticky, dip your hands in the borax solution and continue kneading.
- Store Your Slime: Store your finished slime in an airtight container or a Ziploc bag to prevent it from drying out.
Important Note on Borax: While borax is a common household product, it should be handled with care. Always supervise children when making borax-based slime, and ensure they do not ingest any of the ingredients. Wash hands thoroughly after playing with slime.
Method 2: Liquid Starch Slime (Borax-Free Alternative)
If you’re looking for a borax-free option, liquid starch is an excellent activator that creates a similar texture.
What You’ll Need:
- 1/2 cup (4 oz) white school glue (PVA glue)
- 1/2 cup water (for glue mixture)
- 1/4 – 1/2 cup liquid laundry starch (like Sta-Flo)
- 2 bowls
- Spoon for mixing
- Optional: Food coloring, glitter
Instructions:
- Mix Glue and Water: In one bowl, combine the 1/2 cup of white school glue with 1/2 cup of water. Stir until well combined.
- Add Color (Optional): Add a few drops of food coloring and/or glitter to the glue mixture and stir.
- Add Liquid Starch: Slowly add the liquid laundry starch, a little at a time, to the glue mixture while stirring continuously. Start with 1/4 cup and add more gradually until the slime reaches your desired consistency. You’ll see it start to clump and pull away from the bowl.
- Knead the Slime: Once the slime is mostly formed, remove it from the bowl and knead it with your hands. Continue kneading until it’s no longer sticky.
- Store Your Slime: Keep your liquid starch slime in an airtight container when not in use.
Method 3: Contact Solution Slime (Saline Solution Slime)
This method uses contact lens solution as the activator, which contains boric acid and sodium borate, similar to borax, but in a diluted form.
What You’ll Need:
- 1/2 cup (4 oz) white school glue (PVA glue)
- 1/2 teaspoon baking soda
- 1-2 tablespoons contact lens solution (must contain boric acid and sodium borate)
- Bowl
- Spoon for mixing
- Optional: Food coloring, glitter
Instructions:
- Mix Glue and Baking Soda: In a bowl, combine the 1/2 cup of white school glue with 1/2 teaspoon of baking soda. Stir well until the baking soda is completely dissolved.
- Add Color (Optional): Add food coloring and/or glitter and mix thoroughly.
- Add Contact Solution: Add 1 tablespoon of contact lens solution to the mixture and stir. The slime should begin to form immediately.
- Knead the Slime: If the slime is still too sticky, add another 1/2 to 1 tablespoon of contact solution, a little at a time, and continue stirring. Once it’s too thick to stir, take it out and knead it with your hands until it reaches the desired consistency. Be careful not to add too much contact solution, as this can make the slime too stiff.
- Store Your Slime: Store in an airtight container.
Tips for Making the Best Homemade Slime
- Use PVA Glue: For the best results, always use school glue that contains PVA (polyvinyl acetate). Elmer’s white glue is a classic choice.
- Measure Accurately: While slime making is forgiving, accurate measurements can help you achieve the perfect consistency.
- Add Slowly: When adding your activator (borax solution, liquid starch, or contact solution), do so slowly and gradually. It’s easier to add more than to fix over-activated slime.
- Knead, Knead, Knead! Don’t skip the kneading step. This is crucial for incorporating the activator and achieving a less sticky, more stretchy texture.
- Experiment with Add-ins: Get creative! Once you have your basic slime, consider adding:
- Glitter: For sparkly slime.
- Food Coloring: To create a rainbow of colors.
- Foam Beads: For “crunchy” or “floam” slime.
- Scented Oils: A few drops of essential oil can make your slime smell amazing.
- Glow-in-the-Dark Powder: For a mesmerizing effect.
- Proper Storage: Always store your homemade slime in an airtight container or a sealed plastic bag. This prevents it from drying out and extends its lifespan.
- Wash Hands: Always wash your hands before and after playing with slime to keep it clean and to remove any residue from your hands.
Troubleshooting Common Slime Problems
- Slime is Too Sticky:
- Not Enough Activator: Gradually add a little more of your chosen activator (borax solution, liquid starch, or contact solution) and continue to knead.
- Not Enough Kneading: Keep kneading! The stickiness often reduces significantly with more manipulation.
- Slime is Too Stiff/Breaks Easily:
- Too Much Activator: This is a common issue. Try adding a tiny bit of lotion or hand sanitizer and kneading it in. For very stiff slime, you might need to add a small amount of glue and knead thoroughly, but sometimes it’s best to start over.
- Dried Out: If your slime has been left out, it might be dried. Try adding a very small amount of warm water and kneading.
- Slime is Watery/Not Forming:
- Not Enough Activator: You likely need to add more of your activator.
- Incorrect Glue: Ensure you’re using PVA-based school glue. Craft glues or wood glues often won’t work.
Safe Slime Play
While making homemade slime is a blast, it’s important to keep safety in mind, especially with younger children.
- Adult Supervision: Always supervise children, particularly when using borax or other chemicals.
- Do Not Ingest: Slime is not edible. Ensure children understand this and do not put it in their mouths.
- Wash Hands: Encourage thorough hand washing before and after playing with slime.
- Allergies: Be mindful of any potential allergies to ingredients.
- Clean Up: Clean up any spills promptly, as slime can be tricky to remove from carpets or upholstery.
Conclusion
Now you know how to make homemade slime with several easy and effective methods! Whether you prefer the classic borax recipe, a borax-free alternative with liquid starch, or the convenient contact solution method, you’re just a few steps away from creating your own custom, stretchy, and satisfying slime. So gather your ingredients, get ready to mix, and enjoy the endless fun of homemade slime!