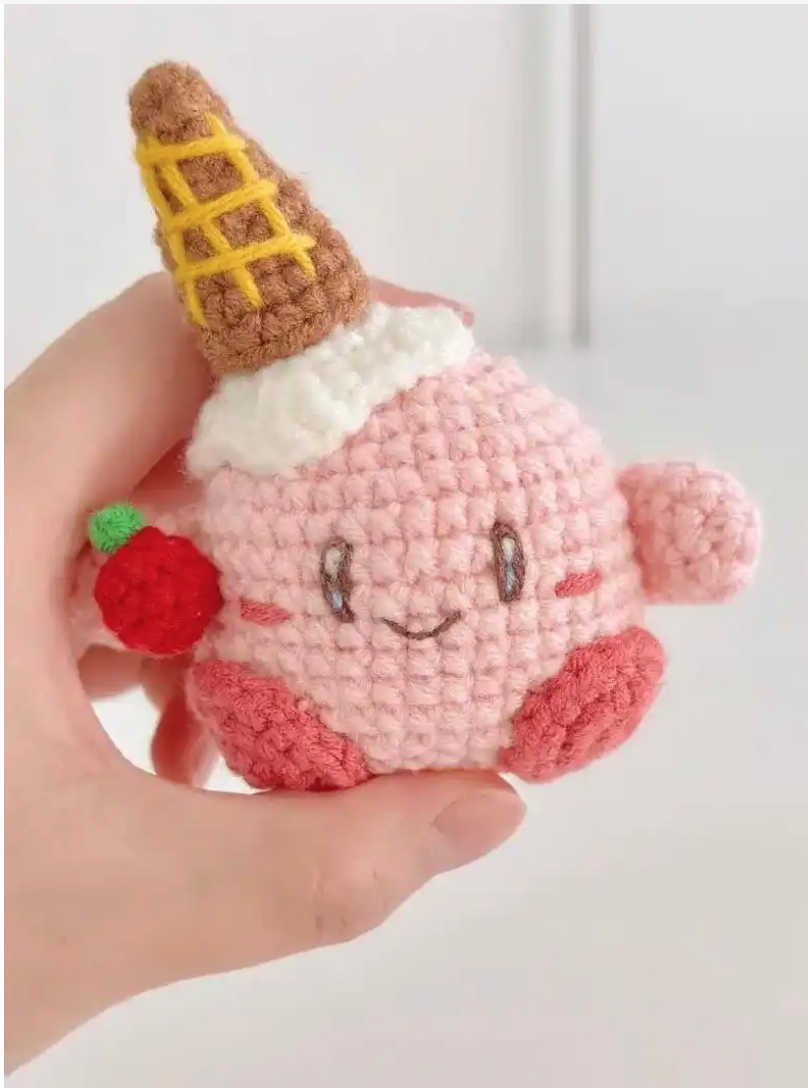
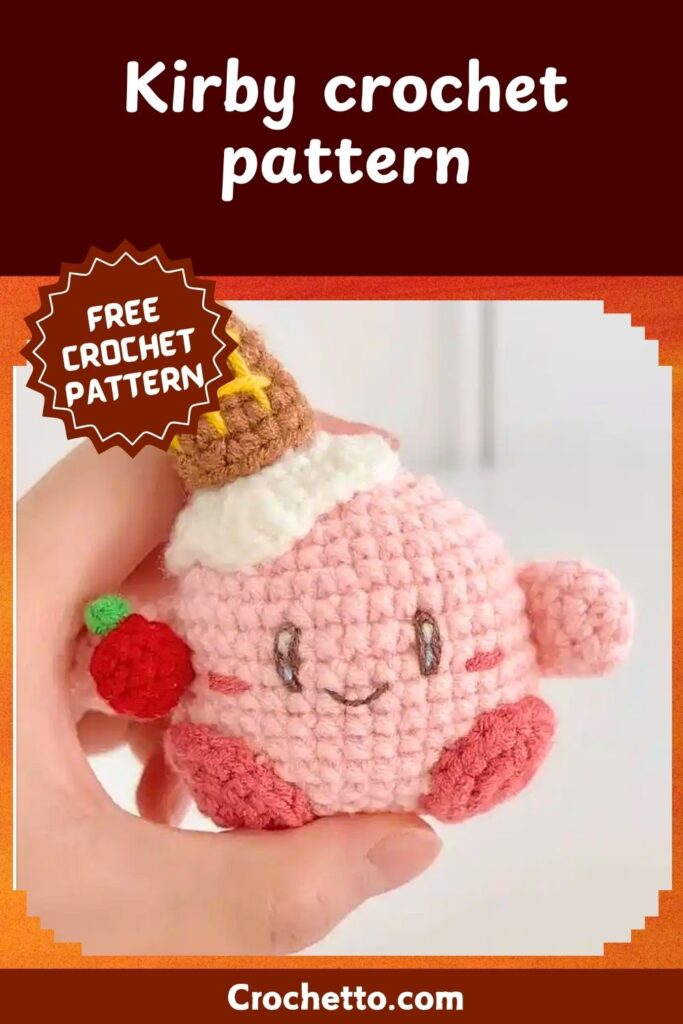
Kirby crochet pattern
Materials:
- Yarn:
- Pink for the body and arms.
- Red for the feet.
- Black and white for eyes and details (optional for embroidery).
- Crochet Hook: Size suitable for your yarn (e.g., 2.5mm or 3.0mm).
- Fiberfill: For stuffing.
- Stitch Marker: To keep track of rounds.
- Tapestry Needle: For assembly and embroidery.
Abbreviations:
- MR: Magic Ring
- sc: Single Crochet
- inc: Increase (2 single crochet in one stitch)
- dec: Decrease (crochet 2 stitches together)
- st: Stitch
- (…): Repeat instructions inside the parentheses.
Pattern
1. Kirby’s Body (Main Sphere)
- R1: MR, 6 sc → (6 stitches)
- R2: (inc) x 6 → (12 stitches)
- R3: (1 sc, inc) x 6 → (18 stitches)
- R4: (2 sc, inc) x 6 → (24 stitches)
- R5: (3 sc, inc) x 6 → (30 stitches)
- R6: (4 sc, inc) x 6 → (36 stitches)
- R7: (5 sc, inc) x 6 → (42 stitches)
- R8-R14: 42 sc (no increases; keep stitching to form the round shape).
- R15: (5 sc, dec) x 6 → (36 stitches)
- R16: (4 sc, dec) x 6 → (30 stitches)
- R17: (3 sc, dec) x 6 → (24 stitches)
- R18: (2 sc, dec) x 6 → (18 stitches)
- R19: (1 sc, dec) x 6 → (12 stitches)
- R20: (dec) x 6 → (6 stitches)
- Close and fasten off. Stuff firmly with fiberfill before closing.
2. Kirby’s Arms (Make 2)
- R1: MR, 6 sc → (6 stitches)
- R2: 6 sc → (6 stitches)
- R3: (3 sc, inc) x 2 → (8 stitches)
- R4: 8 sc (no increases)
- Fasten off and leave a long tail for sewing. Lightly stuff.
3. Kirby’s Feet (Make 2)
- R1: MR, 6 sc → (6 stitches)
- R2: (inc) x 6 → (12 stitches)
- R3: (1 sc, inc) x 6 → (18 stitches)
- R4-R6: 18 sc (no increases; maintain the shape)
- Fasten off and leave a long tail for sewing. Stuff firmly.
4. Kirby’s Face Details
- Eyes:
- Option 1: Use safety eyes and place them symmetrically on the face.
- Option 2: Embroider the eyes using black thread for the main oval and white for highlights.
- Mouth: Use black thread to embroider a small, cheerful mouth under the eyes.
5. Assembly
- Attach the arms to the sides of the body, slightly higher than the middle.
- Attach the feet to the bottom of the body.
- Add the face details (eyes and mouth) to the front.
Optional Accessories
- Apple:
- Follow a small round pattern:
- R1: MR, 6 sc → (6 stitches)
- R2: (inc) x 6 → (12 stitches)
- R3: (1 sc, inc) x 6 → (18 stitches)
- R4: (1 sc, dec) x 6 → (12 stitches)
- R5: (dec) x 6 → (6 stitches)
- Close, stuff lightly, and embroider a small green stem on top.
- Follow a small round pattern:
Ice Cream Cone (甜筒主体 – Cone Base)
Cone Base:
- R1: Magic ring (MR), 3 sc → (3 stitches).
- R2: 3 increases (inc) → (6 stitches).
- R3: (1 sc, inc) x 3 → (9 stitches).
- R4: (2 sc, inc) x 3 → (12 stitches).
- R5: (3 sc, inc) x 3 → (15 stitches).
- R6: (4 sc, inc) x 3 → (18 stitches).
- R7: (5 sc, inc) x 3 → (21 stitches).
- R8: (6 sc, inc) x 3 → (24 stitches).
- Continue stitching upward to form the cone’s height if needed.
Ice Cream Cone
Cone Base:
- R1: Magic ring (MR), 3 sc → (3 stitches).
- R2: 3 increases (inc) → (6 stitches).
- R3: (1 sc, inc) x 3 → (9 stitches).
- R4: (2 sc, inc) x 3 → (12 stitches).
- R5: (3 sc, inc) x 3 → (15 stitches).
- R6: (4 sc, inc) x 3 → (18 stitches).
- R7: (5 sc, inc) x 3 → (21 stitches).
- R8: (6 sc, inc) x 3 → (24 stitches).
- Continue stitching upward to form the cone’s height if needed.
Ice Cream Scoop ( Ice Cream Top)
Main Scoop:
Large ripple: 5 sc in one stitch, followed by a decrease.
R1: Chain 36 (ch 36), form a ring by joining the ends.
R2: 36 sc around the ring → (36 stitches).
R3: 36 sc (no increases).
R4: (3 sc, 1 decrease) x 9 → (27 stitches).
R5: Create a wavy/ruffle edge with the following:
Small ripple: sl st (slip stitch).
Medium ripple: 3 sc in one stitch.

