Master 350+ Knitting Stitches Visually!
Visual Encyclopedia: Your Guide to 350+ Patterns for Crochetto
Welcome, fellow fiber artists, to the ultimate guide to enriching your knitting repertoire! At Crochetto, we believe every stitch tells a story, and today, we’re diving deep into the vast and beautiful world of knitting stitches. Whether you’re a seasoned knitter looking for new inspiration or a beginner eager to expand your skills, this comprehensive visual encyclopedia is your perfect companion. Get ready to explore an incredible collection of 350 stitch patterns, edgings, and more, designed to elevate your handmade creations. Let’s cast on and discover the endless possibilities!
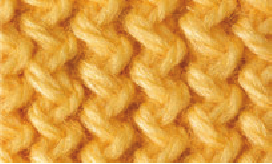
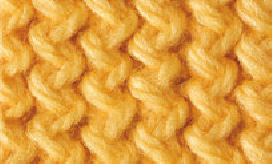
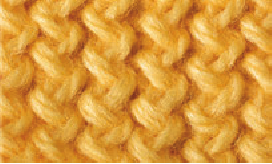
This encyclopedia offers 350 knitting stitches: simple knits and purls; intricate ribbed, bobbled, slipped, twisted, and cabled stitches; lace, edgings, and colorwork. Use this guide to explore new patterns, to practice unfamiliar techniques, or to design and create distinctive hand-knit sweaters, accessories, and items to decorate your home.

Before You Begin Your Knitting Stitches Journey
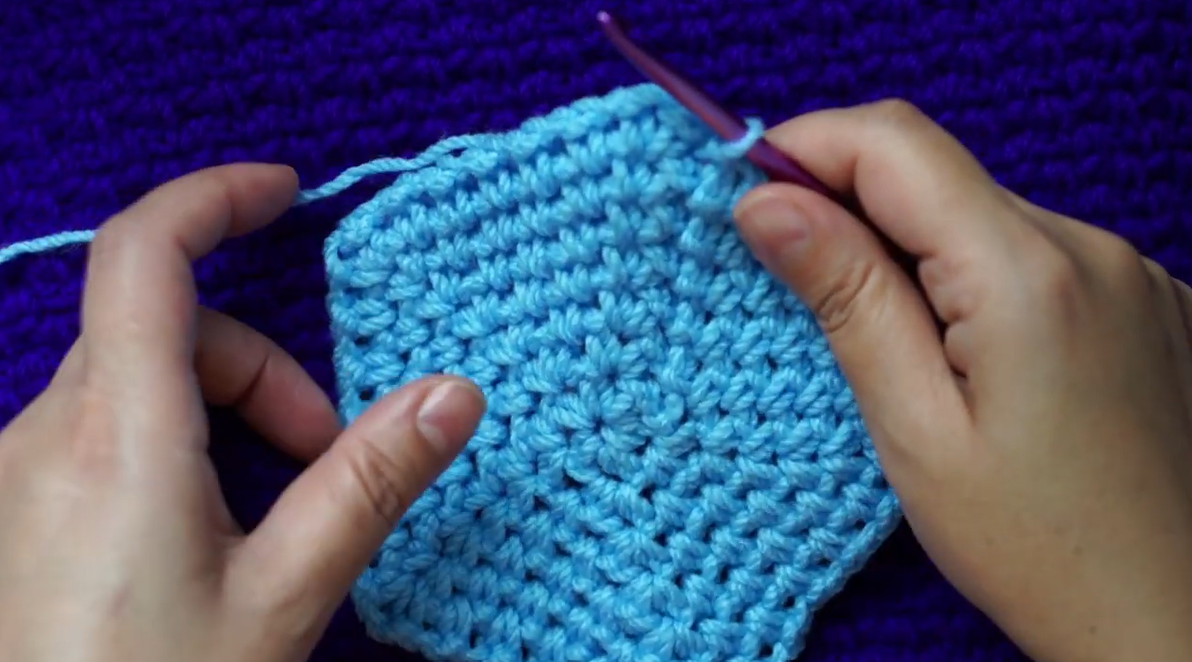
All of the stitch patterns come complete with a detailed color photo and clear, simple, stitch-by-stitch instructions. In addition, all but a few of the patterns are represented in chart form. When applying the patterns to your own designs, knit a sample swatch (or two or three or four) to see if the stitch pattern has the right texture, weight, and drape for your project. The type of yarn you use — the fiber and how it is spun — impacts the outcome tremendously. Many pure wool yarns are elastic and have a lot of body. Cotton, linen, bamboo, and other plant-based yarns do not have a lot of stretch. Fuzzy, hairy, slubby, and loosely spun yarns can either conceal or accentuate a stitch pattern, so you’ll definitely have to experiment with those. Tightly spun yarns worked on the right size needles generally offer effective stitch definition if that’s what you’re after. The sample swatches shown in the photographs were knit in a lightweight yarn for consistency and stitch clarity. Explore the whole range of yarn weights when making your samples. Knit a bobbled cable in a super-bulky wool, work lace in medium cotton on big needles, or try an intricate knit and purl pattern on tiny needles in superfine silk, and watch the stitch pattern swell or contract. When designing projects that are gauge-sensitive, knit a fairly large gauge swatch to ensure accuracy. Remember that different stitch patterns produce a wide variety of fabrics, ranging from dense and stiff to soft and loose.
A Glimpse into the Chapters of Knitting Stitches
Here is a brief summary of the types of patterns that you can knit using this guide:
Chapter 1: Knit and Purl Patterns
This chapter is the most straightforward in terms of technique and level of skill required. But don’t skip it if you’re a knitter who likes a challenge, because this chapter includes over 50 stitch patterns, many of them intricate and inspiring.
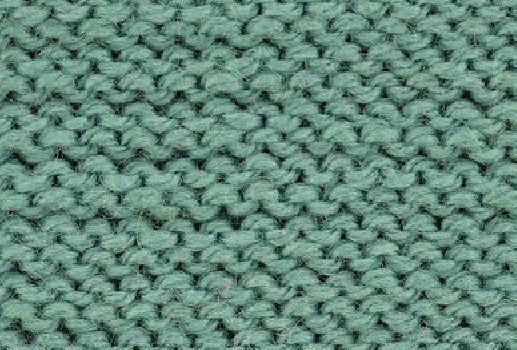
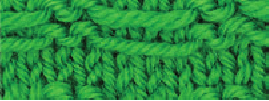
Garter Stitch
Garter stitch is the easiest stitch pattern, and what’s great about it is that it always lies perfectly flat. It looks exactly the same on both the front and the back.
Cast on any number of sts.
Row 1: Knit.
Rep row 1 for garter stitch.
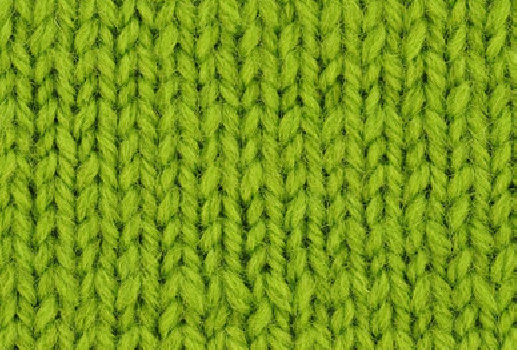
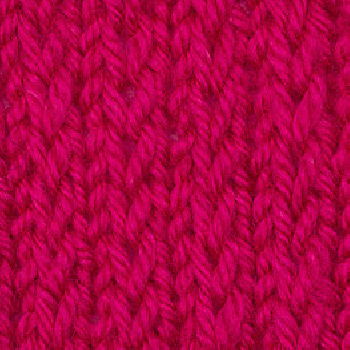
Stockinette Stitch
Stockinette stitch is the pattern most often used for sweaters. The right side looks like rows of flat Vs; the wrong side looks like rows of bumps.
Cast on any number of sts.
Row 1 (RS): Knit.
Row 2 (WS): Purl.
Rep rows 1 and 2 for stockinette stitch.
Reverse Stockinette Stitch
Reverse stockinette stitch is the same as regular stockinette, only the bumpy side is considered the right side, and the smooth side is the wrong side.
Cast on any number of sts.
Row 1 (RS): Purl.
Row 2 (WS): Knit.
Rep rows 1 and 2 for reverse stockinette stitch.
Garter Stitch Stripe
This pattern is made up of two rows of stockinette stitch and two rows of garter stitch. You can vary the number of rows of stockinette stitch and garter stitch to create your own stripe pattern.
Cast on any number of sts.
Row 1 (RS): Knit.
Row 2 (WS): Purl.
Rows 3 and 4: Knit.
Rep rows 1-4 for garter stitch stripe.
Reverse Stockinette Stitch Stripe
This pattern looks similar to garter stitch stripe, but because the bumpy stripes are done in reverse stockinette stitch, they are fuller and rounder.
Cast on any number of sts.
Row 1 (RS): Knit.
Row 2 (WS): Purl.
Row 3: Knit.
Rows 4 and 5: Purl.
Row 6: Knit.
Rep rows 1-6 for reverse stockinette stitch stripe.
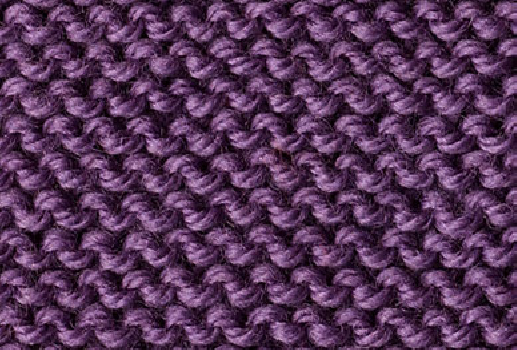
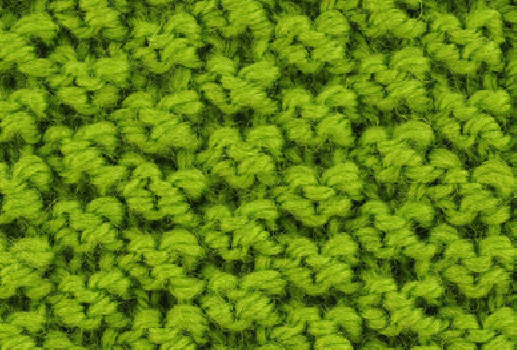
Seed Stitch
Seed stitch creates a nice bumpy-textured fabric that lies flat and looks the same on both sides. You knit the purl stitches and purl the knit stitches.
Cast on an even number of sts.
Row 1 (RS): K1, p1; rep from to end.
Row 2 (WS): P1, k1; rep from to end.
Rep rows 1 and 2 for seed stitch.

Double Seed Stitch
Double seed stitch, sometimes called moss stitch, is a four-row version of seed stitch.
Cast on an even number of sts.
Row 1 (RS): K1, p1; rep from to end.
Row 2 (WS): Rep row 1.
Rows 3 and 4: P1, k1; rep from to end.
Rep rows 1-4 for double seed stitch.
Simple Seed Stitch
Simple seed stitch is a good allover pattern for sweaters, vests, and dresses.
Cast on a multiple of 4 sts plus 1.
Row 1 (RS): P1, k3, p1; rep from to end.
Row 2 and all even-numbered rows (WS): Purl.
Row 3: Knit.
Row 5: K2, p1, k3, p1; rep from to last 2 sts, k2.
Row 7: Knit.
Row 8: Purl.
Rep rows 1-8 for simple seed stitch.
Box Stitch
Box stitch looks the same on both sides and lies flat.
Cast on a multiple of 4 sts plus 2.
Row 1 (RS): K2, p2, k2; rep from to end.
Row 2 (WS): P2, k2, p2; rep from to end.
Row 3: Rep row 2.
Row 4: Rep row 1.
Rep rows 1-4 for box stitch.
Andalusian Stitch
This stitch, which creates a nice grid pattern, is easy to do.
Cast on a multiple of 2 sts plus 1.
Row 1 (RS): Knit.
Row 2 (WS): Purl.
Row 3: K1, p1; rep from to last st, k1.
Row 4: Purl.
Rep rows 1-4 for Andalusian stitch.
Checkerboard
This pattern looks the same on both sides, so it’s great for blankets, scarves, and wraps.
Cast on a multiple of 8 sts plus 4.
Rows 1 and 3 (RS): K4, p4, k4; rep from to end.
Rows 2 and 4 (WS): P4, k4, p4; rep from to end.
Rows 5 and 7: Rep row 2.
Rows 6 and 8: Rep row 1.
Rep rows 1-8 for checkerboard pattern.
Rice Stitch
This easy allover pattern lies flat and looks like ribbing on the wrong side.
Cast on a multiple of 2 sts plus 1.
Row 1 (RS): P1, k1 tbl, p1; rep from to end.
Row 2 (WS): Knit.
Rep rows 1 and 2 for rice stitch.
Triangle Check
Here’s an easy pattern that’s reversible and looks great as a border or an allover pattern.
Cast on a multiple of 6 sts plus 5.
Row 1: K5, p1, k5; rep from to end.
Rows 2 and 5: K1, p3, k3; rep from, end p3, k1.
Rows 3 and 4: P2, k1, p5; rep from, end k1, p2.
Row 6: Rep row 1.
Rep rows 1-6 for triangle check.
Diagonal Check
Here is another reversible check pattern that works beautifully for blankets, throws, and scarves.
Cast on a multiple of 5 sts.
Row 1 (RS): P1, k4; rep from to end.
Row 2 (WS): P3, k2; rep from to end.
Row 3: Rep row 2.
Row 4: Rep row 1.
Row 5: K1, p4; rep from to end.
Row 6: K3, p2; rep from to end.
Row 7: Rep row 6.
Row 8: Rep row 5.
Rep rows 1-8 for diagonal check.
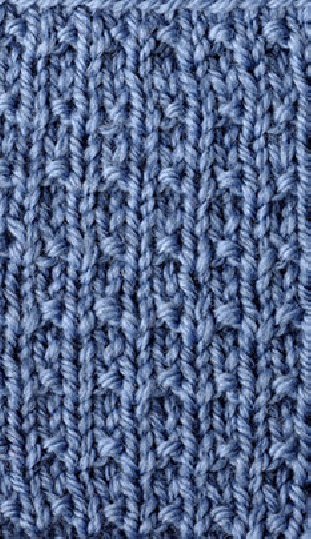
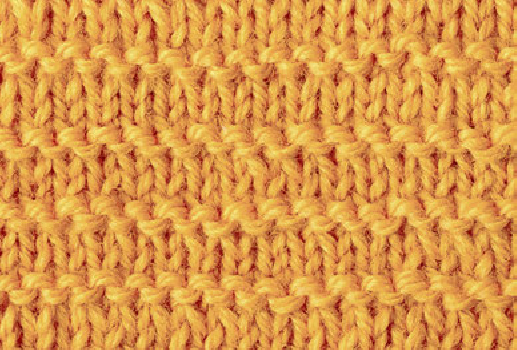
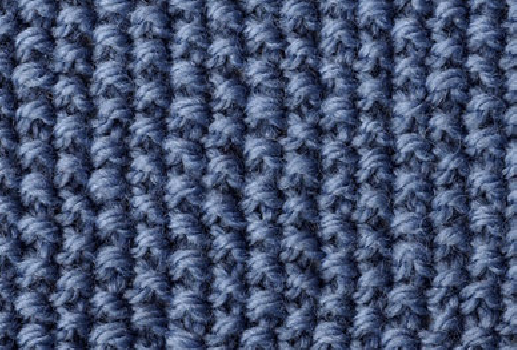
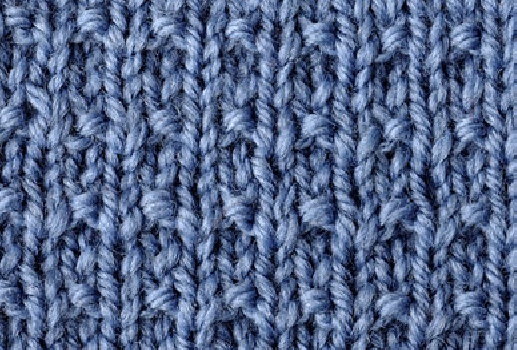
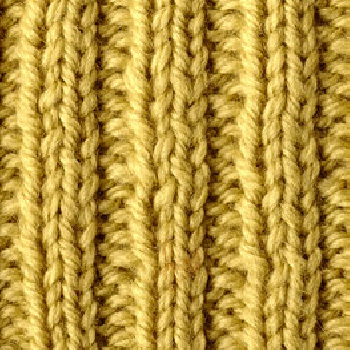
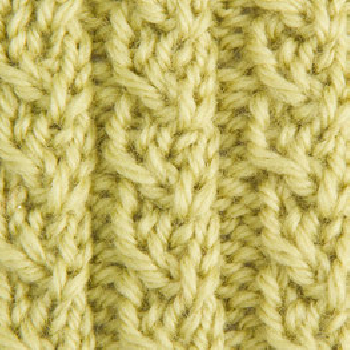
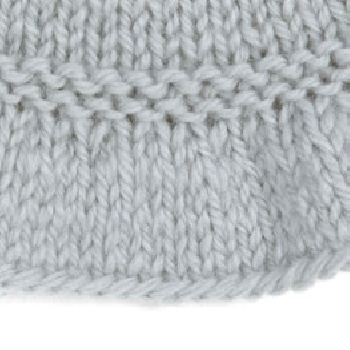
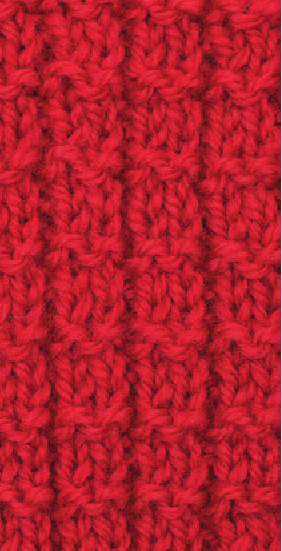
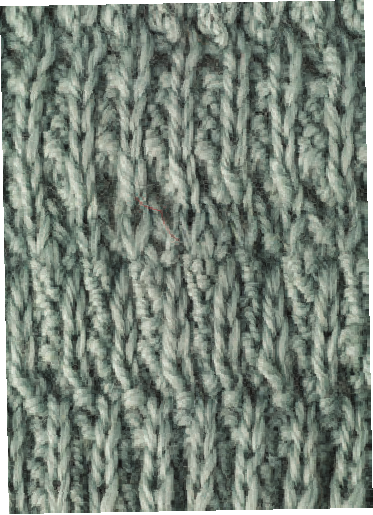
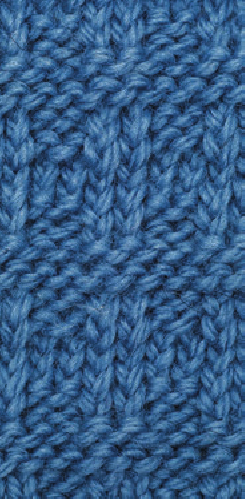
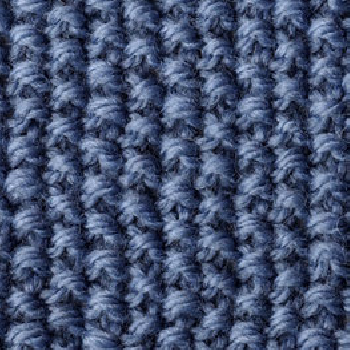
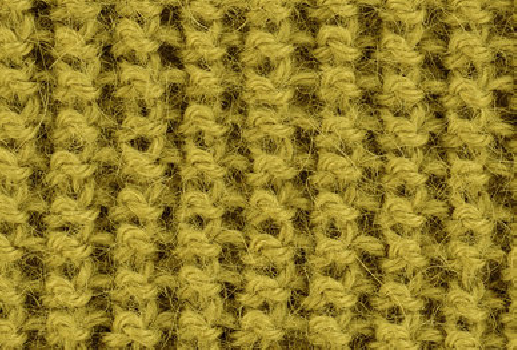
Chapter 2: Rib Patterns
You’ll find a variety of rib patterns in this chapter: some comprised of simple knits and purls, and others that take you beyond the basics to eye-catching ribs that use eyelets, slipped and twisted stitches, and textural shaping maneuvers. Many of the patterns here are not just for cuffs, borders, and hems. So if an elastic ribbed sock or hat is what you’re making, be sure to test the stitch pattern to make sure it’s that type of rib.
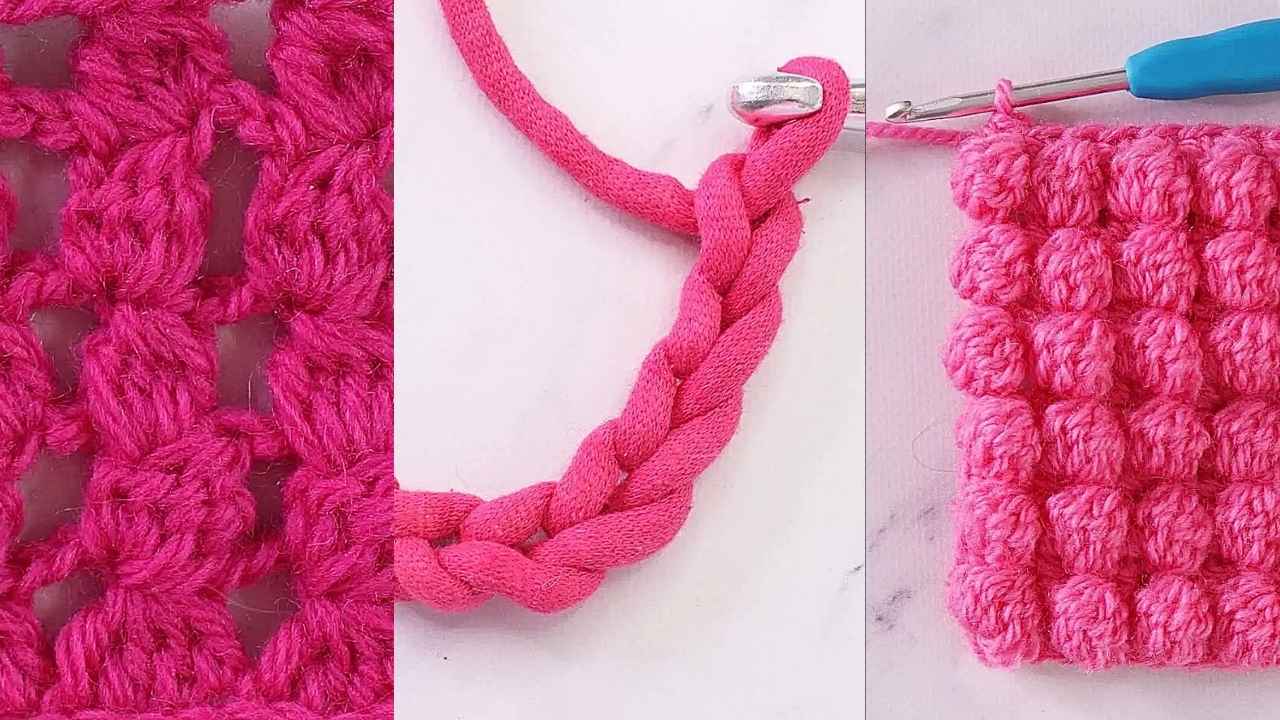
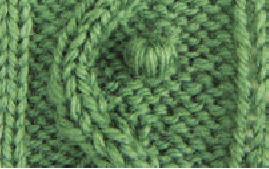
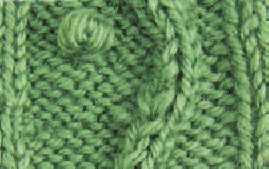
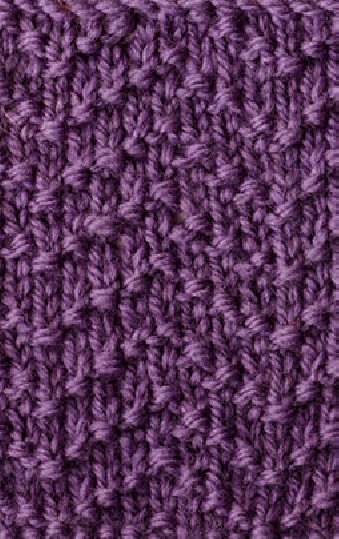
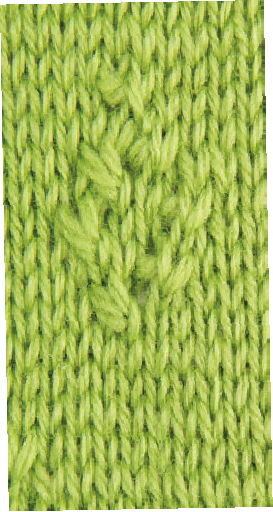
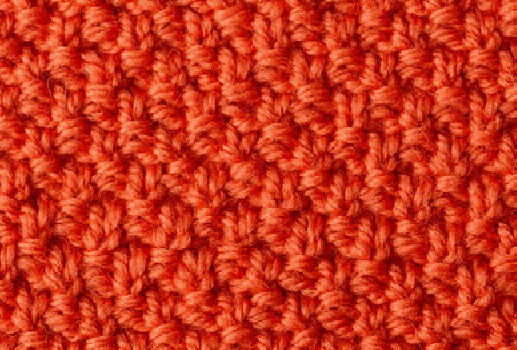
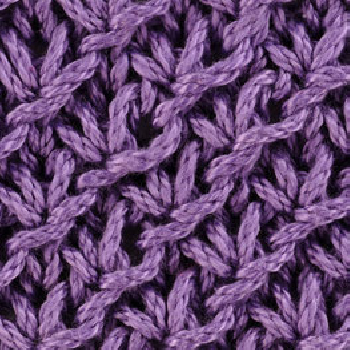
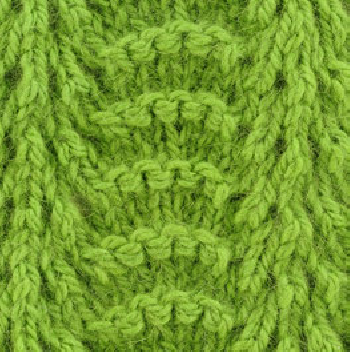
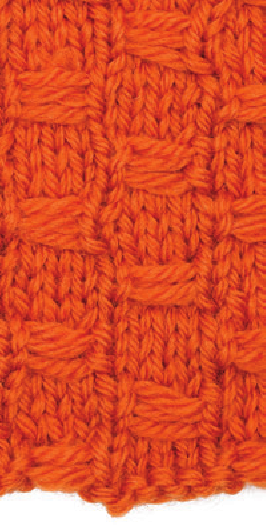
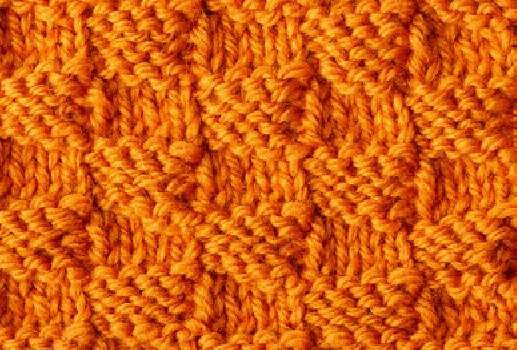
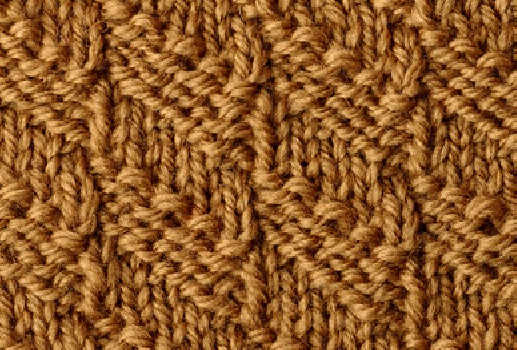
Chapter 3: Bobbles and Textured Stitches
This chapter offers an array of bumpy, knotty, woven, and wavy stitches. Many of these patterns require more yarn per square inch than the simpler knit and purl patterns. When planning your project, consider knitting a 4-inch square swatch in your chosen yarn and stitch pattern, then unravel the swatch and measure how many yards of yarn you used. Calculate yards per square inch by dividing the number of yards of yarn your 4-inch square swatch used by 16. Take that number and multiply it by what you estimate to be your project’s area in square inches, and you should have a pretty good idea of how many yards of that particular yarn you’ll need. (Actually, you can estimate yardage this way for stitch patterns in any of the chapters.)
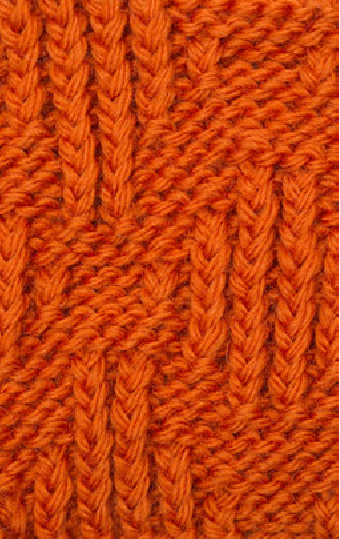
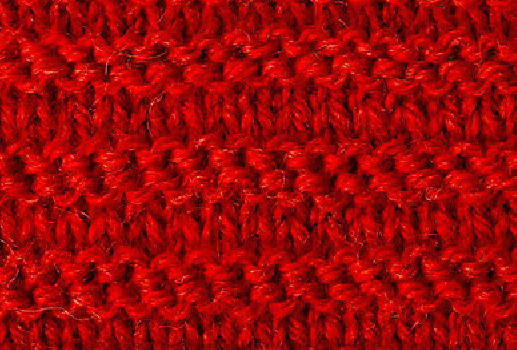
Chapter 4: Slipstitch Patterns
Slipstitch knitting is one of the most satisfying knitting techniques; Most of the patterns are quicker to work, yet result in fascinating, dynamic, and eye-pleasing designs. And many slipstitch patterns more closely resemble weaving than knitting. Regarding the mechanics of slipping stitches, stitches are always slipped purlwise unless otherwise noted. You’ll often see the abbreviations wyif and wyib—referring to where the yarn is held when slipping a stitch—wyif means the yarn is held in front of the stitch being slipped, and wyib means the yarn is held in back of the stitch being slipped. In this book, wyif and wyib make no reference to the right side or the wrong side of the work; rather, they refer to the placement of the yarn relative to the stitch on the left needle, regardless of whether you’re working a right side or wrong side row. Because slipping stitches tends to pull the knitting tightly together, the resulting fabric of some of the slipstitch patterns can be rather dense and inelastic. Certain patterns require larger needles to manage this increased tension. Hold the yarn in a relaxed and comfortable fashion, so that the natural tightening tendency doesn’t make knitting difficult, and enjoy experimenting with a variety of yarns and needle sizes.
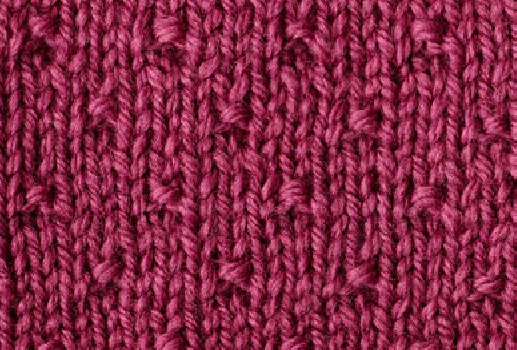
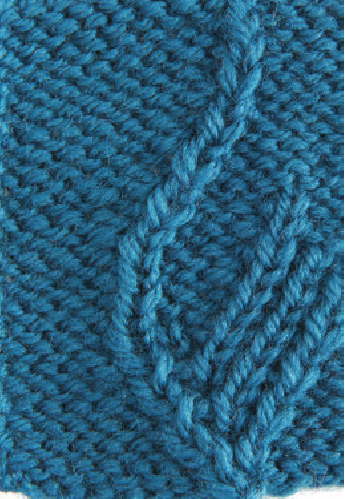
Chapter 5: Twist-Stitch Patterns
You’ll get a taste of how versatile twist-stitch knitting can be using the patterns in this chapter. Knitting or purling into the back loops of the stitches, or knitting or purling the second stitch on the needle before the first stitch, allows you to generate designs with wandering stitches and linear graphics that rival cables (without having to wrestle with a cable needle). On the other hand, you can also work simple 2-stitch, 2-row twist-stitch patterns that form captivating textures. As with many stitch patterns, you’ll want to knit a good size sample swatch to accurately measure gauge, as twist-stitches tighten your knitting, resulting in a measurement that requires more stitches per inch.
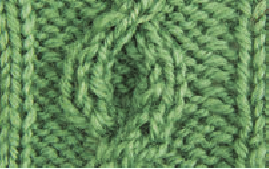
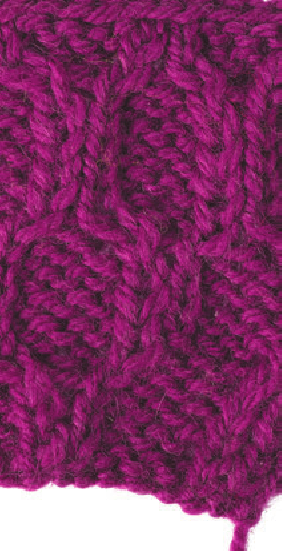
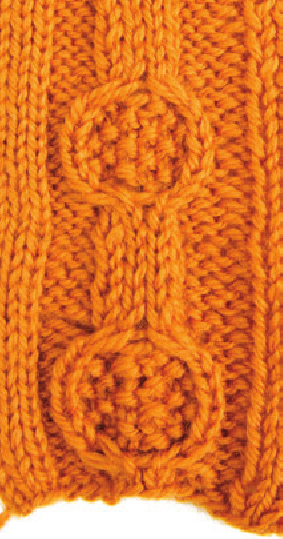
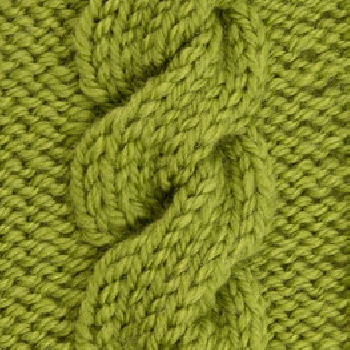
Chapter 6: Cable Patterns
Many knitters prefer knitting cables above all other types of knitting. Cables can be sleek and simple, like the basic right and left cable—worked over just four or six rows—or exquisitely complex, forming ornate, even sculptural relief over many stitches and rows. Use these patterns to hone your cabling skills, or pair them with textural stitch patterns from earlier chapters to design your own cable-knit sweaters and accessories. Accurately measuring gauge with cables can be tricky, especially if you’re combining many cables into one elaborately knit item. As always, take time to knit samples. And if you’re the type of knitter who doesn’t want a project that requires intense concentration and continuous counting of stitches and rows, try working a single cable as an accent to a sleek design.
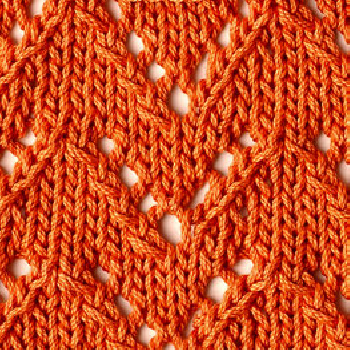
Chapter 7: Drop-stitch, Yarn Overs, Eyelet, and Lace
This chapter offers a variety of stitch patterns that share the trait of intentionally creating holes in the fabric to form the design, and the patterns are wonderful when worked in the lighter weight yarns. Fine cottons, linens, and silks lend themselves beautifully to openwork. Scarves, shawls, and throws are perfect vehicles for intricate lace patterns because they don’t require keeping track of intricate shaping and complex stitch patterns at the same time. After knitting your sample swatches, be sure to stretch them (and even pin, if necessary) to open up the holes before blocking. This will ensure that the pattern is visible at its best. Explore these lacy, airy patterns by knitting 8-inch by 8-inch openwork samples in dishcloth cotton—you’ll master more open stitches in less time, plus you’ll have some lovely washcloths to keep or give as gifts.
Chapter 8: Borders and Edgings
This chapter provides you with a sampling of designs to ornament your knitting. Some of these can be worked from the bottom up, so that when the border or edging is complete, you can just keep knitting your item from there. Others are knit lengthwise, and so must be worked separately to the same length as the edge to which they will be attached. The majority of the swatches for this chapter were knit in lightweight cotton to accentuate the lacy patterns, but you should experiment with other fibers and weights.
Chapter 9: Creative Stitches and Combinations
As the title suggests, this chapter includes patterns that employ multiple techniques—more than one cable in a panel, bobbles and eyelets in the same design, or patterns that employ unusual stitches and maneuvers. Use this chapter as a stepping-stone to designing your own creative combinations.
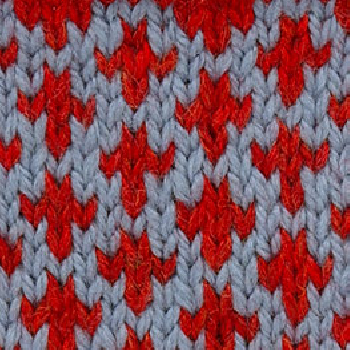
Chapter 10: Color Knitting
There are many forms of color knitting. You will find patterns for stranded knitting—frequently referred to as Fair Isle knitting—as well as several intarsia motifs and color-slip designs. These patterns are presented in easy-to-follow color charts; you can follow the colors presented, or simply use the charts as inspiration and select your own color combinations.
Stranded knitting involves using two colors in one row, carrying both colors across the back of the work. Take care that the yarns stranded on the wrong side are not too taut, or your work will pucker. Some of these stitches form allover patterns made up entirely of two colors. Other allover designs use three, four, five, or more different colors. There are also stranded designs for borders, floral patterns, nautical motifs, and modern geometric configurations. Mix and match these to create your own unique colorwork.
Intarsia knitting involves scattering isolated blocks of color or motifs over the knit field. You work each motif with a separate ball or bobbin of yarn. When it’s time to change colors—from background color to motif color, for example—twist the yarns together on the wrong side to avoid ending up with holes on the right side. For motifs that have only a few stitches in a particular color—a bird’s beak, a dog’s nose, for example—you can cheat and work those bits in duplicate stitch. Knit these intarsia “stitch pictures” into sweaters, hats, pillow cushions, and more to individualize your knit projects.
Color-slip knitting patterns close the chapter, and if you’ve never worked color-slip knitting, you should definitely give it a try. After stripes, it’s the easiest form of color knitting. This technique is a wonderful way to work with two colors at the same time, without stranding or using bobbins. You work one color at a time in each row, using the same color over the first two consecutive rows, while slipping the stitches that would normally be worked in the second color. For the following two rows, you work with the second color, and slip the stitches that would be worked in the first color. Also, you can work color-slip knitting in garter stitch for a bumpy texture and compressed version of the pattern, and stockinette stitch for a smoother fabric and elongated version of the color design.
Note on the Color-Slip Charts: Each row of a color-slip chart is labeled with an odd number on the right, and an even number on the left. That’s because each chart row stands for the two rows worked in one color. The odd numbers represent the right side rows and are read from right to left, and the even numbers represent the wrong side rows and are read from left to right. On the right and left edges of the chart you will see a column of black and white checks. These are not part of the actual stitch pattern; rather, they are a key to which color is worked for the two rows that the one chart row represents. If the row has a black square at its beginning, then the darker color is the working color, and the lighter color is the slipped color. The same will be true for the corresponding wrong side row. All of the charts here begin with the darker color. In order to have the light-colored stitches to slip in that first row, cast on in the lighter color and work two plain rows. Attach your darker color, and you’re ready to begin working the pattern from the chart.
And Now, the Fun Part!
Gather several balls of yarn in your favorite colors and fibers, collect a few different-sized needles and essential knitting notions, and put them and this guide into your favorite knitting bag. Don’t forget to take along a pencil and graph paper for inventing and charting your own stitch patterns. Go find a comfortable spot that’s quiet enough to hear the soothing clicking of your needles, and light enough to watch exquisite fabrics emerge as you knit.
We hope this deep dive into knitting stitches sparks your creativity and empowers you to embark on new and exciting projects. Remember, every creation is a reflection of your unique artistry. Share your beautiful knitted pieces with us on social media using #CrochettoMakes – we can’t wait to see what you create!