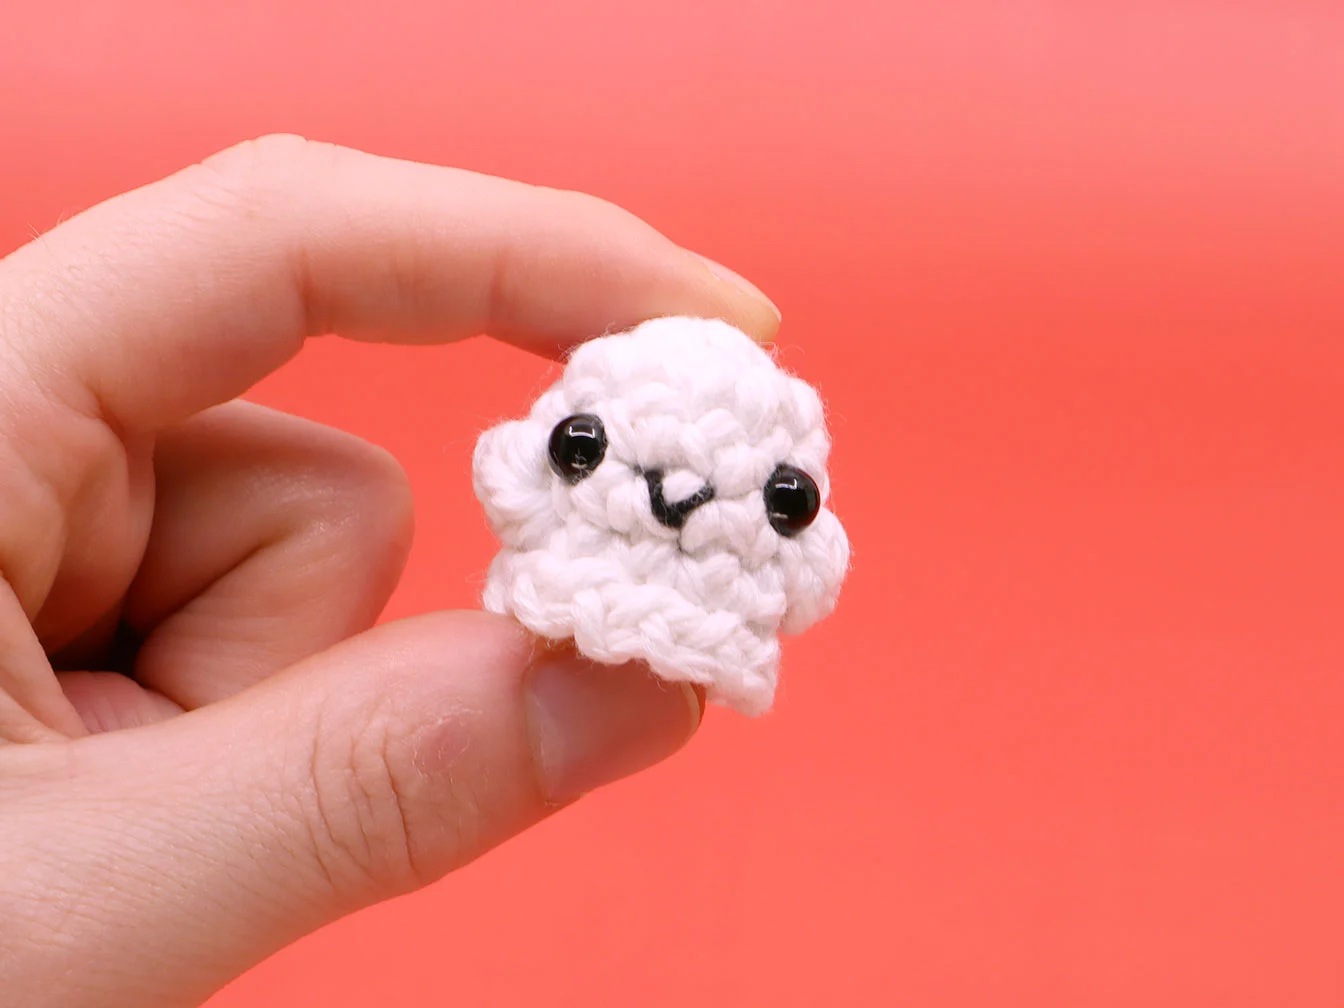
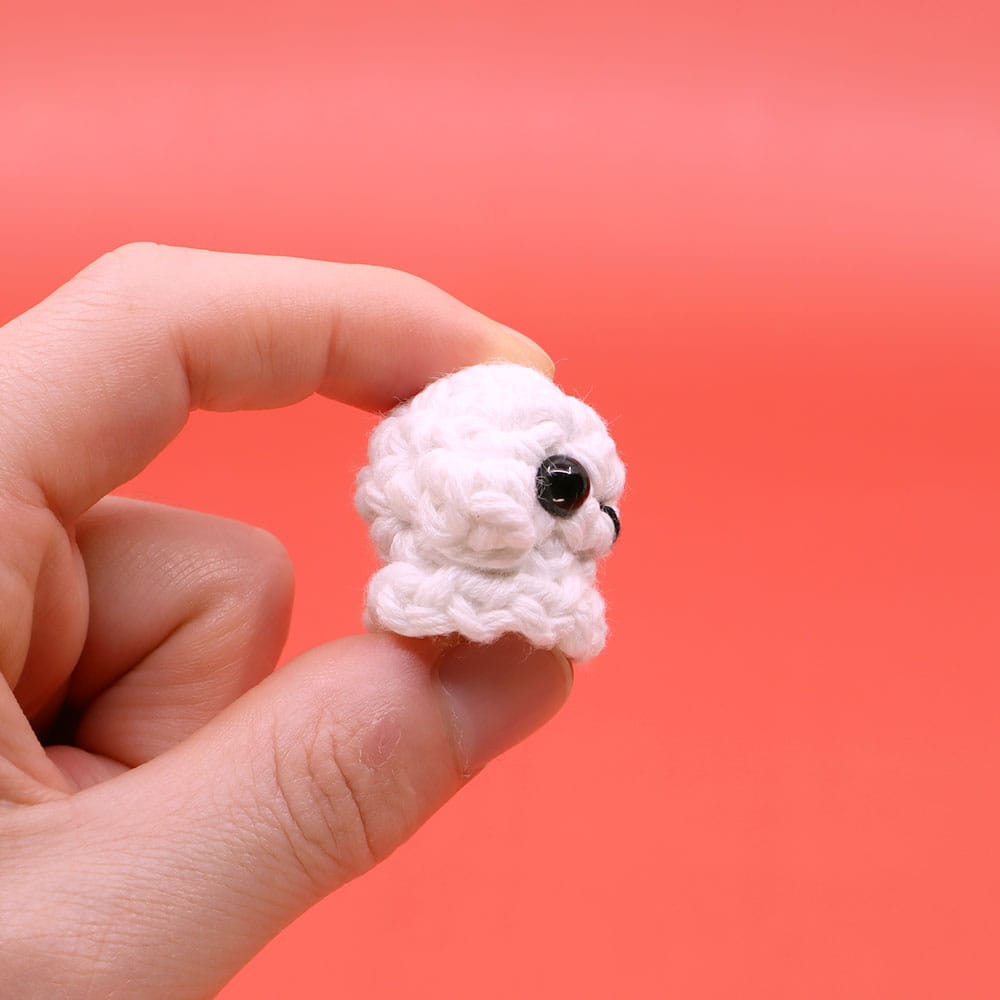
Stitch a Spooky Friend: Your Free Minigurumi Ghost Crochet Pattern!
Feeling that crisp autumn air? Are you ready for pumpkin spice, cozy sweaters, and all things spooky-cute? This season, we’re diving hook-first into a collection of creations to make your holiday spirit soar, and we’re starting with the most adorable little specter you’ve ever seen!
Meet the Minigurumi Ghost! This tiny friend is a super-fast, beginner-friendly project that works up in under 30 minutes. It’s perfect for using up scrap yarn, and you can make a whole haunting of them in an afternoon. Turn them into keychains, stitch them onto a garland, or just let them float around your desk for a bit of seasonal cheer.

Ready to say “Boo!”? Let’s get stitching!
What You’ll Need
Before we begin, let’s gather our ghoulishly good supplies.
- Yarn: Worsted Weight Cotton Yarn. We used classic White, but feel free to make your ghosts in any color you wish!
- Crochet Hook: G6 / 4.00 mm
- For the Face:
- Two 6 mm Black Safety Beads for the eyes
- A small amount of Black Thread or Yarn for the mouth
- Other Tools:
- A good handful of Stuffing
- A Darning Needle for weaving in ends
Pattern Details & Abbreviations
This little ghost is worked in a continuous round. Don’t join and turn your work unless the pattern says so.
- Finished Size: Approximately 1 inch tall.
- Gauge: 5 Rounds and 4 sts per 1” (not critical for this project, just be consistent!)
- Need a refresher on some techniques? Check out our tutorial on Chapter 5: Decreasing for a closer look at the invisible decrease.
Abbreviations (US Terms):
- ch: Chain Stitch
- st: Stitch
- slst: Slip Stitch
- sc: Single Crochet
- inc: Increase (work 2 sc in the same stitch)
- invdec: Invisible Decrease
- FLO: Front Loops Only
- BLO: Back Loops Only
The Minigurumi Ghost Crochet Pattern
Ready to bring your ghost to life? Use the checkboxes to track your progress. The time codes match our handy video tutorial if you’d like to follow along!
Starting with your White yarn…
- Magic Loop: Create a magic loop to begin.
- Rnd 1: Work 8 sc into the magic loop. (8 sts)
- Rnd 2: . Repeat this sequence 2 times. (10 sts)
- Rnd 3: sc in all 10 sts around. (10 sts)
- Rnd 4: sc in the next st, make an arm, sc in the next 4 sts, make an arm, sc in the last 3 sts. (10 sts)
- How to make the arms: When the pattern says “arm,” you will: ch 3, then starting in the 2nd chain from the hook, work a slst in the next 2 chains. Then, continue on to the next stitch in the round as instructed.
- Rnd 5: sc in all 10 sts around. (10 sts)
- Rnd 6: (Video Time: 1:23) Working in the FLO (Front Loops Only) for this round: [ch 1, slst 1] in each stitch around. This creates the lovely, wavy bottom edge of your ghost! (10 ruffles)

Fasten off, leaving a long tail for sewing.
Finishing Touches
Now, let’s give your ghost some personality!
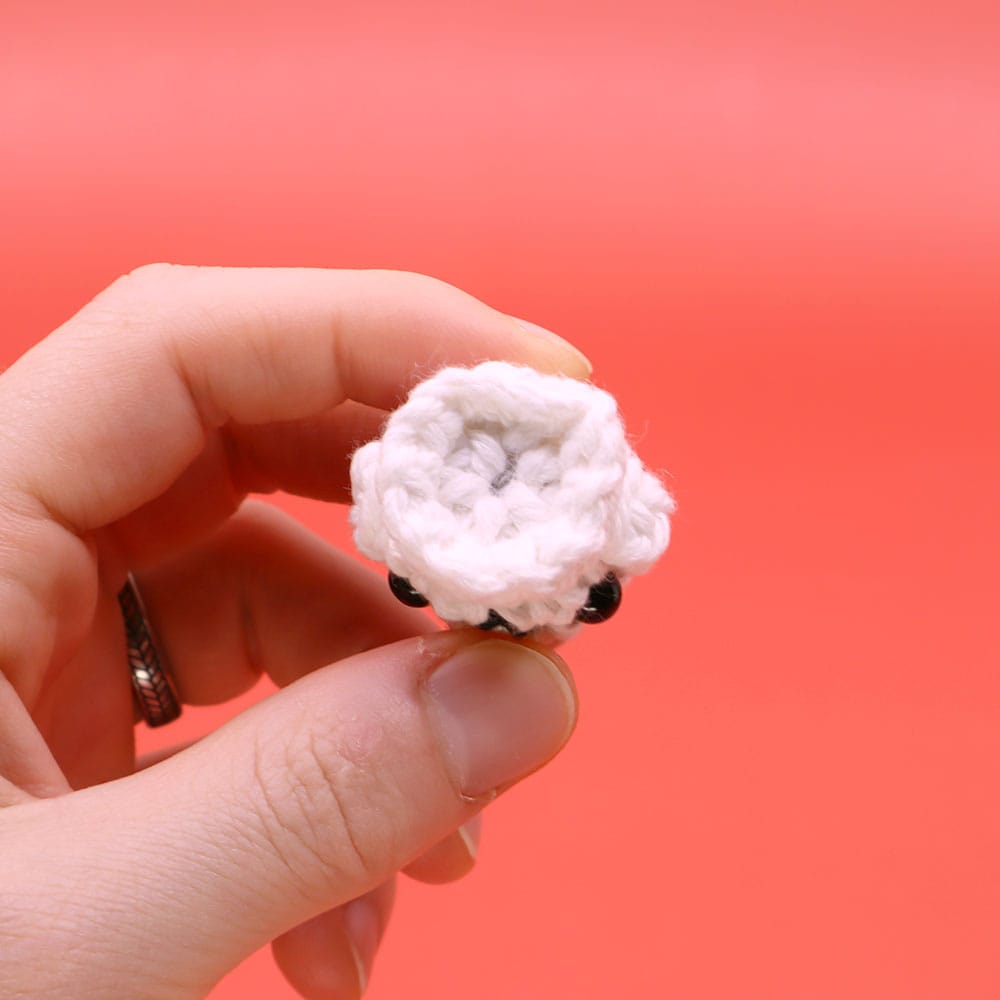
- Add the Face: Attach the 6mm safety bead eyes. I like to place mine in Round 4, about one stitch away from each arm. This ensures they are centered and symmetrical.
- Embroider the Smile: Using your black thread and a darning needle, stitch a simple, small smile between the eyes.
- Stuff Your Ghost: Gently push stuffing into the ghost’s body until it is full and firm, but not overstuffed.
- Sew it Closed: Thread the long tail you left earlier onto your darning needle. To create a neat, seamless finish, weave the needle in and out of the unused BLO (Back Loops Only) from Round 5. Once you’ve gone through all 10 back loops, pull the tail tight to cinch the bottom closed. Weave in your final end to secure it.
And you’re done! You have your very own boo-tiful little ghost.
We can’t wait to see your finished ghosts! Share your photos on social media and tag us so we can see your spooky creations. Happy crocheting