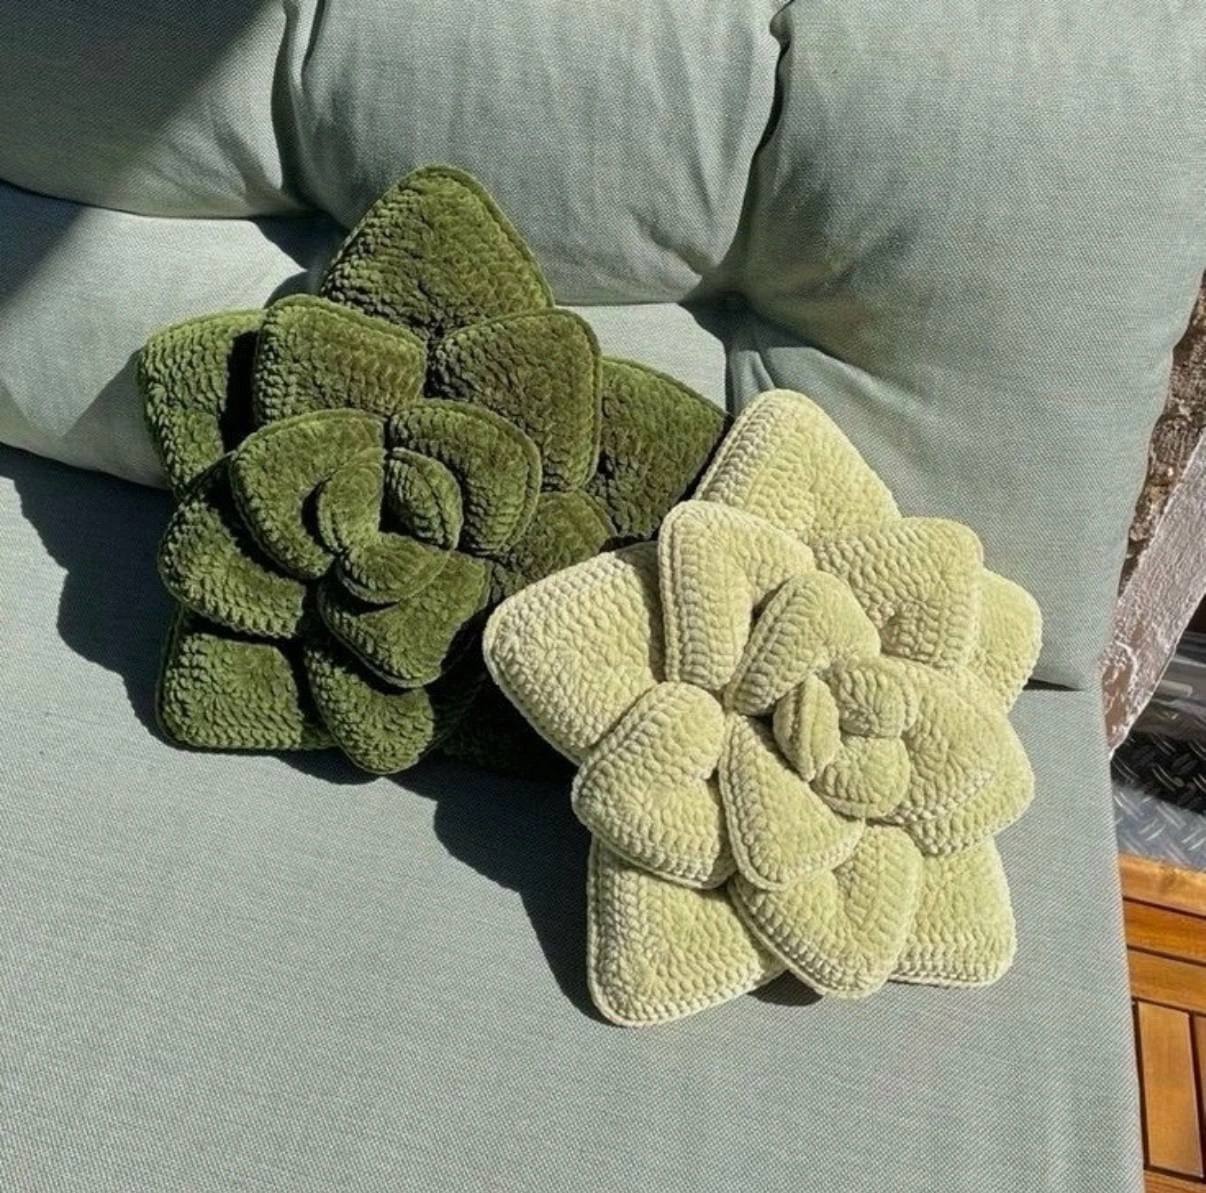
Stitch Your Own Unkillable Plant: 3D Crochet Succulent Pillow Pattern
How to Crochet a 3D Succulent Pillow: Step-by-Step Pattern
Bring the beauty of nature indoors without worrying about watering! This 3D crochet succulent pillow makes a charming, cozy addition to any couch, bed, or armchair. Using a modified solid triangle technique, this pattern minimizes gaps so your stuffing stays neatly hidden inside.
This project is beginner-friendly and customizable. You can use any yarn weight you prefer; just be sure to use a crochet hook size smaller than standard to keep your stitches tight and crisp.
Materials and Tools Needed
- Yarn: 100 grams of Double Knit (DK) weight yarn in green (or your preferred succulent color)
- Crochet Hook: Size 4.0 mm (US G/6)
- Stuffing: Polyester fiberfill stuffing
- Tapestry Needle: For sewing pieces together and weaving in ends
- Scissors: For trimming yarn
Pattern Notes & Abbreviations (US Crochet Terms)
This pattern is written using standard US crochet terminology.
- st / sts: stitch / stitches
- ch: chain
- sl st: slip stitch
- sc: single crochet
- dc: double crochet
Important Technique Note: Starting in Row 3 and throughout the leaf patterns, place your very first double crochet into the stitch directly at the base of the turning chain 3 you just made.
Small Leaves Pattern (Make 6 Panels for 3 Stuffed Leaves)
You will create 6 individual leaf panels. Later, you will join them in pairs to create 3 stuffed leaves for the center core.
Leaf Instructions
Row 1: Ch 5, sl st into the 1st ch to form a ring.
Row 2: Ch 3, work 9 dc into the center ring. Turn.
Row 3: Ch 3, 4 dc, work 6 dc into the next stitch (peak), 5 dc across. Ch 3, turn.
Row 4: 7 dc, work 6 dc into the next stitch (peak), 8 dc across. Ch 3, turn.
Row 5: 10 dc, work 6 dc into the next stitch (peak), 11 dc across. Ch 3, turn.
Row 6: 13 dc, work 6 dc into the next stitch (peak), 14 dc across.
Bottom Edging
Ch 1, then single crochet (sc) evenly along the bottom raw edge of the triangle to create a flat base.
Assembling Small Leaves
- Place two small leaf panels together with right sides facing out.
- Single crochet around the outer edge to seam the two panels into one double-layered leaf.
- Fill the leaf with polyester fiberfill before reaching the bottom.
- Single crochet across the bottom edge to completely seal the stuffed leaf shut. Fasten off.
- Repeat this process for the remaining panels until you have 3 stuffed small leaves.
- Stitch the 3 stuffed leaves tightly together at the sides to form the center cluster of your succulent pillow. Weave in all loose ends.
Optional Center Mini Leaves (Make 3)
For extra depth and detail, you can add 3 tiny unstuffed leaves right in the center of your pillow core.
Instructions
Follow Rows 1 through 3 of the Small Leaf pattern above.
Border: Single crochet around the outer edges of the triangle. Work (2 sc) into the bottom corner stitches, and work (2 sc, ch 1, 2 sc) into the top point stitch for a sharp leaf tip.
Assembly: Do not stuff these mini leaves. Sew them directly into the center of the previously assembled 3-leaf cluster. Weave in ends.
Medium Leaves Pattern (Make 10 Panels for 5 Stuffed Leaves)
You will create 10 larger leaf panels, joining them into 5 stuffed leaves that form the outer ring of the succulent.
Leaf Instructions
Follow Rows 1 through 6 of the Small Leaf pattern above, then continue with Row 7:
Row 7: 16 dc, work 6 dc into the center stitch (peak), 17 dc across. Ch 3, turn.
Bottom Edging
Ch 1, then sc evenly along the bottom edge of each panel (10 panels total).
Assembling Medium Leaves
- Pair up the 10 panels to make 5 leaf sets.
- Single crochet around the perimeter of each pair to join them together.
- Stuff each leaf with fiberfill before sealing.
- Single crochet across the bottom open edge to close the leaf. Fasten off.
- Position the 5 medium leaves around the back and sides of your central small leaf cluster.
- Sew them securely into place on the backside using a tapestry needle. Weave in all loose ends.
Optional Backing Disc for a Clean Finish
To cover all stitching on the back of the pillow and give your finished succulent a clean, professional look, you can crochet a flat circular backing disc:
- Start with a magic ring (magic circle).
- Work double crochet rounds with standard flat-circle increases until the circle matches the diameter of the back of your pillow base.
- Whipstitch the disc over the exposed seams on the back of the pillow.
Customization & Sizing Tips
- Sizing Up: To make a larger floor cushion or bigger throw pillow, simply add more rows to your triangles! Each added row increases your total stitch count by 3 stitches per side. Add extra layers of larger leaves underneath.
- Yarn Options: You can substitute bulky or chenille velvet yarn with a larger hook for an extra plush, oversized succulent pillow.