Free Crochet Hair Bandana Pattern — Easy Boho Style You Can Make in a Weekend
Picture this: you’re scrolling through your feed, and every other post is someone rocking a flowy, textured bandana with the most effortless boho energy. You think, “I could totally make that.” And then you scroll right past it, because it looks complicated. Sound familiar?
Here’s the truth — you can make it. And this free crochet hair bandana pattern is your proof.
This beauty is worked in a simple granny-triangle style using basic double crochet groups. It grows quickly, the color-shifting yarn does all the heavy aesthetic lifting for you, and the whole thing knocks out in a single weekend sitting. Whether you’re a confident beginner or a seasoned hooker looking for a satisfying quick project, this is the one.
By the end of this post, you’ll have everything you need to crochet your own hair bandana step by step — even if you’re still working on keeping your rows perfectly even. Let’s dive in!
Why You’ll Love This Crochet Hair Bandana Pattern
- 🧶 Skill level: Easy — If you can chain, double crochet, and slip stitch, you’re ready. No fancy stitches required.
- ⏱️ Quick to finish — Most crocheters complete this in a single weekend. It’s the perfect “I need a win” project.
- 🎁 Incredible gifting potential — One ball of yarn makes six bandanas. Yes, SIX. Holiday gifting crisis: solved.
- 🌈 Self-striping yarn magic — The Caron Skinny Cakes yarn creates gorgeous gradient color transitions all on its own — no color changes needed.
- 👗 Totally versatile — Wear it as a hair wrap, a headband, a scarf tie, or even a boho belt over a flowy dress.
- 📐 Straightforward sizing — The finished piece measures approximately 11″ [28 cm] deep x 22″ [56 cm] long (excluding ties), fitting most adult heads comfortably.
Materials & Tools You’ll Need
Here’s your shopping checklist — keep it simple, keep it fun!
Yarn:
- ☑ Caron® Skinny Cakes™ — 8.8 oz / 250 g; 795 yds / 727 m per ball
- Color: Cupcake (18072) — a dreamy blend of soft pink, white, and sage green
- Quantity: 1 ball (makes up to 6 bandanas — stock up and gift away!)
💡 Substitution note: Any light-weight (size 3) yarn works here. Look for something with a bit of drape — cotton blends or bamboo-blend yarns are gorgeous for accessories. Just be sure to swatch for gauge first!
Hook:
- ☑ 5.0 mm / U.S. H-8 crochet hook — the pattern calls for a Susan Bates® Silvalume®, but any quality H-8 hook works beautifully
Other Tools:
- ☑ Yarn needle (for weaving in ends)
- ☑ Scissors
- ☑ Stitch markers (optional, but helpful for marking your corner ch-2 spaces)
- ☑ Measuring tape
Abbreviations & Stitch Guide
Every abbreviation used in this easy crochet hair bandana tutorial is listed below. Bookmark this section — you’ll refer back to it!
| Abbreviation | Full Name | What It Means |
|---|---|---|
| Approx | Approximately | Used for measurements that don’t need to be exact |
| Beg | Beginning | Refers to the start of a row or the beginning chain |
| Ch | Chain(s) | Your foundation stitches — the backbone of every crochet project |
| Dc | Double Crochet | Yarn over, insert hook, pull up a loop, yarn over, pull through two loops, yarn over, pull through two loops. The workhorse stitch of this pattern! |
| Pat | Pattern | The repeating stitch sequence that creates the texture |
| Rep | Repeat | Do the bracketed instructions again |
| RS | Right Side | The “pretty” face of your work — the side you want showing |
| Sc | Single Crochet | A short, tight stitch — insert hook, pull up loop, yarn over, pull through both loops |
| Sl st | Slip Stitch | The shortest crochet stitch — used here to join your starting ring. Insert hook, yarn over, pull through both loops in one motion |
| Sp | Space | The open loop or gap between stitches — you’ll be working INTO these spaces |
🌟 Key technique tip — Working into a ch-sp: Several rows ask you to work “3 dc in next ch-1 sp.” This means you skip the chain stitch itself and insert your hook into the open space below it. It sounds confusing the first time, but once you try it, it clicks immediately!
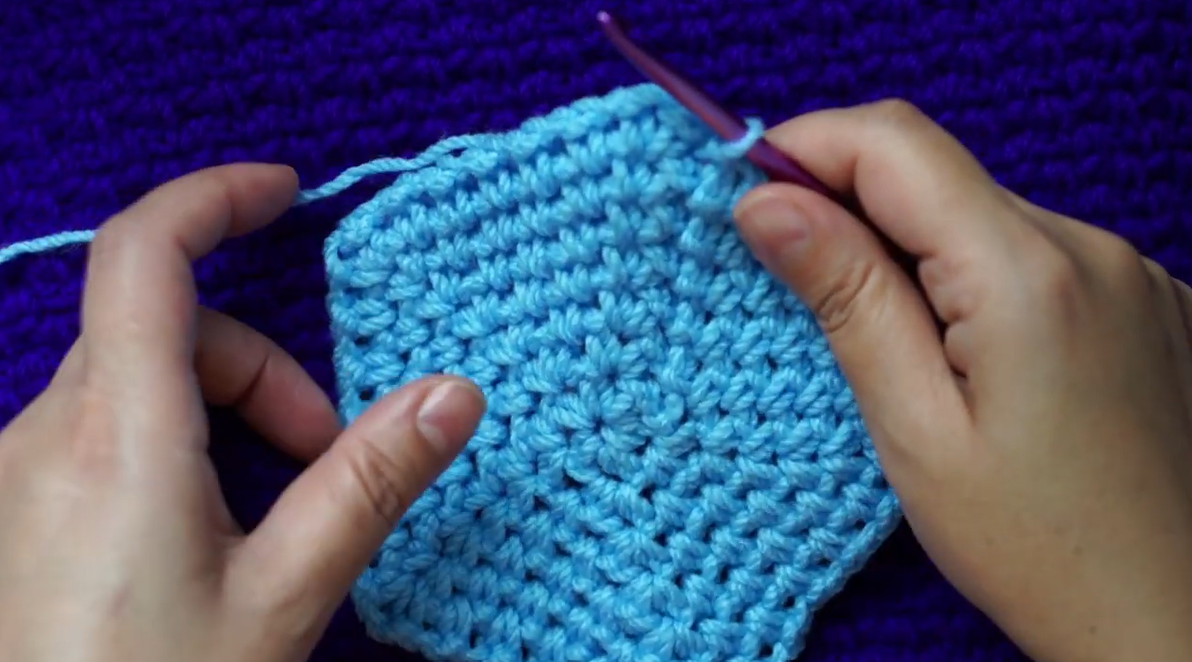
Step-by-Step Crochet Hair Bandana Pattern Instructions
 The completed bandana laid flat — you can clearly see the gorgeous triangle shape and the color gradient in action.
The bandana is worked as a triangle, starting from a small ring at the center back and expanding outward with each row. The ties are added last along the bottom edge.
Finished Size: Approx 11″ [28 cm] deep x 22″ [56 cm] long, excluding ties Gauge: 15 sc and 16 rows = 4″ [10 cm] | 5 dc-groups and 9 rows = 4″ [10 cm] in pattern
💡 Before you start: Gauge matters for fit here. Take 10 minutes to make a small swatch and measure it. If your swatch is too small, go up a hook size. Too large? Go down a hook size.
Starting the Ring
Step 1 — Form the foundation ring: Chain 5. Join with a slip stitch (sl st) to the first chain to form a ring. You now have a small loop to work into.
Not sure how tight to pull that join? Snug but not strangled — you want to be able to insert your hook easily in the next step.
Building the Triangle — Rows 1–4
Step 2 — Row 1 (Right Side): Chain 3 (this counts as your first double crochet here and throughout the entire pattern — remember this!). Work (2 dc. Ch 2. 3 dc) all into the ring. Turn.
You now have two groups of 3 dc with a ch-2 corner space between them. [6 dc + 1 ch-2 sp]
Step 3 — Row 2: Chain 3. Work 2 dc in the first dc (this creates the left edge increase). Chain 1.
Work (3 dc. Ch 2. 3 dc) in the next ch-2 space — that’s your corner. Chain 1.
Work 3 dc in the last dc (right edge increase). Turn.
[Three groups of 3 dc, with ch-1 spaces between them and a ch-2 corner]
Step 4 — Row 3: Chain 3. Work 2 dc in the first dc. Chain 1.
Work 3 dc in the next ch-1 sp. Chain 1.
Work (3 dc. Ch 2. 3 dc) in the corner ch-2 sp. Chain 1.
Work 3 dc in the next ch-1 sp. Chain 1.
Work 3 dc in the top of the beginning chain. Turn.
[Five groups of 3 dc total]
💡 Pro Tip: This is a great moment to pop a stitch marker into that center ch-2 corner space. As the triangle grows, that corner is easy to miss — marking it keeps you on track!
Step 5 — Row 4 (The Repeat Row — learn this one!): Chain 3. Work 2 dc in the first dc.
(Ch 1. 3 dc in next ch-1 sp) — repeat this across until you reach the corner ch-2 sp.
Chain 1. Work (3 dc. Ch 2. 3 dc) in the corner ch-2 sp.
(Ch 1. 3 dc in next ch-1 sp) — repeat this back across to the last stitch.
Work 3 dc in the top of the beginning ch-3. Turn.
[Two more dc-groups added per row — one on each side of the corner]
Continuing the Pattern
Step 6 — Repeat Row 4 for the body of the bandana: Keep working Row 4’s pattern — increasing one dc-group on each side of the corner every single row — until your piece measures approximately 22″ [56 cm] along the bottom edge.
Fasten off and weave in your ends for now (or leave a tail to help with positioning).
💡 Pro Tip: Lay your work flat and measure the bottom edge (not the diagonal sides). It should be stretching out nicely as a wide triangle. Don’t rush this part — those extra rows give you the length you need for the ties to reach around your head comfortably.
🎉 Check-in moment: Standing back and looking at your triangle growing row by row is honestly one of the most satisfying things in crochet. If it’s looking like a clean, even triangle with a crisp center corner — you’re absolutely nailing it!
Adding the Ties
 The official stitch diagram for rows 1–4. Blue lines = chains, dots = slip stitches, T-symbols = double crochets. Use this as your visual guide!
Step 7 — Set up the tie foundation: Chain 50. With the right side facing you, work 1 row of sc evenly across the entire bottom edge of the bandana. Then chain 51. Turn.
Those extra chains on each end are the raw material for your tie straps — they’ll become the long strings you wrap around your head.
Step 8 — Work the tie row: 1 sc in the 2nd chain from the hook.
1 sc in each of the next 49 chains (working across the first tie).
1 sc in each sc across the bottom edge of the bandana (working across the main body).
1 sc in each of the next 50 chains (working across the second tie).
Fasten off. Done!
💡 Pro Tip: Keep your single crochets on the tie chains nice and even — they’ll be visible and they frame the whole piece. If you tend to crochet tightly, consider going up half a hook size just for the tie section.
Finishing & Assembly
You’re in the home stretch — and honestly, finishing this piece is pure joy.
Weave in your ends: Thread your yarn needle and work each tail back and forth through the back loops of nearby stitches for at least an inch. No knots needed — the weaving holds it securely.
Blocking (optional but recommended): Lightly mist your finished bandana with water, gently shape it into a clean triangle, and pin it flat to dry. This evens out the stitches beautifully and gives the whole piece that polished, “I bought this at a boutique” look. Cotton-blend yarns especially love a good blocking!
No seaming needed — this pattern is worked in one continuous piece, so there’s nothing to sew together. It’s as beginner-friendly as it gets.
🎉 You did it!! Seriously — look at that. You just crocheted a boho hair bandana from a small ring all the way to those gorgeous long ties. That is something to be proud of. Give yourself a well-deserved pat on the back (and maybe immediately cast on another one, because you have five more bandanas worth of yarn just waiting).
Styling & Usage Ideas
The beauty of this crochet hair bandana is how wildly versatile it is. Here are a few ways to wear and share it:
1. Classic boho head wrap: Fold the triangle point-down over your hair, bring the ties to the front, cross them, then wrap to the back and tie. Instant festival-ready look.
2. Retro headband style: Lay the triangle flat across your crown and tie the ends underneath your hair for a wide, structured headband effect. Gorgeous with a sleek ponytail.
3. Gift set of six: Since one skein makes six bandanas, bundle three in coordinating colors with a little hand-lettered tag that says “Handmade with love.” The most personal, affordable gift you’ll give this year.
4. Neck scarf: Loop it loosely around your neck like a classic French scarf. The open granny stitch texture makes it lightweight enough for three-season wear.
Save This Free Crochet Hair Bandana Pattern!
If you made it this far, you’re officially ready to rock your very own handmade bandana — and we are here for it! 🙌
Here’s how to keep the crochet love going:
📌 Pin this post to your Crochet Accessories board on Pinterest so you can find it again (and again — because you’ll be making these for everyone you know).
📸 Share your finished project! Tag us or drop a photo in the comments below. Seeing your finished makes is genuinely the highlight of our day.
💬 Leave a comment if you have questions, ran into a snag, or just want to brag about finishing your first one — all of those are valid and welcome here.
📧 Subscribe to our newsletter so you never miss a new free pattern, video tutorial, or yarn deal.
Happy crocheting, friend. Now go make five more. 🧶💕